How to Draw a Baby Pig: Easy 10-Step Guide for Kids
Ready to draw an adorable piglet? This tutorial is perfect for young artists ages 5 and up. You will only need a pencil, an eraser, and a piece of paper to bring this little farm friend to life while practicing your basic shapes.
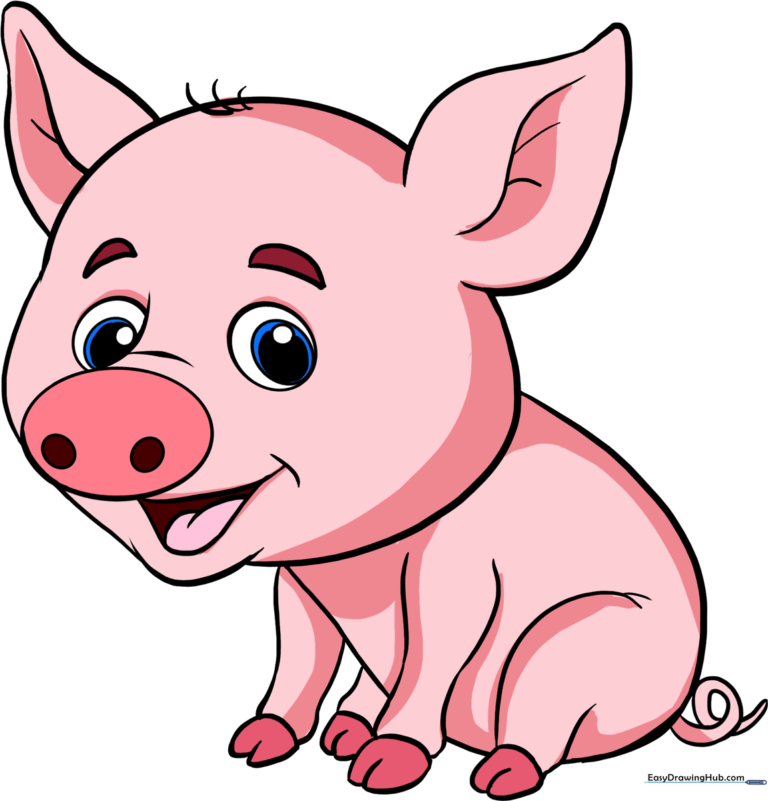
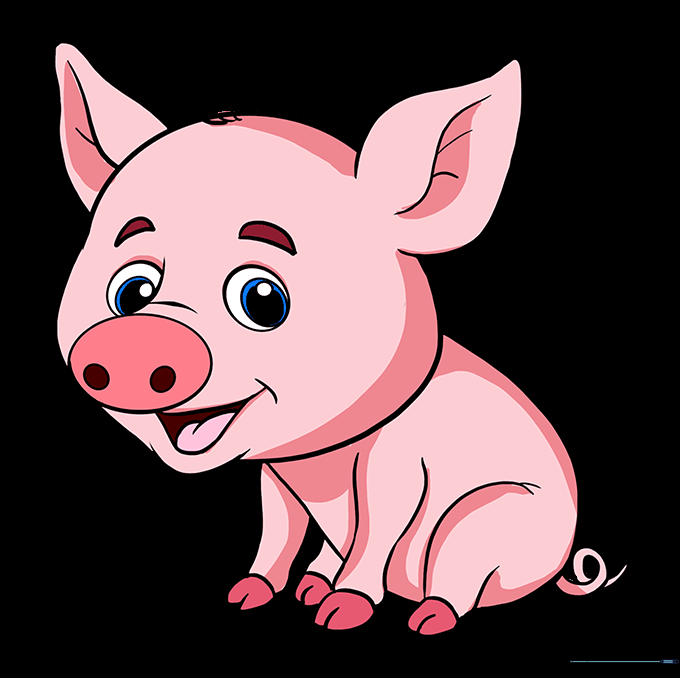
🎯 Final Result
Step-by-Step Instructions
Step 1: Sketching the Head

Start by drawing a light circle for the head. Teacher's Tip: Keep your pencil strokes very soft so you can easily erase your guide lines later!
Step 2: Shaping the Cheeks

Draw a 'U' shape under the circle for the chin, then connect it to the head with curved lines to form chubby cheeks. Tip: Think of this as drawing a soft, rounded heart shape.
Step 3: Drawing the Ears
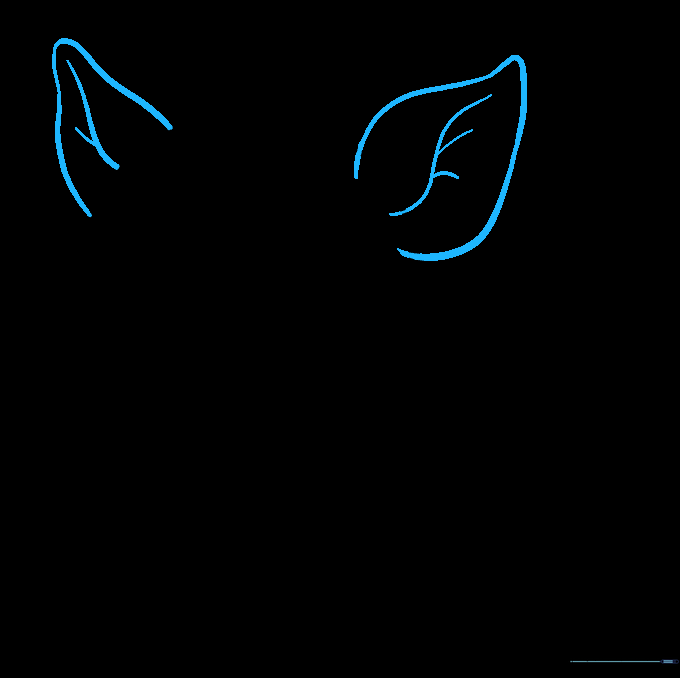
Add two triangular ears on top of the head. Add an 'S' curve inside each to show the fold. Tip: Keep the points slightly rounded to make the pig look extra friendly.
Step 4: Cleaning Up

Gently erase the overlapping guide lines inside the face. Tip: Use a clean eraser and brush away the crumbs so your paper stays nice and smooth.
Step 5: Sketching the Body

Draw a large 'U' shape below the head to create the pig's body. Tip: Make this shape wide to give your piglet a cute, chunky appearance.
Step 6: Adding Front Legs

Draw the front legs with curved lines that taper at the ankles. Add a 'W' shape at the bottom for the hooves. Tip: Drawing the legs slightly wider at the top helps the pig look like it is standing firmly.
Step 7: Adding Rear Legs
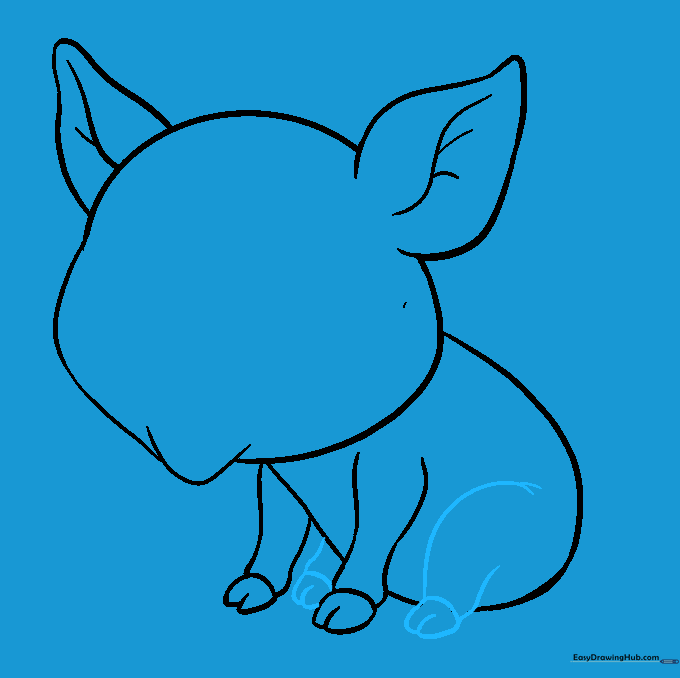
Draw the back legs in a sitting position. Use curved lines to show the bend at the knee. Tip: Keep the back legs slightly rounded to show the pig is resting comfortably.
Step 8: Facial Features and Tail
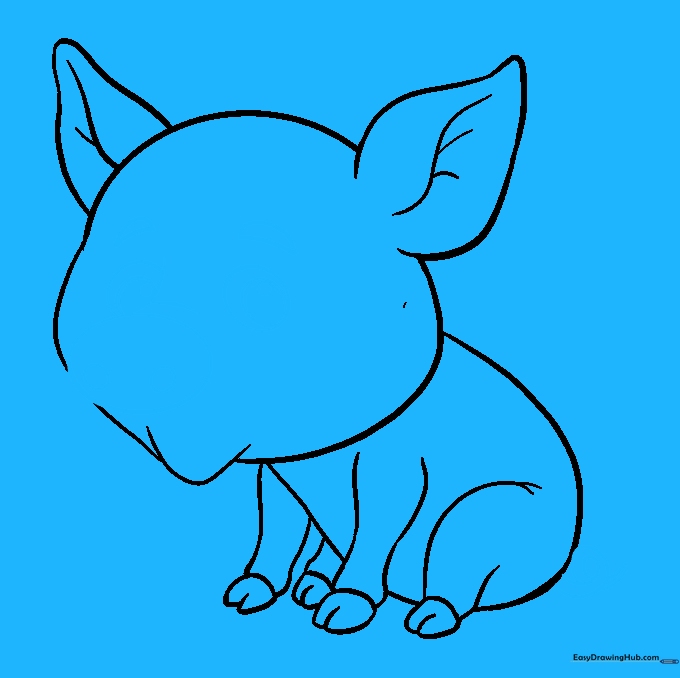
Draw an oval snout with two nostrils, expressive eyes with pupils, and a curly tail. Tip: Use small, spiraling lines for the tail to give it that classic 'piggy' bounce.
Step 9: Final Touches

Draw a happy, open mouth with a tongue and a small tuft of hair on the head. Tip: A few short, quick strokes for the hair make the pig look playful and energetic.
Step 10: Bring Your Pig to Life with Color
Color your piglet! Use soft pinks for a classic look, or try spots of brown or black. Tip: Use a darker shade of pink to add a little shadow under the chin for a 3D effect.
More Tutorials


