How to Draw a Baby Elephant: Easy 10-Step Guide
Bring a playful baby elephant to life with this simple, screen-free art activity. Designed for children ages 5 and up, this tutorial uses basic shapes to build confidence and fine motor skills. All you need is a pencil, an eraser, and a piece of paper to get started.
🎯 Final Result

Step-by-Step Instructions
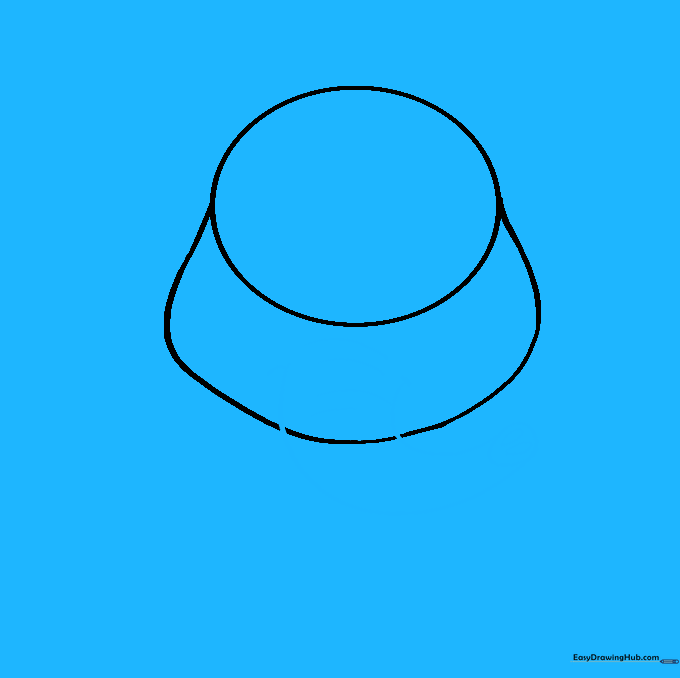
Step 1: Sketching the Head

Draw a light oval for the head. Teacher's Tip: Keep this shape about the size of a small coin to leave plenty of room on your paper for the body and trunk.
Step 2: Defining the Face

Extend a long, curved line from one side of the oval, looping underneath to form the chin and cheeks. Teacher's Tip: Use a smooth, continuous motion to keep the line looking soft and rounded.
Step 3: Adding the Trunk
Draw two curved lines extending from the face, ending in an egg shape. Add two small ovals for nostrils and horizontal lines for texture. Teacher's Tip: Think of the trunk as a flexible hose; keep the lines fluid.
Step 4: Cleaning Up

Gently erase the overlapping guide lines inside the face. Teacher's Tip: Use a soft eraser and brush away the crumbs so you don't smudge your graphite.
Step 5: Sketching the Ears
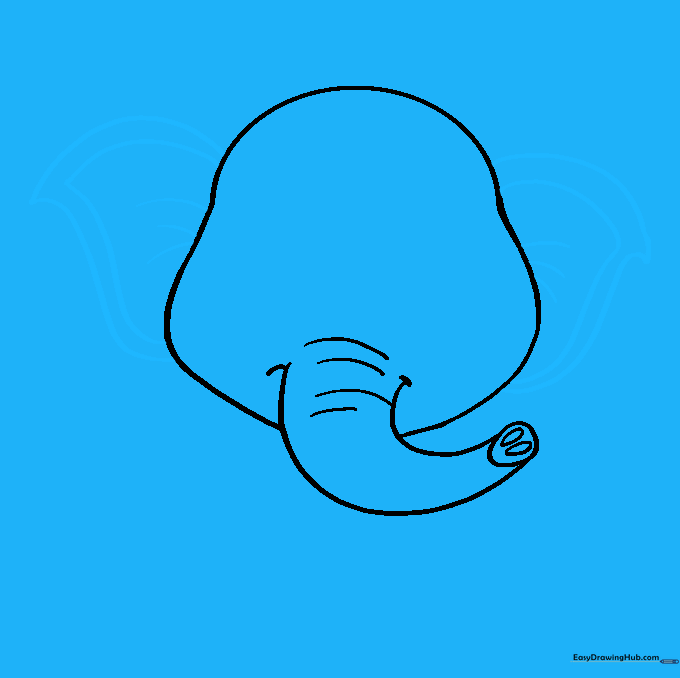
Outline the large, pointed ears using curved lines, then add a smaller inner shape for depth. Teacher's Tip: Make the ears look floppy to give your baby elephant a cute, youthful appearance.
Step 6: Facial Features

Add a tuft of hair, expressive eyes with pupils, and eyebrows. Teacher's Tip: When drawing the pupils, leave a tiny white dot uncolored to create a 'sparkle' effect in the eyes.
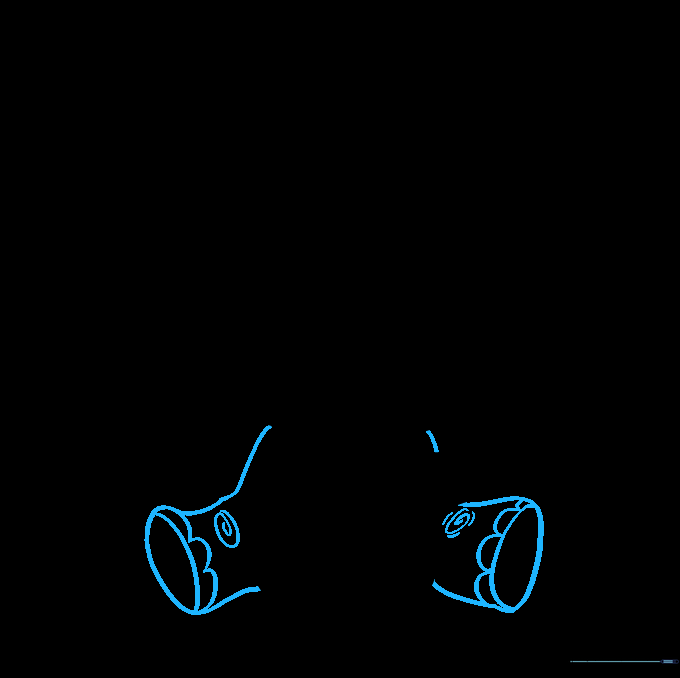
Step 7: Front Legs

Draw the front legs using overlapping 'U' shapes and add small 'U's for the toenails. Teacher's Tip: Keep the legs thick to show the elephant's sturdy build.
Step 8: Body and Back Legs
Outline the shoulders and rear legs, adding spiral shapes for knees and toenails on the feet. Teacher's Tip: The spiral knee detail adds a nice touch of realism to your drawing.
Step 9: The Tail

Draw a pair of lines for the tail, finishing with a jagged tuft of hair. Teacher's Tip: Make the tail short to keep the elephant looking like a baby.
Step 10: Bring it to Life with Color

Color your elephant using shades of grey or brown. Teacher's Tip: Use light pressure with your colored pencil to create a soft, natural look for the elephant's skin.
More Tutorials


