How to Draw a Baby Duck: Easy 10-Step Guide for Kids
Looking for a fun, screen-free activity? This step-by-step guide is perfect for young artists ages 5 and up to practice basic shapes and line control. All you need is a pencil, an eraser, and a piece of paper to bring this adorable duckling to life.
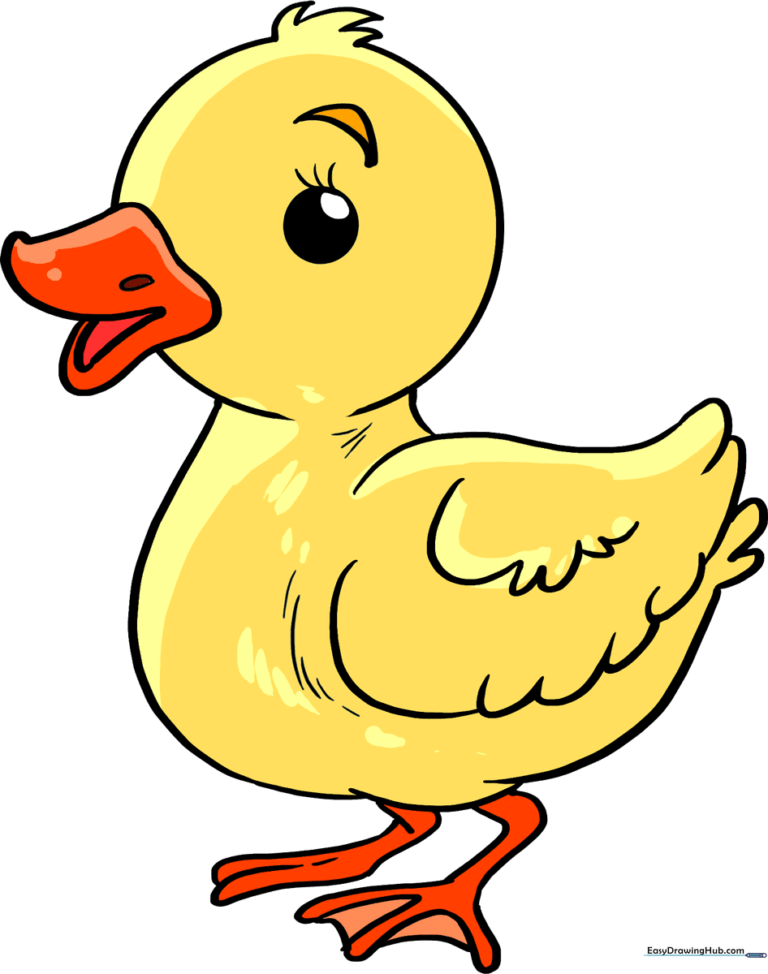
🎯 Final Result
Step-by-Step Instructions
Step 1: Sketching the Head

Draw a light circle for the head. Teacher's Tip: Keep it about the size of a coin and press lightly with your pencil so it's easy to clean up later.
Step 2: Shaping the Body

Extend a long, curved line from the bottom of the circle to form the neck and belly. Add a shorter curve for the back. Tip: Think of this as drawing a soft 'S' shape to give the duckling a natural posture.
Step 3: Outlining the Wing

Use a scalloped pattern of 'U' shaped lines to create the wing. Tip: Don't close the wing completely where it meets the body; leaving it slightly open makes it look more like soft feathers.
Step 4: Adding Texture and Tail

Add more 'U' shapes to the wing for a feathered look, then draw a small tail at the back. Tip: Keep your 'U' shapes consistent in size to make the feathers look uniform.
Step 5: Drawing the Beak
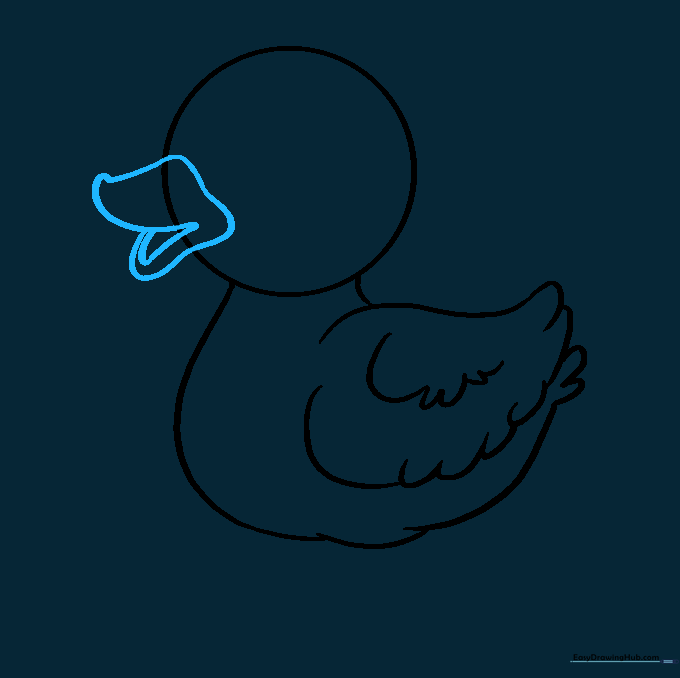
Sketch the beak with a slight bulge at the tip. Add a small triangle inside to show the mouth is slightly open. Tip: A little overlap on the beak makes it look 3D!
Step 6: Cleaning the Lines

Carefully erase any overlapping guide lines around the beak. Tip: Use a clean eraser and gentle pressure to avoid smudging your work.
Step 7: Adding the First Leg
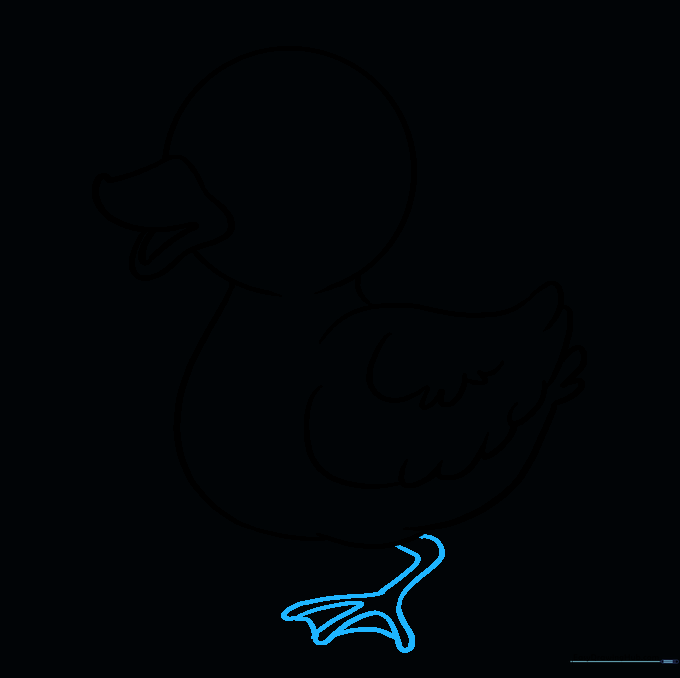
Draw the leg with two parallel lines and a 'W' shape for the webbed toes. Tip: The webbing is what helps ducks swim, so make those curves nice and rounded.
Step 8: Adding the Second Leg

Sketch the second leg slightly behind the first to show depth. Tip: Notice how the lines overlap at the ankle; this creates a realistic sense of movement.
Step 9: Final Details

Add the eye, a nostril, and a little tuft of feathers on the head. Use light hatching lines on the body for texture. Tip: Adding eyelashes makes the duckling look extra cute!
Step 10: Bring It to Life with Color
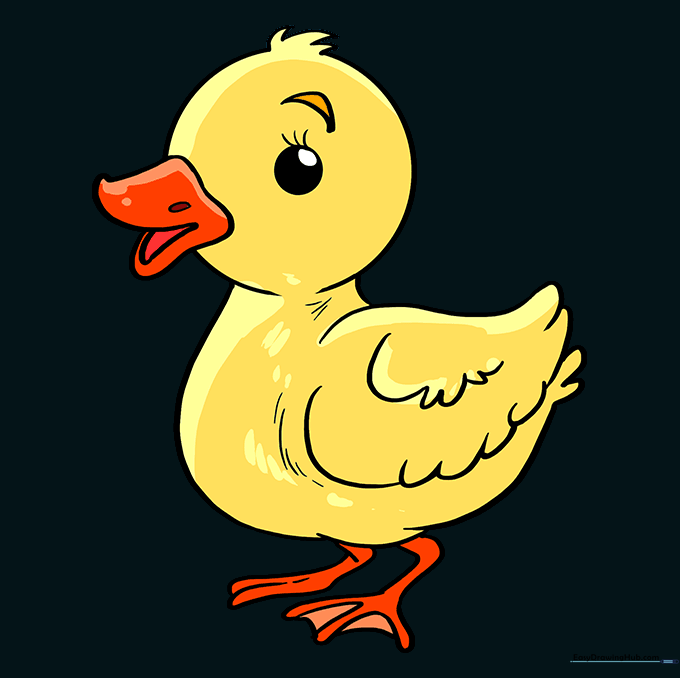
Time to color! Use bright yellow for a classic look, or experiment with brown or grey. Tip: Use darker shades of your chosen color near the edges to give your duckling a soft, rounded look.
More Tutorials


