How to Draw a Baby Deer: Easy 10-Step Guide for Kids
Capture the charm of a forest fawn with this beginner-friendly drawing tutorial. Designed for young artists ages 6+, this lesson uses basic shapes to build confidence and coordination. Grab your pencil, eraser, and paper, and let's bring this little deer to life!
🎯 Final Result
Step-by-Step Instructions
Step 1: Sketching the Head

Draw a light circle to serve as the head. Teacher's Tip: Keep it about the size of a coin; drawing it lightly makes it much easier to erase your construction lines later.
Step 2: Defining the Snout

Add a curved, irregular shape to the side of the circle for the snout, and a smaller curve below for the mouth. Tip: Think of this shape like a little bean attached to the side of your circle.
Step 3: Ears and Nose
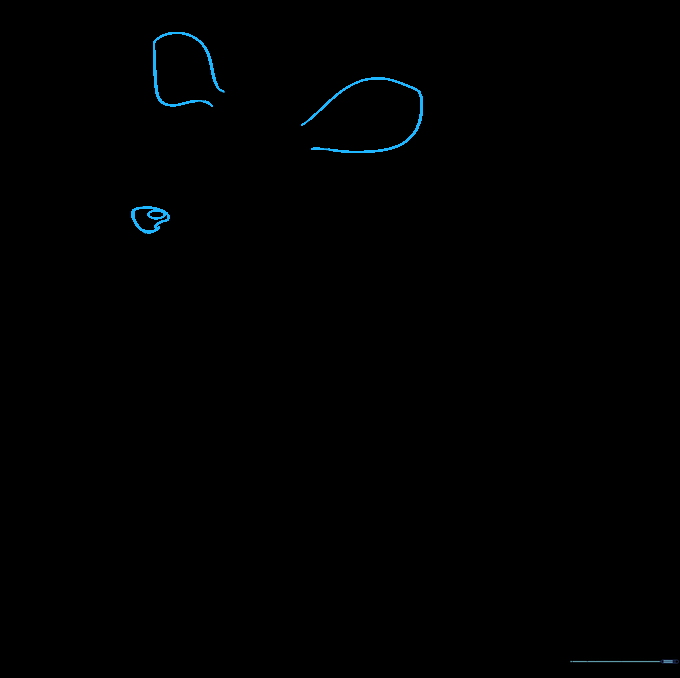
Erase the overlapping lines inside the snout. Add a small oval for the nose with a tiny shine mark, and draw two long, curved ears on top. Tip: Make the ears slightly pointed to give the deer an alert, curious look.
Step 4: Refining the Ears

Clean up your drawing by erasing any extra guide lines inside the ears. Tip: Use a soft eraser to avoid smudging your work.
Step 5: Adding Facial Features
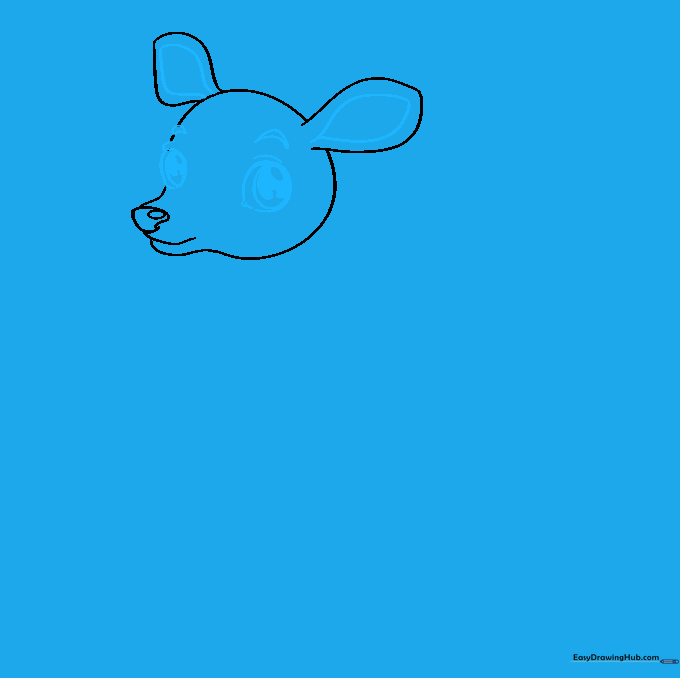
Draw large, expressive eyes with pupils and teardrop-shaped corners. Add eyebrows and inner ear details. Tip: The eyes are the 'soul' of the drawing—take your time to make them symmetrical.
Step 6: Sketching the Body
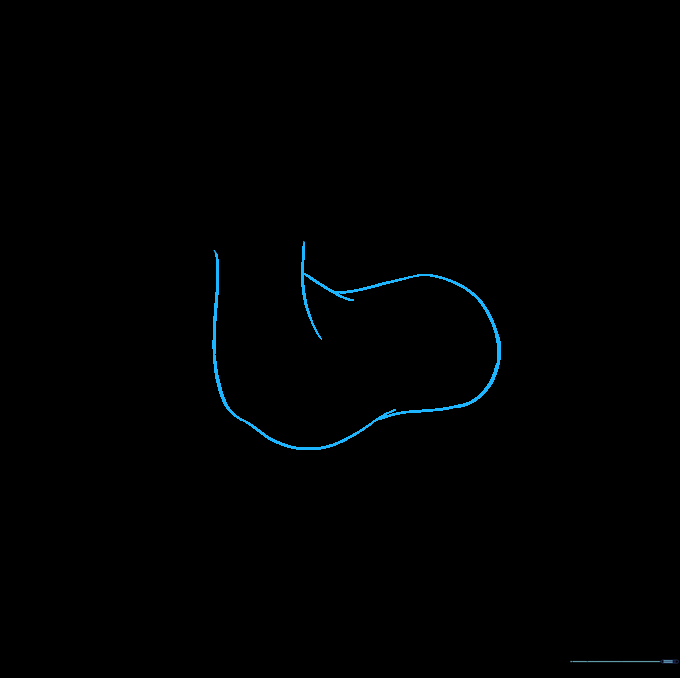
Draw two curved lines for the neck and a peanut-shaped body underneath. Tip: Keep the neck lines smooth to show the deer's graceful posture.
Step 7: Front Legs
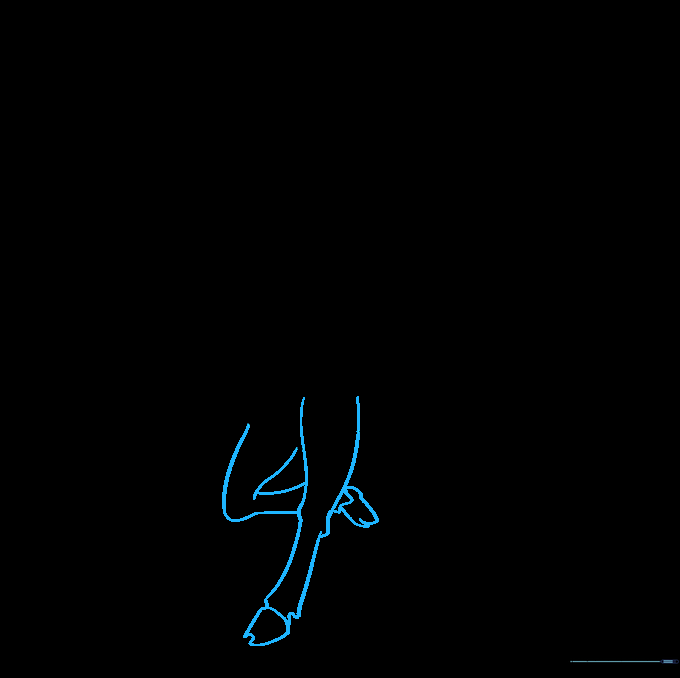
Sketch the front legs with slight bulges at the knees and ankles. Add the hooves at the bottom. Tip: Notice how the legs bend slightly; this adds movement to your drawing.
Step 8: Rear Legs
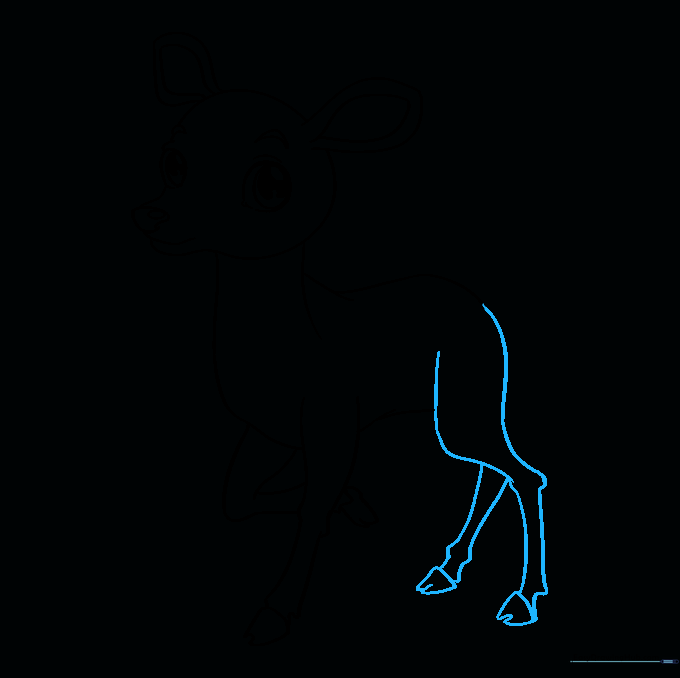
Draw the back legs, ensuring they have similar joint bulges to the front. Add the cleft hooves. Tip: Make sure the rear legs look slightly thicker at the top to show muscle.
Step 9: Tail and Spots
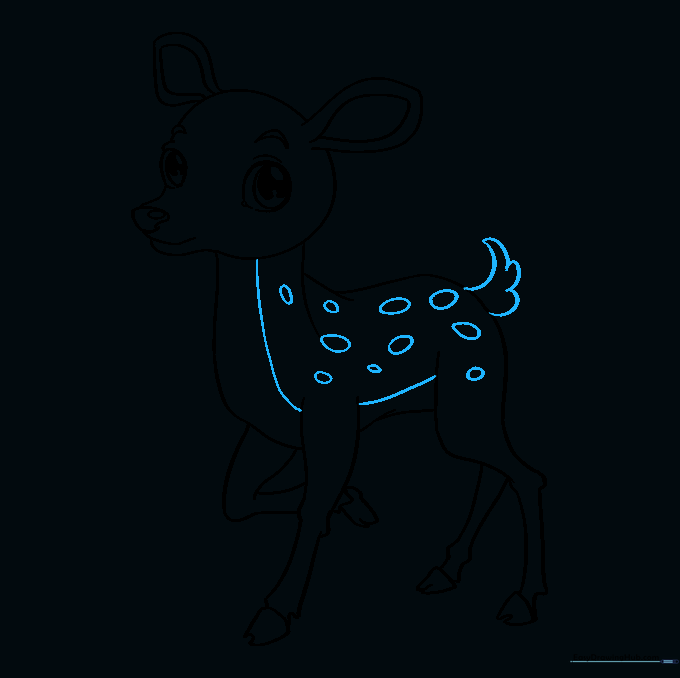
Add a small, fluffy tail and draw various ovals on the back for spots. Tip: Vary the size of the spots to make the deer look more natural.
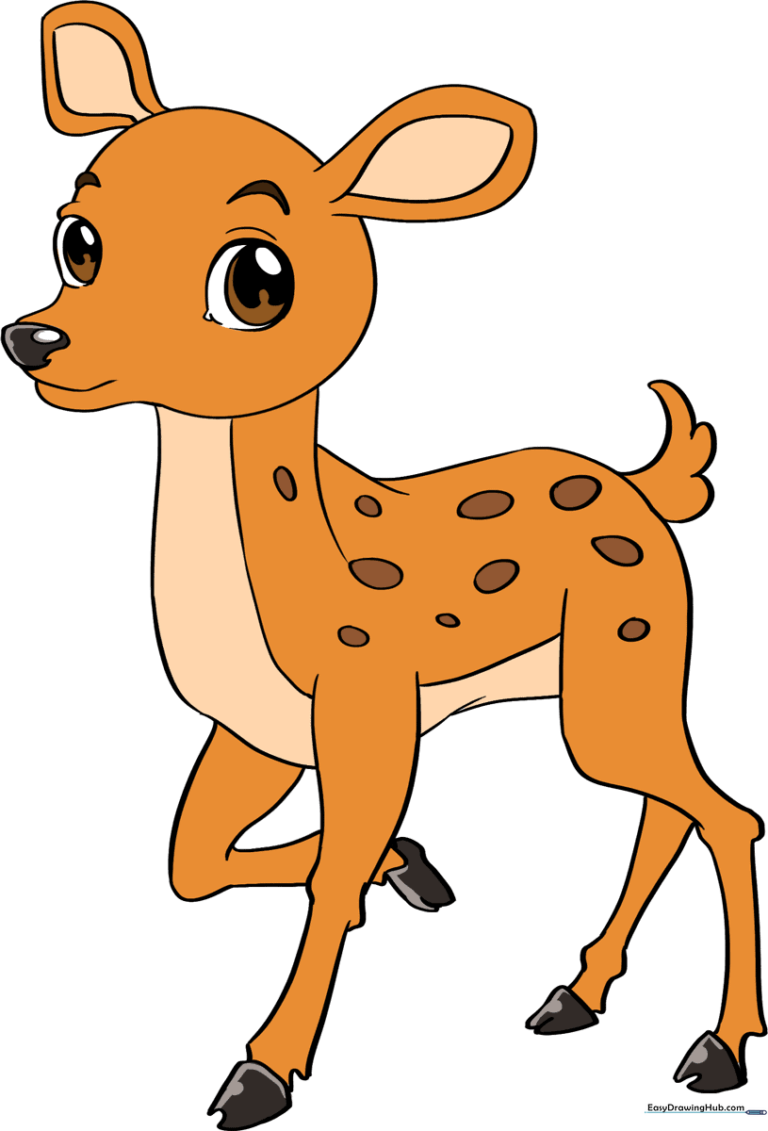
Step 10: Final Coloring
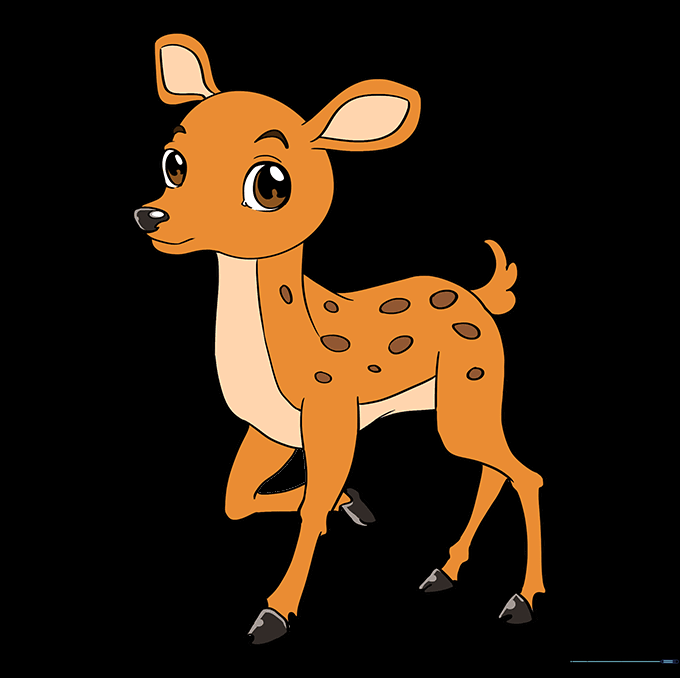
Bring your deer to life with color! Use warm browns for the fur and leave the spots white. Tip: Use light, circular motions with your pencil to create a soft, furry texture.
More Tutorials


