How to Draw a 3D Sphere: Easy Step-by-Step Guide
Ready to bring your drawings to life? This tutorial is perfect for artists ages 7+ looking to master the illusion of depth. All you need is a pencil, an eraser, and a piece of paper to transform a flat circle into a realistic 3D sphere.
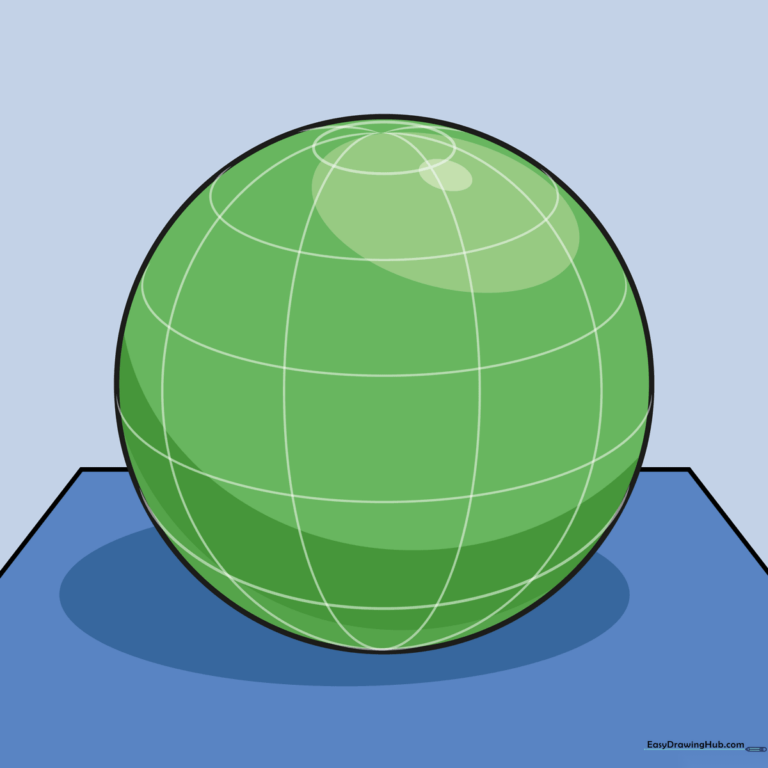
🎯 Final Result
Step-by-Step Instructions
Step 1: Sketching the Base

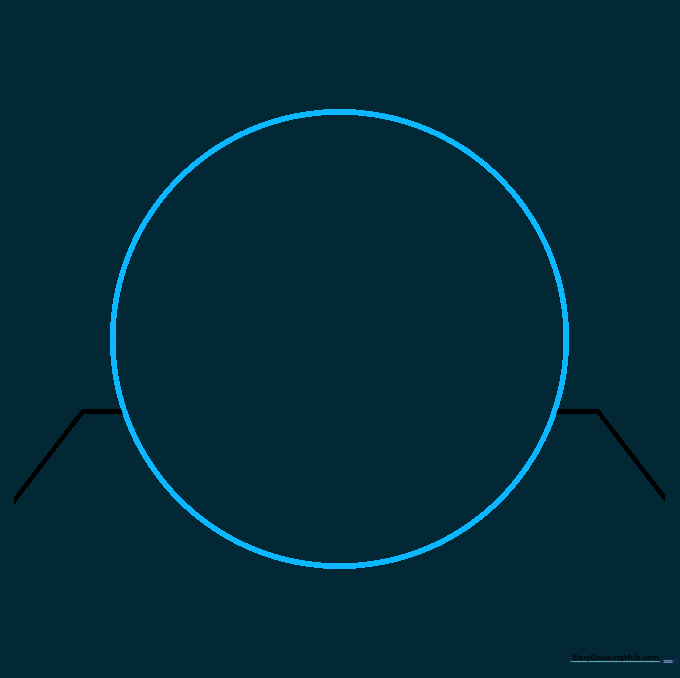
Draw a horizontal line with two shorter diagonal lines angling downward from the ends to create a trapezoid base. Teacher's Tip: Keep your pencil pressure light so these lines can be easily adjusted or erased later.
Step 2: Forming the Sphere
Draw a large circle that overlaps the trapezoid. Carefully erase any lines inside the circle that aren't part of the base. Teacher's Tip: Use a circular object like a cup to trace if you struggle with freehand circles!
Step 3: Adding the Top Pole
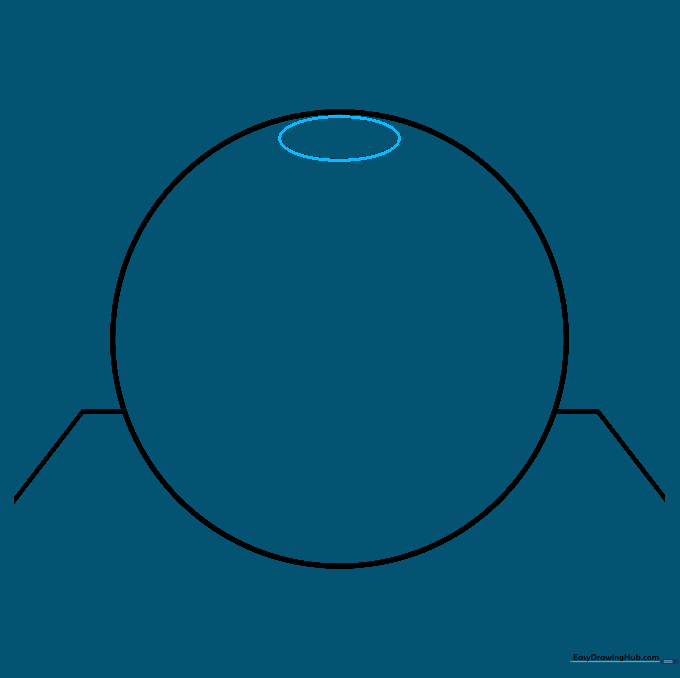
Draw a small oval near the top of your circle. This represents the 'pole' of your sphere. Teacher's Tip: Think of this as the top of a globe; keeping it small helps maintain the round perspective.
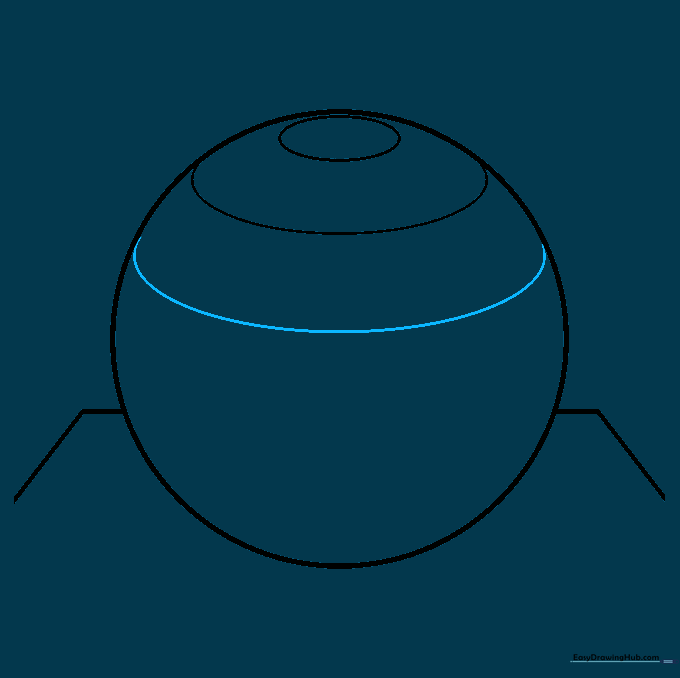
Step 4: Drawing Latitude Lines
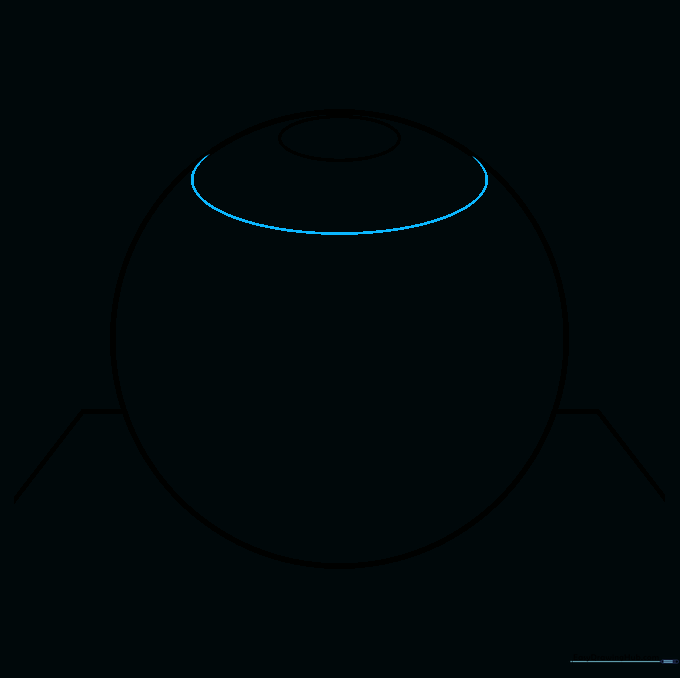
Add a curved line just below the top oval to suggest the sphere's curve. Teacher's Tip: Always curve your lines to match the edge of the circle; this is the secret to making flat paper look 3D.
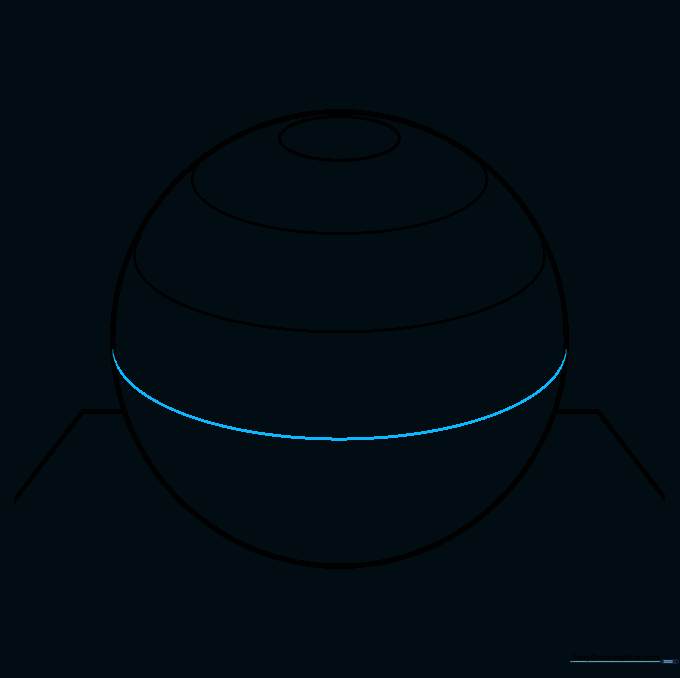
Step 5: Adding Mid-Section Curves
Draw another long, gentle curve across the middle of the sphere. Teacher's Tip: Imagine you are drawing a rubber band stretched around a ball.
Step 6: Continuing the Curve
Add another curved line below the previous one. Teacher's Tip: Keep the spacing between your lines consistent to make the sphere look perfectly round.
Step 7: Finalizing Horizontal Curves
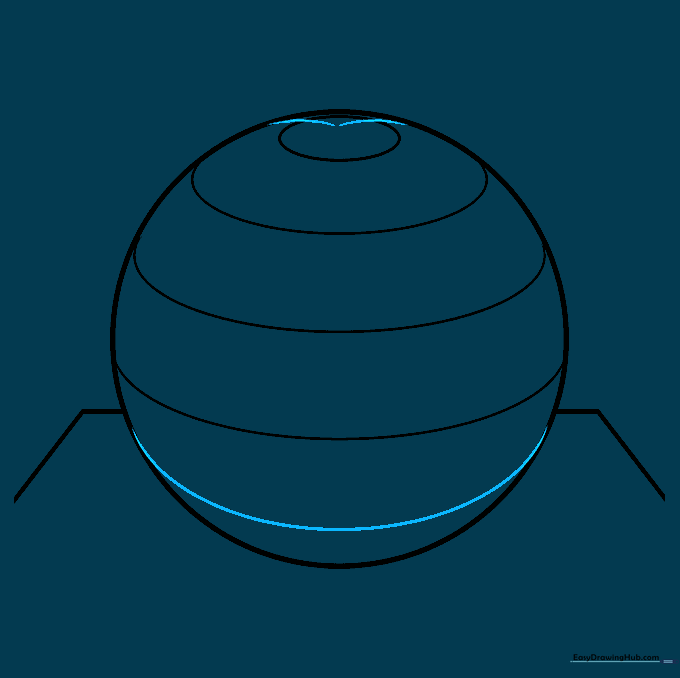
Draw a final curve near the bottom. Then, draw two short lines connecting the sides of the sphere to the top oval. Teacher's Tip: These connecting lines act as the 'meridians' that define the sphere's surface.
Step 8: Adding Longitudinal Lines
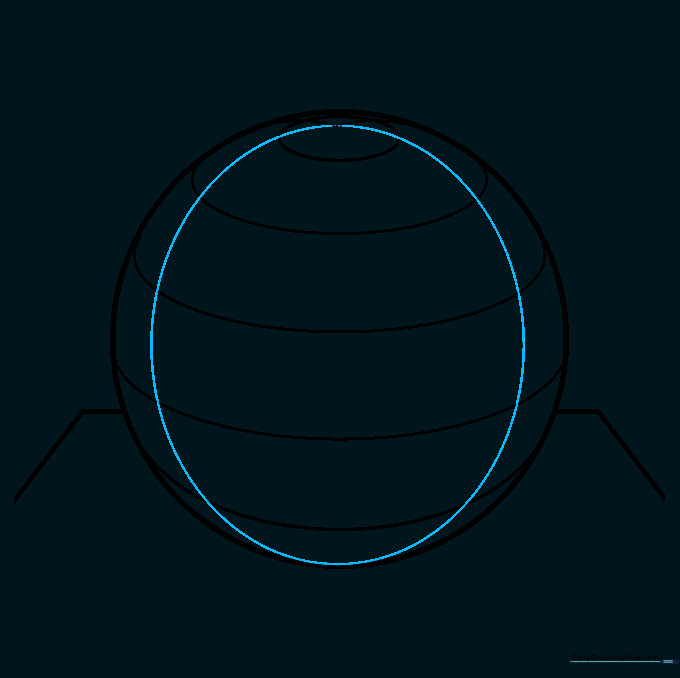
Draw curved lines spanning from the bottom to the top, connecting to your previous marks. Teacher's Tip: Think of these like the segments of a peeled orange.
Step 9: Completing the Grid
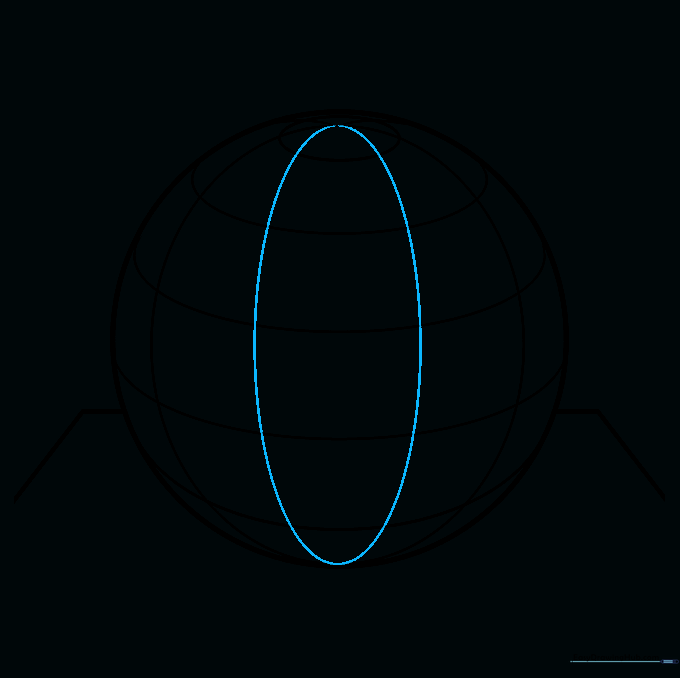
Add two final vertical curves to fill out the sphere's surface. Teacher's Tip: Ensure your lines are smooth and continuous for a professional look.
Step 10: Adding Shading
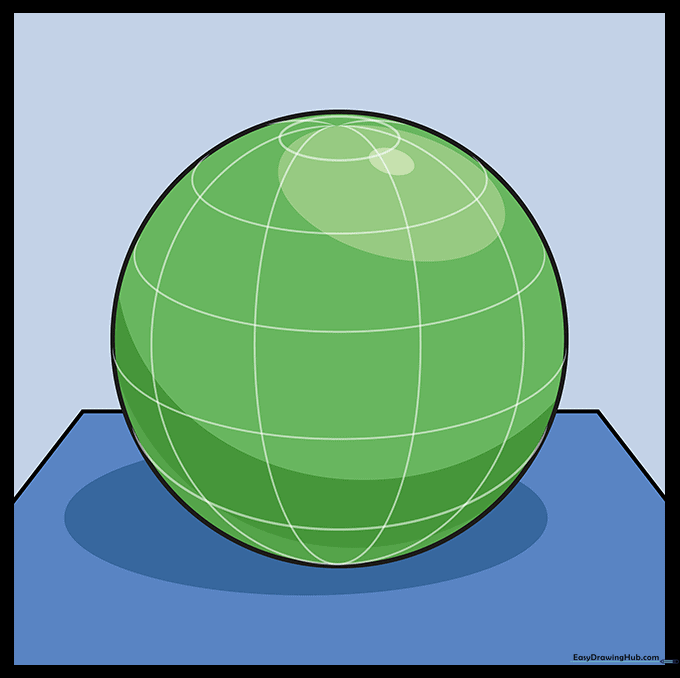
Add shading to your sphere. Keep the area near the top light and gradually darken the edges to create a realistic glow. Teacher's Tip: Use a blending stump or your finger to smooth the graphite for a soft, professional finish.
More Tutorials


