How to Draw a 3D Heart: Easy 9-Step Optical Illusion Guide
Ready to make your art pop off the page? This 3D heart tutorial is perfect for artists ages 7 and up who want to master basic perspective. All you need is a pencil, an eraser, and a piece of paper to create this fun optical illusion.
🎯 Final Result

Step-by-Step Instructions
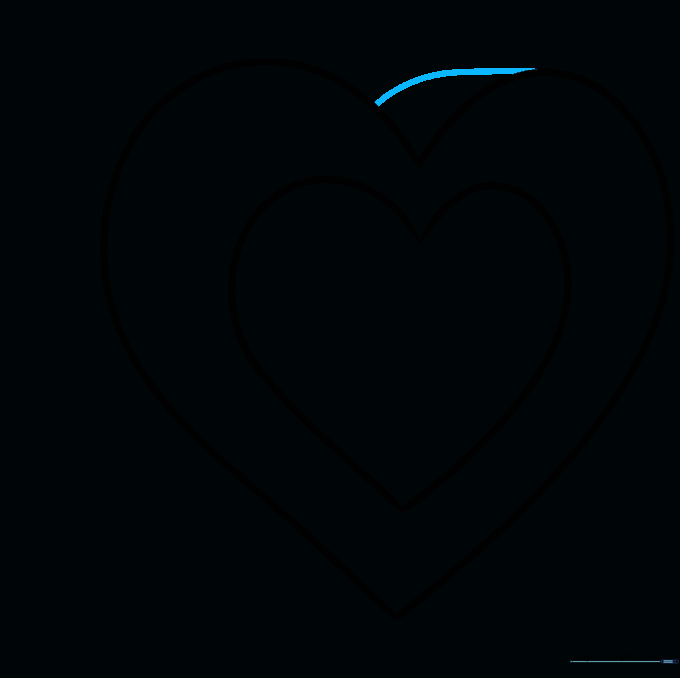
Sketching the First Lobe

Start by drawing a long, smooth curved line that looks like a comma. Teacher's Tip: Keep this line light; it serves as the foundation for the left side of your heart.
Closing the Heart Shape

Draw a second curved line to complete the heart. Make this side slightly narrower than the first to create the illusion of depth. Tip: Imagine the heart is tilted slightly away from you.
Adding the Inner Depth Line

Draw a curved line inside the heart, following the contour of the outer edge. This creates the 'thickness' of the heart. Tip: Keep the distance between the lines consistent for a cleaner look.
Defining the Inner Edge

Complete the inner heart shape with another curved line. Ensure it remains parallel to the outer edge to maintain the 3D effect. Tip: If it looks a bit 'squished,' that's exactly what you want!
Connecting the Lobes
Draw a small curved line connecting the top of the inner lobe to the outer edge. This creates the 'top' surface of your 3D object. Tip: Use short, deliberate strokes.
Building the Side Wall

Add a curved line from the other lobe to continue the side wall. This is where the heart starts to look like a solid object. Tip: Keep your pencil pressure even.
Refining the Side Contour

Continue drawing lines parallel to the side of the heart. This reinforces the thickness of the object. Tip: If you make a mistake, use your eraser to gently lift the graphite.
Adding Internal Detail

Draw two more curved lines inside the inner heart. These should follow the same curve as the outer shape. Tip: These lines help the eye perceive the curve of the heart's surface.
Finalizing the Outline

Connect the remaining points with short, straight lines to seal the 3D structure. Tip: Darken your final lines with a firmer pencil stroke to make the drawing pop.
Coloring Your Masterpiece

Bring your heart to life with color! Use a darker shade on the side walls to create a shadow effect. Tip: Try using two tones of pink to emphasize the 3D shape.
More Tutorials


