How to Draw a 3D Cross: Easy Step-by-Step Guide
Master the art of depth with this beginner-friendly 3D cross tutorial. Designed for ages 6 and up, this screen-free activity helps young artists practice perspective using only a pencil, eraser, and paper. Follow these clear steps to turn flat lines into a bold, three-dimensional shape.
🎯 Final Result

Step-by-Step Instructions
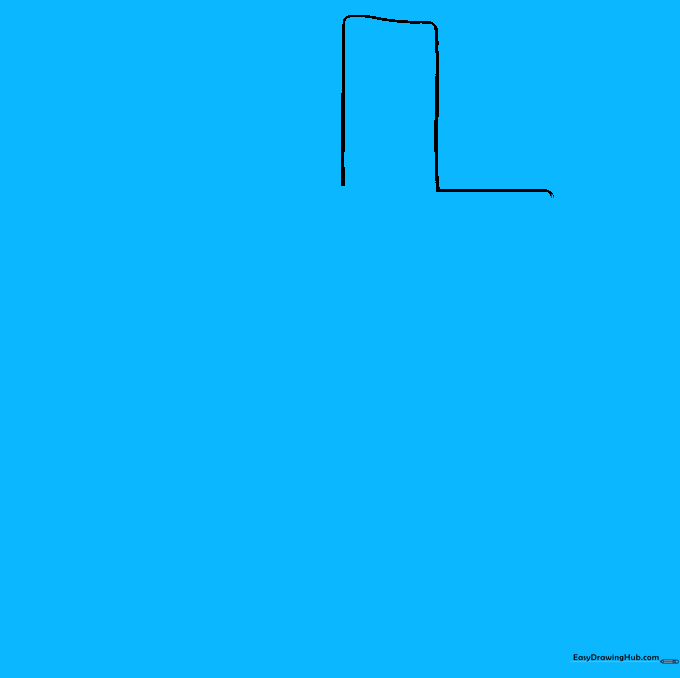
Step 1: Sketching the Upper Arm

Start by drawing an upside-down letter 'L'. This forms the top corner of your cross. Teacher's Tip: Keep your lines straight and light—this is just the skeleton of your drawing.
Step 2: Defining the Right Arm

Draw a second 'L' shape next to the first. This creates the thickness of the upper arm and begins the right side. Tip: Try to keep the gap between the two lines consistent for a professional look.
Step 3: Completing the Right Arm
Add a backward 'L' shape to connect your previous lines. This closes the outline of the right arm. Tip: Use a ruler if you struggle with perfectly straight lines!
Step 4: Outlining the Bottom

Draw another backward 'L' shape to begin the bottom section of the cross. Tip: Ensure your cross is centered on the page to leave room for the final arm.
Step 5: Shaping the Left Arm

Add an upside-down 'L' shape to finish the bottom and start the left arm. Tip: Check your symmetry—the left and right arms should look balanced.
Step 6: Finalizing the Front Outline
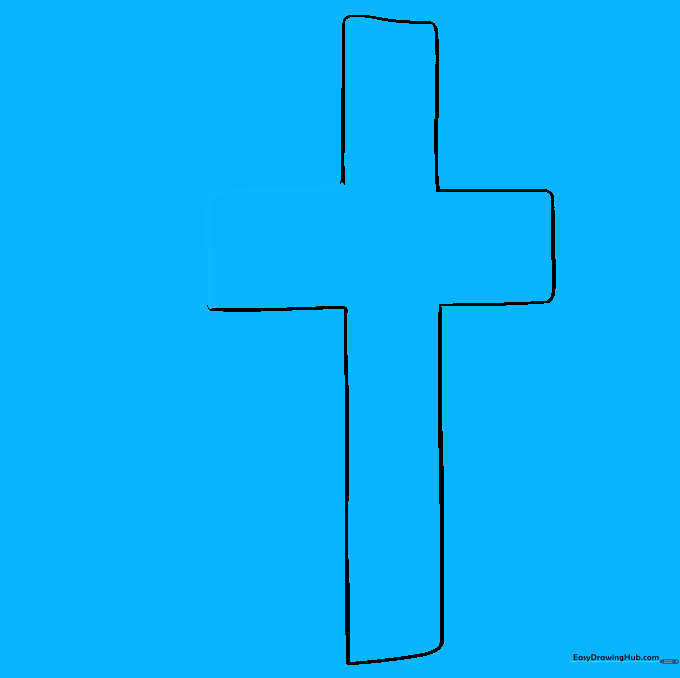
Draw a final sideways 'L' shape to connect everything. You now have the flat front face of your cross! Tip: Erase any overlapping lines inside the cross now to keep it clean.
Step 7: Adding Depth to the Top
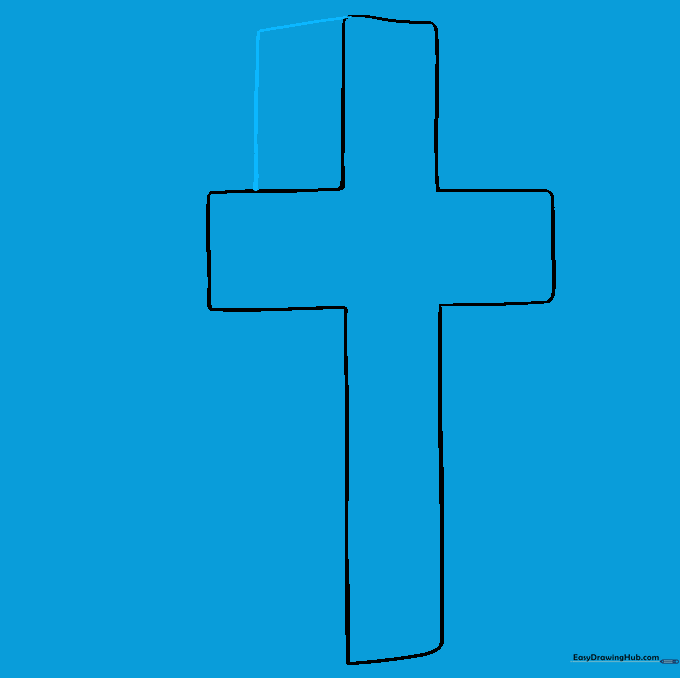
Draw an upside-down 'L' connecting the top to the left arm. This creates the 'side' of the cross. Tip: This is where the 3D magic happens—keep these connecting lines short.
Step 8: Detailing the Left Arm
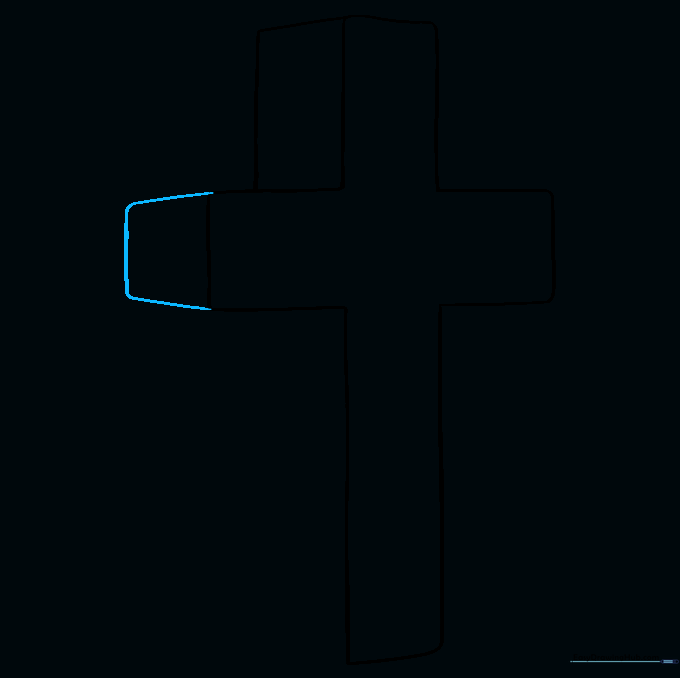
Enclose a small trapezoid at the tip of the left arm. Tip: Imagine a light source coming from the top right; this side should be in shadow.
Step 9: Completing the 3D Structure
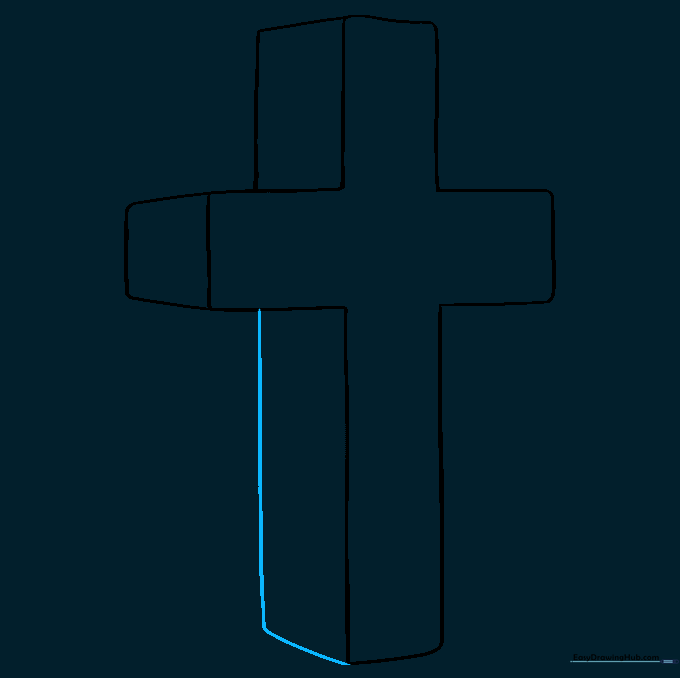
Connect the bottom of the left arm to the base of the cross with an 'L' shape. Tip: Ensure all your 'depth' lines are parallel to each other.
Step 10: Adding Color and Shadow

Color your cross. Use a darker shade for the side panels and a lighter shade for the front face. This contrast is what makes the drawing 'pop' off the page!
More Tutorials


