How to Draw 3D Stairs: Easy Optical Illusion Guide
Ready to trick the eye? This 3D stairs tutorial is perfect for artists ages 7+ looking to explore perspective. All you need is a pencil, an eraser, and a steady hand to transform a flat page into a deep, architectural staircase.
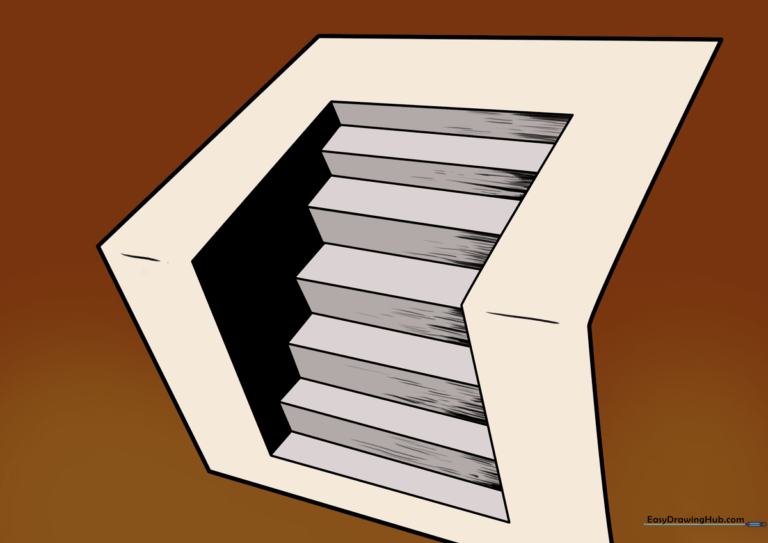
🎯 Final Result
Step-by-Step Instructions
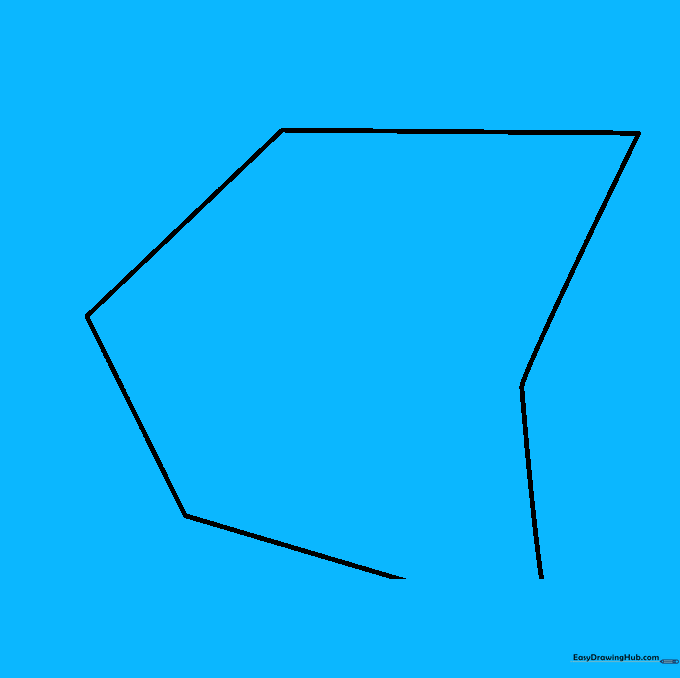
Step 1: Sketching the Outer Frame
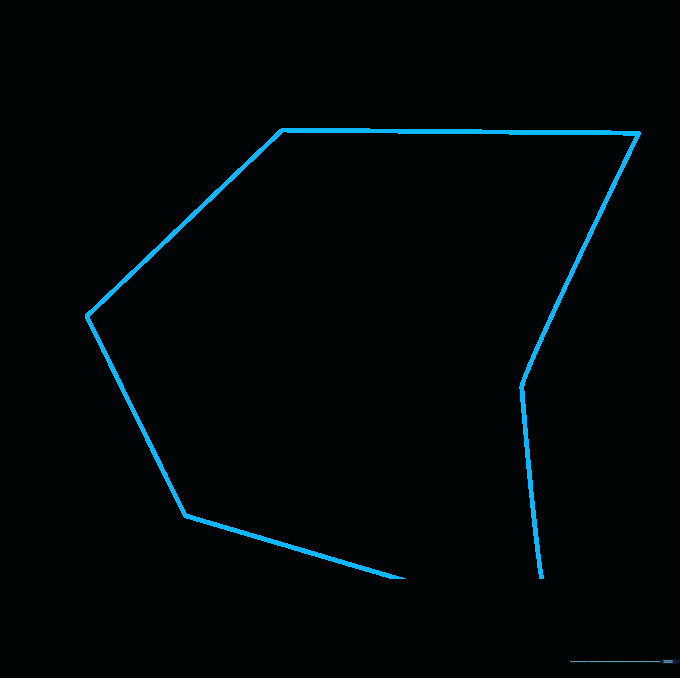
Lightly sketch the outer boundary of your staircase using six straight lines. It should look like an open, folded book. Teacher's Tip: Keep your pencil pressure very light here so you can easily adjust the angles later.
Step 2: Creating the Inner Depth
Draw a smaller, identical version of your first shape inside the original outline. This creates the 'thickness' of your stairs. Tip: Ensure the gap between the two shapes is consistent to keep the perspective accurate.
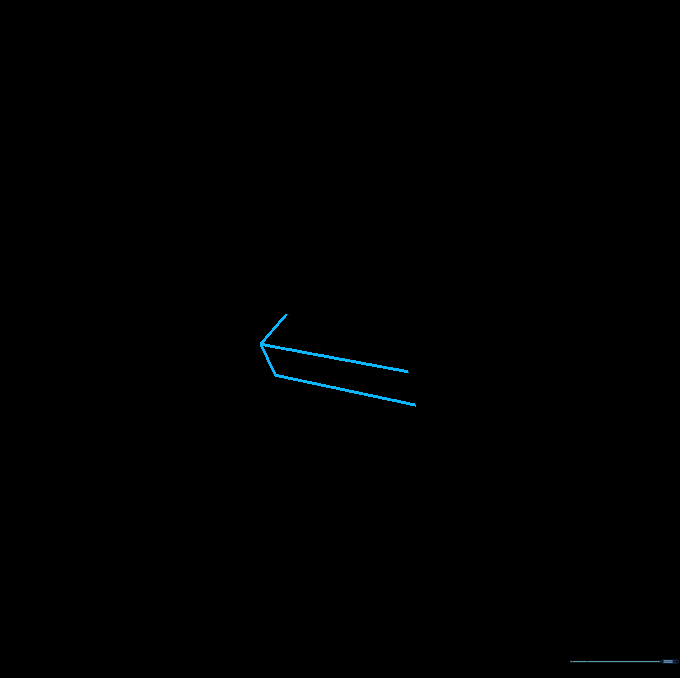
Step 3: Mapping the First Steps
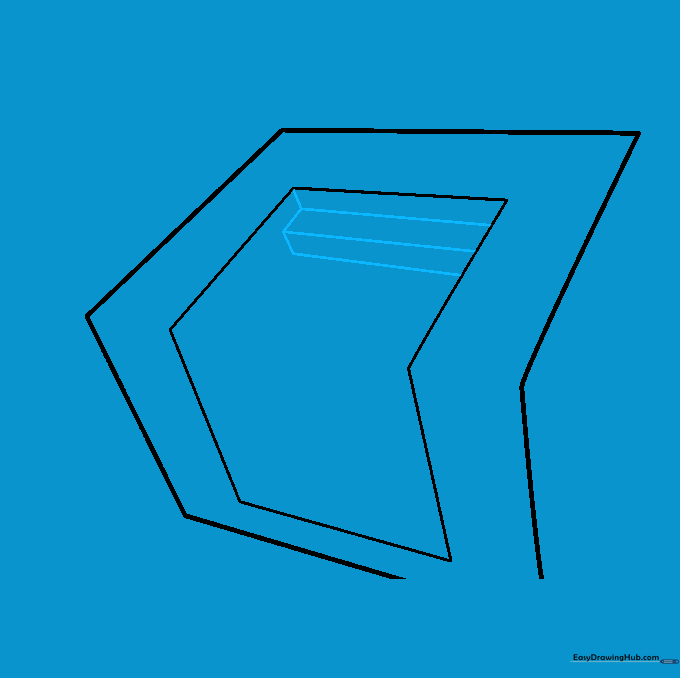
Draw parallel lines across the inner shape, then connect them with short vertical lines to form a zigzag. This is the foundation of your staircase. Tip: Use a ruler if you struggle with straight lines, but try freehand to build muscle memory!
Step 4: Extending the Zigzag

Continue adding parallel lines and connecting them with short segments to lengthen your staircase. Tip: Keep the distance between your lines uniform so the stairs look like they are truly descending.
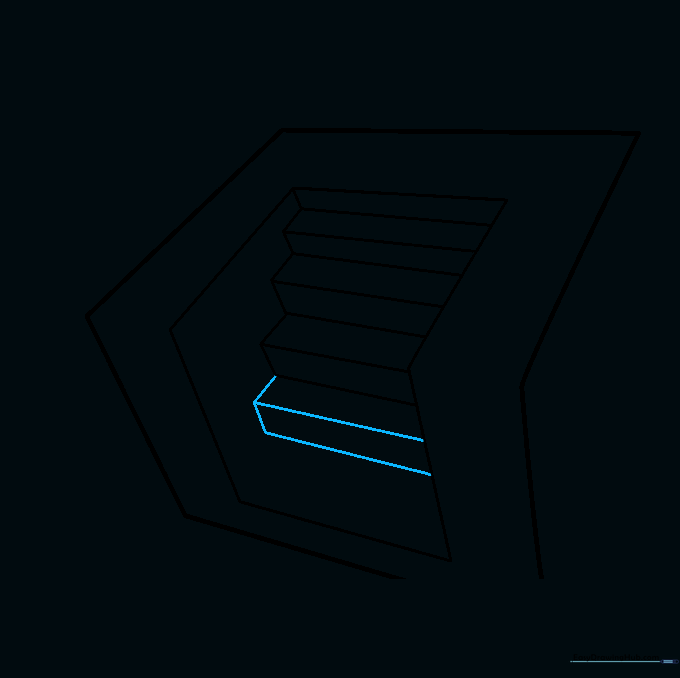
Step 5: Building the Middle Section
Add more steps by repeating the parallel line technique. Focus on keeping the lines straight and the corners sharp. Tip: If you make a mistake, don't worry—just erase and try again; that's part of the learning process!
Step 6: Adding More Depth
Continue the pattern down the length of your shape. Tip: Check that your vertical lines are perfectly vertical—this helps sell the 3D effect.
Step 7: Finalizing the Staircase Length
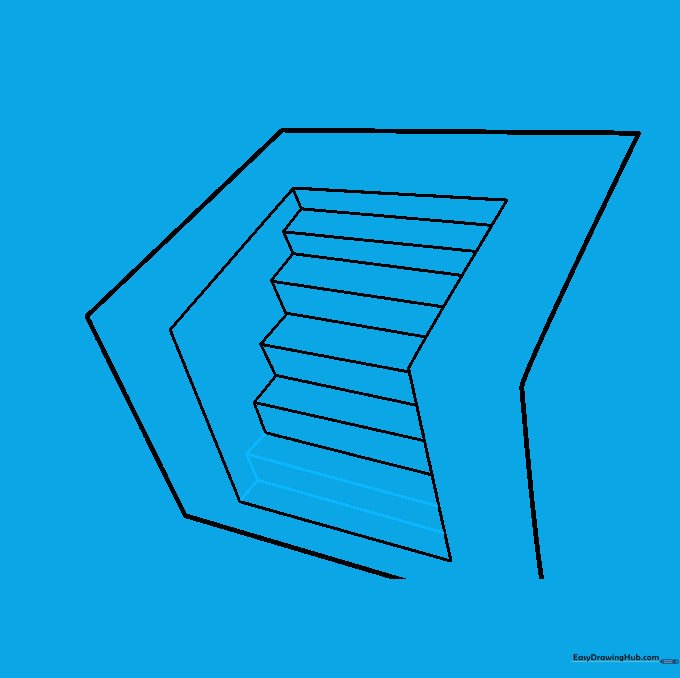
Complete the staircase by drawing the final steps until you reach the bottom of your shape. Tip: Ensure the last step connects cleanly to the bottom edge of your frame.
Step 8: Adding Shadows for Realism

Now for the magic! Shade the wall to the left of the steps. Tip: Use the side of your pencil lead for a smooth, even tone rather than the tip.
Step 9: Refining the Shadows
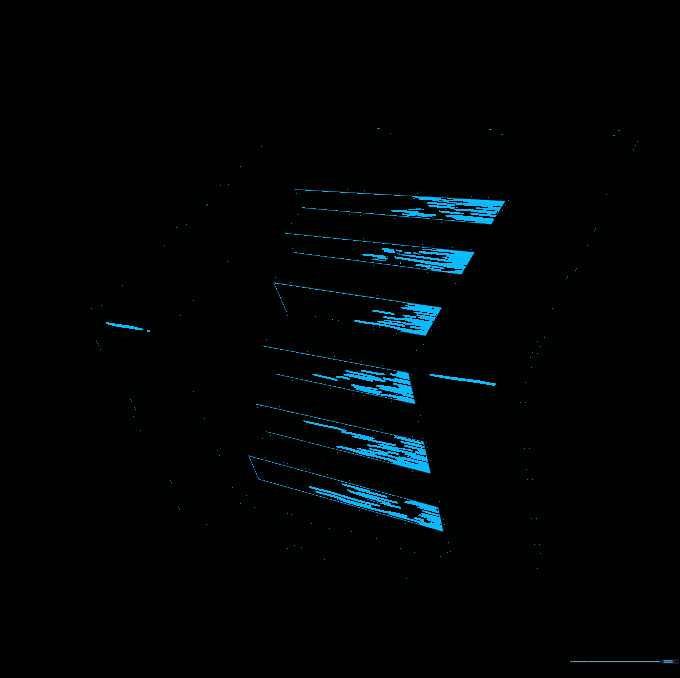
Shade the fronts of the steps and add small, narrow lines on the right side to indicate cast shadows. Tip: Darker shadows near the base of each step will make the stairs look like they are popping off the page.
Step 10: Final Polish
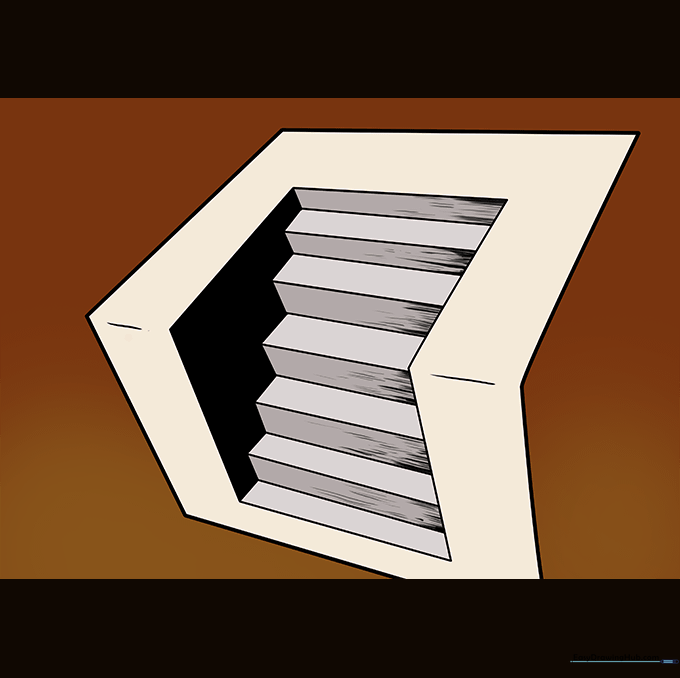
Add color or deepen your pencil shading to complete your 3D masterpiece. Tip: Try using a dark grey or black marker for the shadows to make the contrast pop!
More Tutorials


