71 Scary Halloween Coloring Pages: Fun Spooky Art for Kids
🖍️ 70 free sheets
Get ready for a spook-tacular art session with our collection of 71 printable Halloween coloring pages. Designed for ages 6 and up, these sheets help children practice color theory and steady hand control while exploring fun, eerie themes. Simply print your favorites, grab your markers or crayons, and bring these spooky characters to life.
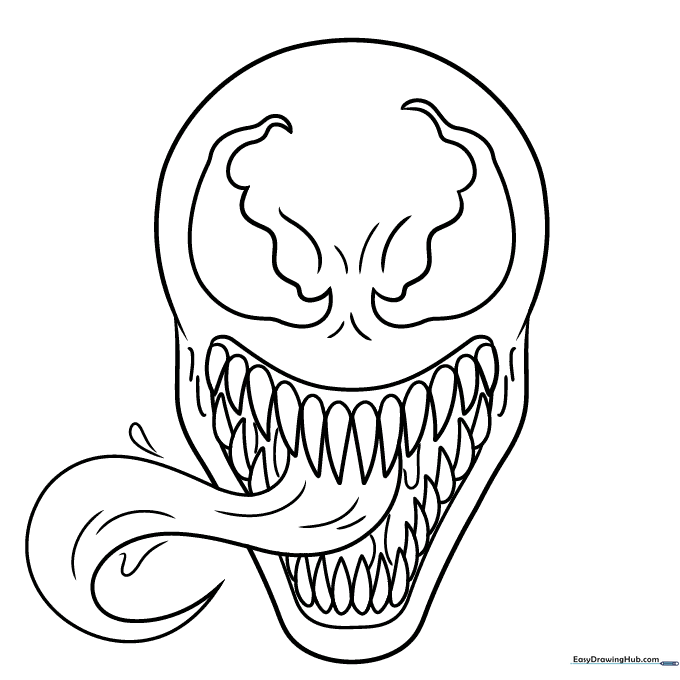
Venom Face
Focus on high-contrast coloring here. Use a deep black for the skin to make those iconic white eyes pop. Teacher's Tip: Use a light grey pencil to map out shadows before filling in the solid black areas.
Ancient Tombstone
Practice your texture work by coloring the cracks and mossy weeds. Teacher's Tip: Use a stippling technique with a dark green marker to make the moss look realistic.

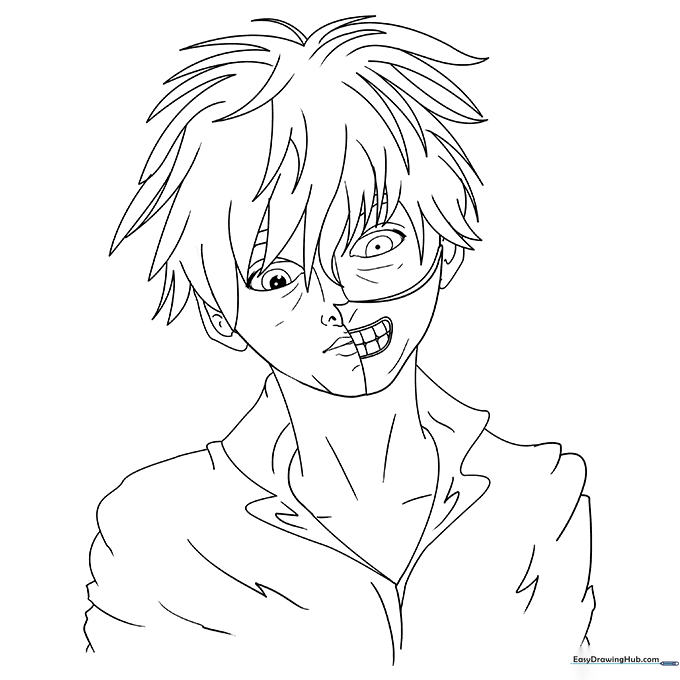
Ken Kaneki Mask
This page is a great exercise in split-face composition. Keep the human side soft and natural, while using bold, aggressive strokes for the ghoul side.
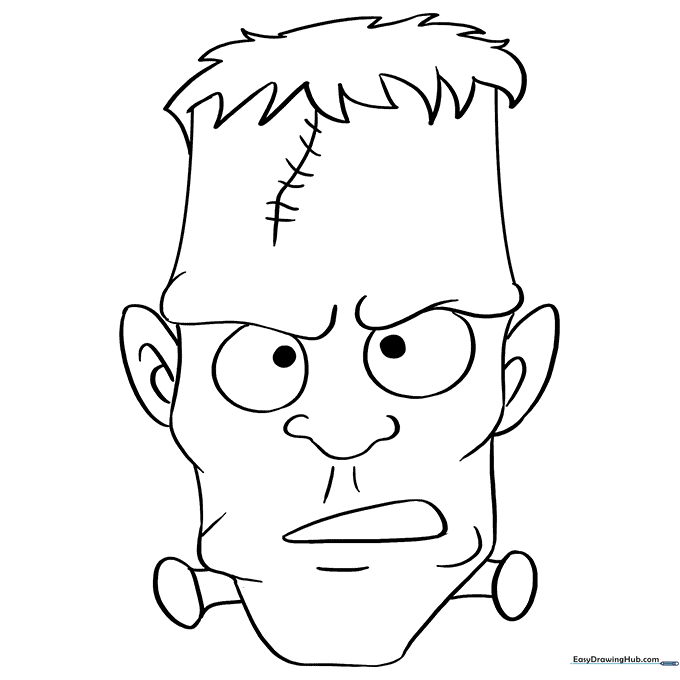
Frankenstein's Monster
Experiment with color mixing to find the perfect 'sickly' olive green. Teacher's Tip: Use a darker shade of green along the edges of the face to create a 3D rounded effect.
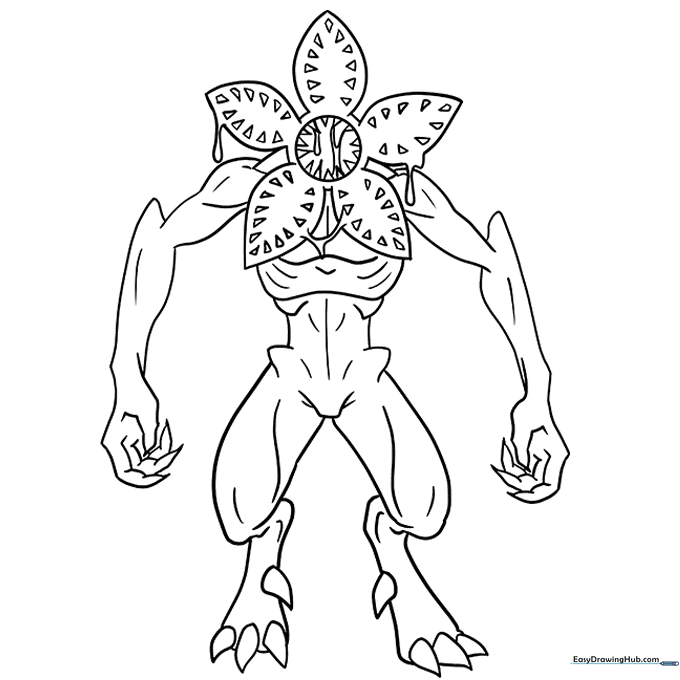
Demogorgon
This complex shape is perfect for practicing layering. Use reddish-brown for the base and bright red for the inner mouth to create depth.
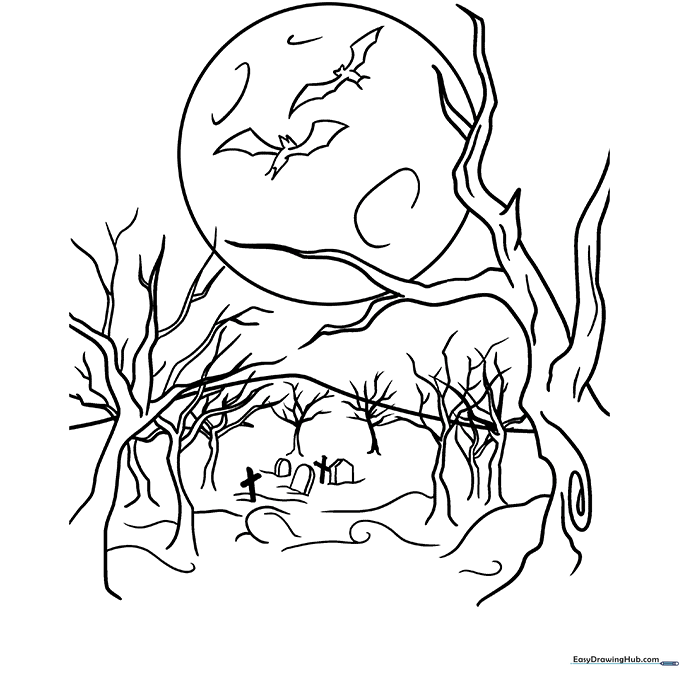
Spooky Forest
Master your gradient skills here. Start with a light yellow for the moon and blend into dark blues and blacks for the night sky.
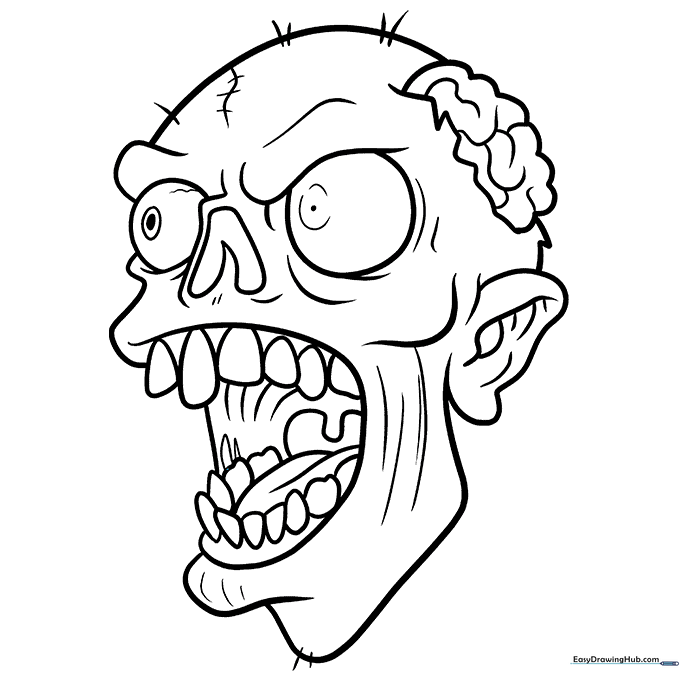
Zombie Face
Have fun with 'gross' colors! Use muted yellows and greens to give the skin a decayed look. Teacher's Tip: Use a light touch to keep the teeth looking 'off-white' rather than bright white.
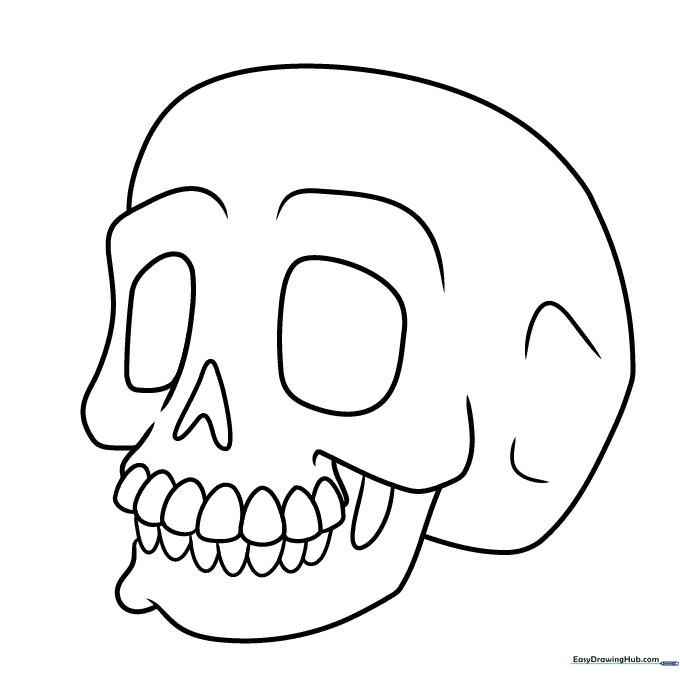
Cartoon Skull
Focus on light and shadow to give this skull volume. Even without color, you can use varying pressures of a grey pencil to create depth.
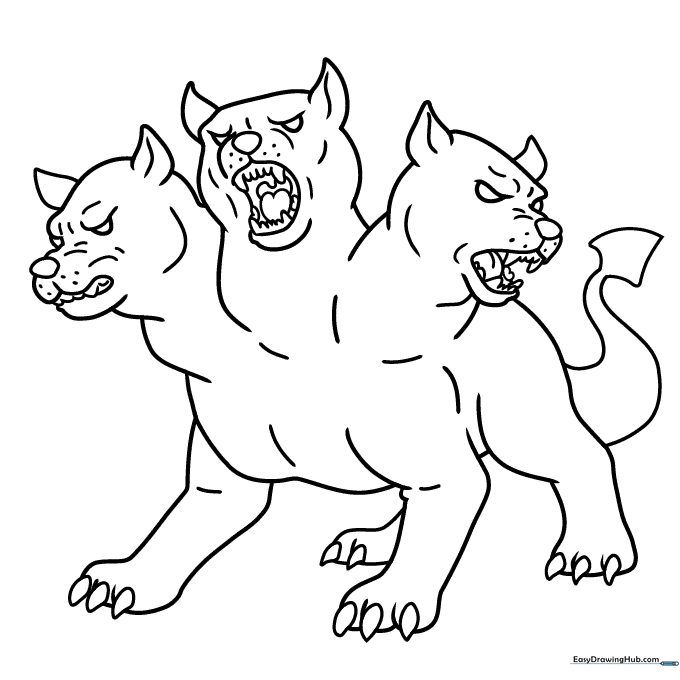
Cerberus
A three-headed challenge! Use this page to practice symmetry. Try coloring each head with slightly different fur tones to give them individual personalities.
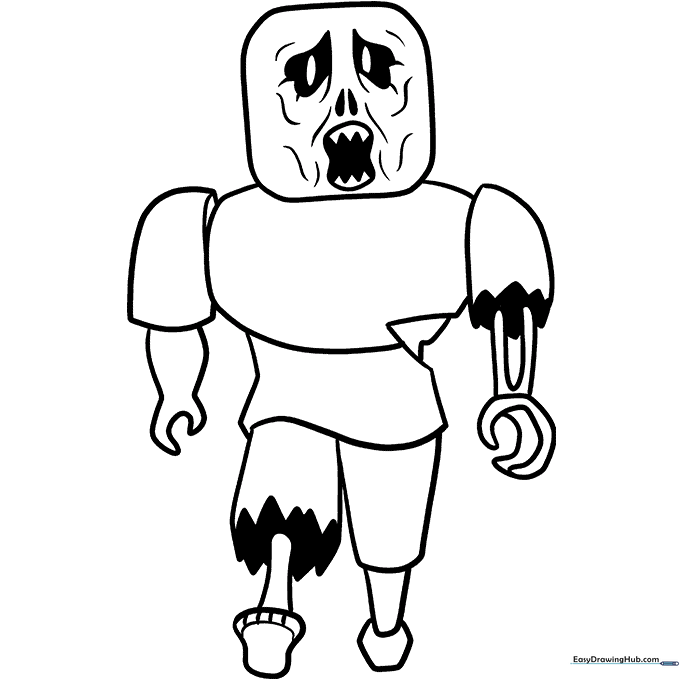
Roblox Zombie
Embrace the blocky, vibrant aesthetic of Roblox. Use bold, saturated greens and tans. Teacher's Tip: Use a ruler to keep your coloring lines straight and clean.
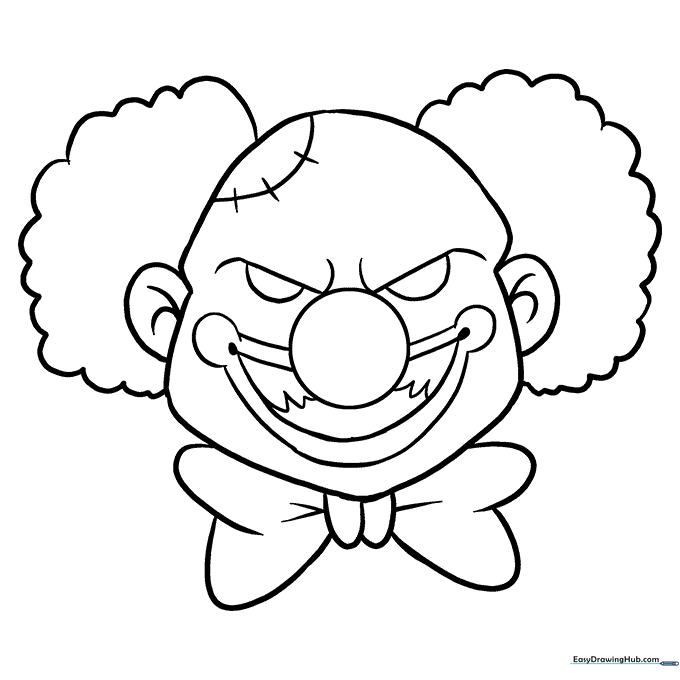
Scary Clown
Focus on the details—the stitches and the expression. Use cool tones like green and purple to create an unsettling, eerie vibe.
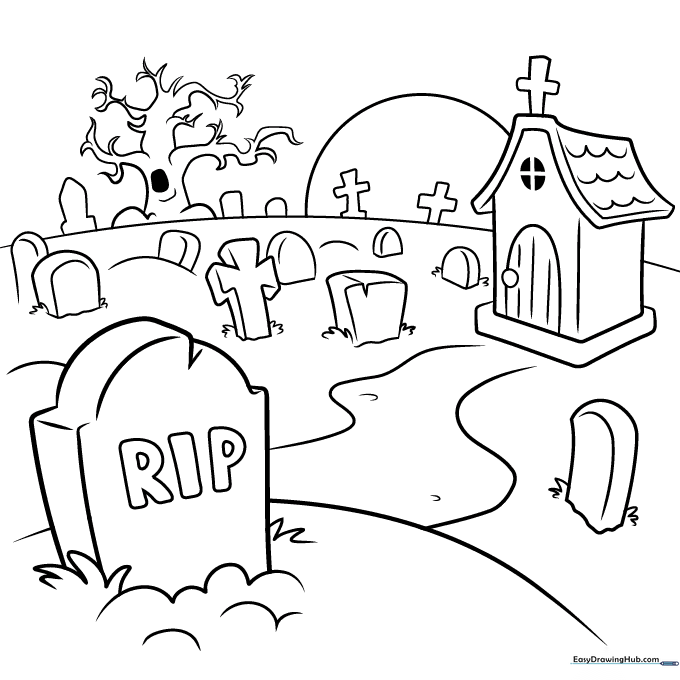
Graveyard Scene
This is a great landscape study. Use a variety of earthy tones for the ground and cool blues for the night sky. Keep the moon bright to create a focal point.
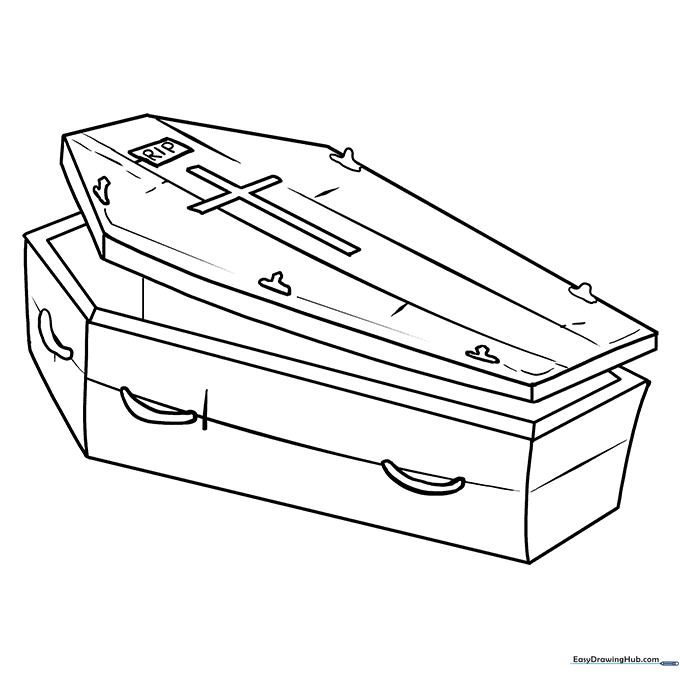
Wooden Coffin
Practice wood grain textures. Use short, overlapping strokes with brown and tan pencils to mimic the look of aged wood planks.
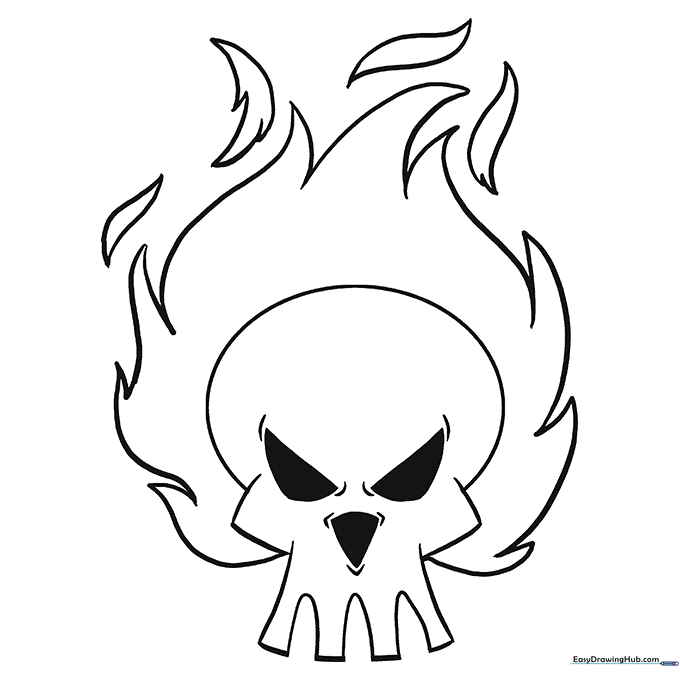
Flaming Skull
Use a 'heat map' approach: bright yellow at the center of the flames, transitioning to orange and then deep red at the outer edges.
Cartoon Skeleton
Keep it clean and fun! Use a light grey to shade the curves of the bones, which helps them look rounded rather than flat.
Monster Face
Monsters are the perfect excuse for creative color choices. Try using complementary colors like purple and yellow to make the monster stand out.
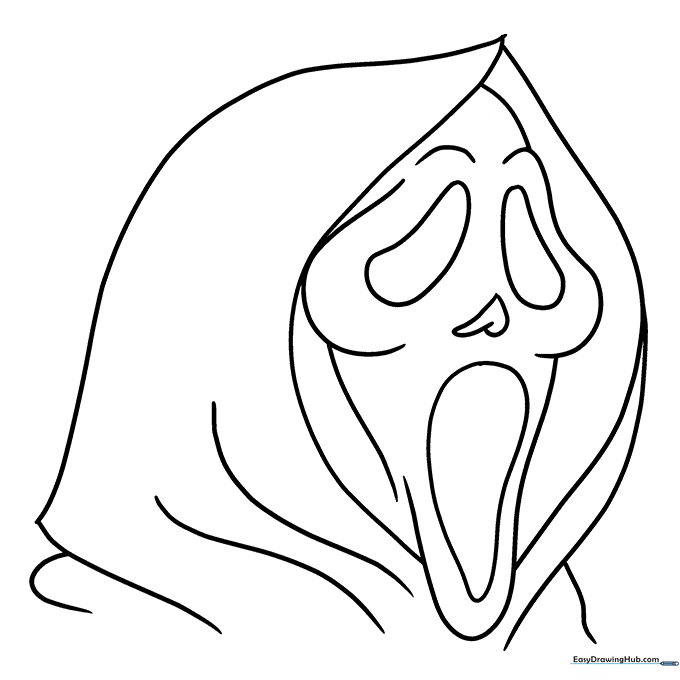
Scream Mask
Focus on the drape of the fabric. Use dark shadows in the folds of the hood to make the mask look like it's emerging from the darkness.
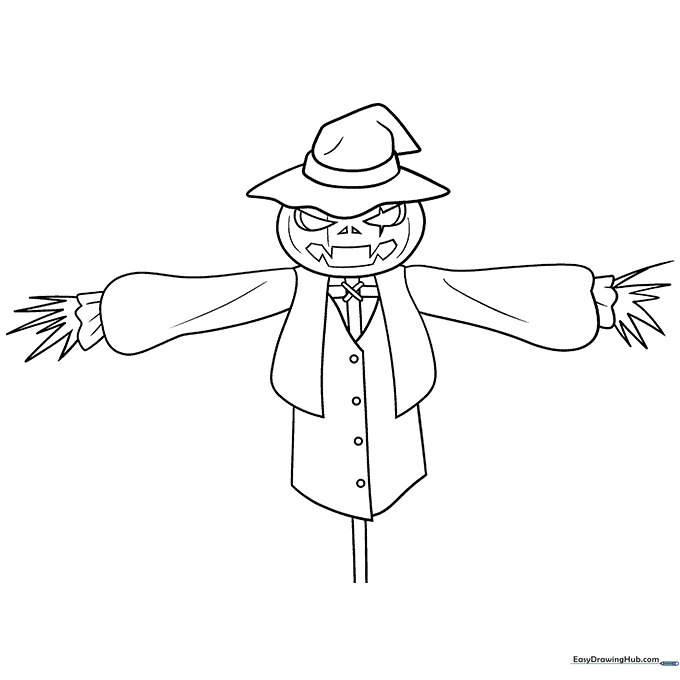
Scary Scarecrow
Use a variety of textures for the straw and fabric. Teacher's Tip: Use short, flicking strokes to mimic the look of dry straw poking out from the sleeves.
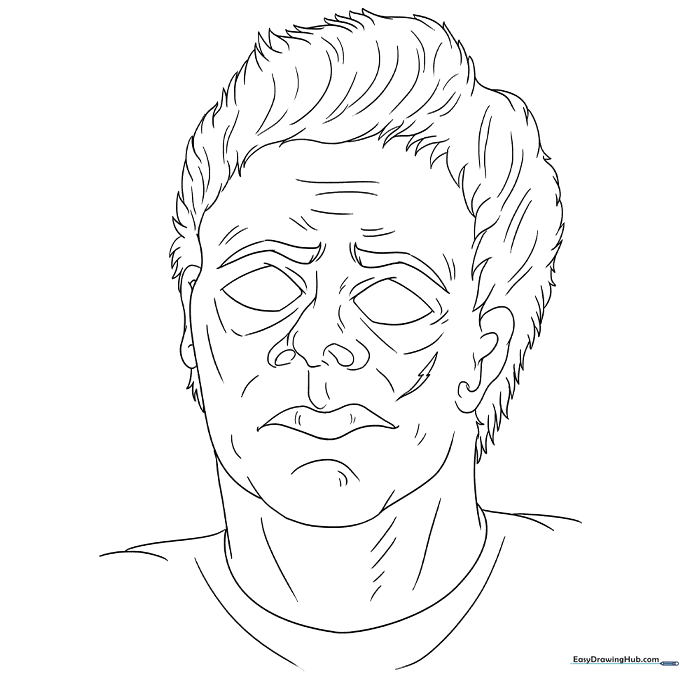
Michael Myers Mask
The key here is the 'blank' expression. Use a very pale tan or off-white for the mask, and focus on adding subtle shadows around the eyes to make it look realistic.
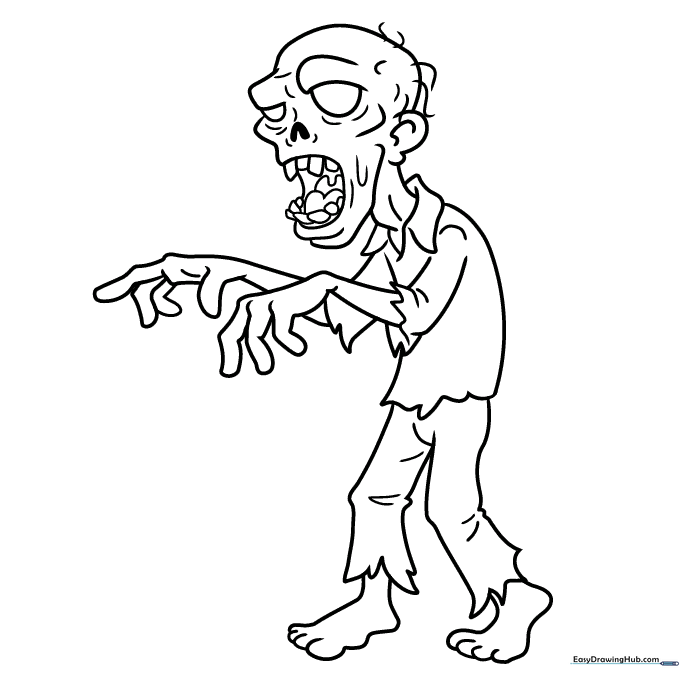
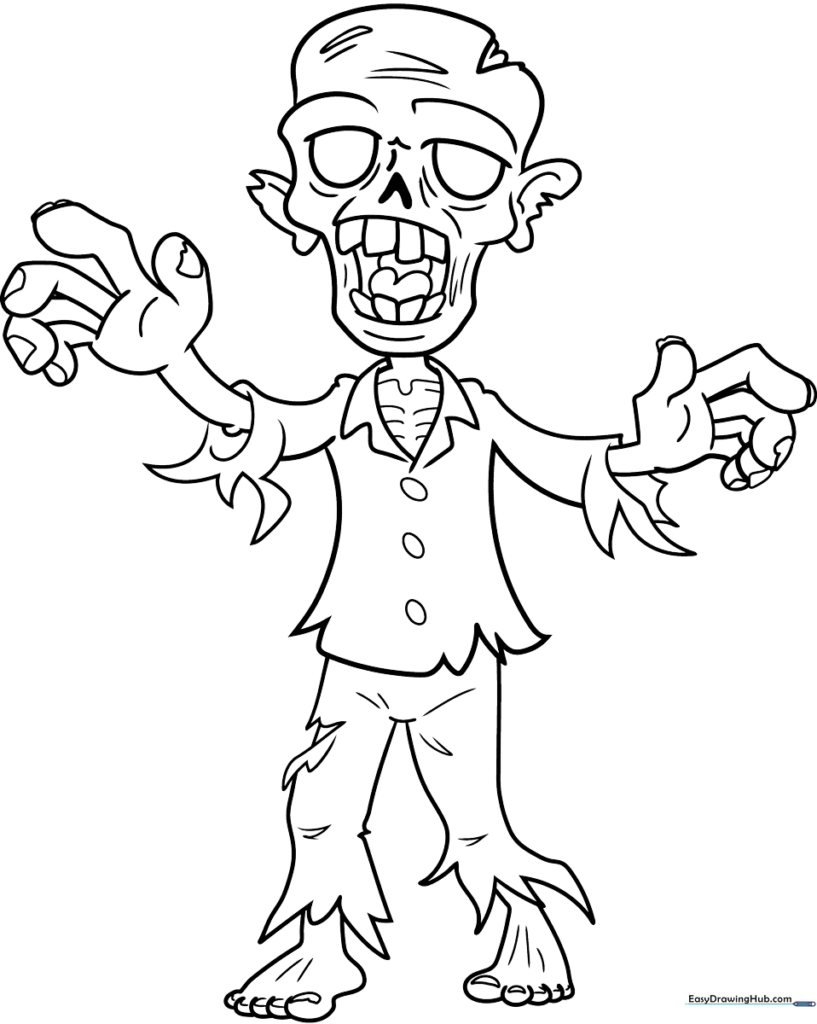
Friendly Zombie
This is a great page for younger artists. Focus on identifying the basic shapes—rectangles and ovals—that make up the character's body.

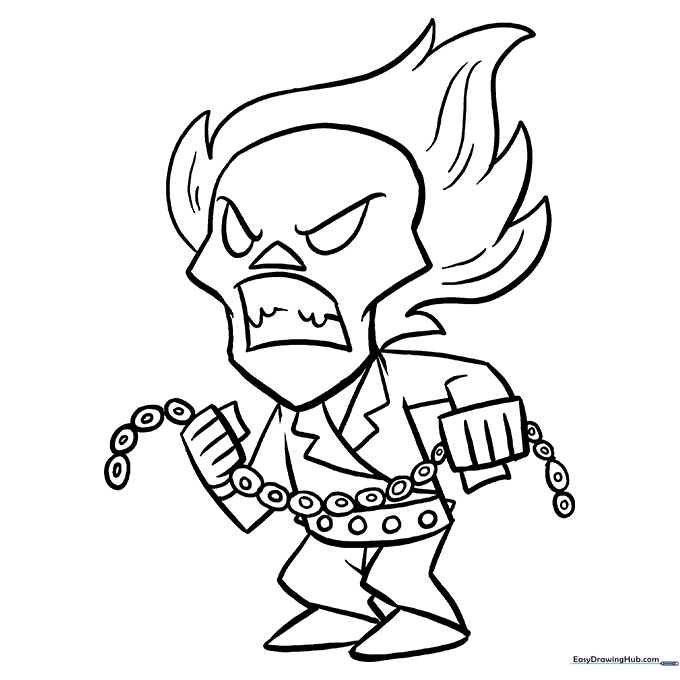
Ghost Rider
Focus on the contrast between the dark leather jacket and the blazing skull. Use your brightest yellows and oranges to make the flames look like they are glowing.
Mummy
Practice shading the bandages. Use a light grey or tan to add shadows between the wraps, which will give the mummy a sense of depth and form.

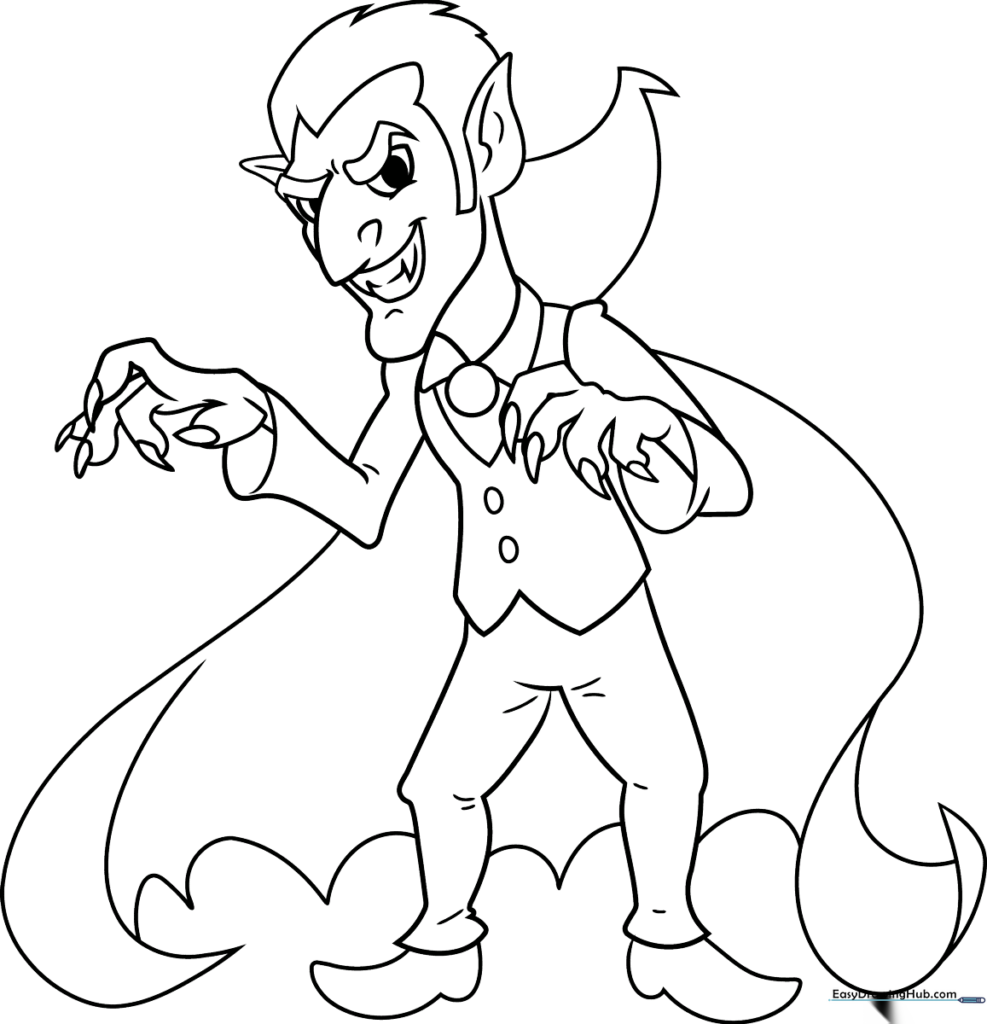
Vampire
Use high contrast to emphasize the classic vampire look. Pale skin against dark, dramatic clothing creates a striking visual effect.
Creepy Zombie
Don't be afraid to get messy with your color choices! Use a mix of sickly greens, purples, and browns to make this zombie look truly 'undead'.
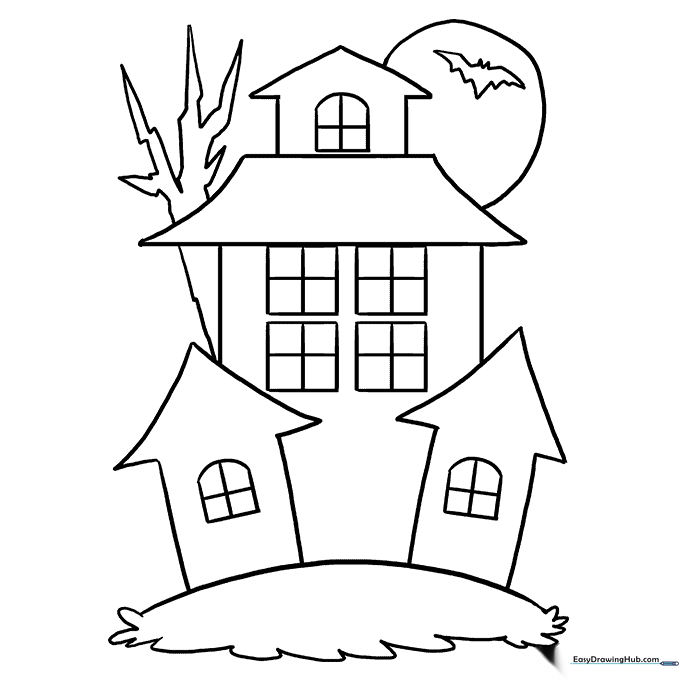
Haunted House
Create a spooky atmosphere by using dark, moody colors for the house and a bright, glowing yellow for the windows. Teacher's Tip: Use a black marker to outline the house for a sharp, graphic look.
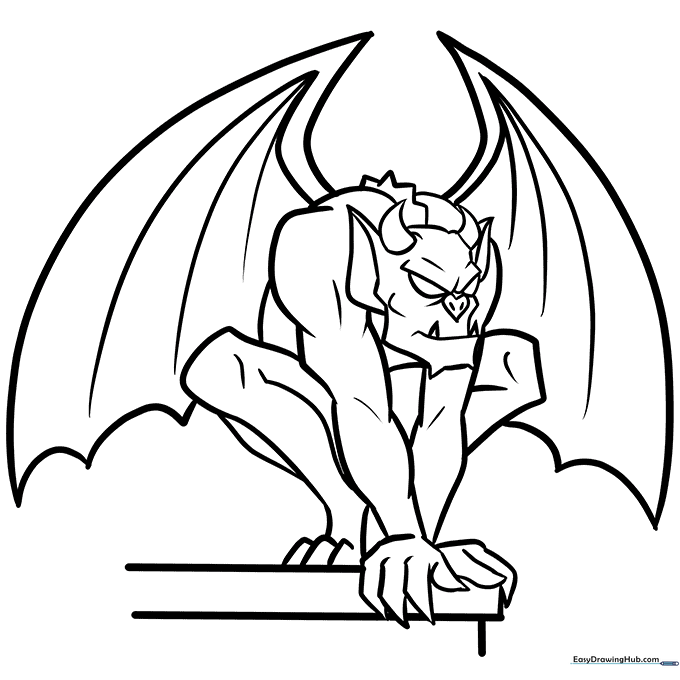
Gargoyle
Gargoyles are architectural protectors. Tip: Use a bright yellow for the eyes to make them pop against the cool, stony grey of the body, giving your creature a watchful, living gaze.
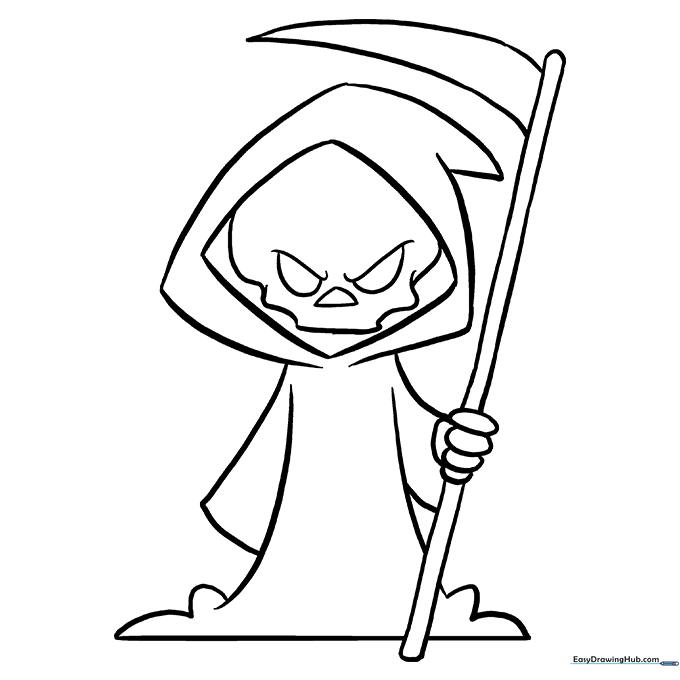
The Grim Reaper
The Reaper’s cloak is a great canvas for practicing dark gradients. Tip: Instead of just black, try layering deep blues and purples to create depth in the folds of the fabric.
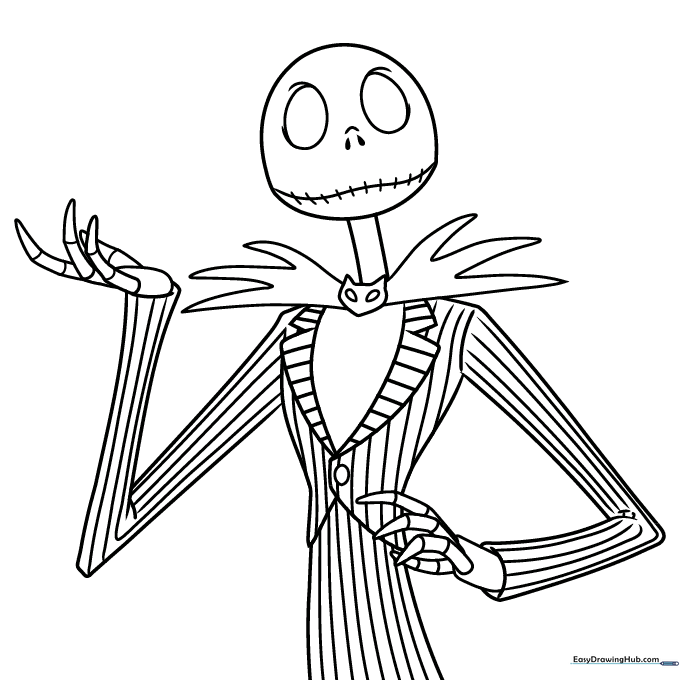
Jack Skellington Face
Focus on high-contrast coloring here. Tip: Keep the face a stark, clean white, and use a soft grey pencil to add subtle shadows around the eye sockets for a 3D effect.

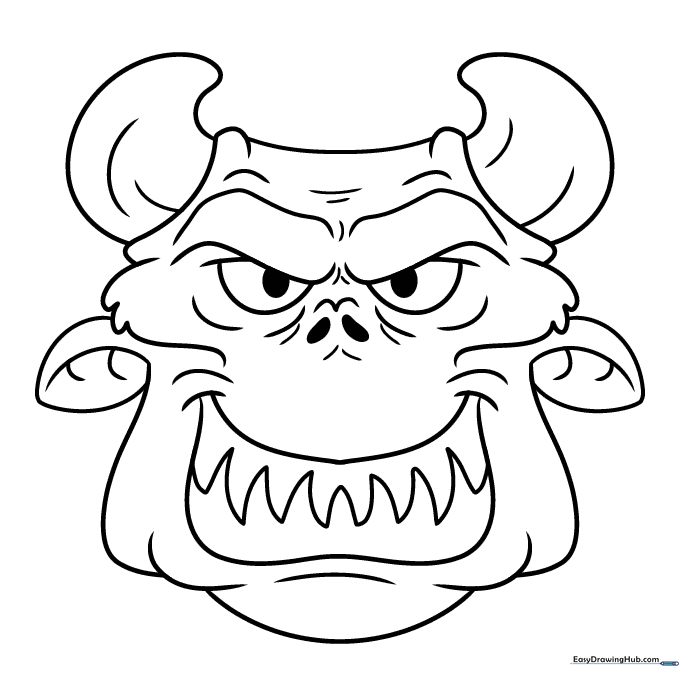
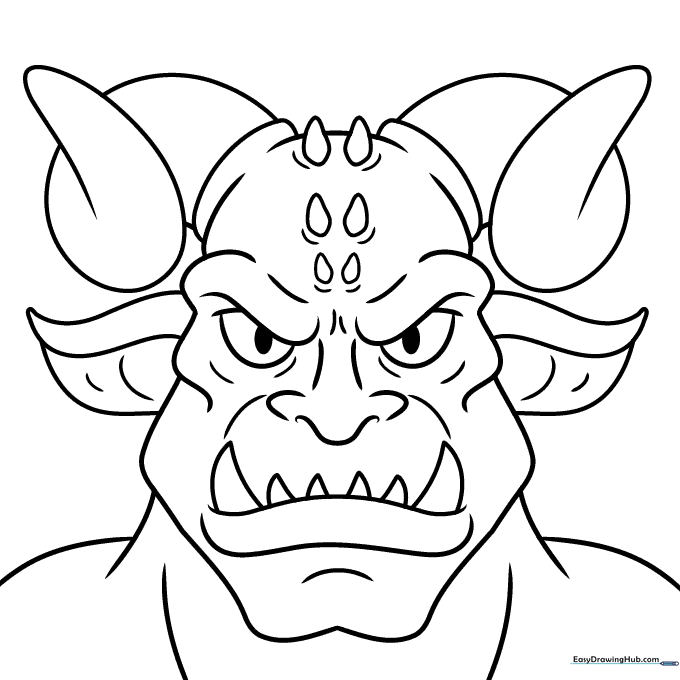
Demon Face
Demons are perfect for experimenting with warm, fiery colors. Tip: Use a mix of orange, red, and yellow to create a 'glowing' effect around the horns and eyes.
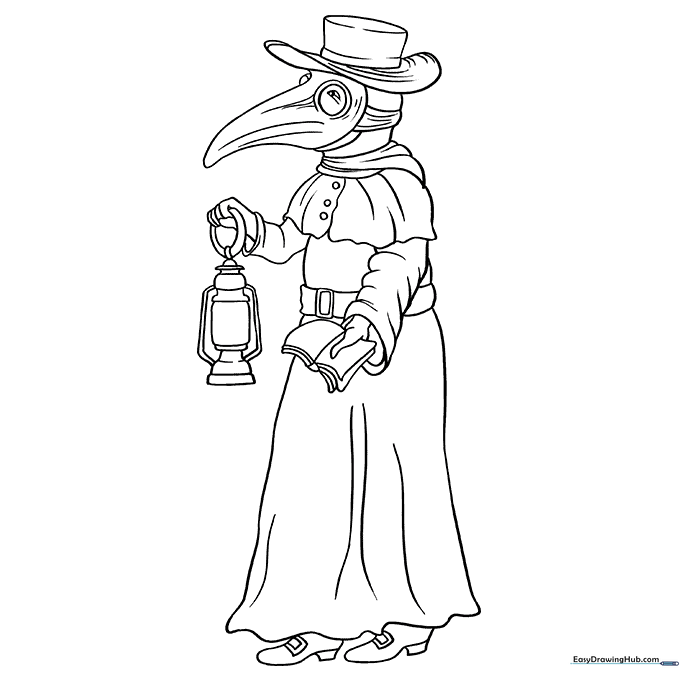
Plague Doctor
This historical figure is all about mood. Tip: Use muted browns, leathers, and blacks to capture the vintage, mysterious aesthetic of the classic plague mask.
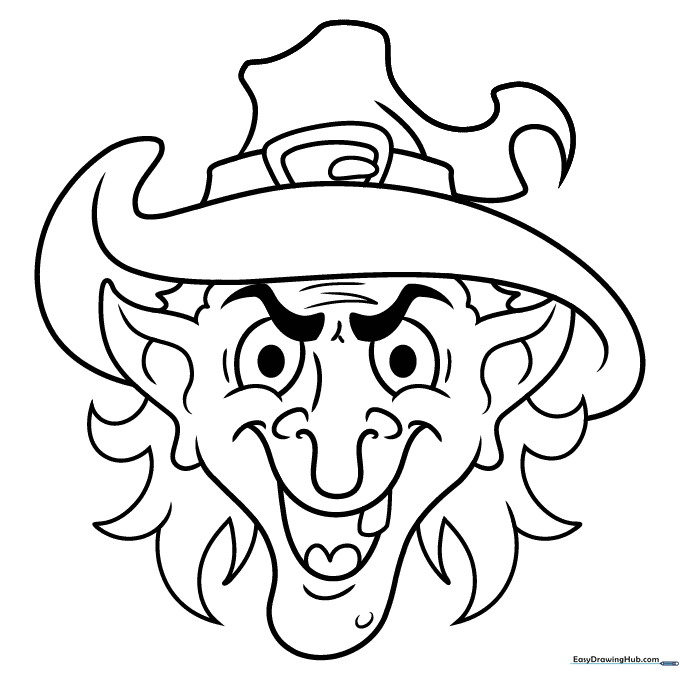
Witch Face
A classic Halloween staple! Tip: Use a light green for the skin and a contrasting bright color for the wart or tooth to make the character look more whimsical and fun.
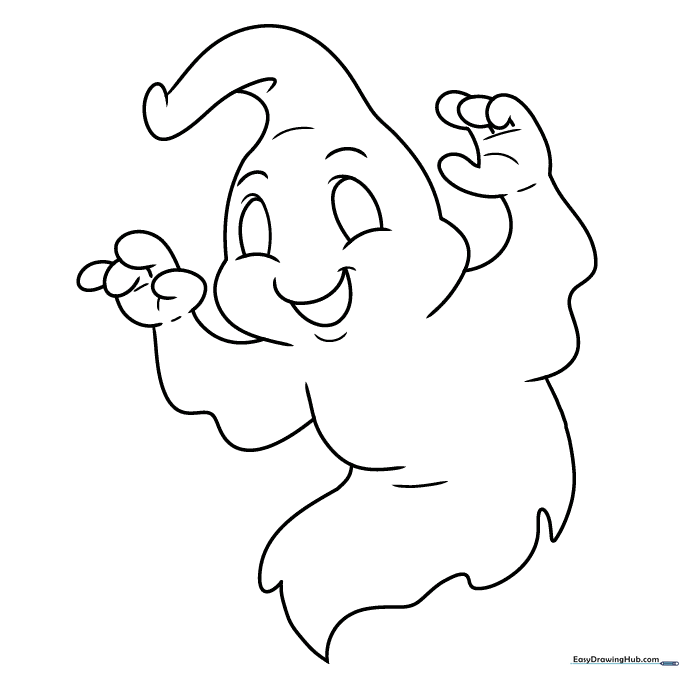
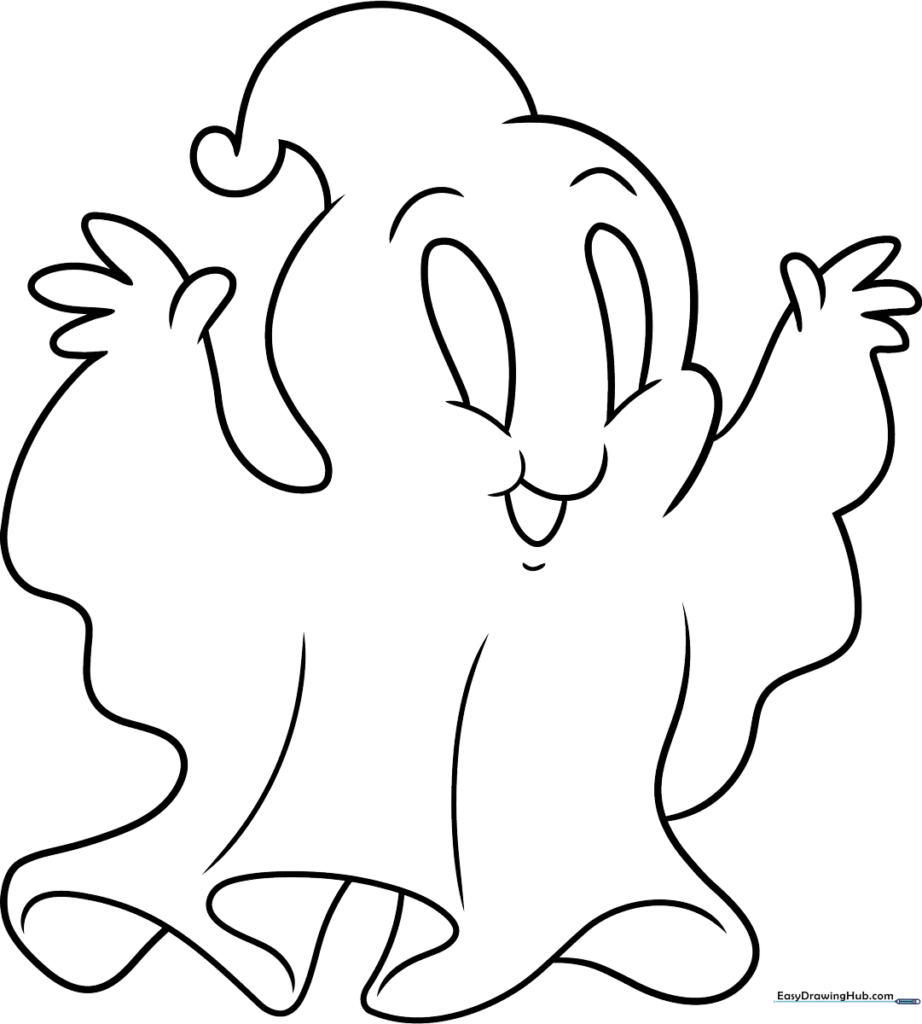
Ghost
Ghosts are perfect for learning about negative space. Tip: Leave the center of the ghost white, and use a light blue or grey to shade the edges to give it a floating, transparent look.
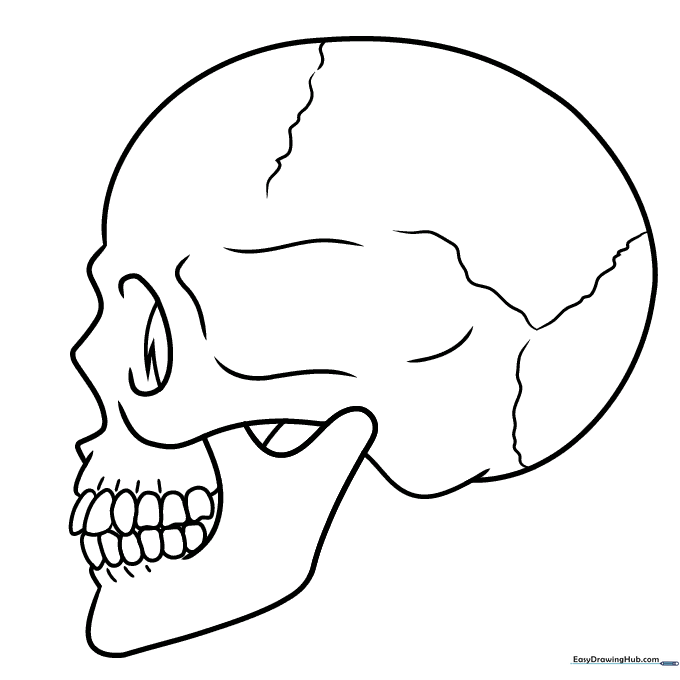
Skull in Profile
This is a great anatomy study. Tip: Use a cream or off-white color for the bone, and use a darker brown in the crevices to show the natural contours of the skull.
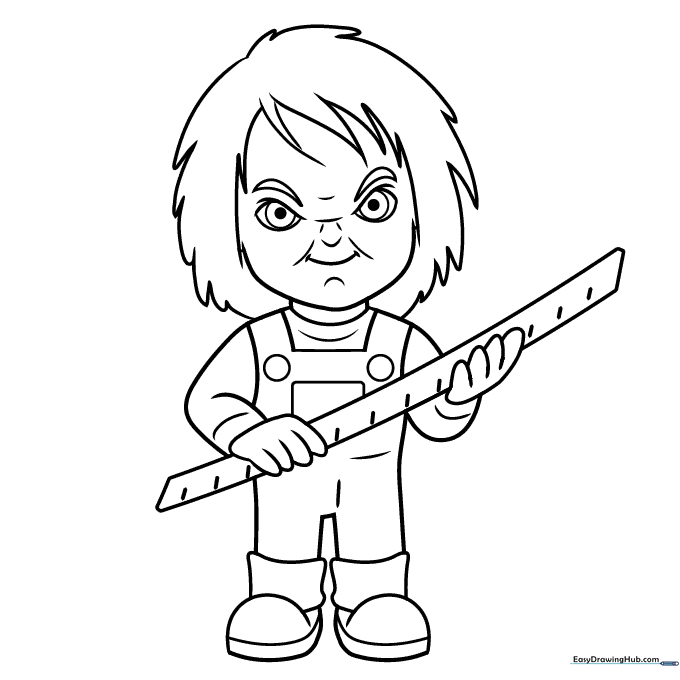
Chucky
Chucky’s outfit is iconic. Tip: Use bright, primary colors for his overalls and striped shirt to contrast with his mischievous, eerie expression.
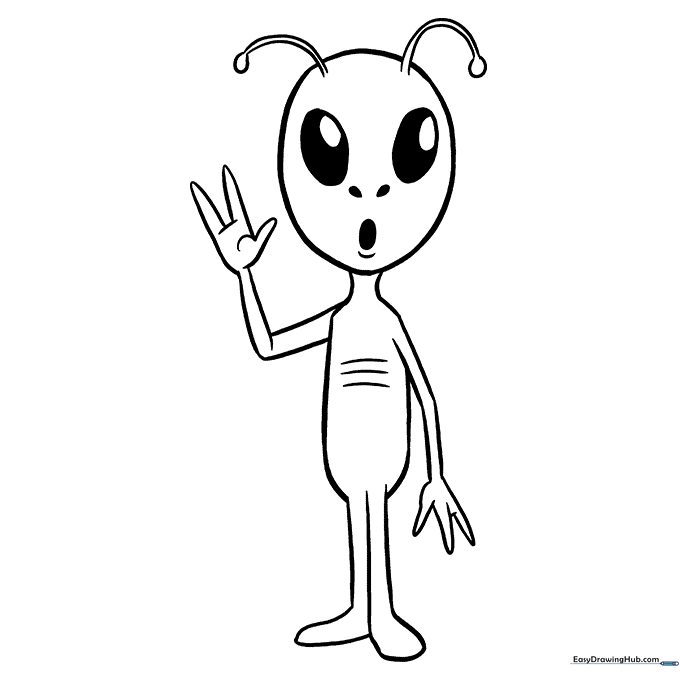
Alien
Aliens are perfect for creative color choices. Tip: Don't stick to green! Try using neon purples or blues to make your alien look like it's from another galaxy.
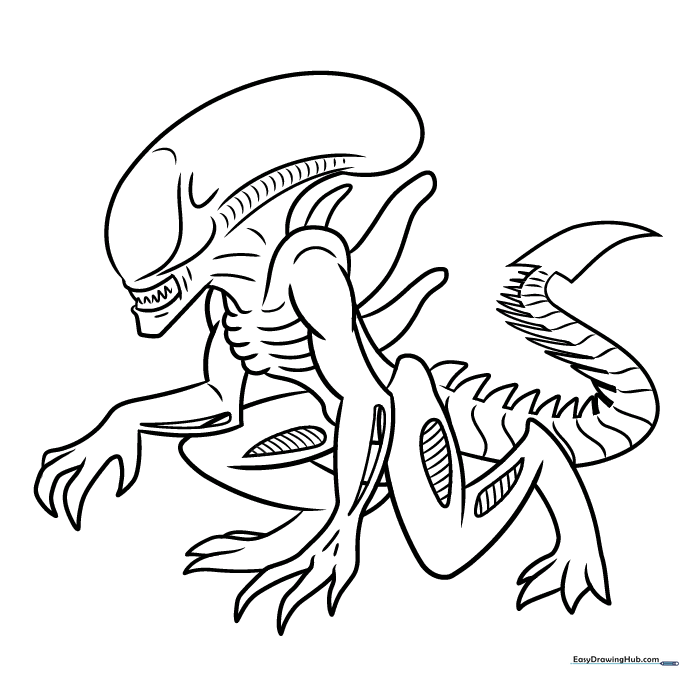
Xenomorph Alien
This is a great challenge for detail-oriented artists. Tip: Use a metallic silver or dark grey to capture the sleek, exoskeleton look of the creature.
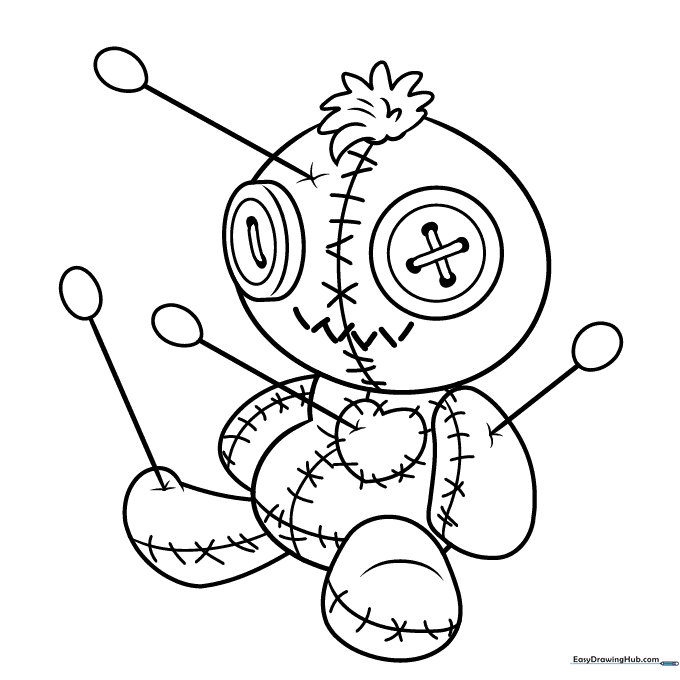
Voodoo Doll
Voodoo dolls are all about texture. Tip: Use different colors for the 'patches' on the doll to make it look like it was stitched together from scrap fabric.
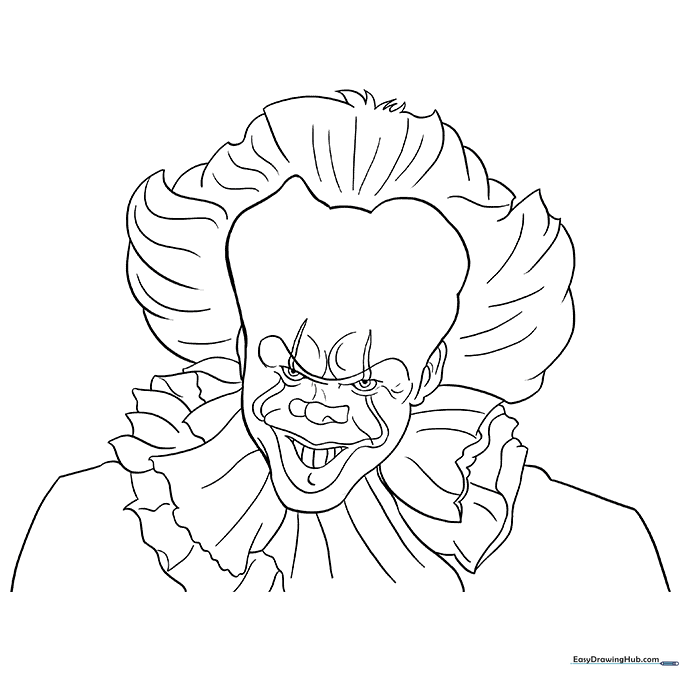
Pennywise
Pennywise is a masterclass in character design. Tip: Focus on the contrast between the pale face and the bright red makeup details to capture his unsettling look.
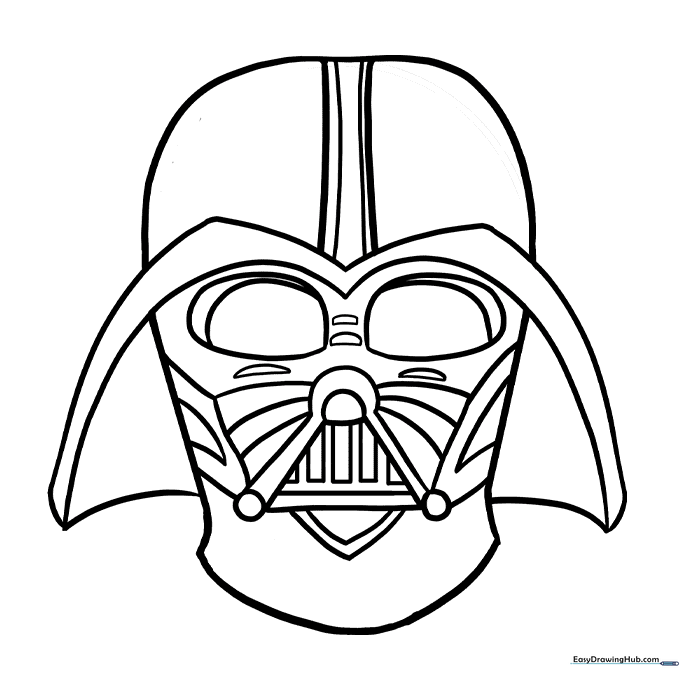
Darth Vader
Vader is defined by his silhouette. Tip: Use a very dark black for the helmet, but add a thin line of blue or white to show the 'shine' on his armor.
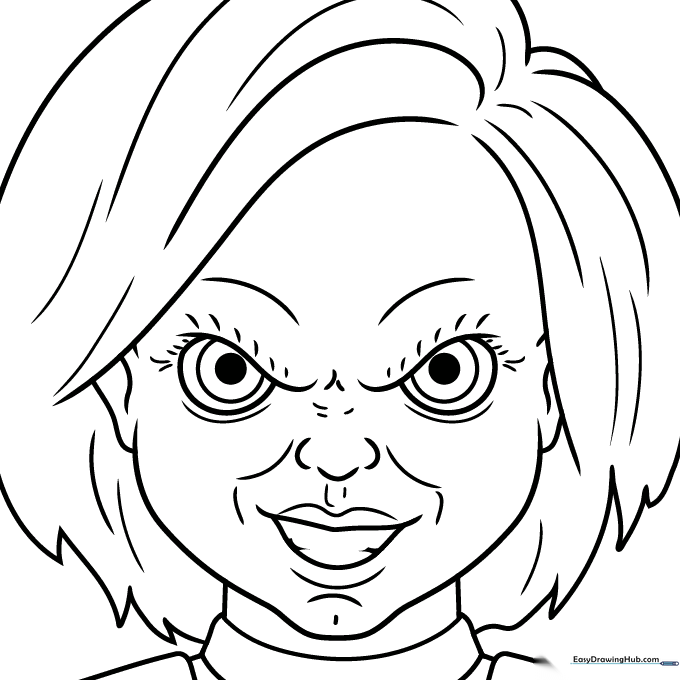
Chucky's Face
Focus on the expression. Tip: Use a light peach for the skin and a deep red for the scars to make the face look more realistic and menacing.
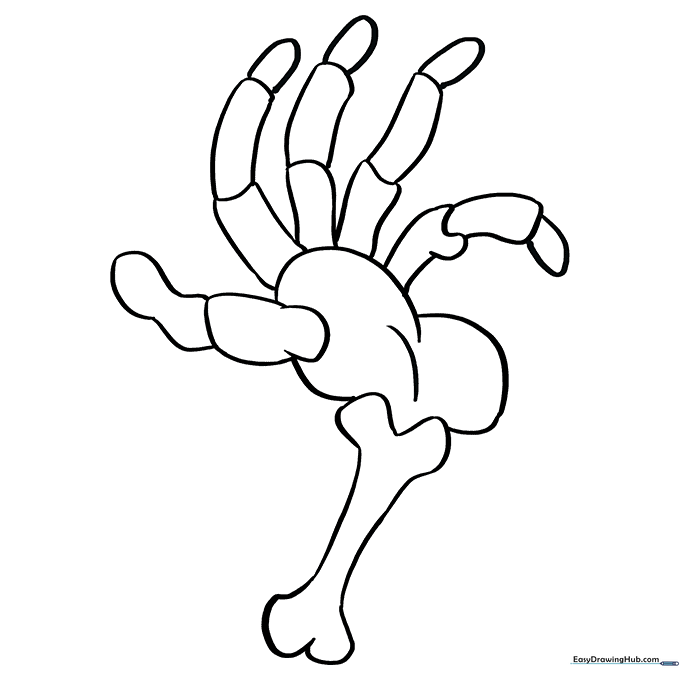
Skeleton Hand
Great for understanding bone structure. Tip: Use a light grey for the bones and a dark background to make the hand stand out.
Demon
Demons are fun to color. Tip: Try using a gradient of dark red to black on the wings to give them a leathery, textured look.
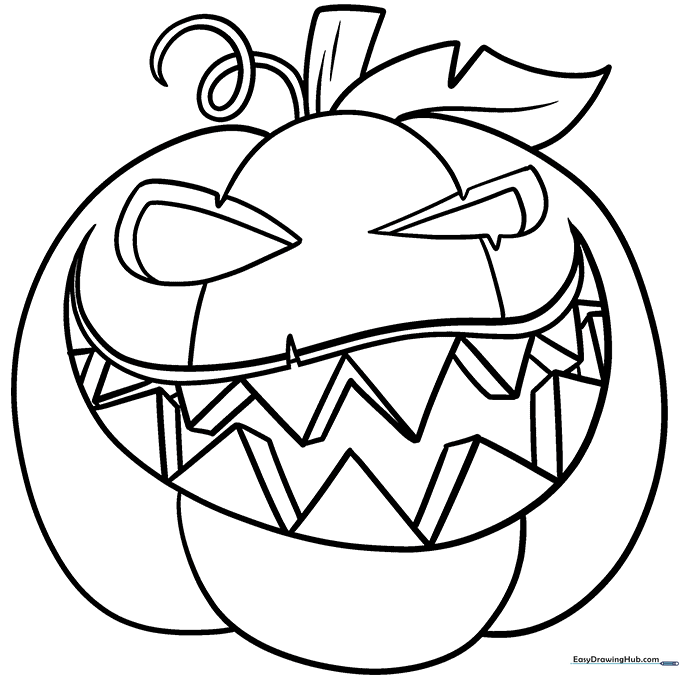
Jack O'Lantern
Create a glowing effect! Tip: Color the inside of the eyes and mouth with bright yellow, then blend orange around the edges to make it look like a candle is burning inside.
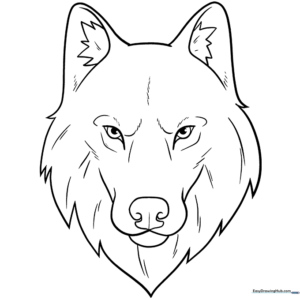
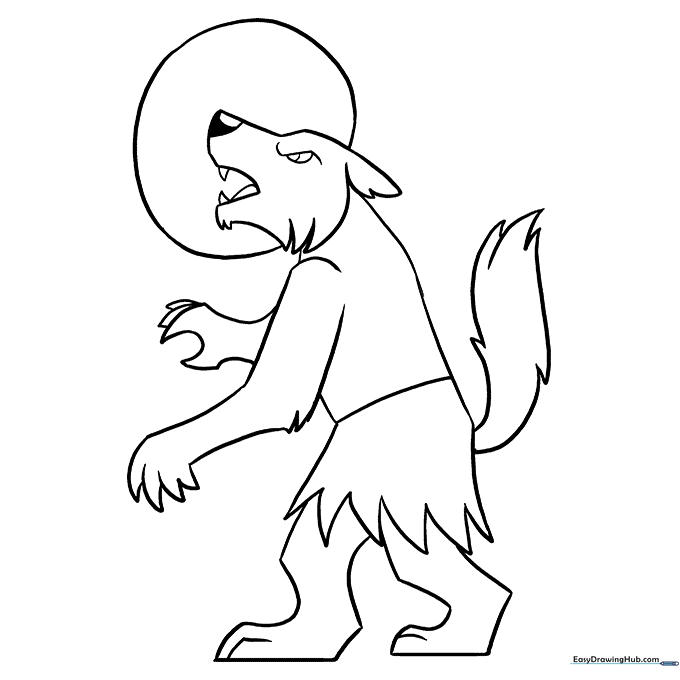
Werewolf
Focus on the fur texture. Tip: Use short, quick pencil strokes to mimic the look of fur, and use a mix of browns and greys for a realistic coat.
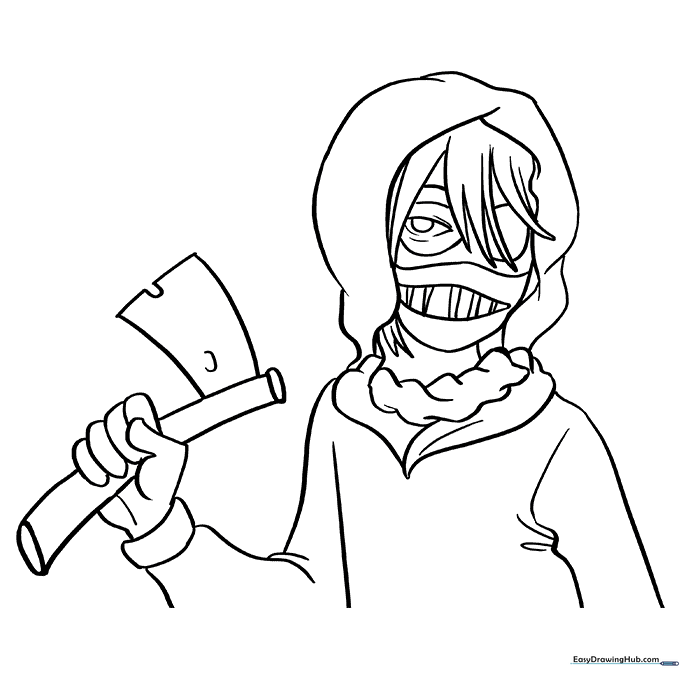
Ticci Toby
This character has a distinct style. Tip: Use a dark, muted palette for the clothing to emphasize the mysterious, urban legend vibe of the character.
Freddy Krueger
Freddy is all about the details. Tip: Use vibrant red and green for his sweater to make him stand out, and use silver for his iconic clawed glove.

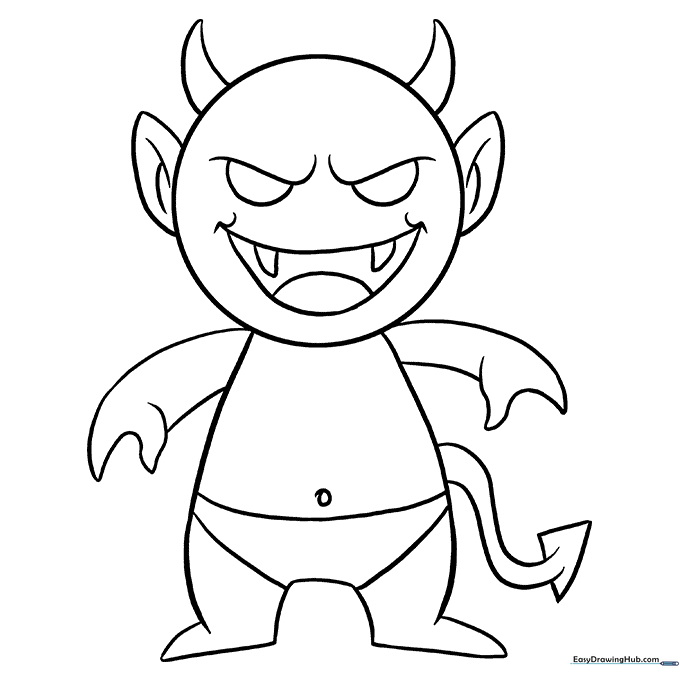
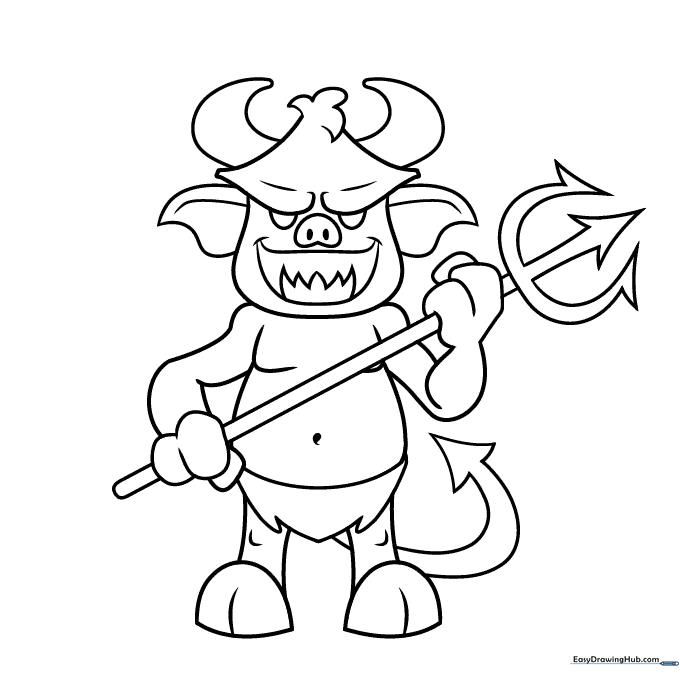
Cartoon Devil
Keep it fun! Tip: Use a bright, saturated red for the body, and try shading the horns with a darker maroon to give them a sense of weight.
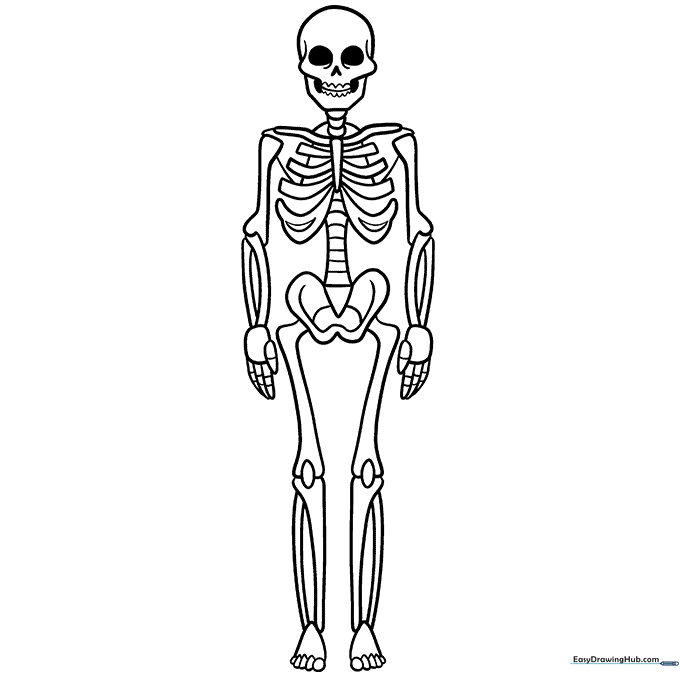
Skeleton
Skeletons are great for practicing anatomy. Tip: Use a light wash of grey or beige to fill in the bones, and leave small white highlights to show where the light hits.

Jack Skellington
The pinstripes are key! Tip: Use a fine-tipped black marker to carefully color the stripes on his suit, keeping the bones a clean, bright white.
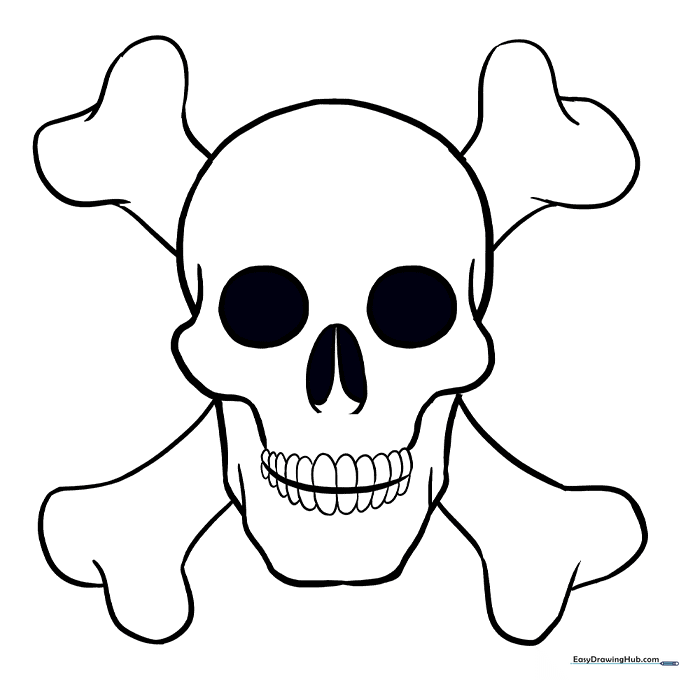
Skull and Crossbones
A classic symbol! Tip: Use a stark black-and-white contrast to make the skull look like a real pirate flag. You can add a 'weathered' look by lightly shading the edges.
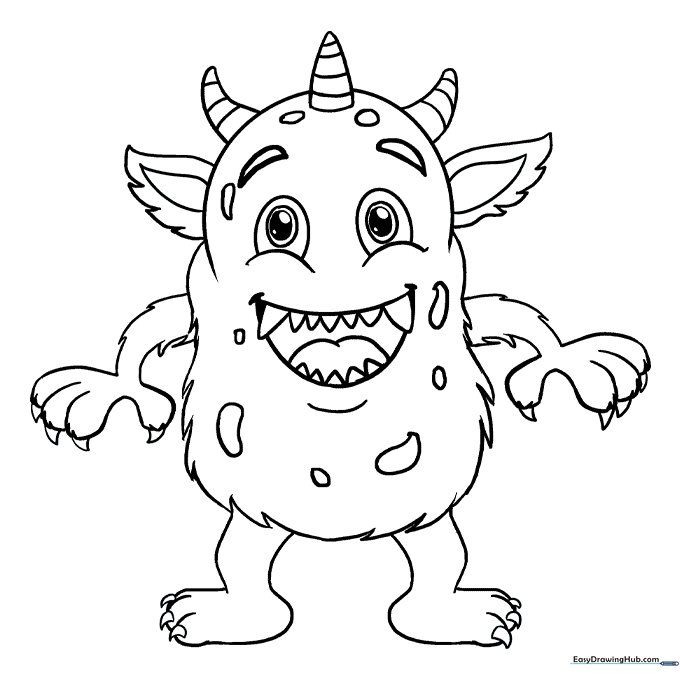
Friendly Cartoon Monster
This fuzzy monster is more silly than scary! Use bright, contrasting colors for his spots to make him pop off the page.
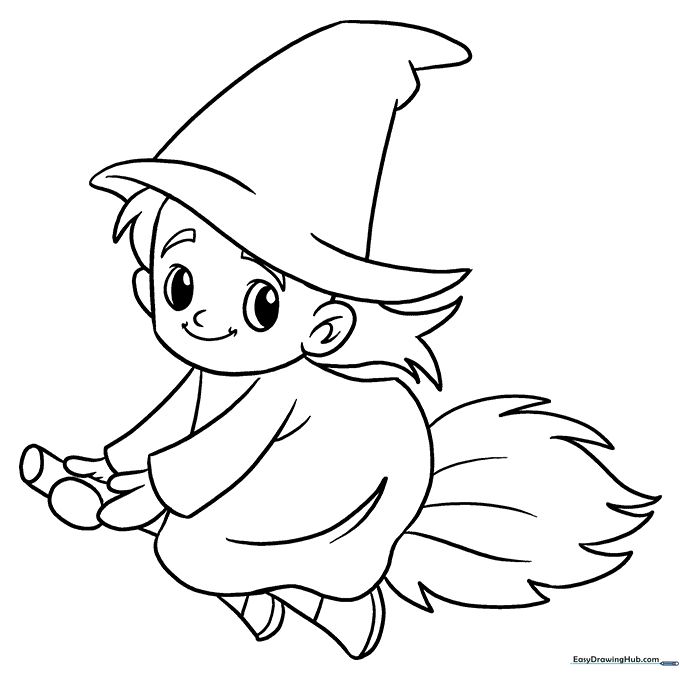
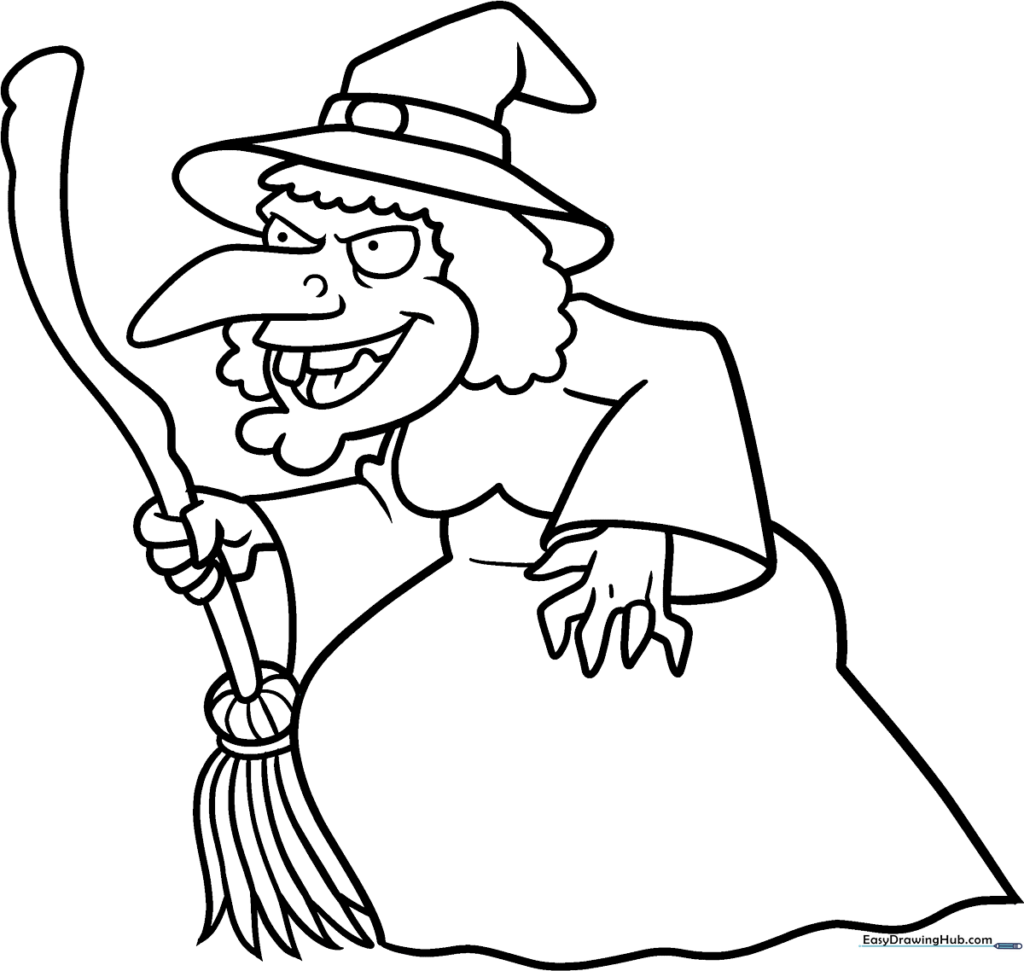
Classic Witch
Practice your coloring technique by adding texture to her cloak. Try using deep purples and oranges for a classic Halloween aesthetic.
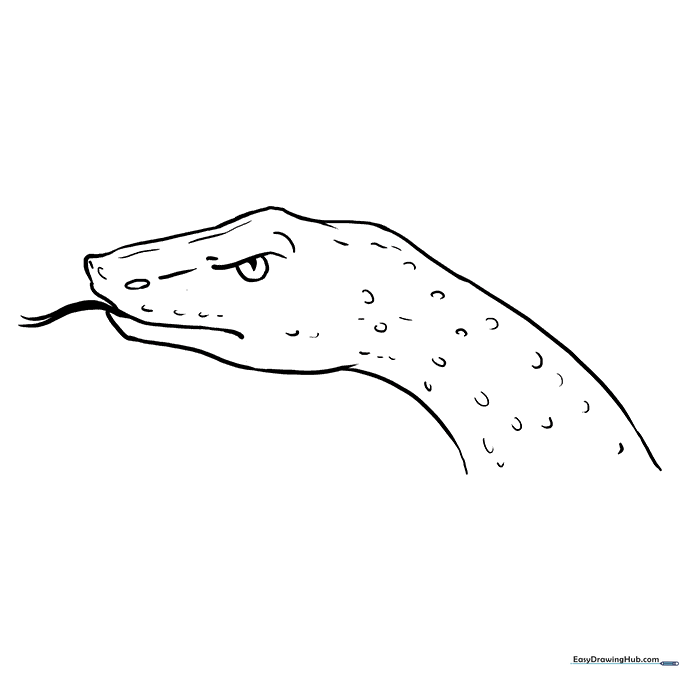
Detailed Snake Head
Focus on the scales! Use a light touch with your pencil to create a gradient effect, making the snake look realistic and slithery.
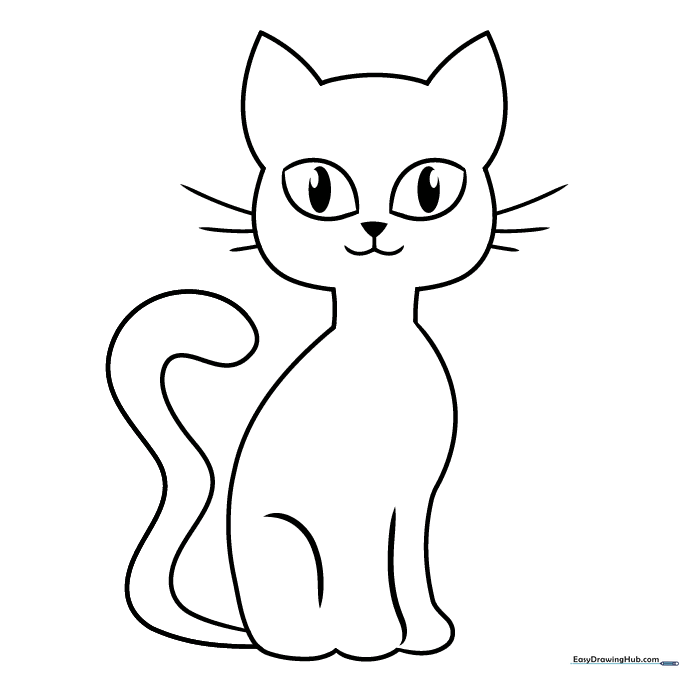
Lucky Black Cat
Black cats are fun to color! Use different shades of grey to add highlights to the fur so the cat doesn't look like a flat silhouette.
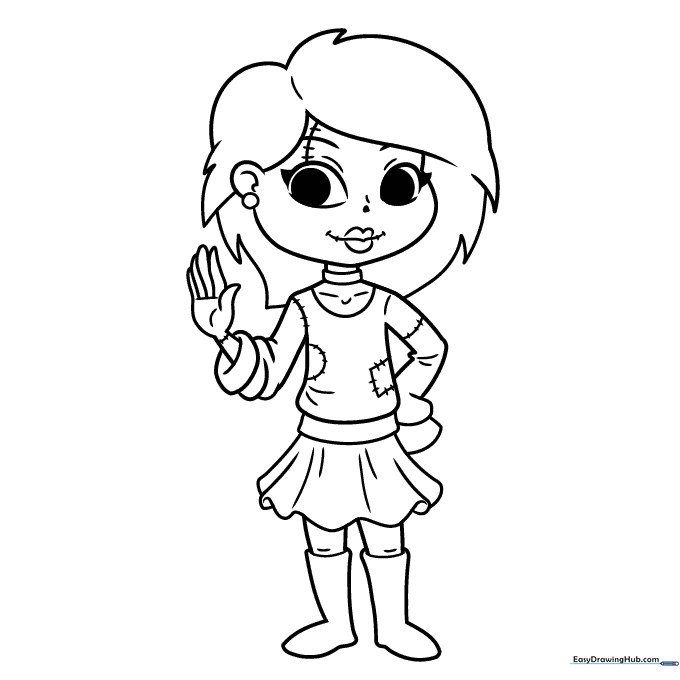
Cute Zombie Girl
Don't be afraid to use unconventional colors! A zombie girl can have vibrant hair or a colorful dress to make her look unique.
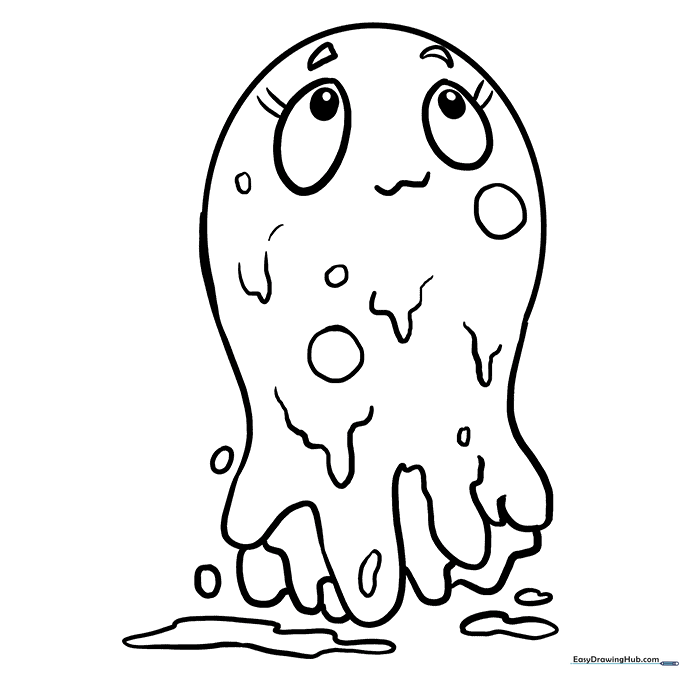
Gooey Slime
Use a mix of bright greens and yellows. Tip: Add some white highlights with a gel pen after coloring to make the slime look wet and shiny.
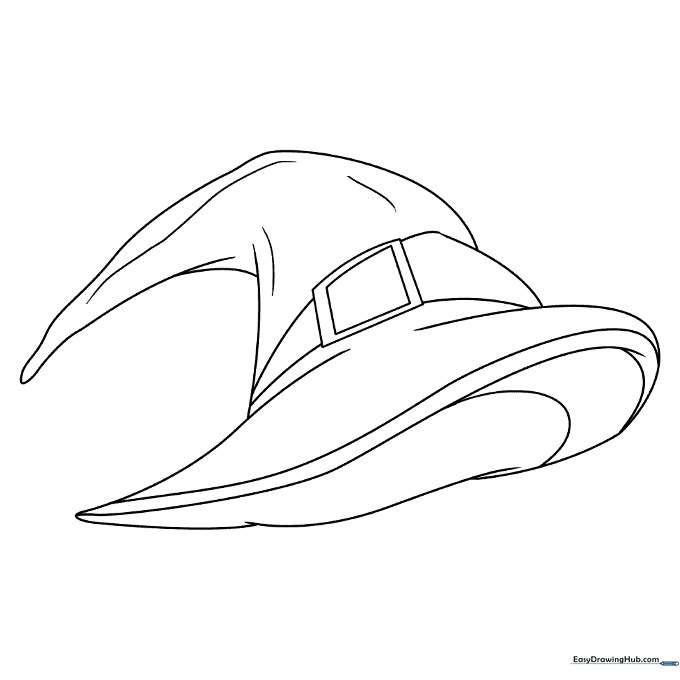
Pointed Witch Hat
This is a great shape to practice blending. Try adding a darker shade near the base of the hat to give it a 3D look.
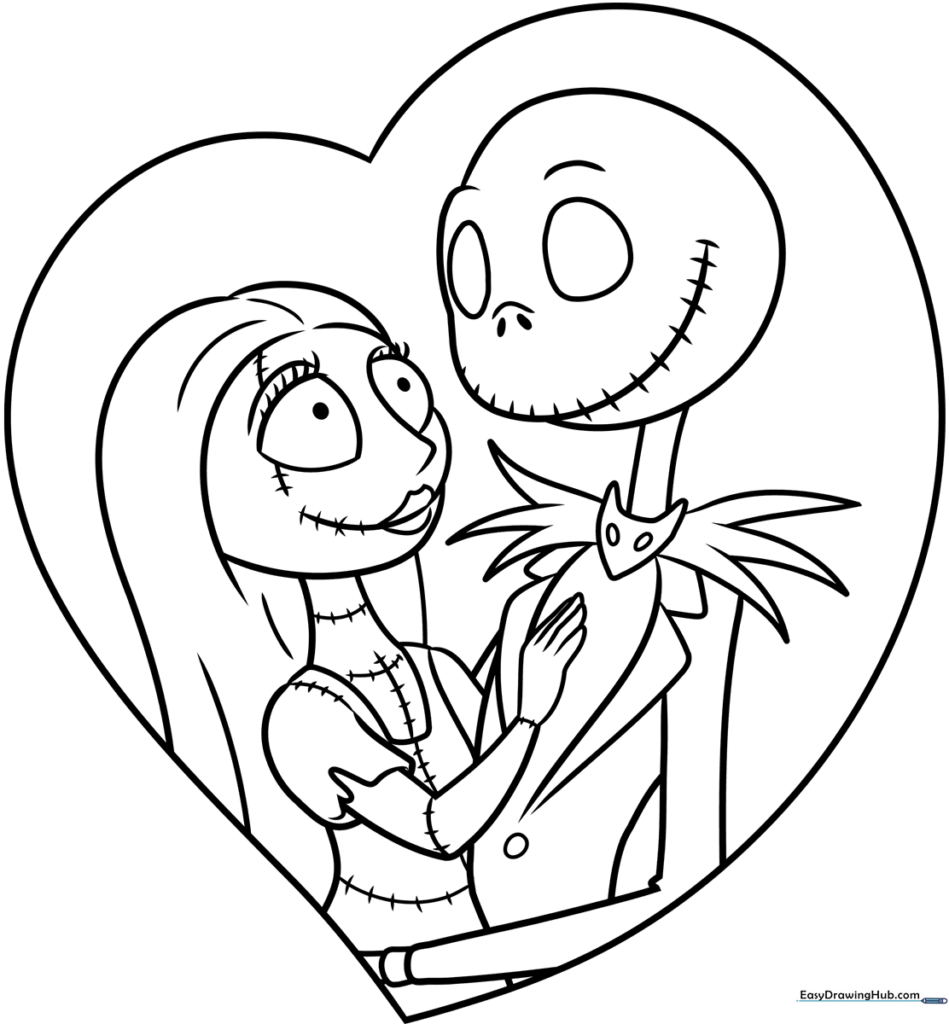
Jack and Sally
Capture the magic of the film! Use a variety of colors for Sally’s patchwork dress to make her stand out next to Jack’s classic monochrome suit.
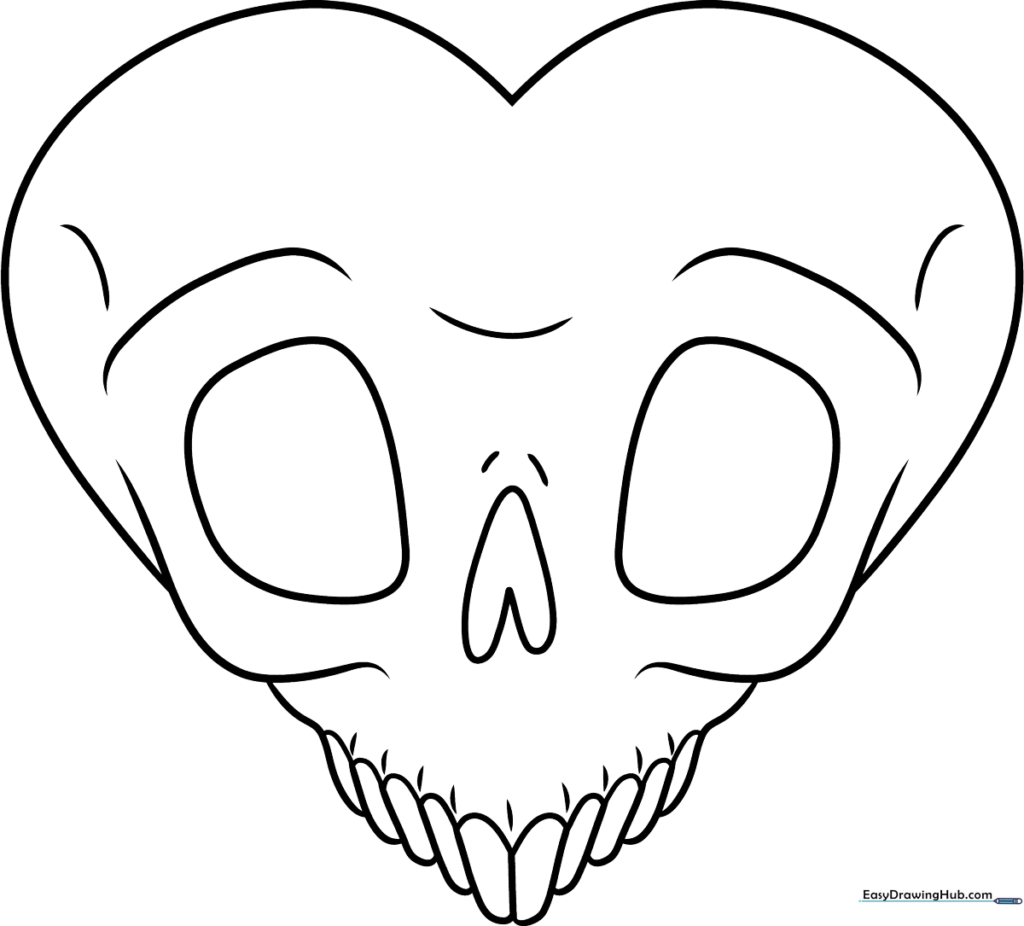
Skull Heart
A spooky-sweet design! Use deep reds for the heart and soft, off-white tones for the skull to create a cool contrast.
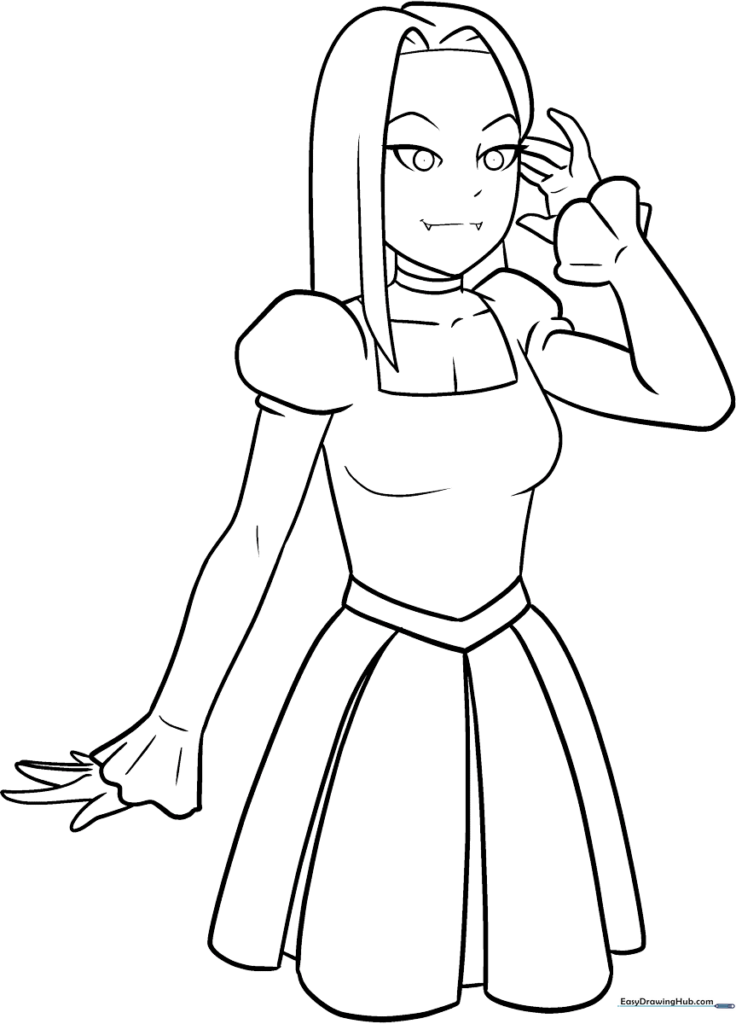
Anime Vampire Girl
Focus on the eyes! Use bold colors for the irises to give her a mysterious, supernatural look.
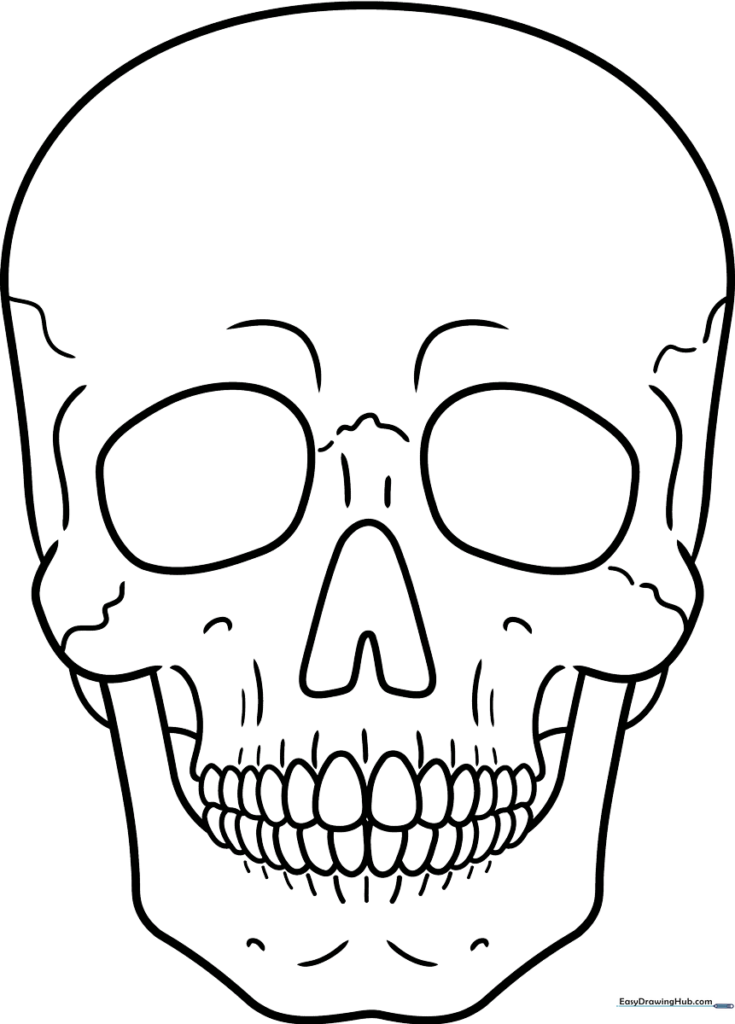
Realistic Skull
Great for learning about shadows. Use light browns and greys to define the eye sockets and teeth for a more realistic, aged look.
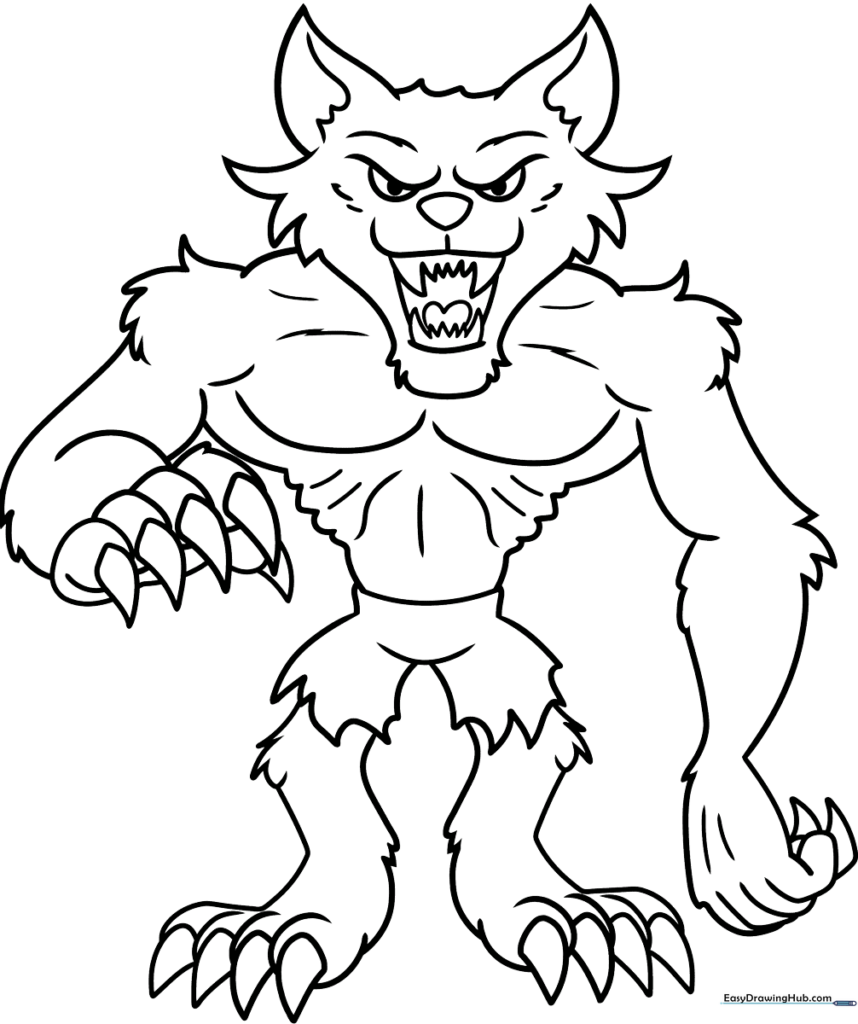
Cartoon Werewolf
Have fun with the fur! Use short, flicking strokes with your pencil to mimic the texture of fur, then layer in some darker browns for depth.
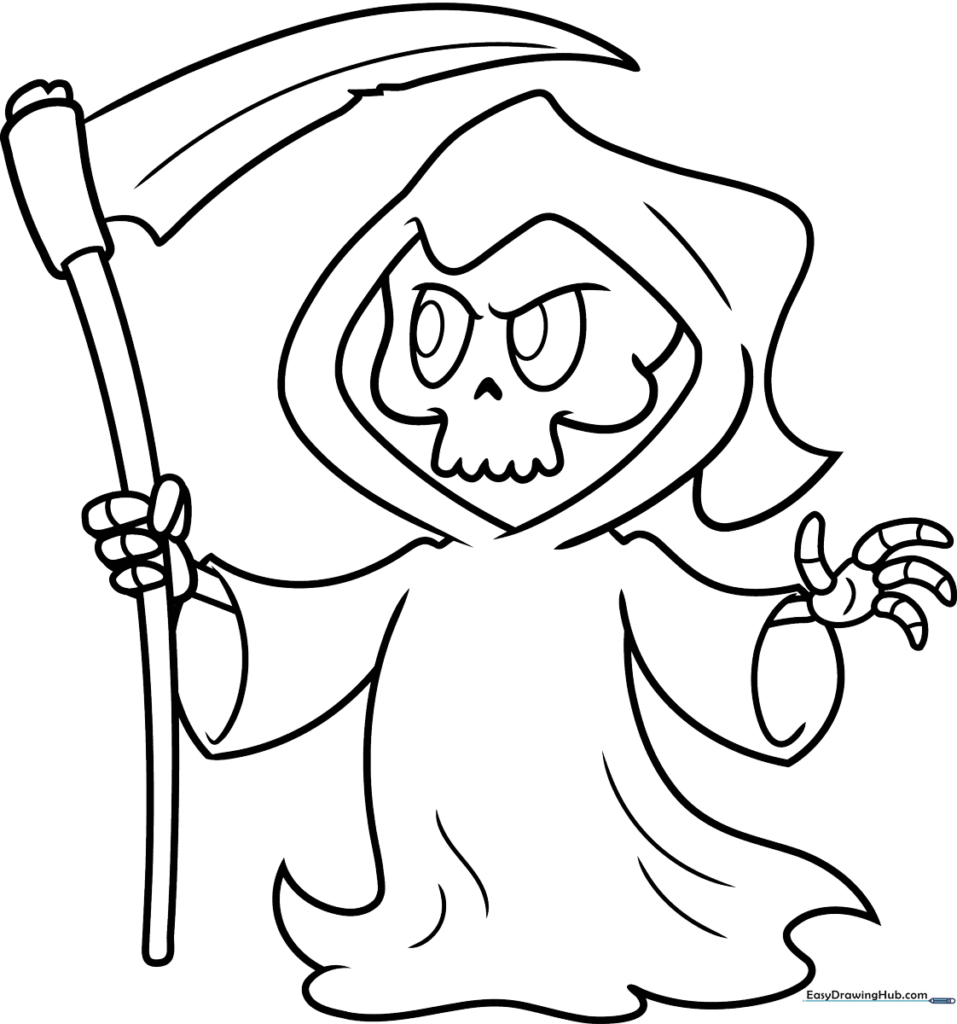
The Grim Reaper
Use a heavy black for the cloak, but try using a metallic silver or grey for the scythe blade to make it look sharp and cold.
Easy Cartoon Ghost
Ghosts don't have to be just white! Try using a very light blue or lavender to shade the edges, giving it a soft, ethereal glow.
Cartoon Witch
Have fun with the details on her outfit. Use bright, contrasting colors for the patches on her hat or dress to make her look like a whimsical character.
Cartoon Zombie
Zombies are great for experimenting with 'gross' colors. Try mixing greens, browns, and purples to create a fun, undead look.
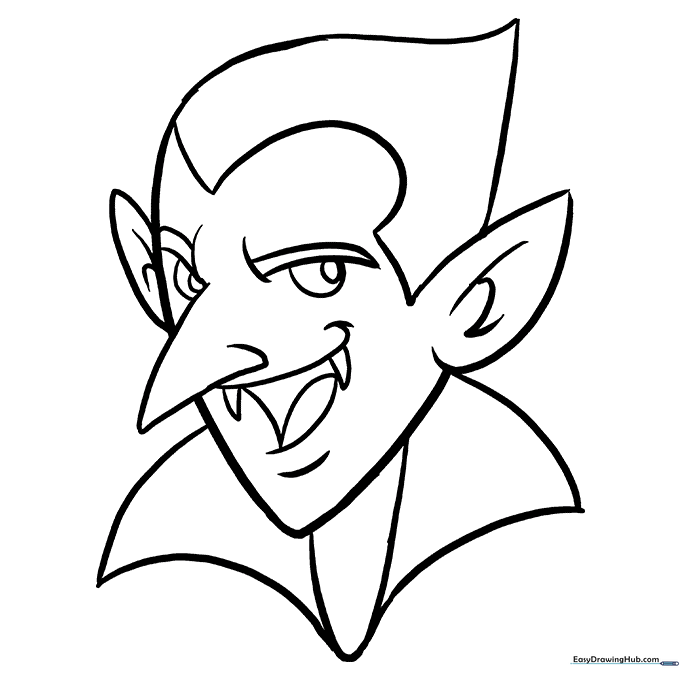
Dracula
Focus on the cape! Use a deep red for the inside lining and black for the outside to give him that classic, dramatic vampire look.
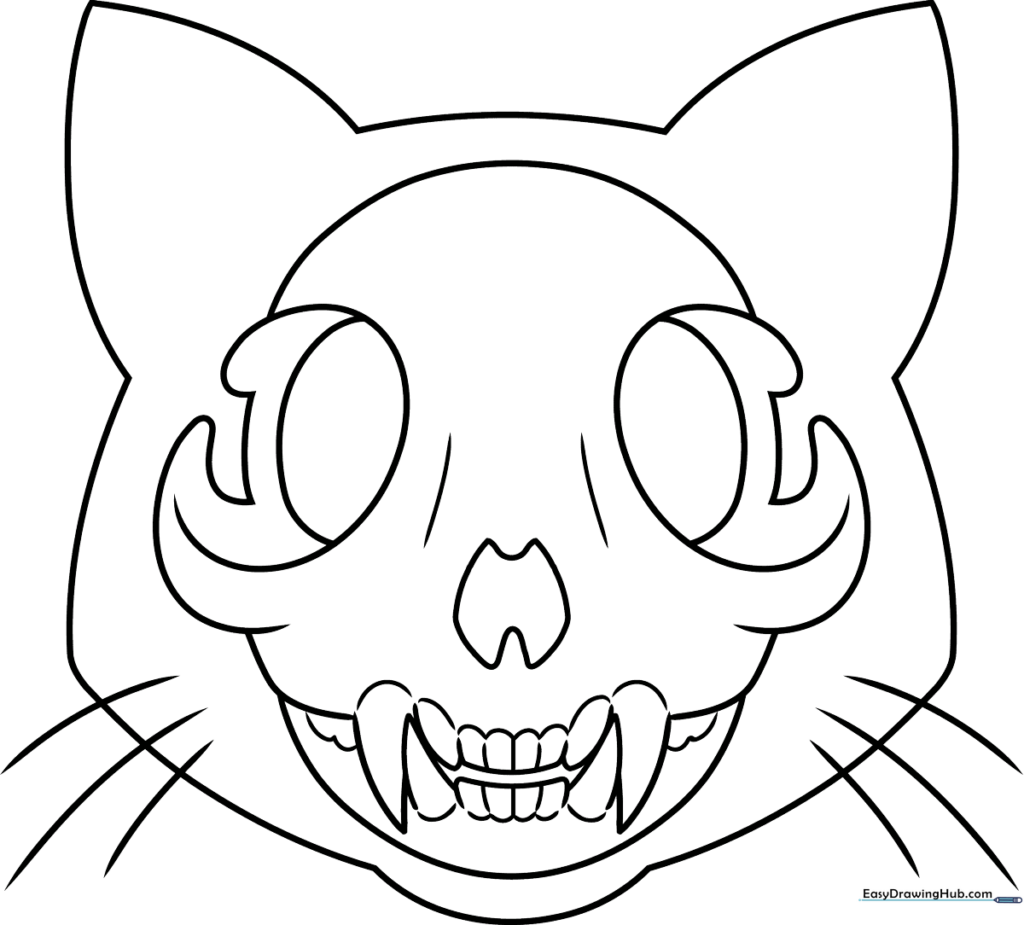
Cat Skull
This is a unique piece! Try coloring the skull with patterns like flowers or stripes to give it a festive, Day of the Dead vibe.
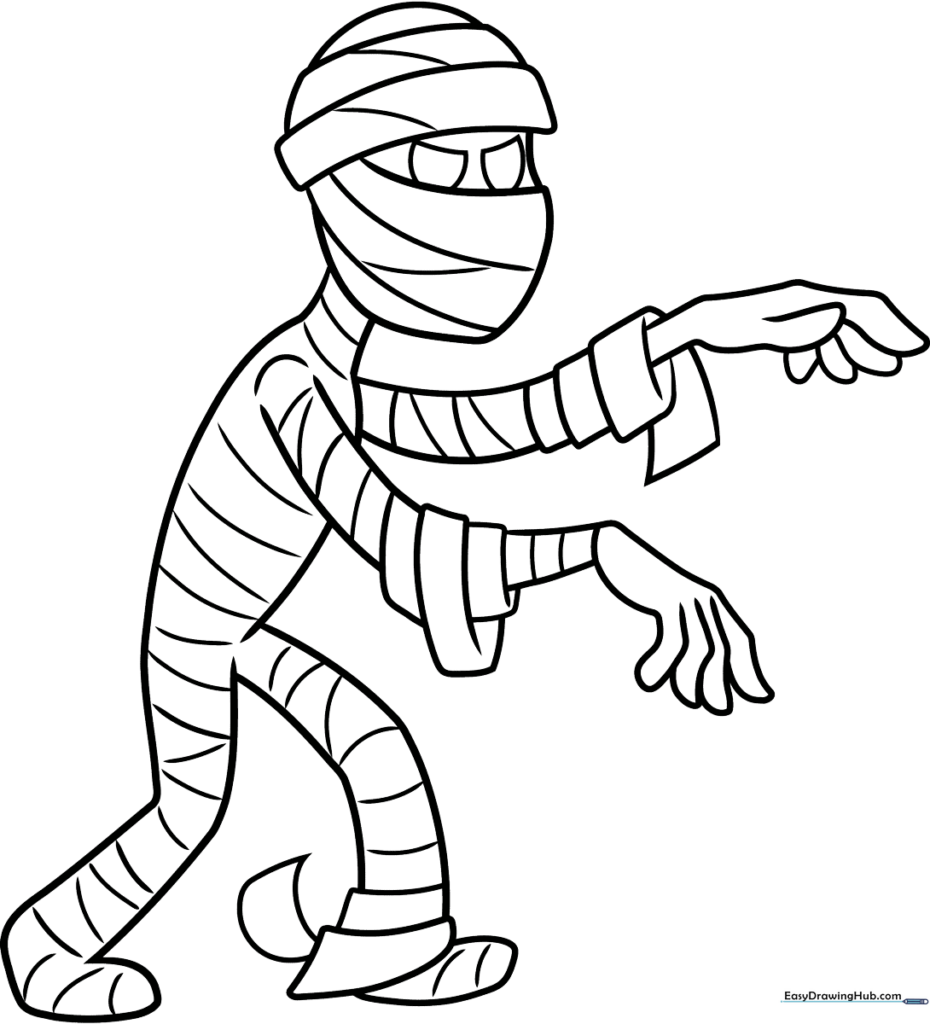
Cartoon Mummy
Use different shades of beige and cream for the wrappings. Tip: Add some light brown shading along the edges of the bandages to make them look old and dusty.
Siren Head
This character is quite tall and thin! Use earthy tones like brown and grey to give it a weathered, creepy appearance.

More Collections