How to Draw Zuma from Paw Patrol: Easy 10-Step Guide
Ready to bring the PAW Patrol's favorite water-rescue pup to life? This tutorial is designed for young artists and beginners, requiring only a pencil, eraser, and paper. Follow these simple steps to master Zuma's signature helmet and pup pack while building your character-drawing skills.
🎯 Final Result

Step-by-Step Instructions
Step 1: Sketching the Nose and Snout
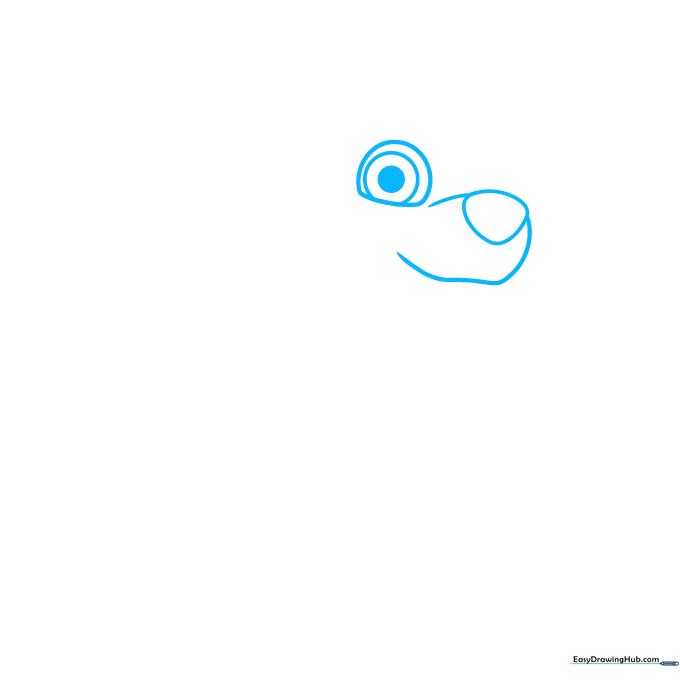
Start with a small, inverted triangle for the nose. From there, draw curved lines to form the snout. Tip: Keep the snout rounded to give Zuma that friendly, puppy-like appearance.
Step 2: Defining the Eyes and Face

Draw the eyes as partial circles and add curved lines for the eyebrows. Tip: Make sure the eyes are symmetrical to give Zuma his expressive, alert look.
Step 3: Adding the Helmet
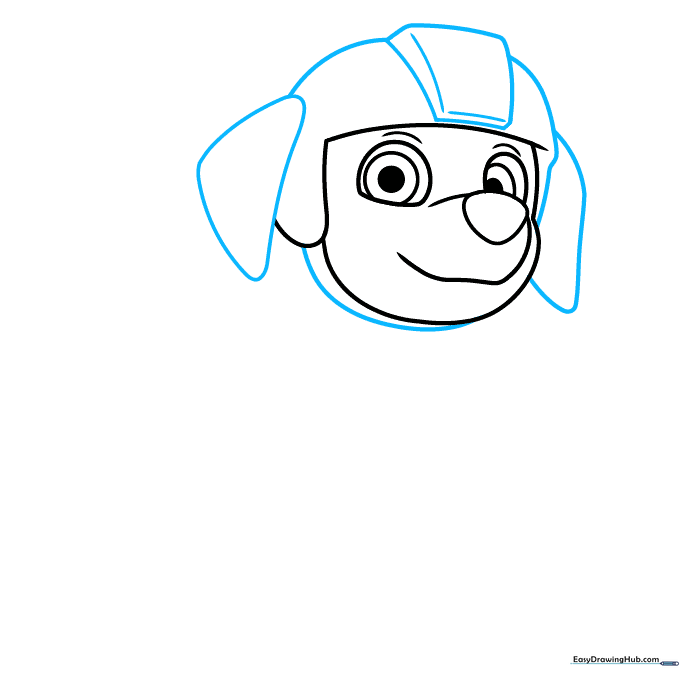
Sketch the rectangular visor and the rounded helmet shape. Tip: Use a ruler if you need help keeping the visor lines straight, then round off the edges for a smooth look.
Step 4: The Collar and Shield
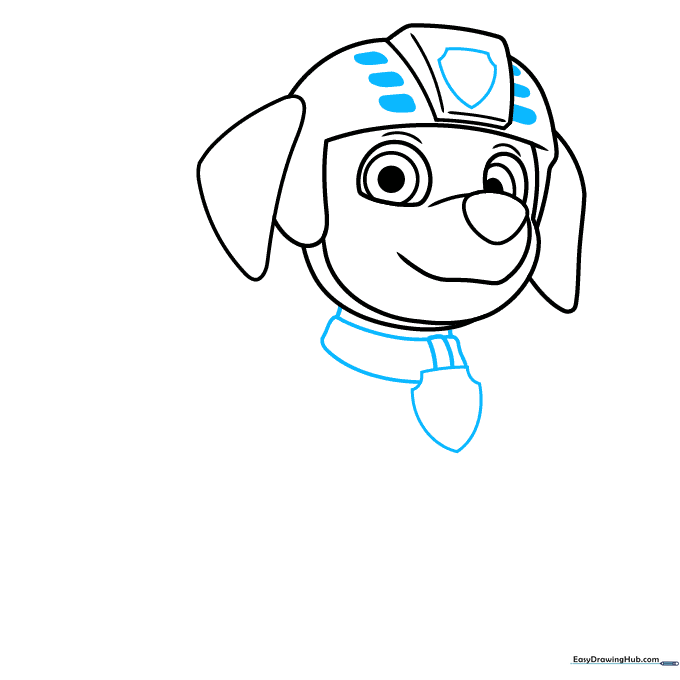
Draw the shield shape on the helmet and the collar around the neck. Tip: The collar should sit snugly against the neck lines to show where the vest begins.
Step 5: Sketching the Pup Pack
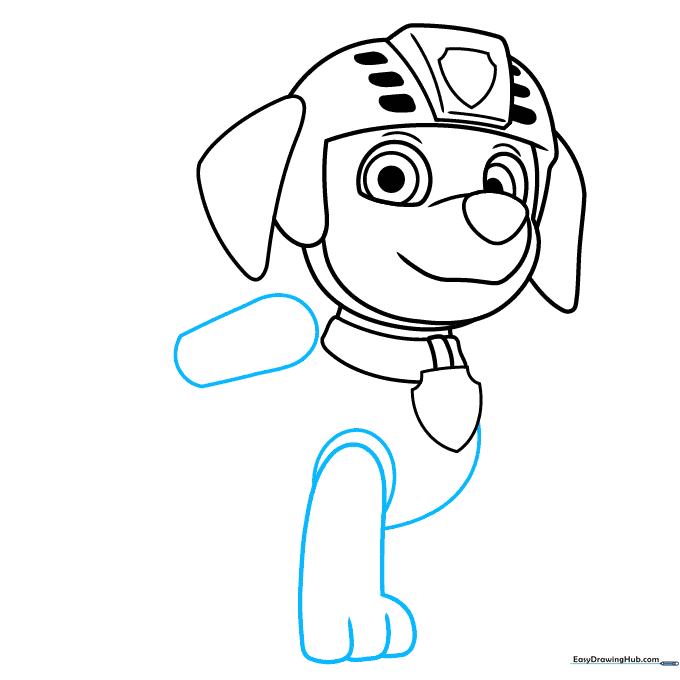
Draw the oval-shaped pup pack on his back and the front leg. Tip: Imagine the pup pack is a small backpack; keep the lines rounded so it looks like it fits his body.
Step 6: Adding the Rear Legs

Use overlapping curved lines to sketch the rear legs. Tip: Overlapping lines create a sense of depth, making the legs look like they are behind the body.
Step 7: Completing the Legs
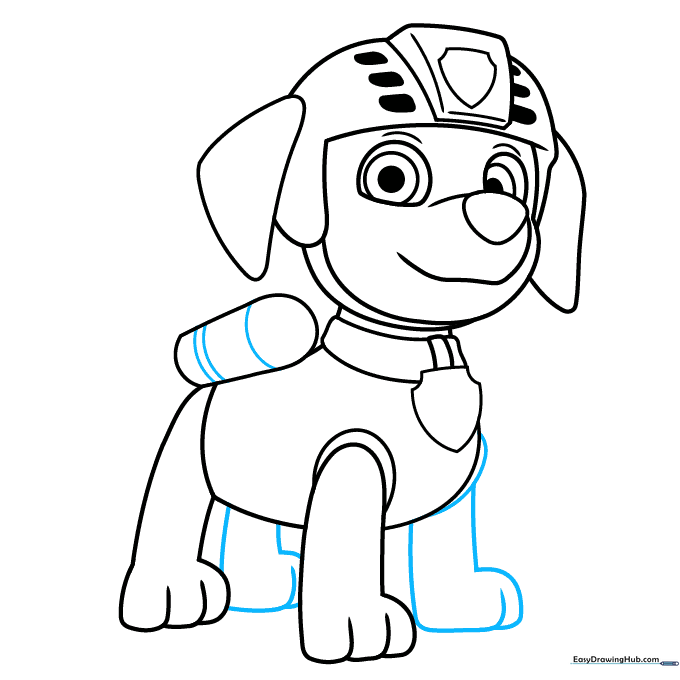
Draw the remaining two paws and add detail to the pup pack tank. Tip: Keep your pencil pressure consistent so all the legs look like they belong to the same character.
Step 8: Adding Utility Details
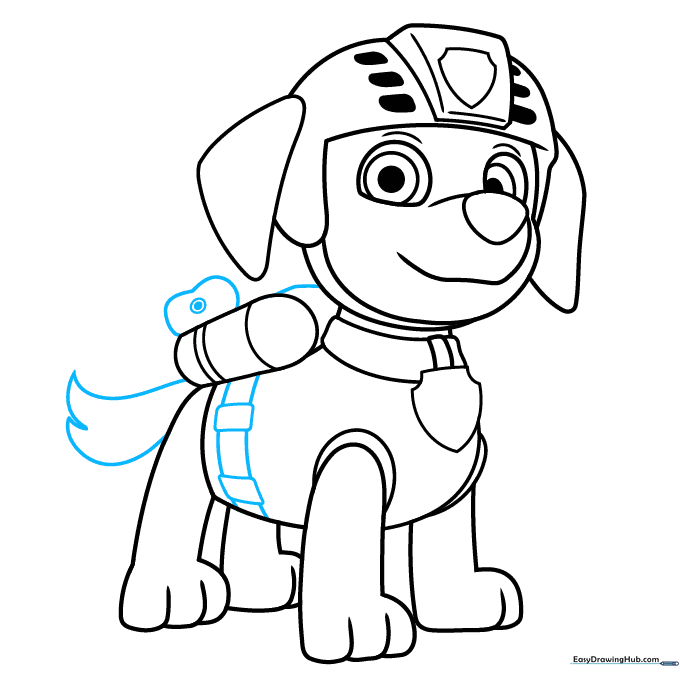
Draw the utility belt and the tail. Tip: The tail should be drawn with quick, short strokes to give it a natural, fluffy appearance.
Step 9: Final Embellishments
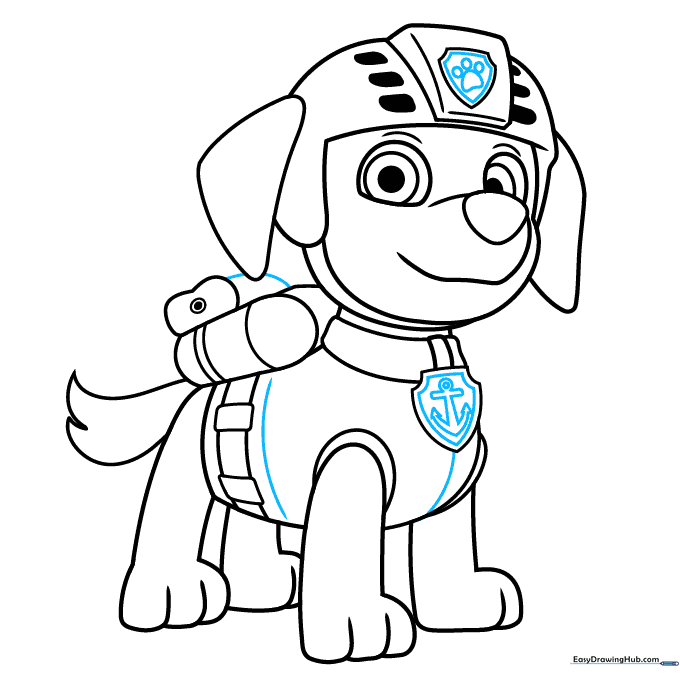
Add the paw print to the helmet and the anchor symbol to the pup tag. Tip: Take your time with the anchor—it's a small detail that really makes the character recognizable!
Step 10: Color Your Masterpiece
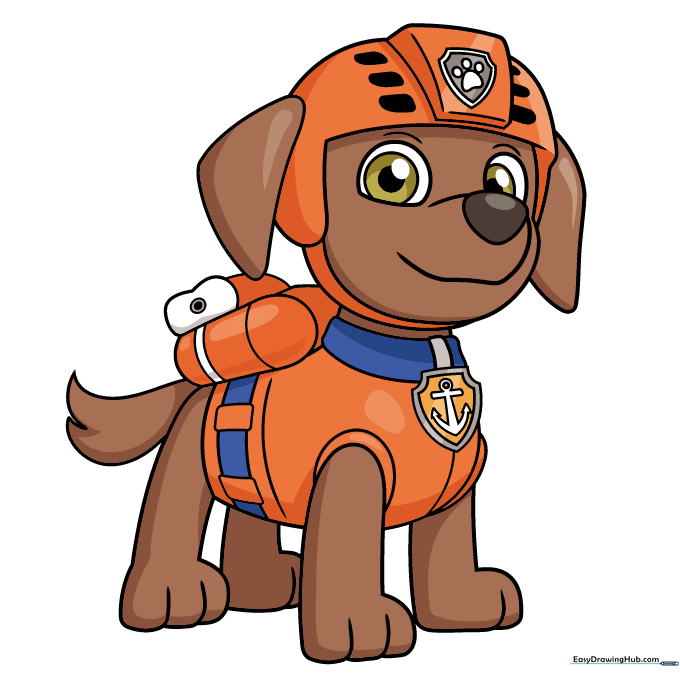
Bring Zuma to life with his signature brown fur and bright orange rescue gear. Tip: Use light, even strokes when coloring to keep the drawing looking professional.
More Tutorials


