How to Draw Zoro from One Piece: Easy 10-Step Guide
Ready to bring the legendary swordsman to life? This tutorial is designed for intermediate artists looking to capture Zoro’s intense expression and iconic style. Grab your graphite pencil, a kneaded eraser, and some fine-liner pens to begin this character study.
🎯 Final Result

Step-by-Step Instructions
Step 1: Sketching the Brows and Eyes
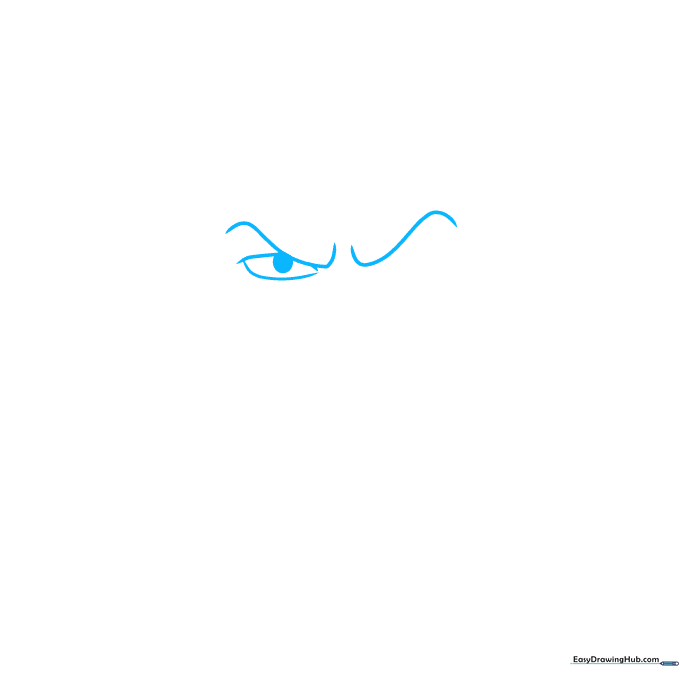
Start by drawing two 'S' shaped lines for the furrowed brows to capture his serious demeanor. Add the eye beneath, shading a small oval pupil. Teacher's Tip: Keep your pencil pressure light here so you can easily adjust the brow angle if it looks too surprised.
Step 2: Defining the Nose and Lids
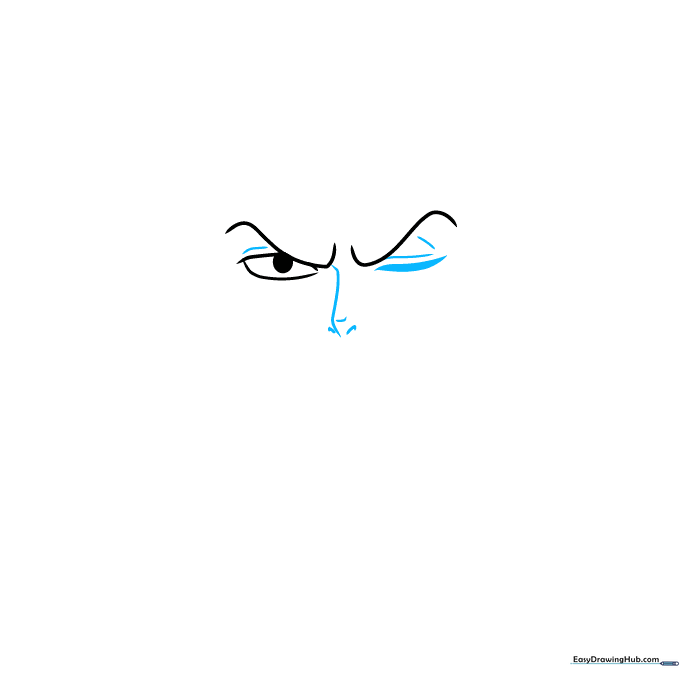
Use curved lines to define the bridge of the nose and the nostrils. Add the eyelids, shading a thick line for the closed eye. Teacher's Tip: Use a sharp pencil point for the nostrils to keep the detail clean and avoid smudging.
Step 3: Shaping the Face and Jaw
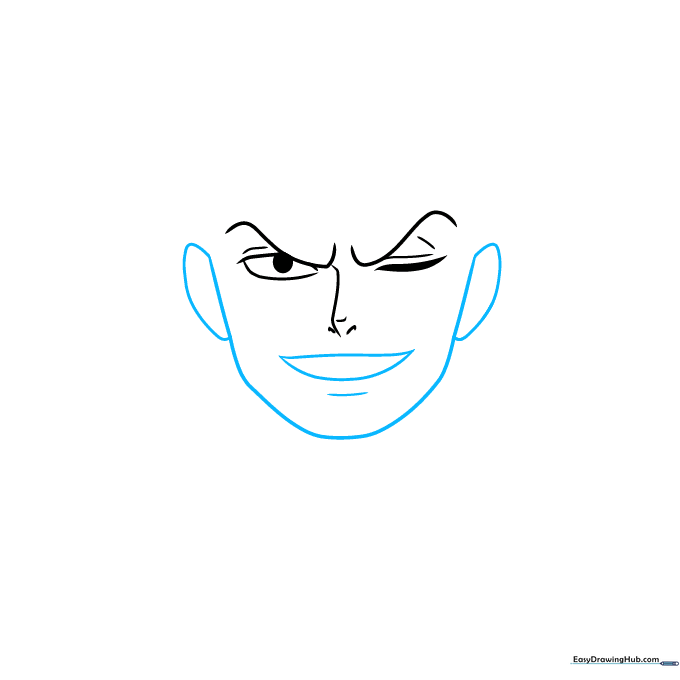
Outline the face with a long, sweeping curve, doubling back to form the ears. Add the mouth with two sharp, angular lines. Teacher's Tip: Ensure the chin is slightly pointed to maintain the sharp, anime-style aesthetic.
Step 4: Starting the Hairline
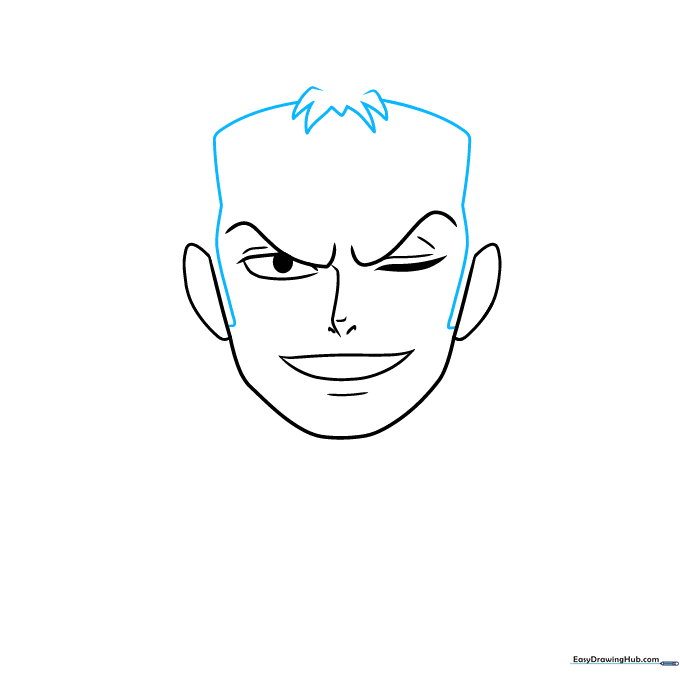
Extend lines from the ears to frame the face. At the forehead, draw pointed, triangular locks of hair. Teacher's Tip: Vary the size of the hair spikes to make the hair look more natural and less like a solid block.
Step 5: Completing the Hair
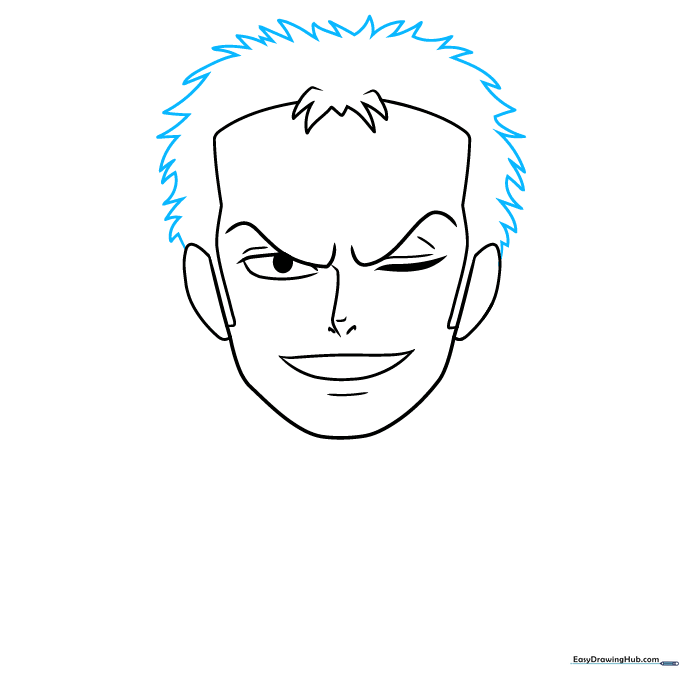
Enclose the rest of the hair using sharp, curved points to create volume at the top of the head. Teacher's Tip: Think of the hair as layered sections rather than individual strands to keep the drawing manageable.
Step 6: Adding Earrings
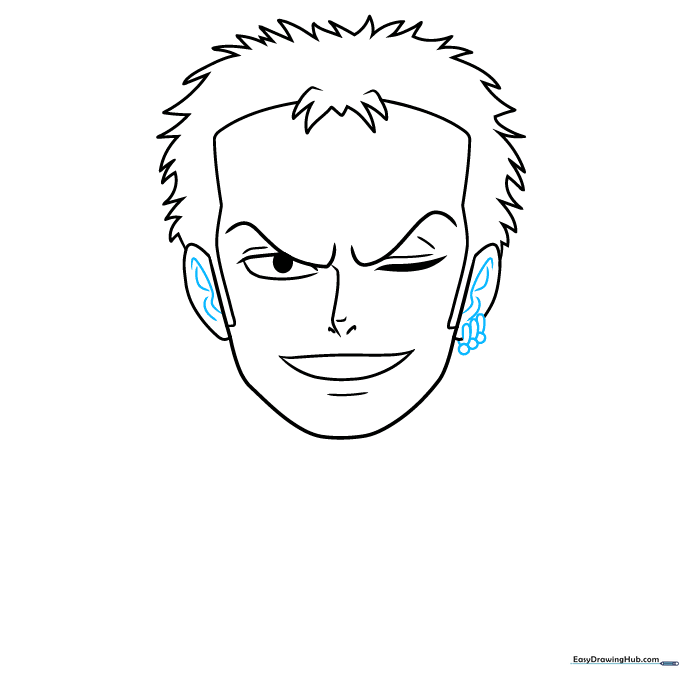
Add detail to the ears and draw the three signature earrings as small, rounded oblong shapes. Teacher's Tip: Use a very fine tip pen for the earrings to ensure they don't look too bulky against the ear.
Step 7: Drawing the Neck and Garment
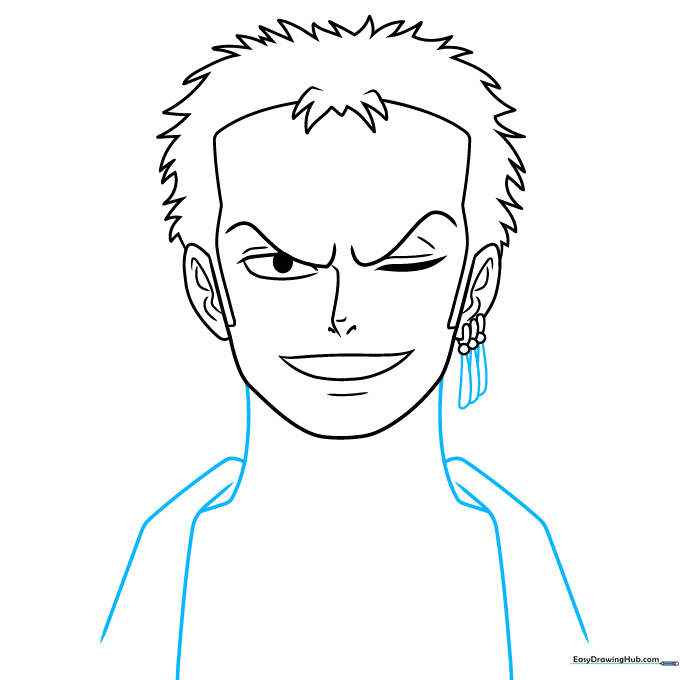
Draw the neck using two downward curves, then extend lines for the shoulders and his garment. Teacher's Tip: Keep the neck lines parallel to suggest strength and posture.
Step 8: Adding Scars and Muscle Detail
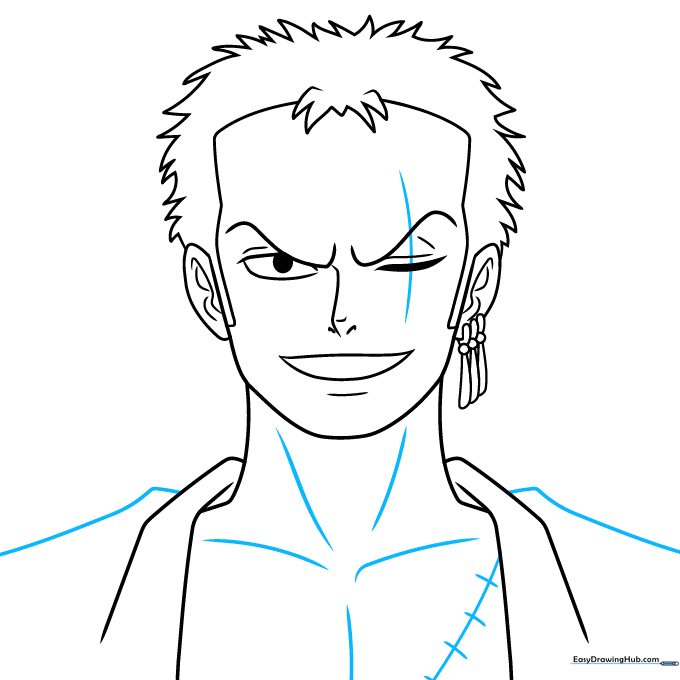
Add the iconic scar across the eye and chest using short, intersecting lines. Contour the neck and chest muscles. Teacher's Tip: Use light, dashed lines for the scars to make them look like faded tissue rather than deep cuts.
Step 9: Final Hair Details
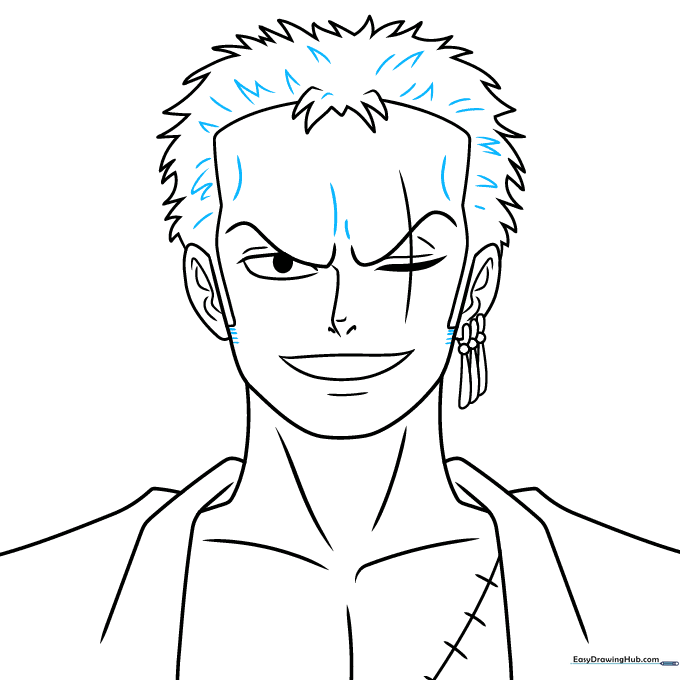
Add texture to the hair with short 'V' shaped lines and small horizontal marks near the sideburns. Teacher's Tip: These small details add depth and make the hair look much more realistic.
Step 10: Bringing Zoro to Life with Color

Time to color! Use a vibrant turquoise for his hair and garment, and a bright gold for his earrings. Teacher's Tip: Use a light wash of grey for the skin shadows to give him that gritty, battle-hardened look.
More Tutorials


