How to Draw Zenitsu Agatsuma: Easy Anime Tutorial
Ready to bring the Thunder Breathing user to life? This tutorial is perfect for young artists and anime fans looking to master Zenitsu’s iconic look. Grab a pencil, an eraser, and a piece of paper to practice these essential character design techniques.
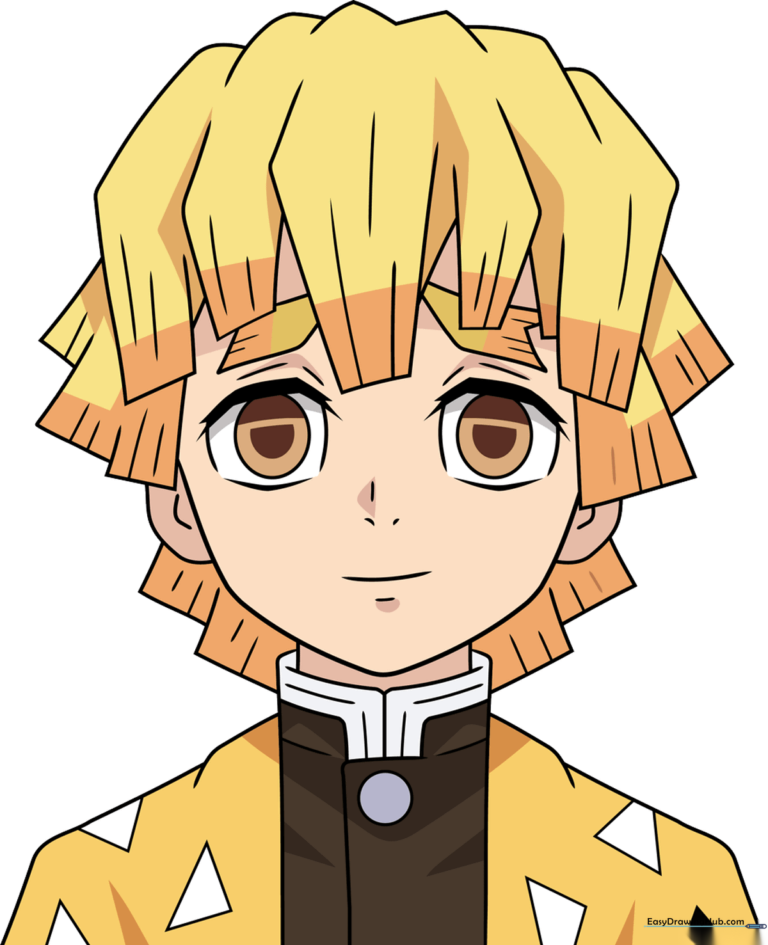
🎯 Final Result
Step-by-Step Instructions
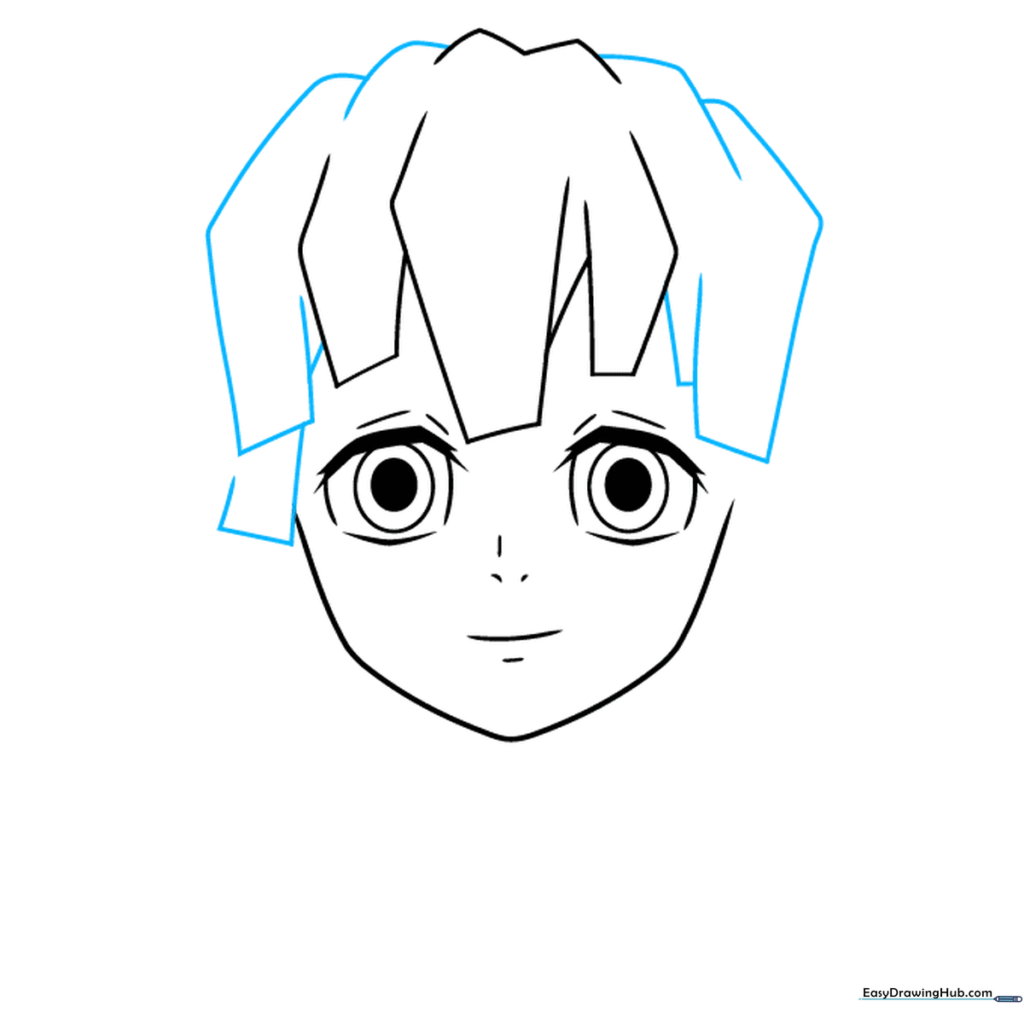
Step 1: Sketching the Anime Eyes
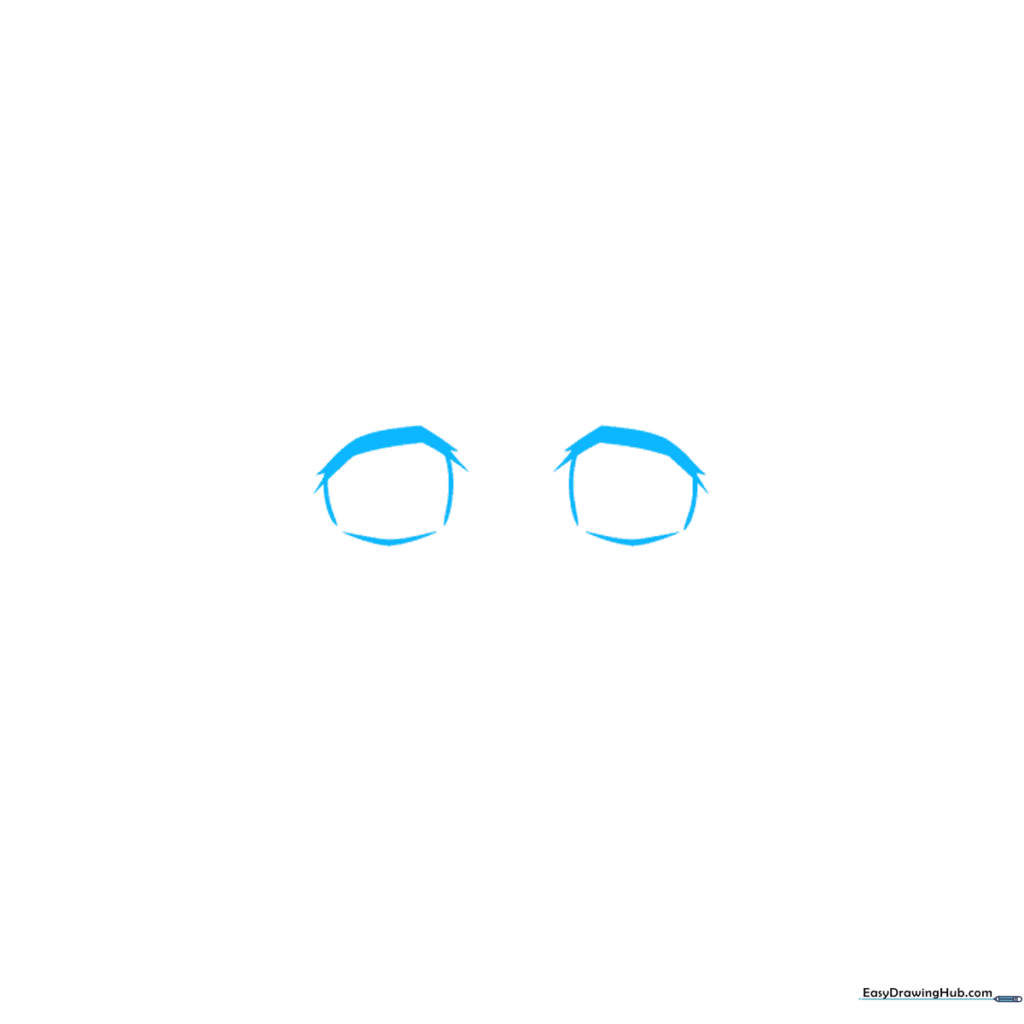
Start by drawing the eyes. Use thick, bold lines for the upper lids and softer curves for the bottom. Teacher's Tip: Keep your pencil pressure light so you can easily adjust the symmetry before committing to darker lines.
Step 2: Defining the Face Shape
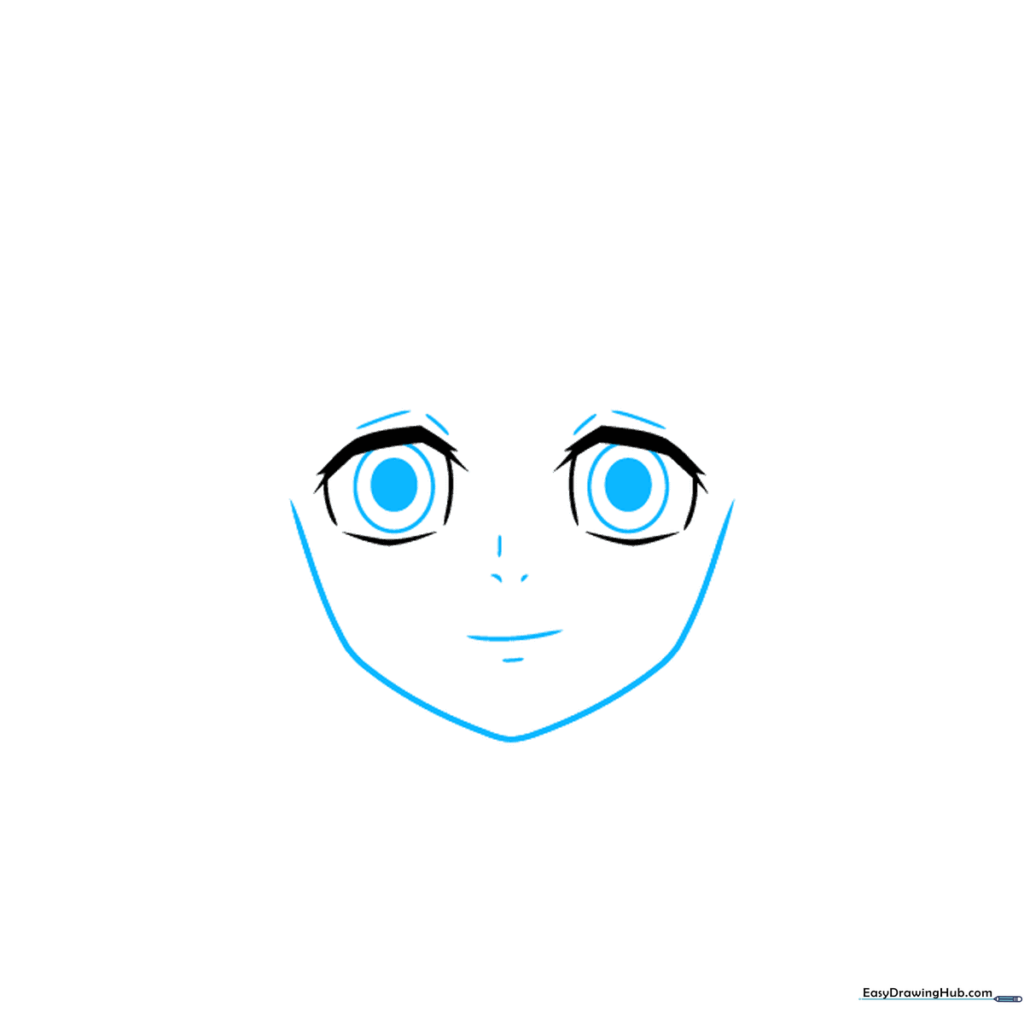
Outline the cheeks and chin with a smooth, continuous curve. Add the pupils by drawing small ovals inside the eyes and shading them. Tip: A tiny white dot left unshaded in the pupil creates a 'sparkle' effect common in anime.
Step 3: Starting the Hairline
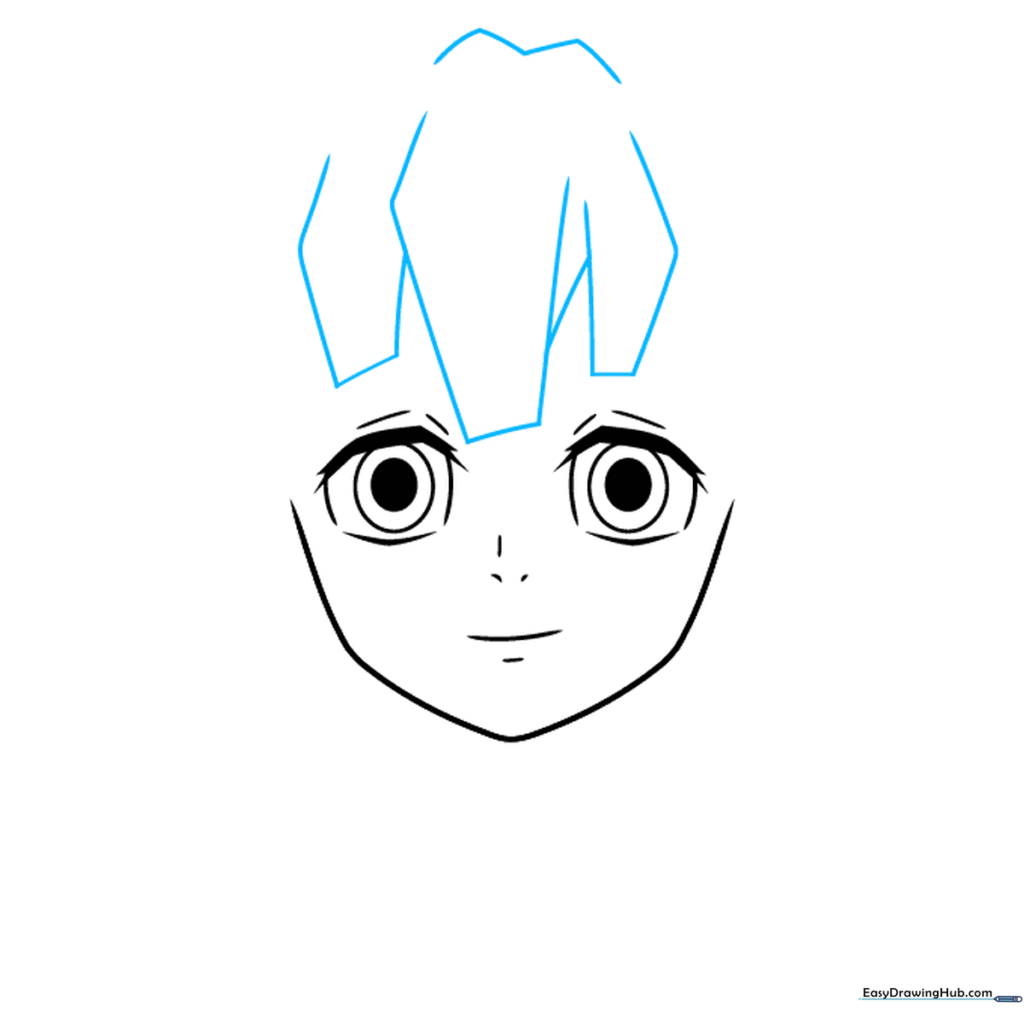
Begin sketching the hair using irregular, overlapping rectangular shapes. Tip: Don't worry about perfection; Zenitsu's hair is naturally messy and spiky, so varying the size of the rectangles makes it look more realistic.
Step 4: Building Hair Volume
Add more hair locks by connecting your previous shapes with curved lines at the top. Tip: Think of these as 'clumps' of hair rather than individual strands to keep the anime aesthetic clean.
Step 5: Eyebrows and Side Hair

Draw the parallelogram-shaped eyebrows and add more hair locks near the ears. Tip: Notice the small 'V' notch in one eyebrow—this adds character and expression to his face.
Step 6: Ears and Collar
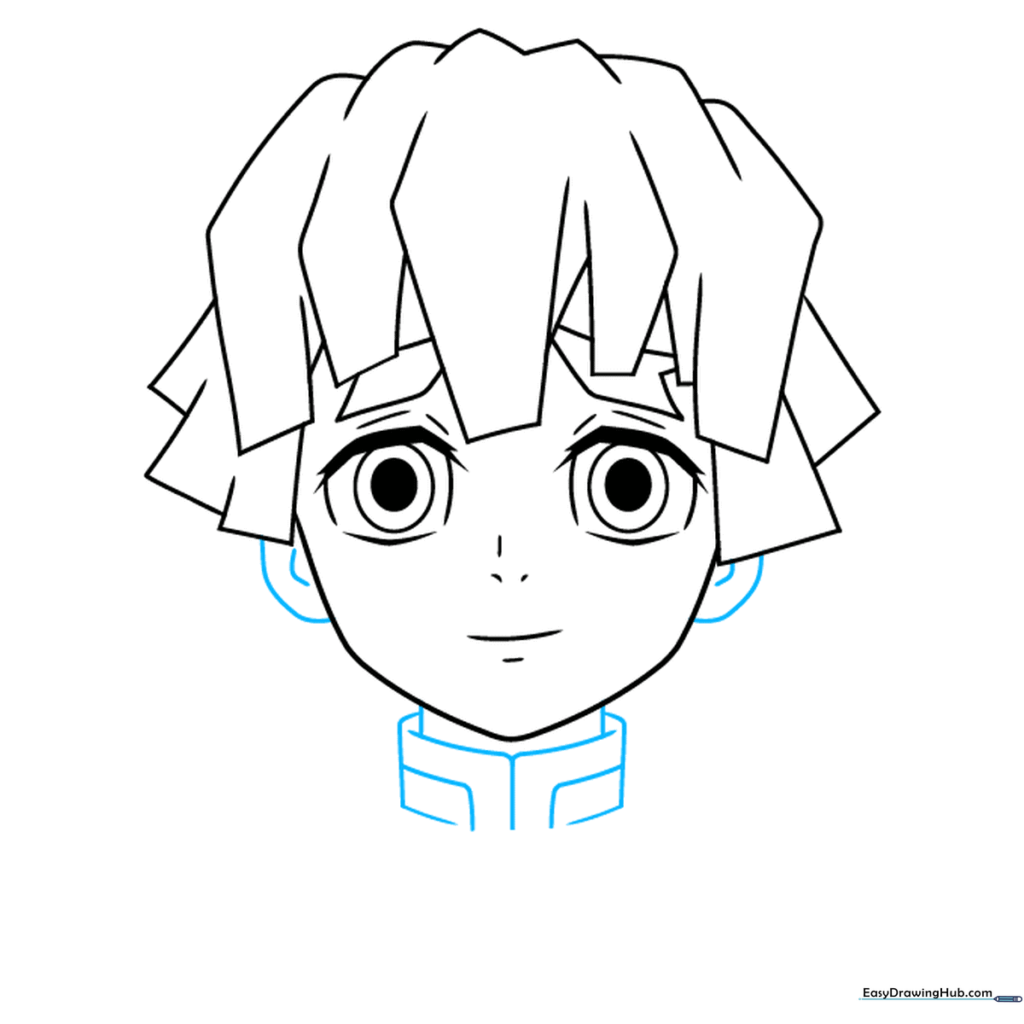
Draw the ears and the neck, then add the collar of his uniform. Tip: Use simple, overlapping rectangles for the collar to give it a structured, fabric-like appearance.
Step 7: Shoulders and Robes
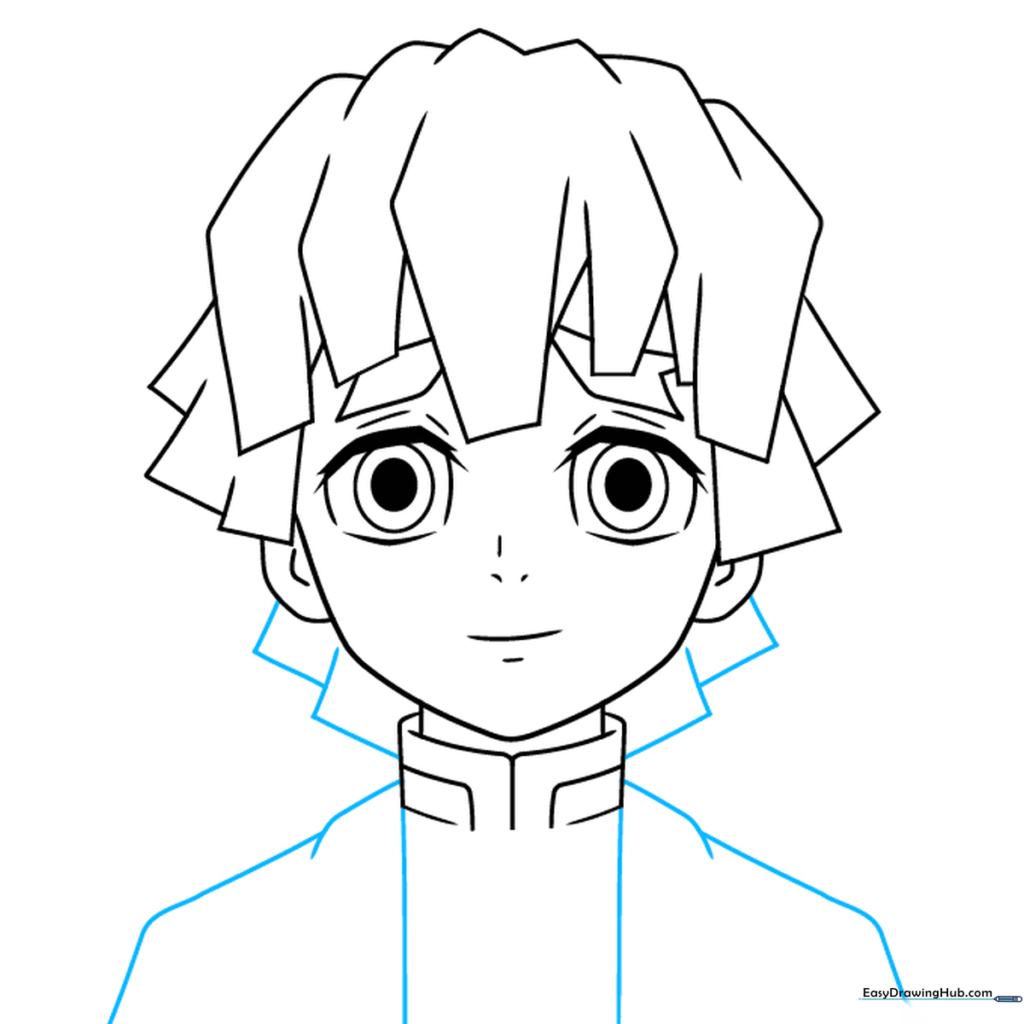
Sketch the hair locks at the back of the neck and extend the robe lines downward. Tip: Use gentle curves for the shoulders to show the natural slope of the body.
Step 8: Adding Clothing Details
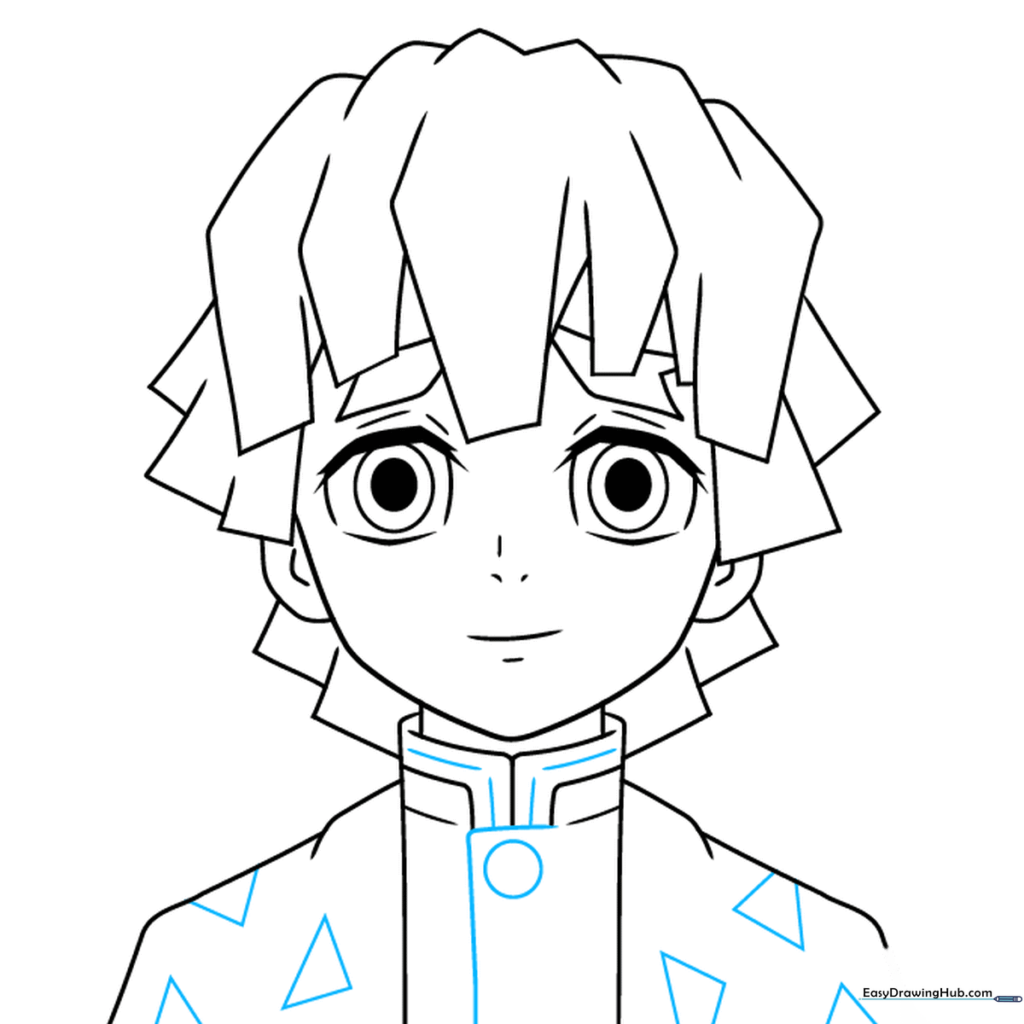
Add the button and the signature triangle patterns to his kimono. Tip: Take your time with the triangles; they are the most recognizable part of his outfit!
Step 9: Finalizing the Outline
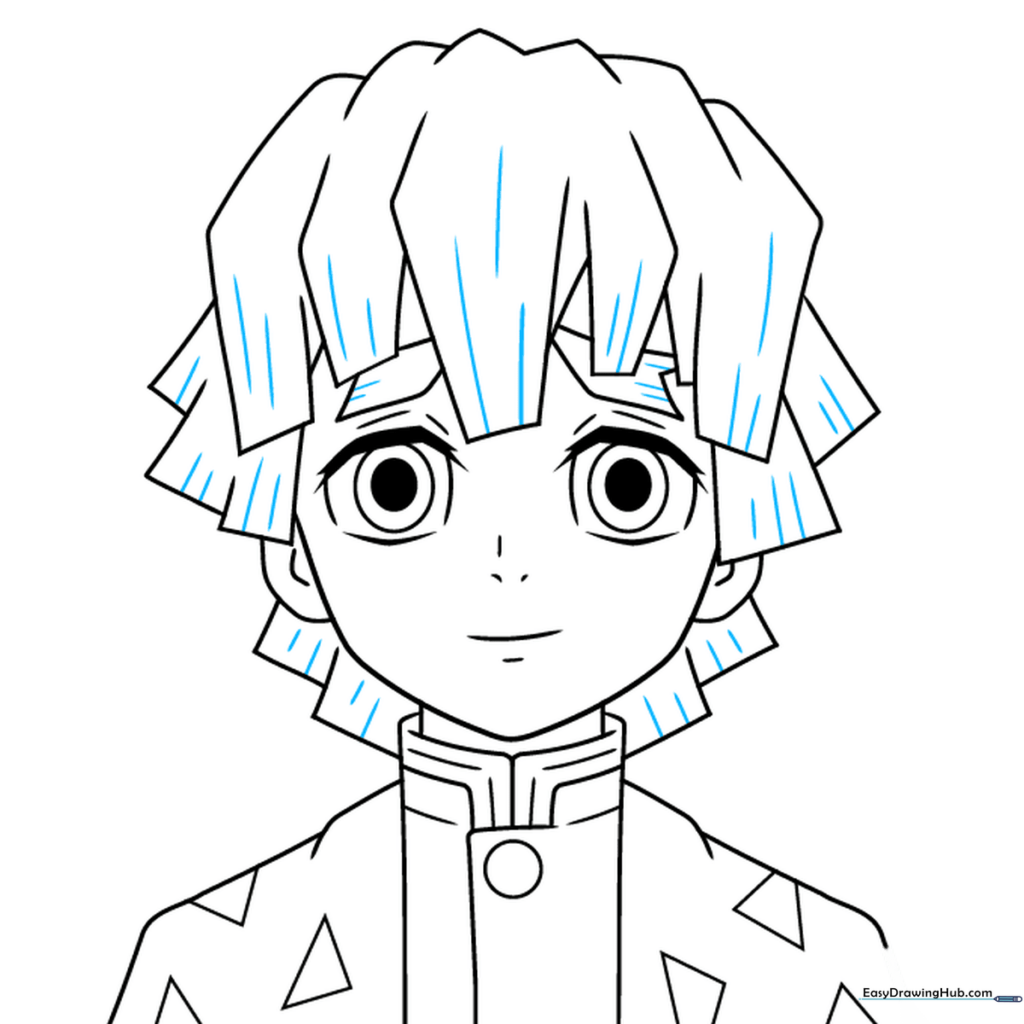
Refine the hair with varied line lengths to give it texture. Tip: Use a darker pencil or a fine-liner pen to go over your final lines before erasing your guide marks.
Step 10: Bringing Zenitsu to Life with Color
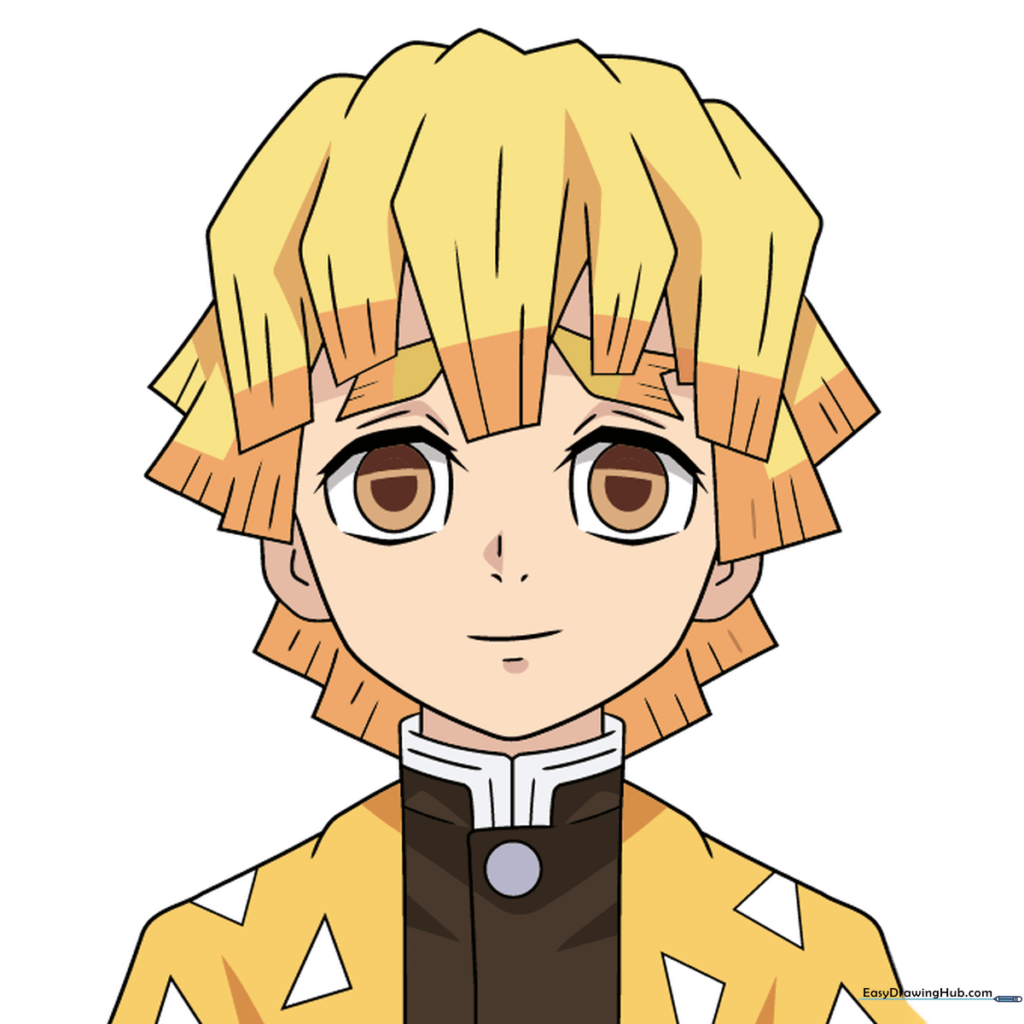
Time to color! Use bright yellow for the hair, fading into orange at the tips. His eyes are warm brown. Tip: Use a light yellow for the base of the kimono and white for the triangles to make the design pop.
More Tutorials


