How to Draw Kids Splashing in Puddles: Easy Step-by-Step
Perfect for young artists ages 6+, this tutorial helps you capture the excitement of a rainy day. All you need is a pencil, an eraser, and your favorite markers or colored pencils. By the end, you will have a vibrant scene of friends splashing in puddles, helping you practice drawing expressive faces and dynamic movement.
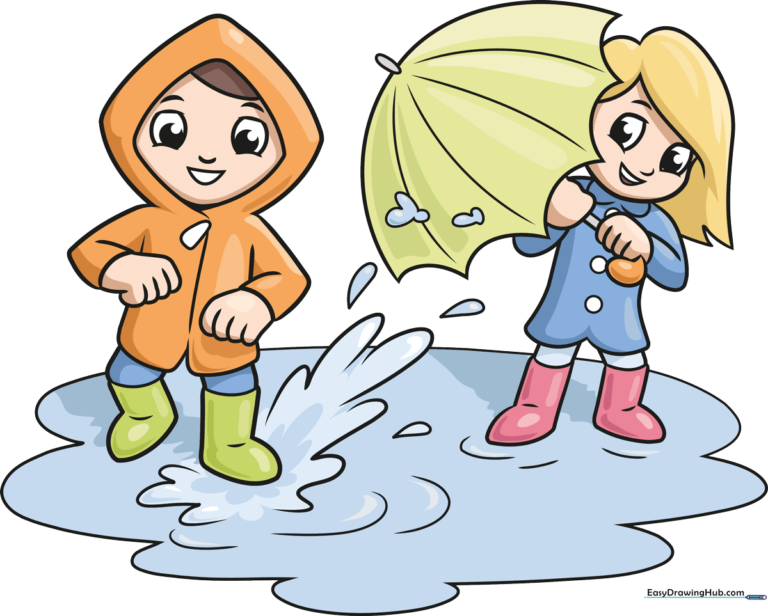
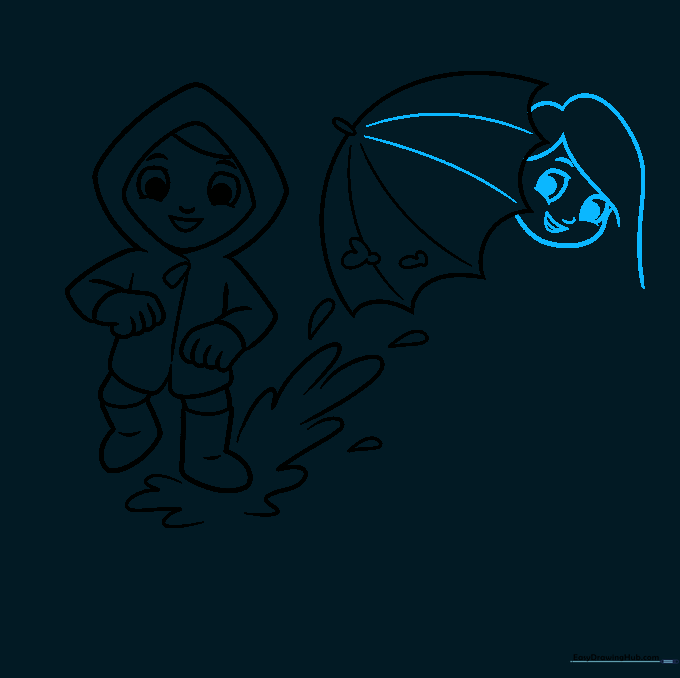
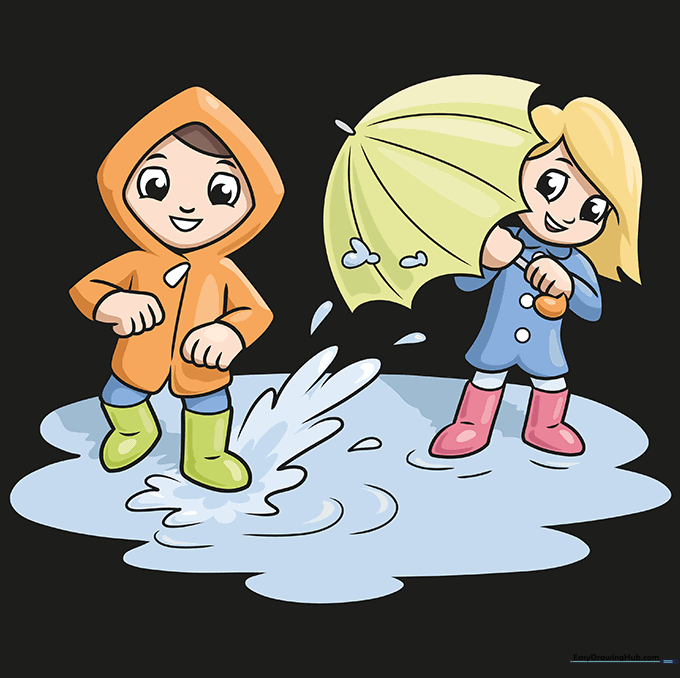
🎯 Final Result
Step-by-Step Instructions
Sketching the First Face

Start by drawing the boy's face. Outline the diamond-shaped hood of his raincoat using soft, curved lines. Add the hair, eyebrows, and a happy, smiling mouth. Tip: Keep your pencil strokes light so you can easily erase any stray lines later!
Adding the Raincoat and Hands

Use smooth, curved lines to define the hood, shoulders, and sleeves of the raincoat. Add the hands by tracing small, overlapping curves for the fingers. Tip: If the fingers look tricky, try drawing small 'mitten' shapes first and adding detail later.
Drawing the Raincoat Details and Boots
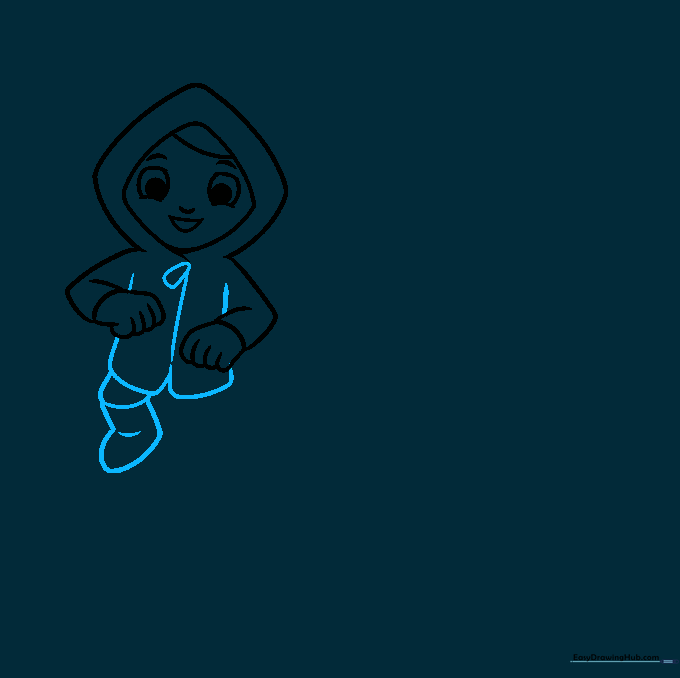
Draw the sides of the coat and a vertical line for the zipper. Add a small loop at the top for the zipper pull. Sketch the legs and boots using irregular, rounded shapes. Tip: Boots are naturally chunky, so don't worry about making them perfectly symmetrical.
Creating the Splash Effect
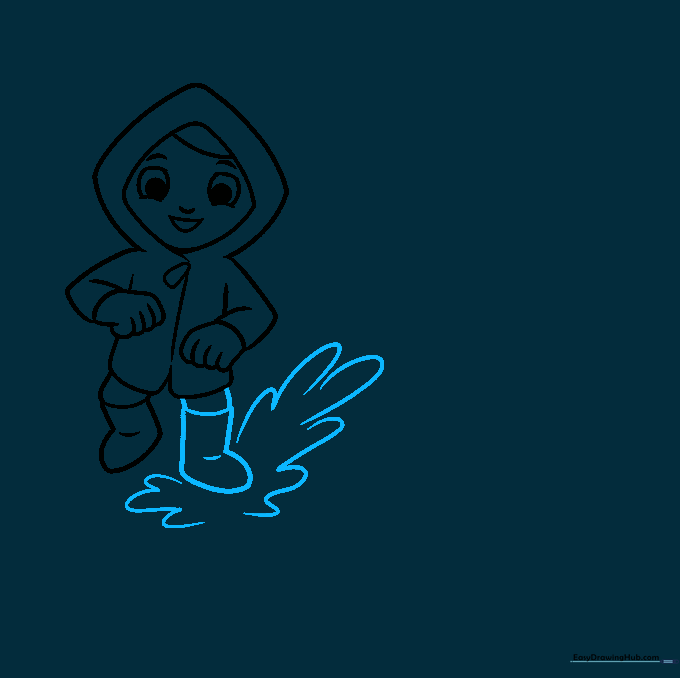
Outline the second boot and then add the splashing water. Use wavy, 'U' shaped lines of varying sizes around the boots to show movement. Tip: Varying the size of the 'U' shapes makes the splash look more realistic and energetic.
Adding the Umbrella
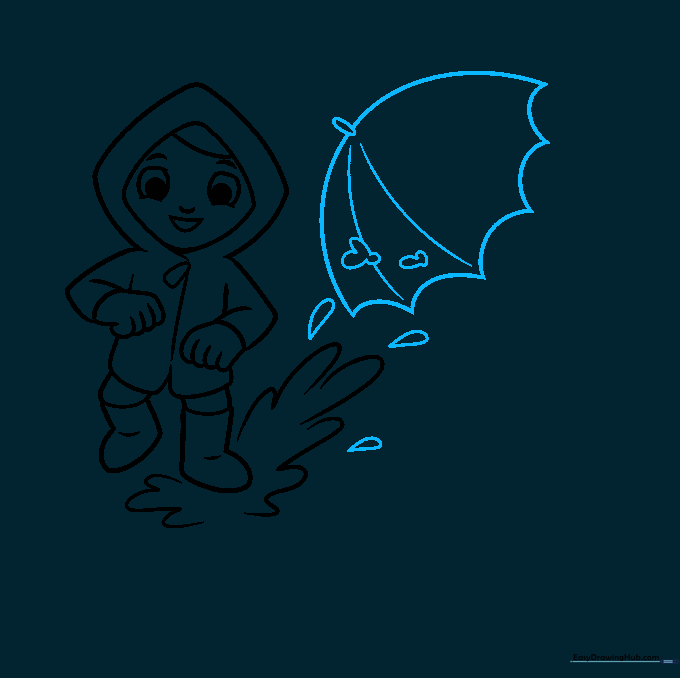
Draw a narrow oval at the top for the umbrella canopy, then extend curved lines outward. Connect these with pointed, scalloped lines. Add teardrop shapes around the splash to represent flying water droplets. Tip: Think of the umbrella as a series of connected triangles with rounded edges.
Drawing the Second Character
Connect the umbrella to the handle, then begin sketching the girl next to the boy. Use curved lines for her hair, face, and expressive eyes. Tip: Make her eyes match the boy's style to keep the cartoon characters looking like they belong in the same world.
Adding Arms and Clothing
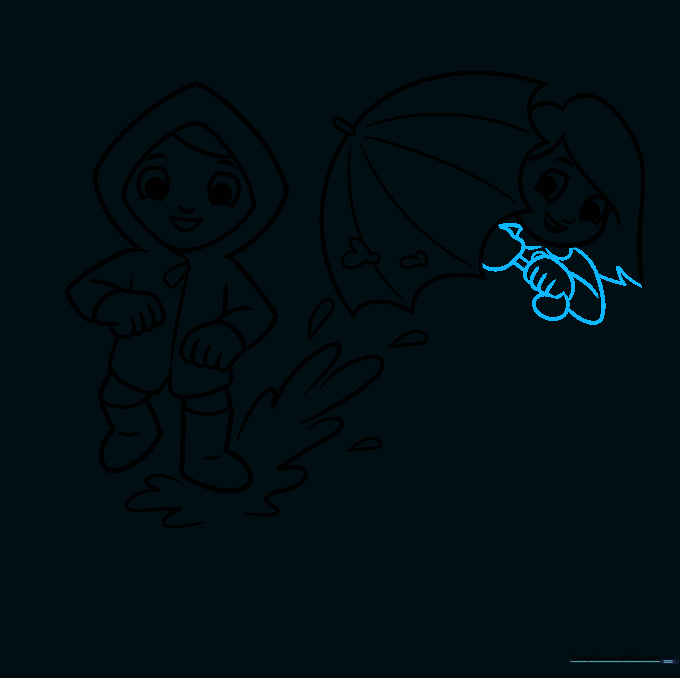
Draw the jagged edges of her hair and the collar of her jacket. Sketch her shoulders, arms, and hands holding the umbrella handle. Tip: Use 'C' shapes for the collar to give the clothing a realistic, layered look.
Completing the Outfit
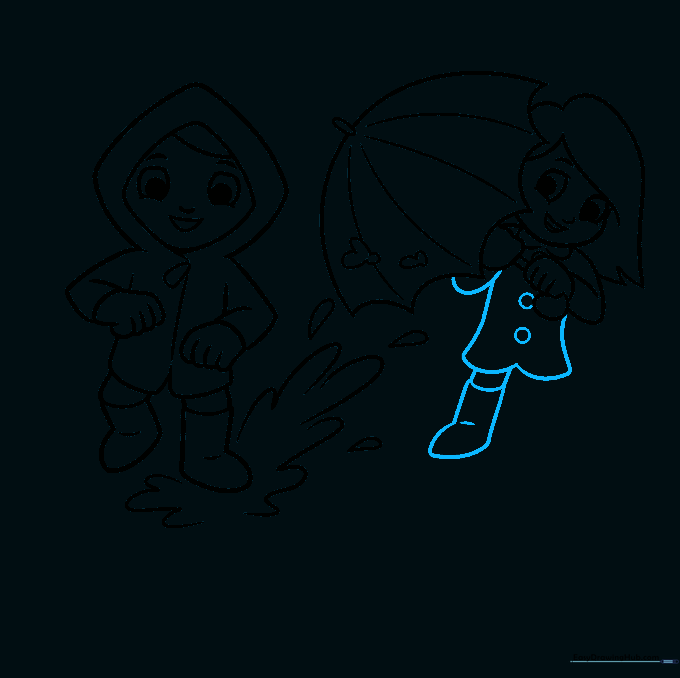
Outline her remaining arm, raincoat, and boots. Add small circles down the front of the coat for buttons. Tip: Buttons add great detail—try to space them evenly for a neat look.
Finalizing the Puddle
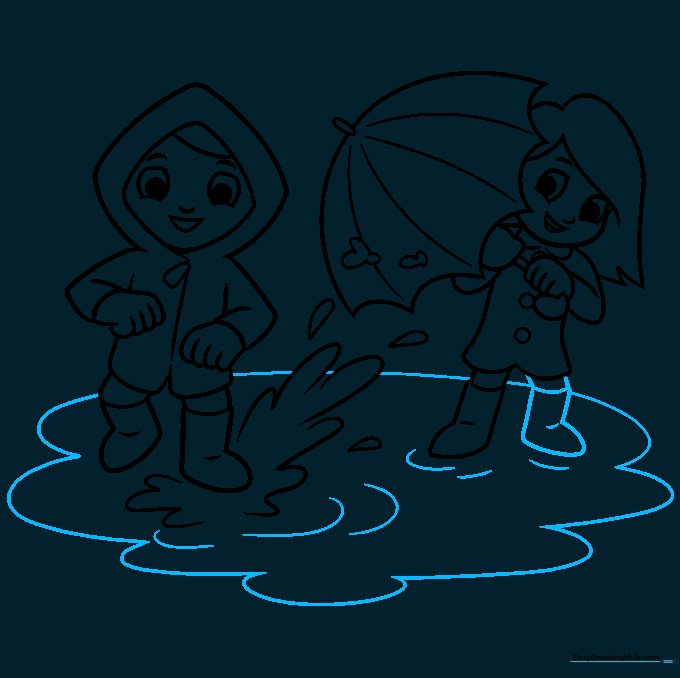
Finish the girl's boots and draw a large, irregular oval around both children to form the puddle. Add curved lines inside the puddle to show ripples. Tip: Ripples should follow the shape of the puddle to make the water look deep and realistic.
Adding Color
Bring your drawing to life with bright colors! Use yellow for the raincoats and blue for the puddle. Tip: Use a darker shade of blue for the ripples to give the water depth and make the splash pop.
More Tutorials


