How to Draw Yellowstone: Easy 9-Step Landscape Guide
Bring the wonders of Yellowstone National Park to your sketchbook! This tutorial is designed for young artists and beginners, requiring only a pencil, eraser, and paper. Follow these steps to build a beautiful landscape featuring iconic geysers, mountains, and pine trees.
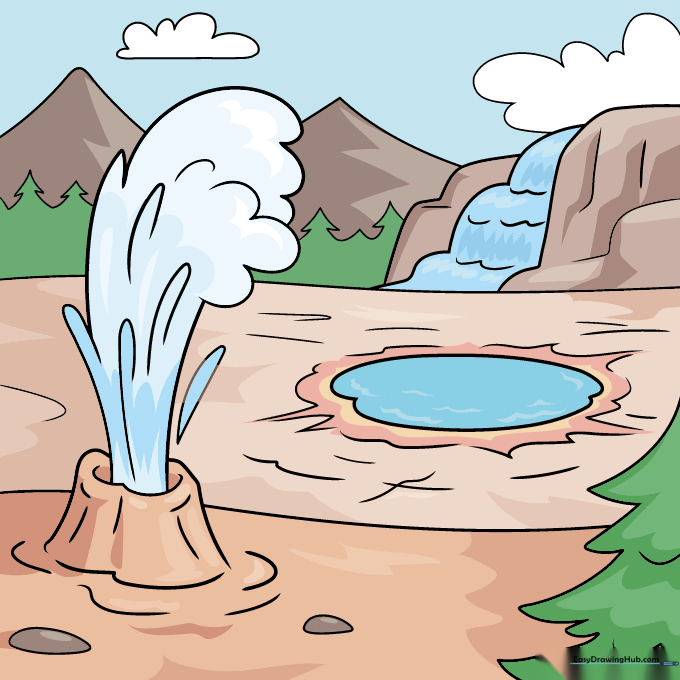
🎯 Final Result

Step-by-Step Instructions
Step 1: Sketching the Geyser Base
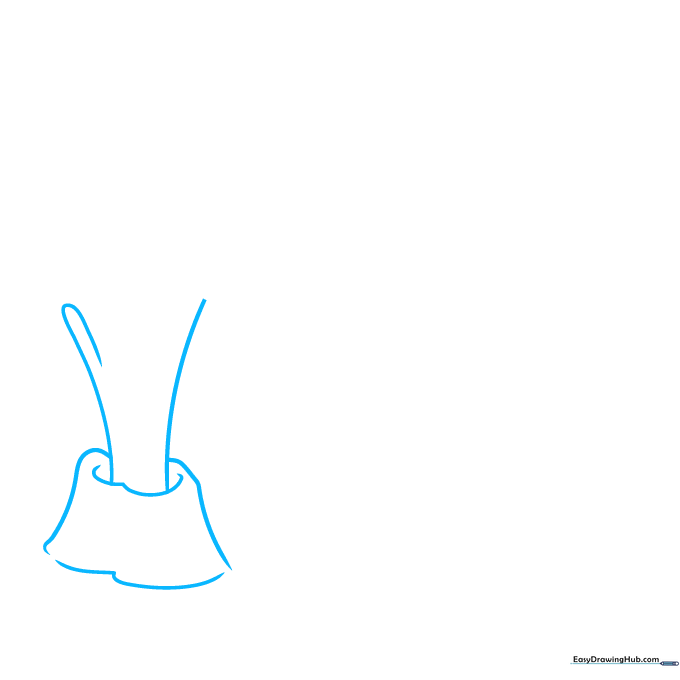
Start by drawing two inward-curving lines to represent the erupting water. Add a loose trapezoid shape at the bottom for the geyser mound. Teacher's Tip: Keep your pencil pressure light here; you'll want to erase the internal lines later to make the water look fluid.
Step 2: Defining the Water Blast
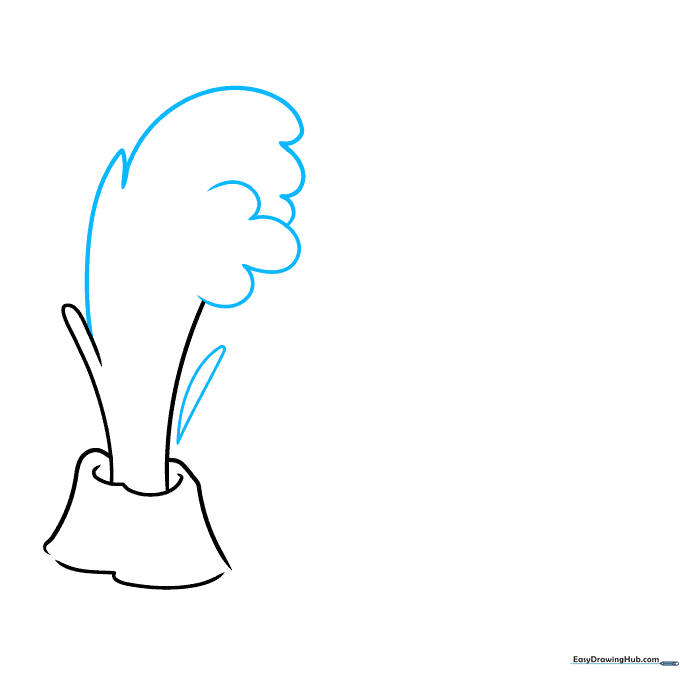
Connect your lines with overlapping curves to enclose the water spray. Add an elongated teardrop shape to the side to show the mist. Teacher's Tip: Think of the water as a cloud—keep your lines rounded and organic, not sharp or rigid.
Step 3: Adding Texture and Tree Boughs
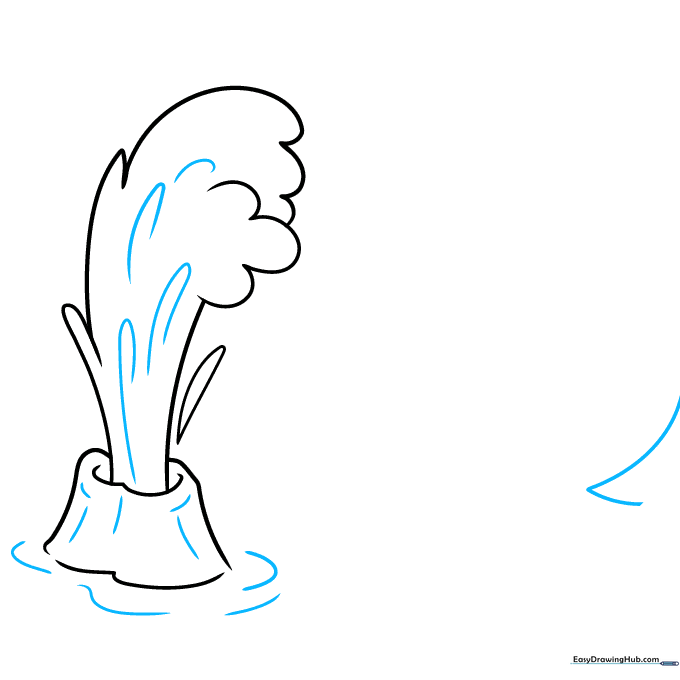
Use 'U' shaped lines to add texture to the water and the ground. Start the base of a pine tree using an 'L' shaped line. Teacher's Tip: The 'U' shapes act as contour lines, helping the viewer see the roundness of the geyser mound.
Step 4: Building the Forest and Horizon
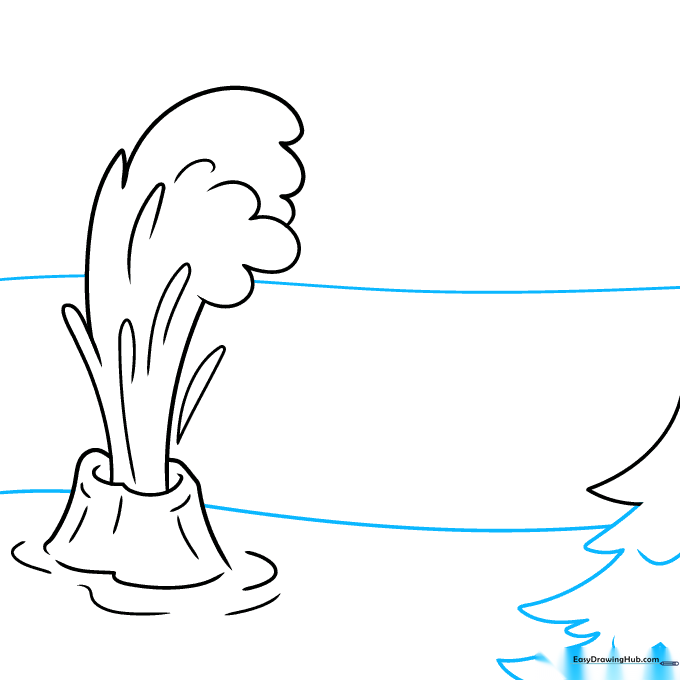
Use a series of 'V' shapes to create the pine tree branches. Draw two long, wavy lines across the background to establish the horizon. Teacher's Tip: Vary the size of your 'V's to make the tree look natural rather than perfectly symmetrical.
Step 5: Drawing the Hydrothermal Pool
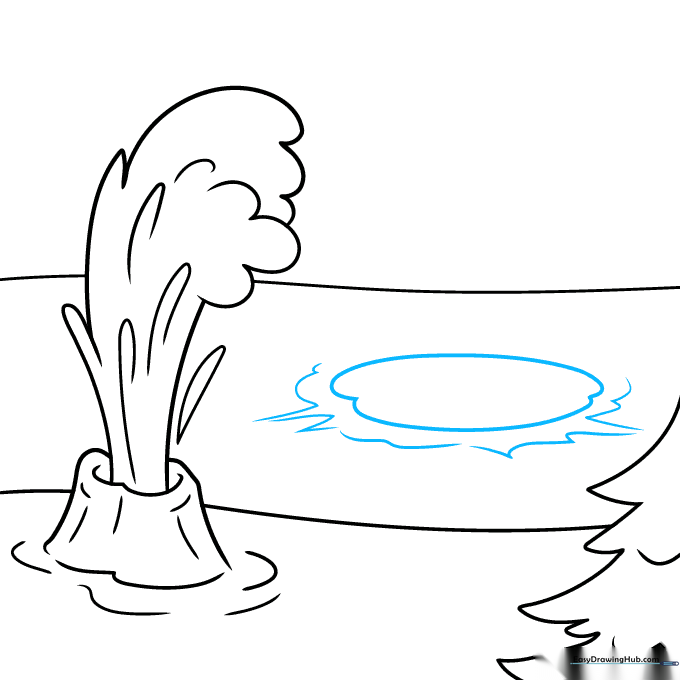
Draw an oval shape to represent the pool. Use jagged, irregular lines around it to suggest rocky ground. Teacher's Tip: Hydrothermal pools are rarely perfect circles, so don't worry if your oval is a bit wobbly!
Step 6: Adding Depth and Waterfalls
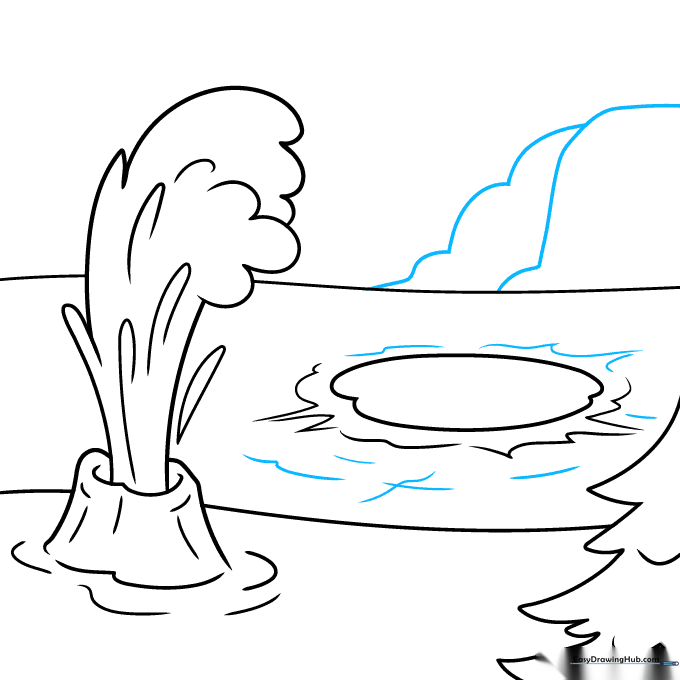
Add inner contours to the pool. On the horizon, draw overlapping curved lines to create a rock outcropping and a waterfall. Teacher's Tip: Overlapping lines are the secret to creating depth in a landscape drawing.
Step 7: Creating the Distant Treeline

Enclose a second rock outcropping near the waterfall. Then, use jagged, pointed lines to sketch a distant treeline. Teacher's Tip: Keep the trees in the distance smaller and less detailed than the ones in the foreground to show perspective.
Step 8: Mountains and Clouds
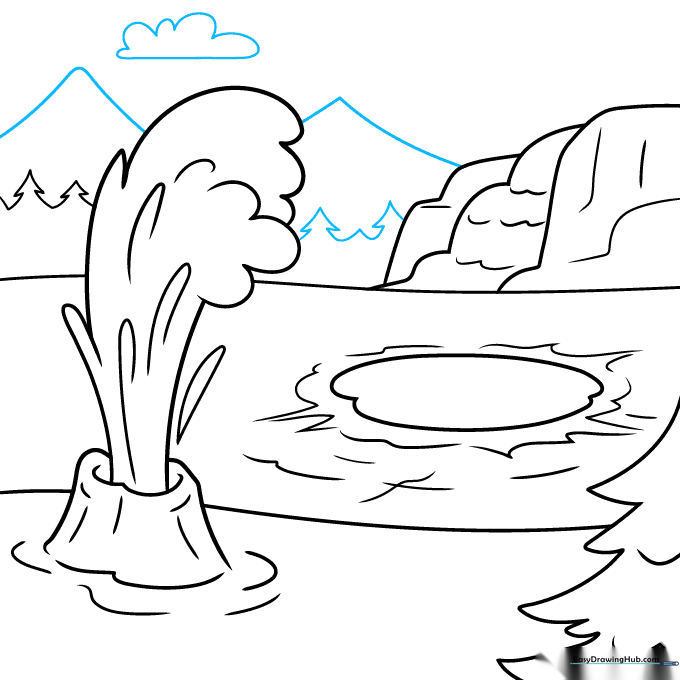
Finish the treeline. Add two 'V' shapes for distant mountains and a fluffy, rounded shape for a cloud. Teacher's Tip: Clouds are great for filling empty sky space—don't make them too symmetrical!
Step 9: Final Details
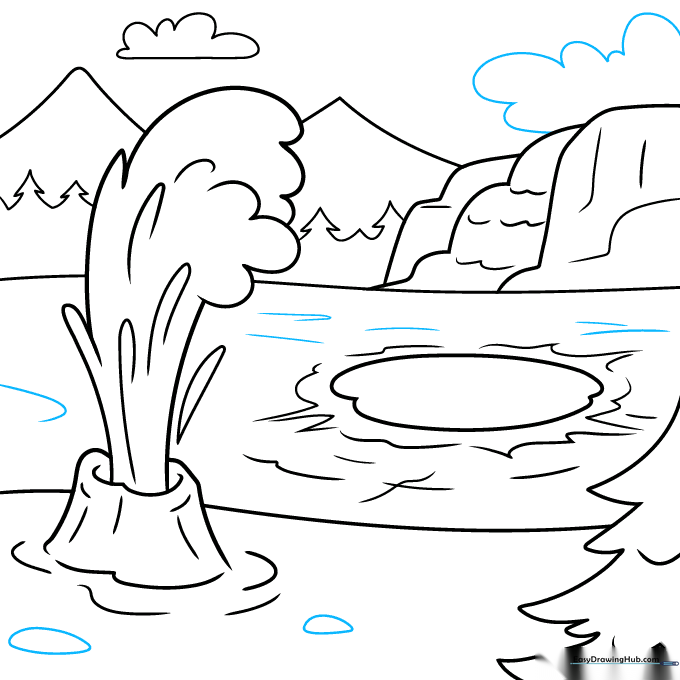
Add final touches like small stones at the geyser base and extra texture lines on the ground. Teacher's Tip: Use your eraser to clean up any overlapping lines that shouldn't be there before you start coloring.
Color Your Yellowstone Drawing
Bring your park to life! Use deep greens for the trees, turquoise for the hydrothermal pools, and soft whites for the steam. Teacher's Tip: Use light pressure with your blue pencil to create a gradient in the pool, making it look deeper in the center.
More Tutorials


