How to Draw Wonder Woman: Easy 10-Step Guide for Kids
Ready to draw the ultimate Amazonian warrior? This tutorial is perfect for young artists ages 7+ who want to practice character proportions. You'll need a pencil, an eraser, and your favorite markers or colored pencils to bring this superhero to life.
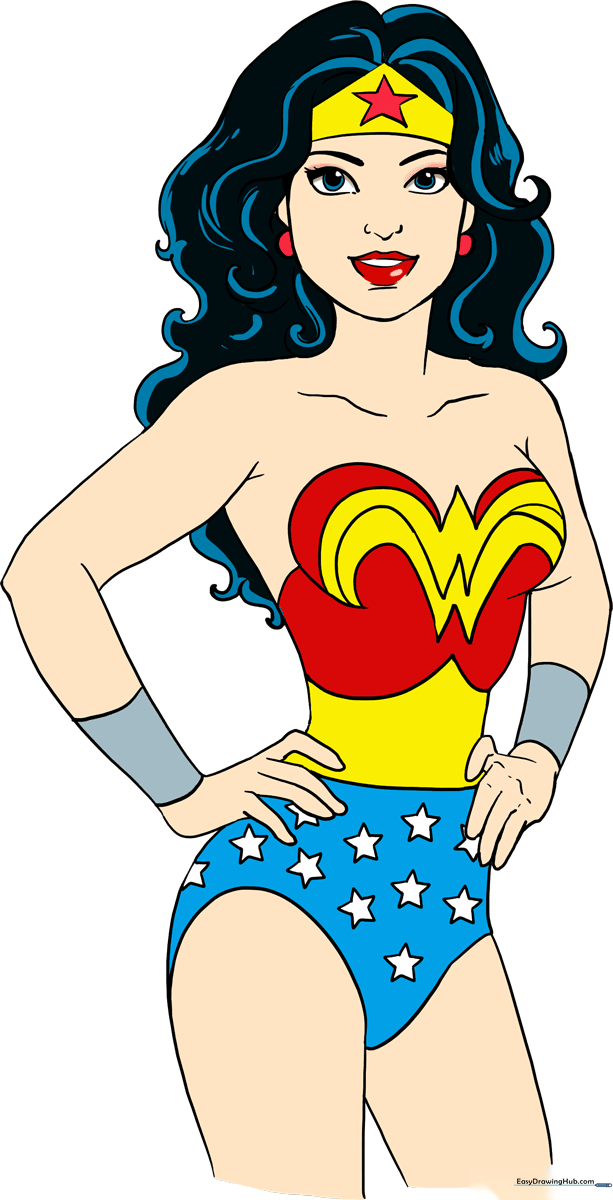
🎯 Final Result
Step-by-Step Instructions
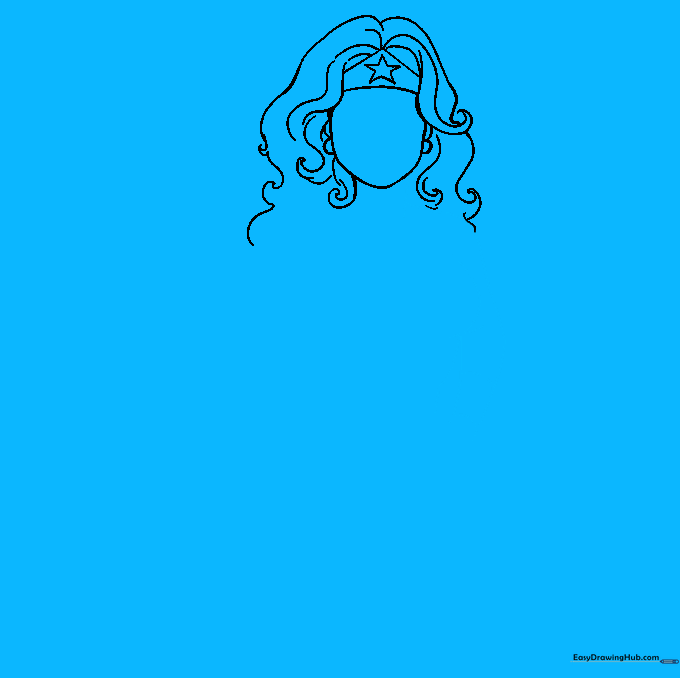
Step 1: Sketching the Face and Crown

Lightly outline the face using a soft, curved shape. Add the triangular base of her tiara at the top, placing a small five-pointed star in the center. Teacher's Tip: Keep your pencil pressure light here so you can easily adjust the symmetry of the crown later.
Step 2: Adding the Ears
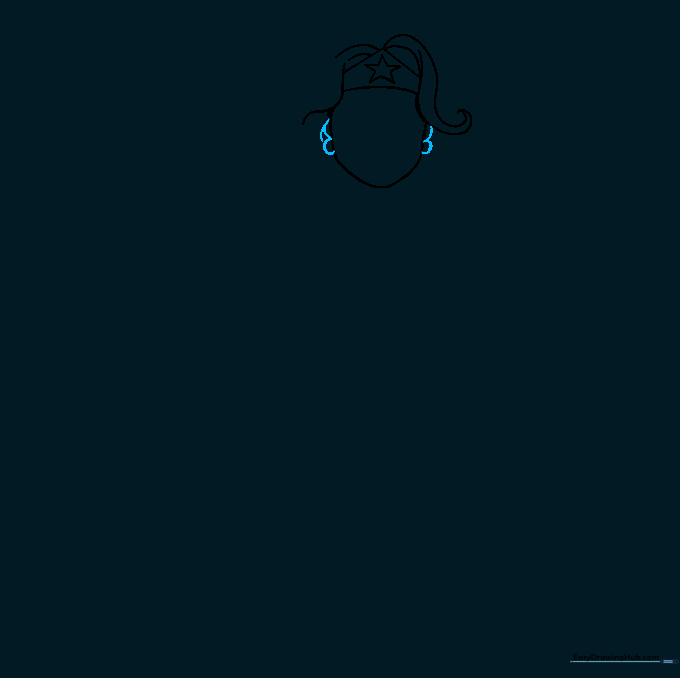
Draw two small half-circles on either side of the head to represent the ears. Teacher's Tip: Align these with the middle of the face shape to ensure her features look balanced.
Step 3: Styling the Hair
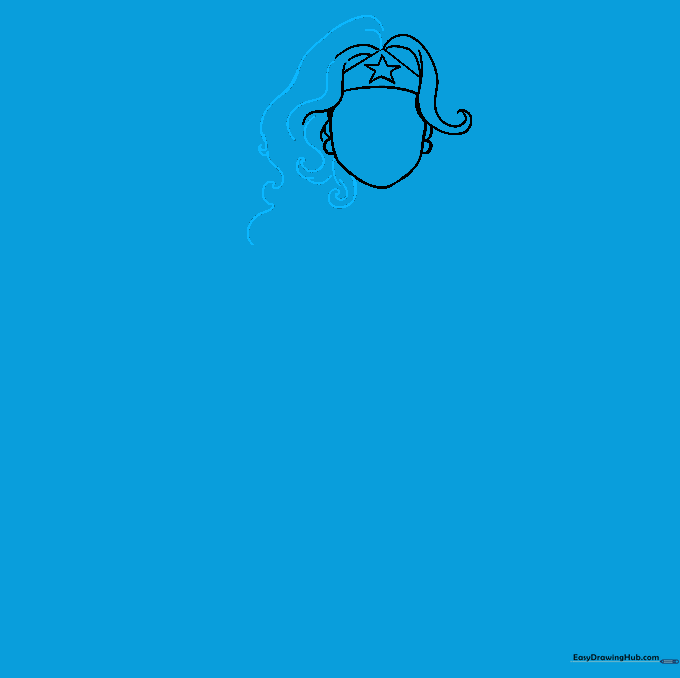
Use long, sweeping curved lines to outline her flowing hair. Add some smaller, pointed curves to give the hair a wavy, dynamic look. Teacher's Tip: Think of the hair as large ribbons flowing away from her face.
Step 4: Completing the Hair
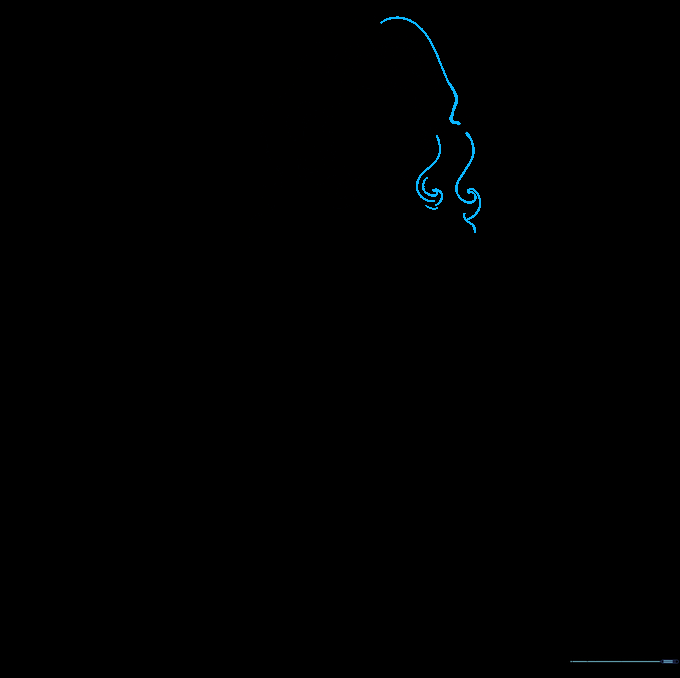
Repeat the process on the opposite side, ensuring the hair looks symmetrical and voluminous. Teacher's Tip: Vary the length of your strokes to make the hair look more natural and less stiff.
Step 5: Shoulders and Bracelets
Draw a short line for the neck, then extend curved lines for the shoulders and torso. Add two small curved lines on the arm to represent her iconic bracelets. Teacher's Tip: Keep the bracelets parallel to show they are solid cuffs.
Step 6: Torso and Costume Detail
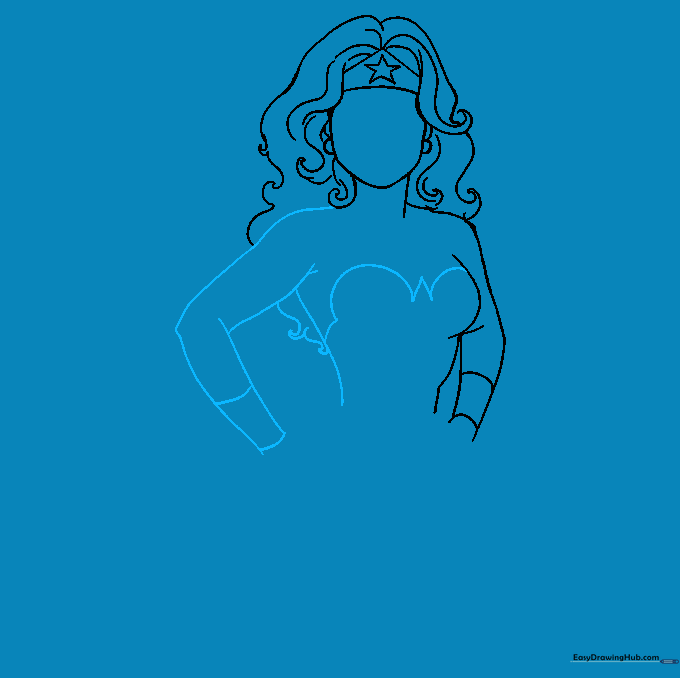
Complete the other arm, bending it at the elbow. Draw a 'W' shape across the chest for her emblem, and add hair flowing behind her back. Teacher's Tip: The 'W' should be centered on the chest to look correct.
Step 7: Facial Features
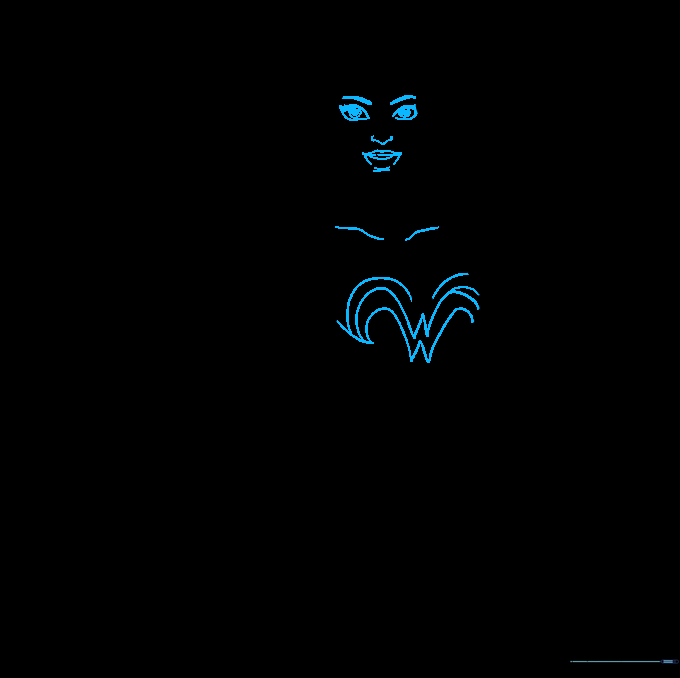
Draw teardrop-shaped eyes with round pupils, arched eyebrows, a small nose, and a gentle smile. Add lines for the collarbone. Teacher's Tip: Keep the eyes simple—a small circle inside a larger shape is enough to show expression.
Step 8: Hands on Hips
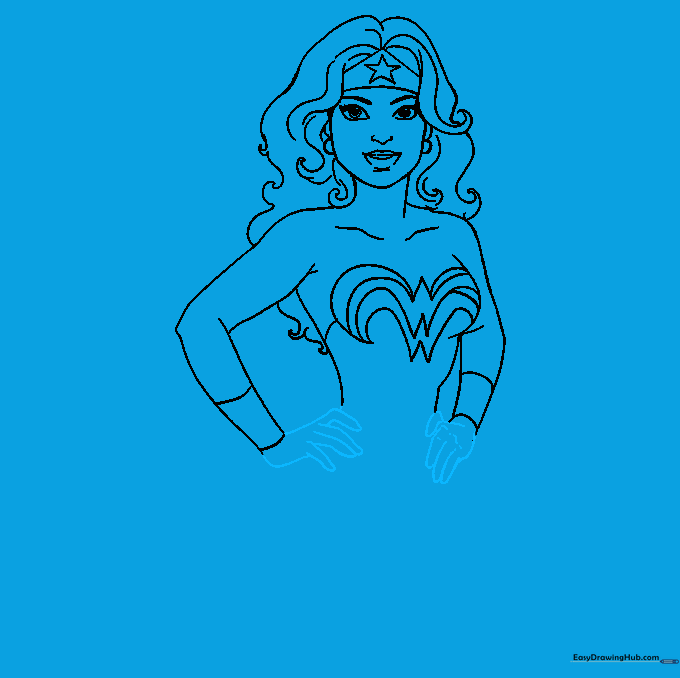
Sketch the hands resting on her hips using simple curved lines. Teacher's Tip: Don't worry about drawing every finger; simple shapes for the hands are perfect for this cartoon style.
Step 9: Legs and Stars
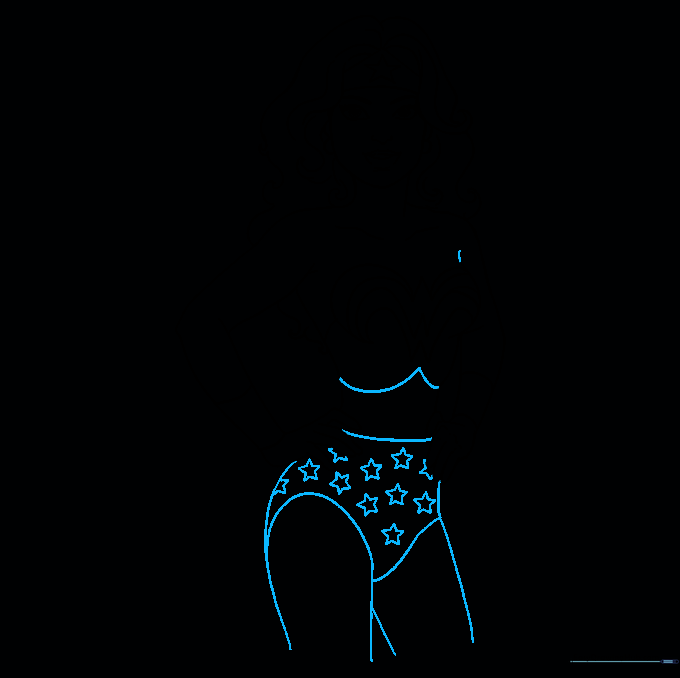
Draw the legs and the bottom of her skirt with an inverted 'V' shape. Add small stars to her skirt for that classic look. Teacher's Tip: Make sure the stars are spaced out evenly.
Step 10: Bringing Her to Life with Color
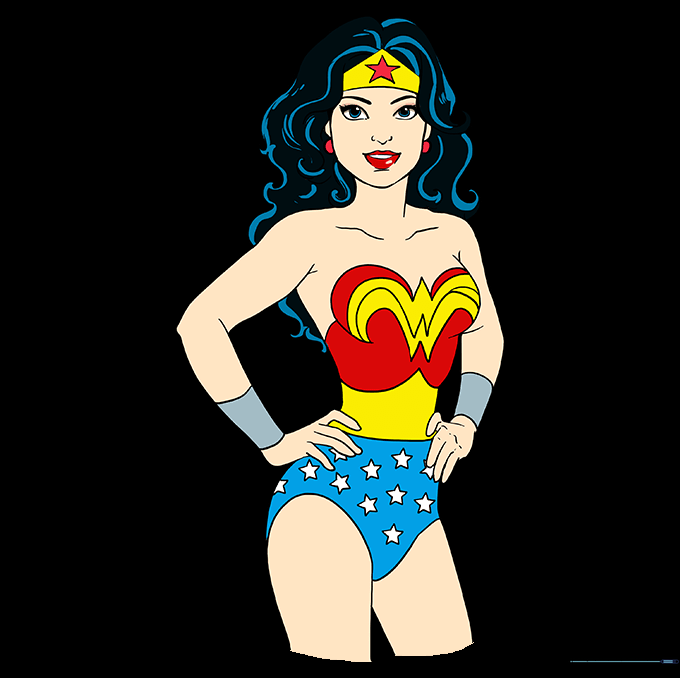
Time to color! Use dark brown for the hair, and classic red, yellow, and blue for her outfit. Teacher's Tip: Use a light touch with your markers to avoid bleeding through the paper.
More Tutorials


