How to Draw Wheat: Easy 10-Step Guide for Kids
Bring the harvest to life with this simple wheat drawing tutorial, perfect for artists ages 5 and up. You will only need a pencil, an eraser, and your favorite coloring tools to complete this rustic scene. Follow along to master the art of drawing overlapping kernels and textured stalks.
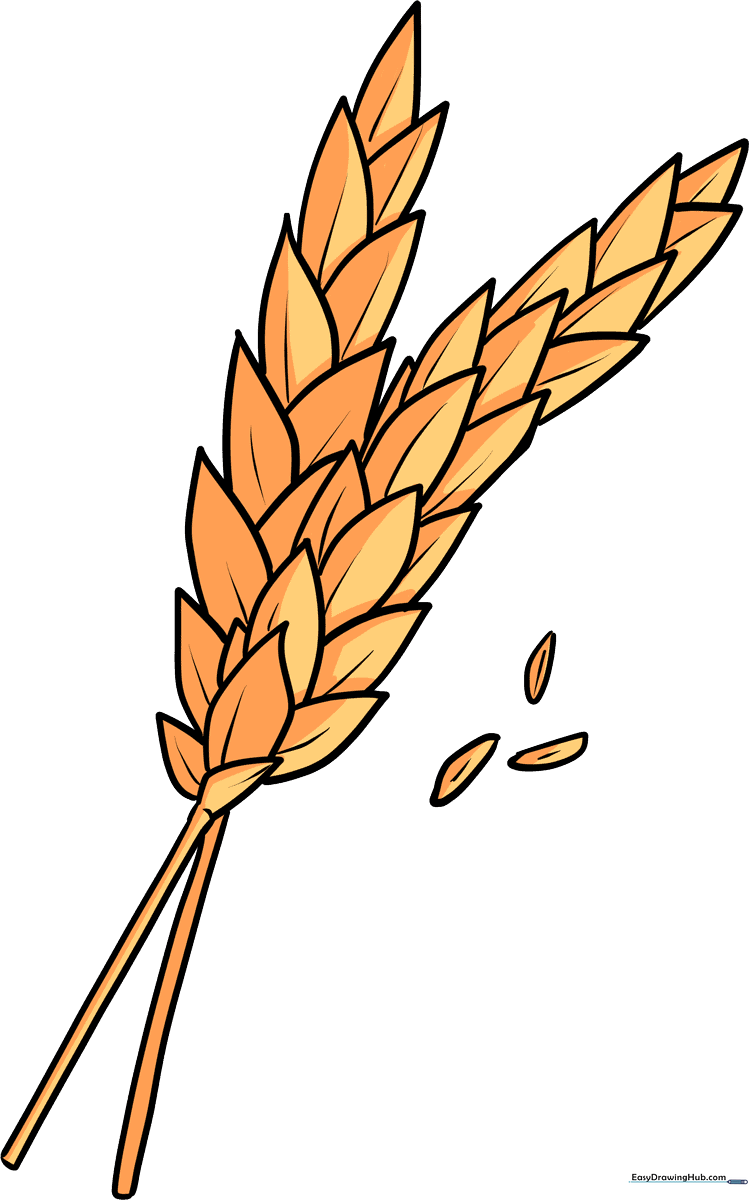
🎯 Final Result
Step-by-Step Instructions
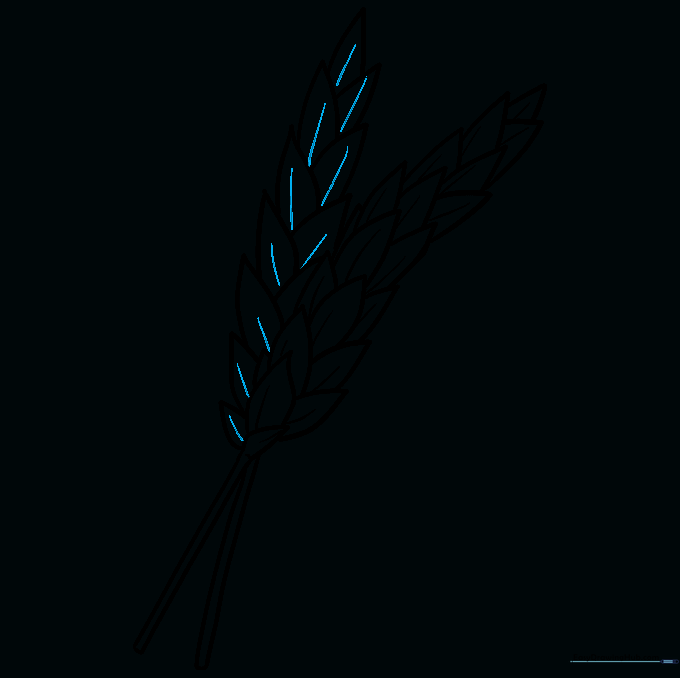
Step 1: Sketching the First Stalk
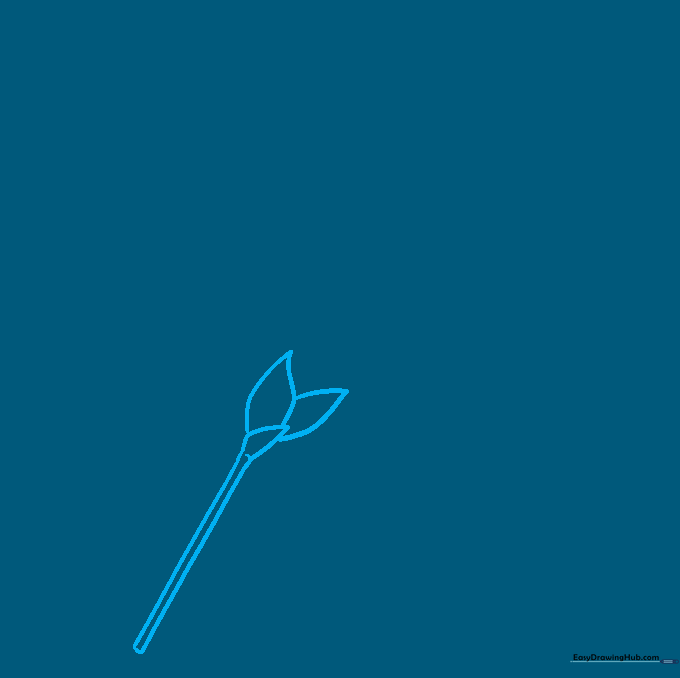
Draw two parallel lines for the stem, connecting them at the bottom. At the top, add small, pointed, leaf-like shapes for the first kernels. Teacher's Tip: Keep your lines light and loose; wheat is organic and doesn't need to be perfectly straight!
Step 2: Building the Kernel Rows
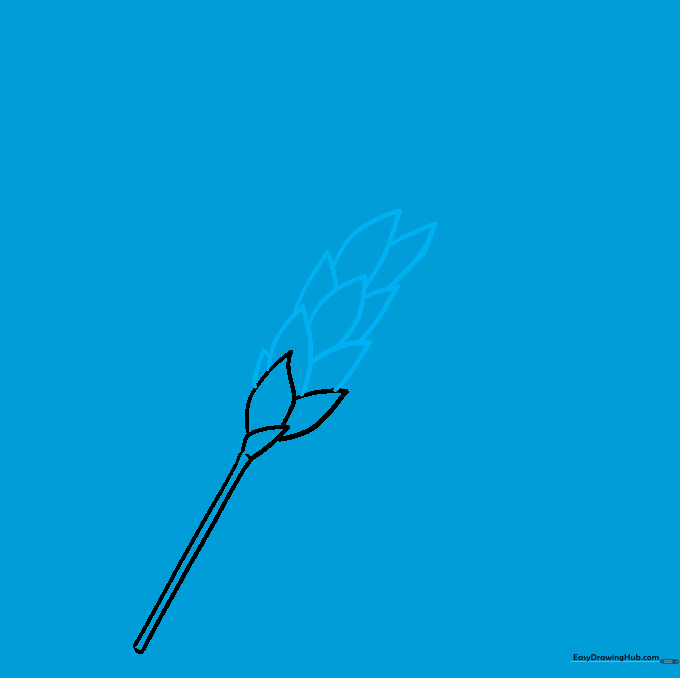
Add more kernels by drawing pairs of curved lines that meet at a point. Aim for two or three overlapping kernels per row. Teacher's Tip: Think of these as little teardrop shapes stacked on top of each other.
Step 3: Finishing the First Spike
Continue adding kernels until you reach the top of the spike, finishing with a single kernel at the very tip. Teacher's Tip: Vary the size of your kernels slightly to make the wheat look more natural.
Step 4: Adding Kernel Texture
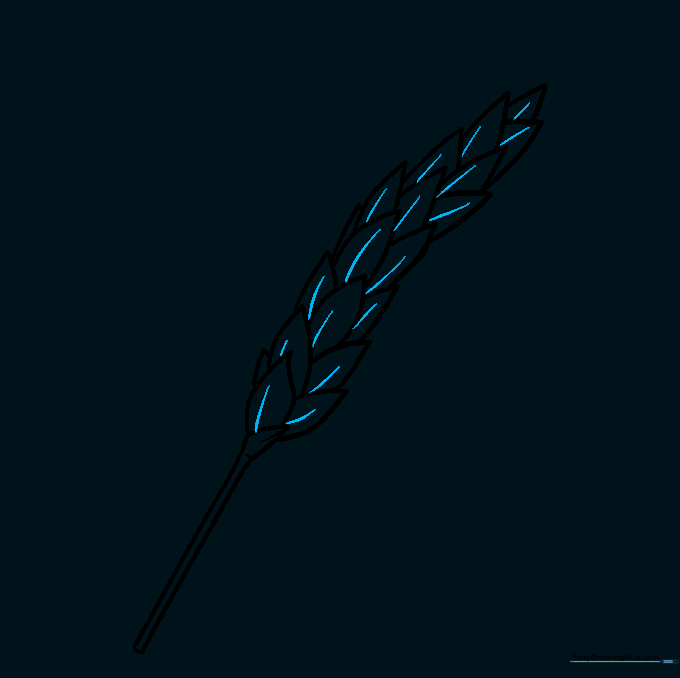
Draw a small curved line down the center of each kernel to add depth. Teacher's Tip: This simple detail makes the wheat look three-dimensional rather than flat.
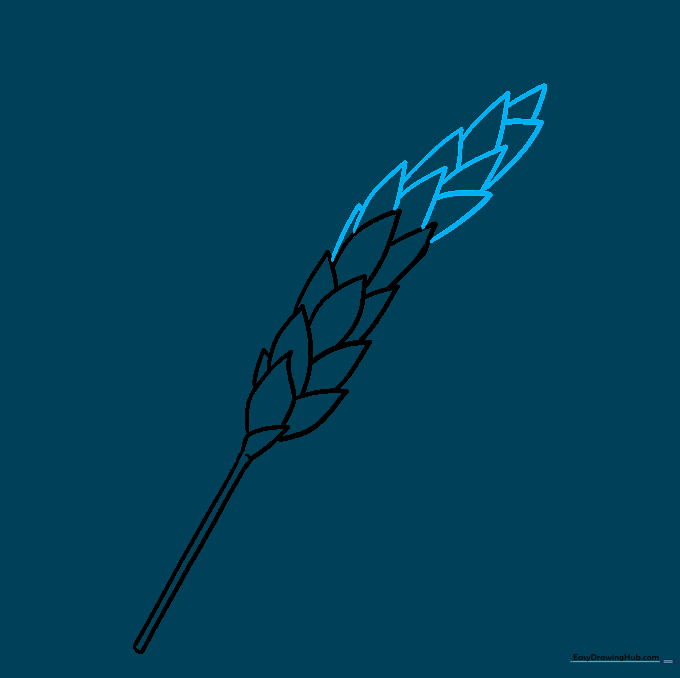
Step 5: Drawing the Second Stalk
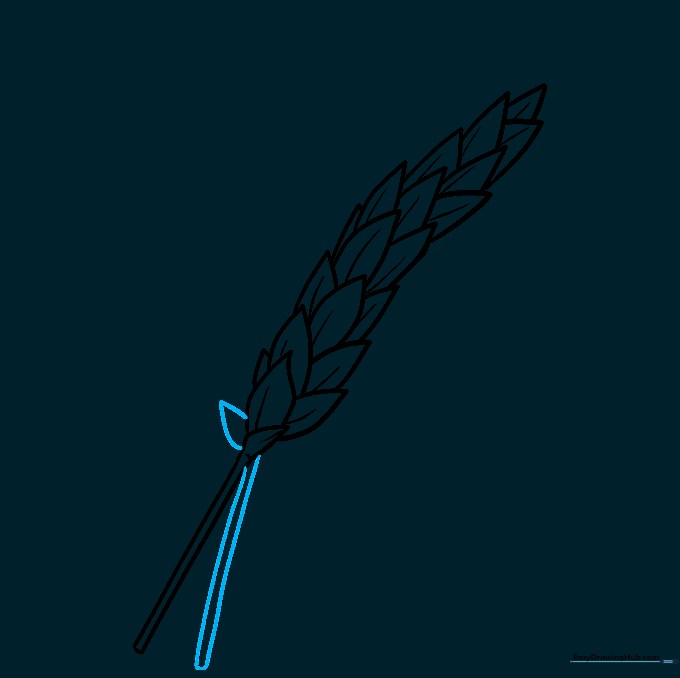
Draw a second stalk next to the first, partially hidden behind it. Use the same parallel line technique. Teacher's Tip: Overlapping objects is a great way to create a sense of space in your drawing.
Step 6: Adding Kernels to the Second Stalk
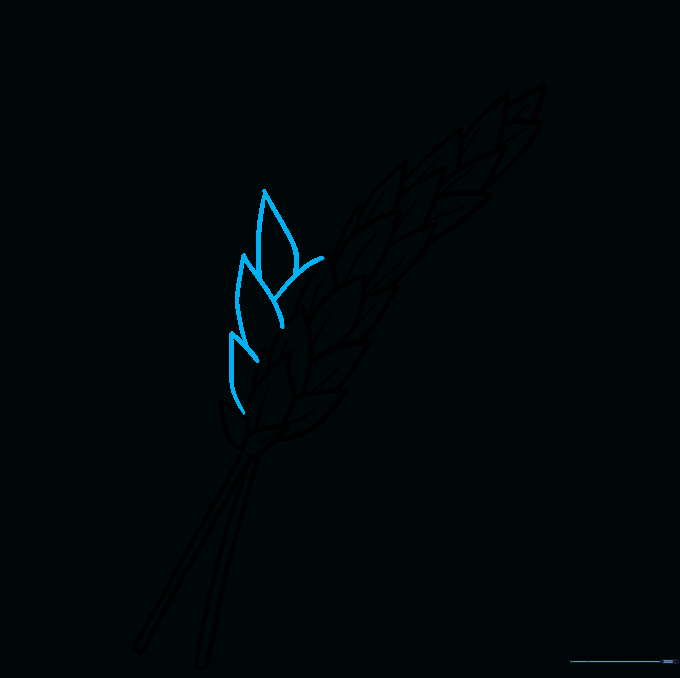
Repeat the process of drawing rows of kernels for the second stalk. Teacher's Tip: Don't worry if they aren't identical to the first stalk; nature is full of variety!
Step 7: Completing the Second Spike
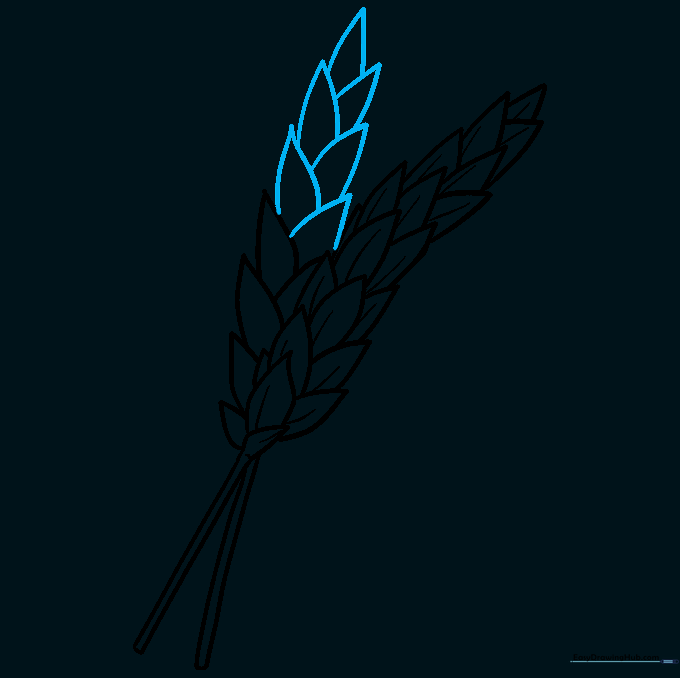
Fill out the rest of the second spike with more overlapping kernels. Teacher's Tip: If you make a mistake, just use your eraser to lift the graphite and try again.
Step 8: Adding Texture to the Second Stalk
Add the central lines to the kernels of the second stalk. Teacher's Tip: Keep your pencil pressure consistent so all the lines look uniform.
Step 9: Adding Fallen Kernels
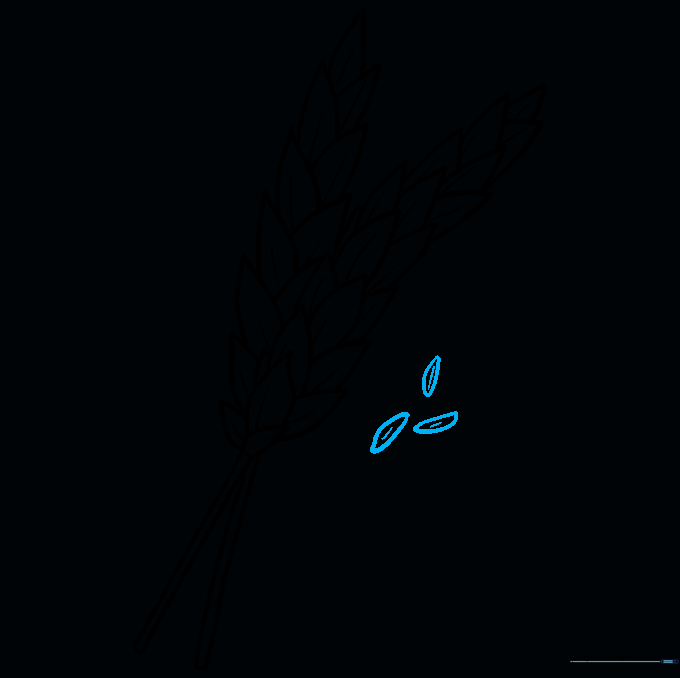
Draw a few loose kernels at the base of the stalks to make the drawing look more realistic. Teacher's Tip: Use small, double-pointed shapes to represent kernels that have fallen to the ground.
Step 10: Bringing Your Wheat to Life with Color
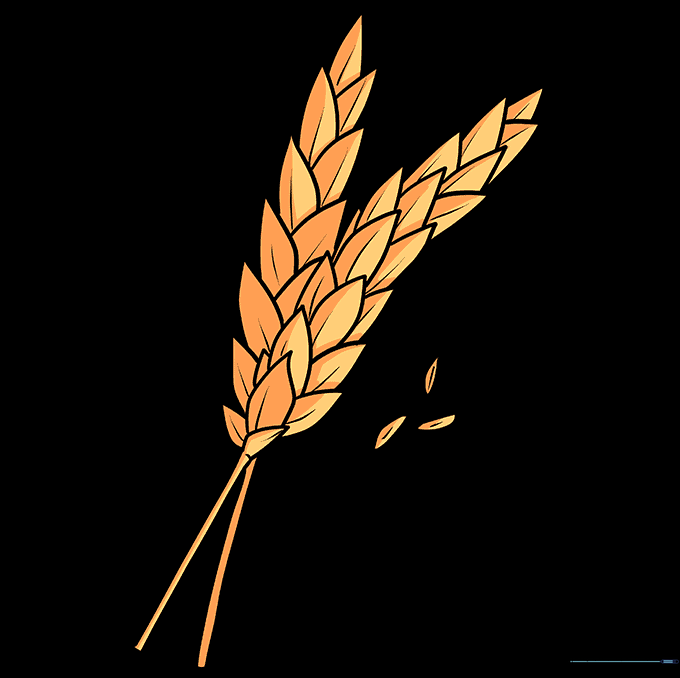
Color your wheat! Use green for young stalks, or golden browns for a ripe, harvest-ready look. Teacher's Tip: Try blending a light yellow and a soft brown to create a realistic golden hue.
More Tutorials


