How to Draw Realistic Ocean Waves: Easy Step-by-Step Guide
Capture the movement of the ocean with this beginner-friendly drawing guide, perfect for artists ages 6 and up. All you need is a pencil, an eraser, and a sheet of paper to get started. By following these steps, you will learn how to create depth and rhythm in your seascapes using simple, flowing lines.
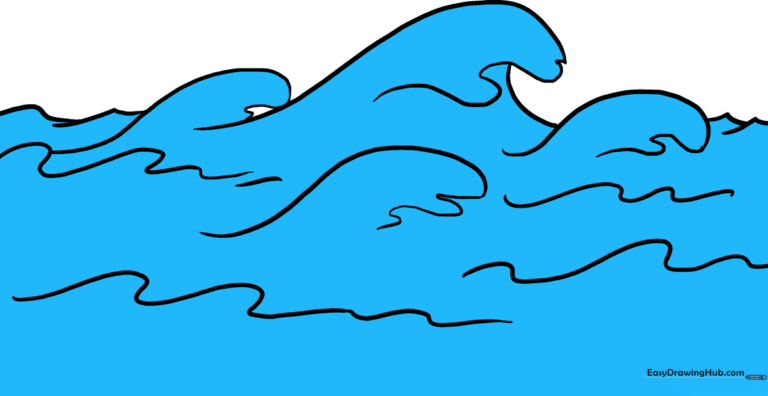
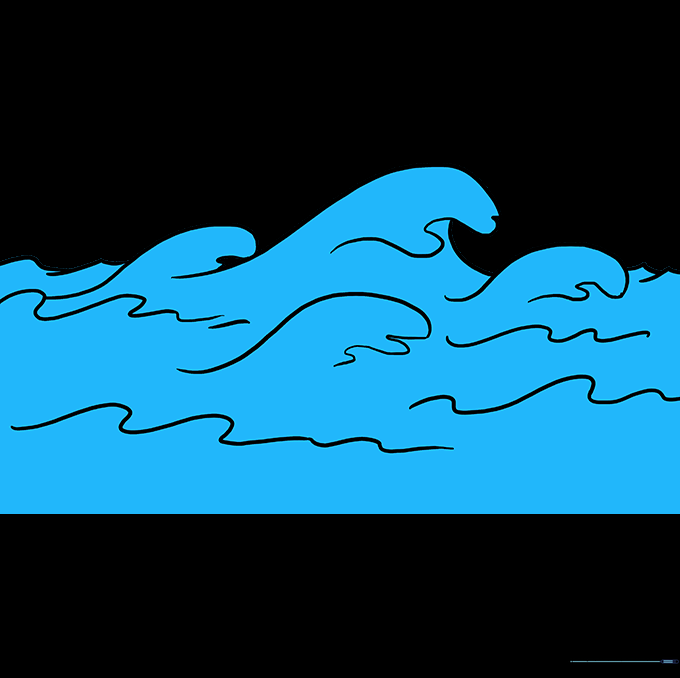
🎯 Final Result
Step-by-Step Instructions
Sketching the First Wave Crest

Start by drawing a soft, curved line that dips and rises. Tip: Keep your pencil pressure light so you can easily adjust the shape later if the curve feels too steep.
Adding the Second Wave

Draw a second, slightly larger curved line that connects to the first. Tip: Imagine the water is rolling; try to make the connection point look smooth rather than sharp.
Expanding the Wave Sequence

Add another curved line to extend your wave pattern. Tip: Vary the height of your curves to make the ocean look natural and dynamic.
Drawing the Central Whitecap

Use a series of short, bumpy, curved lines to create the frothy whitecap on the central wave. Tip: Think of this as drawing a fluffy cloud sitting on top of the water.
Detailing the Smaller Wave
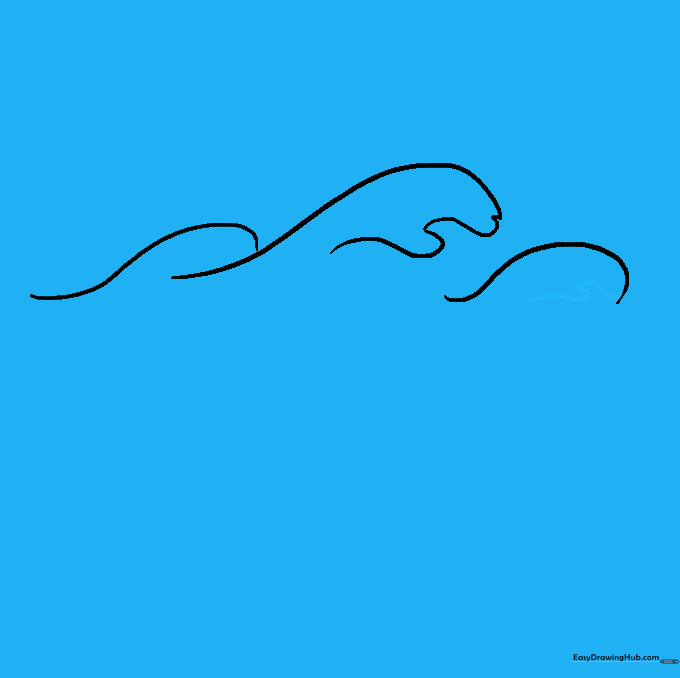
Add a similar bumpy, frothy texture to the smaller wave. Tip: Keep these bumps irregular—nature is rarely perfectly symmetrical!
Refining the Largest Wave

Add a whitecap to the last wave and draw a connecting line from the crest down to the base. Tip: This line helps define the 'face' of the wave, giving it a sense of volume.
Adding a Foreground Wave

Draw a long, sweeping curve in the foreground with a squiggly line for its whitecap. Tip: Placing a wave in the foreground adds depth to your drawing, making it look 3D.
Adding Water Turbulence
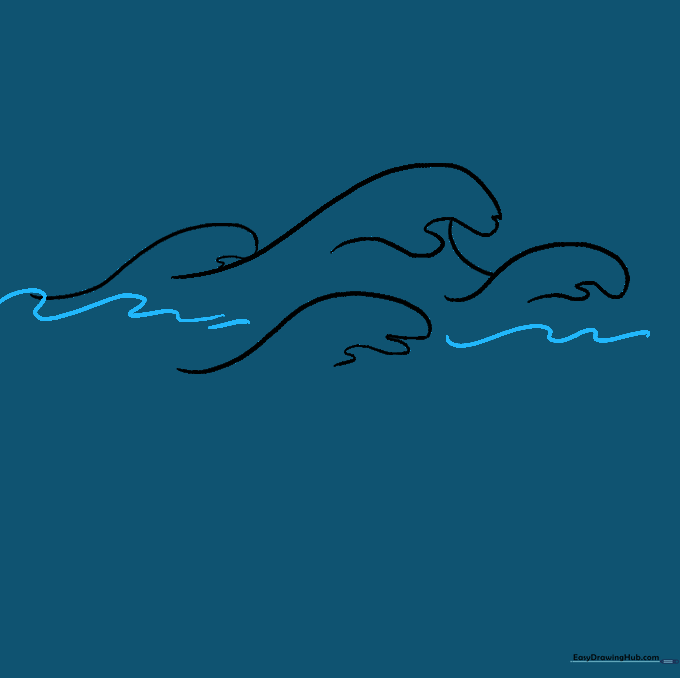
Draw wavy, curved lines between the main waves to represent moving water. Tip: Use short, quick strokes to suggest the energy and turbulence of the sea.
Finalizing the Water Texture
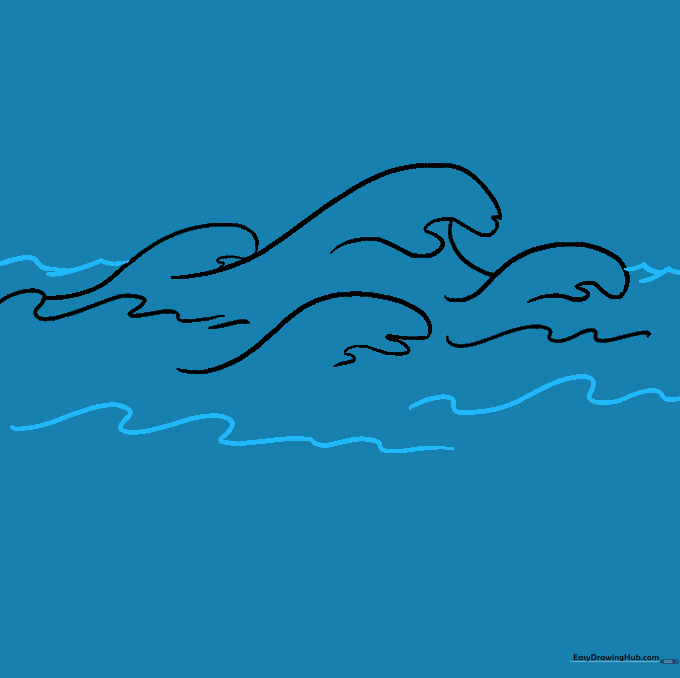
Add more wavy lines in the foreground and short, pointed lines in the background to show choppy water. Tip: The smaller, pointier lines in the back create the illusion of distance.
Adding Color to Your Waves
Bring your drawing to life with shades of blue, teal, and white. Tip: Use darker blues at the base of the waves and lighter blues near the whitecaps to create a realistic sense of depth.
More Tutorials


