How to Draw Water Drops: Easy 10-Step Guide for Kids
Bring your drawings to life with dynamic water splashes! This tutorial is perfect for artists ages 5 and up. All you need is a pencil, an eraser, and your favorite coloring markers to master the art of liquid movement.
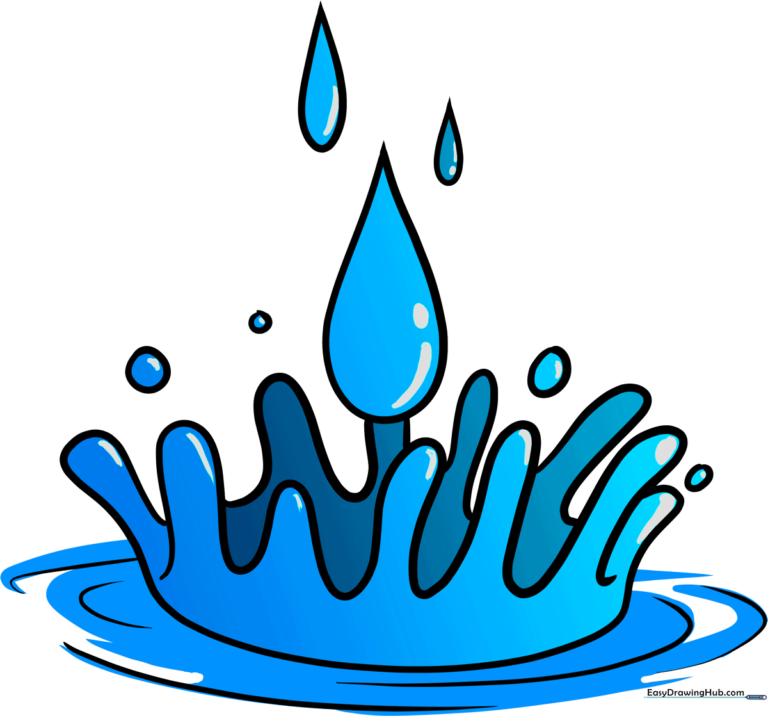
🎯 Final Result
Step-by-Step Instructions
Step 1: The First Droplet

Draw a simple teardrop shape. Teacher's Tip: Keep the point of the teardrop rounded rather than sharp to make it look more like a natural liquid bead.
Step 2: Adding a Second Drop
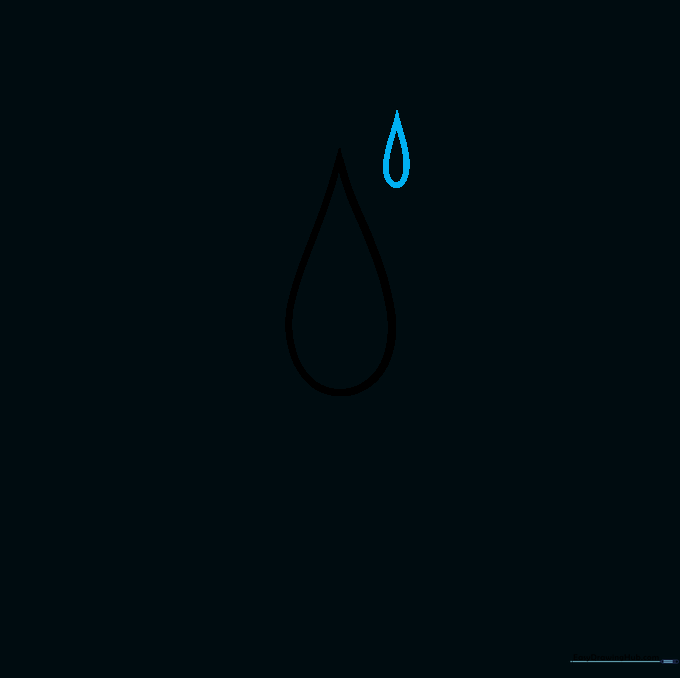
Draw a smaller teardrop shape nearby. Tip: Varying the sizes of your droplets creates a more realistic sense of depth and motion.
Step 3: Creating the Third Droplet
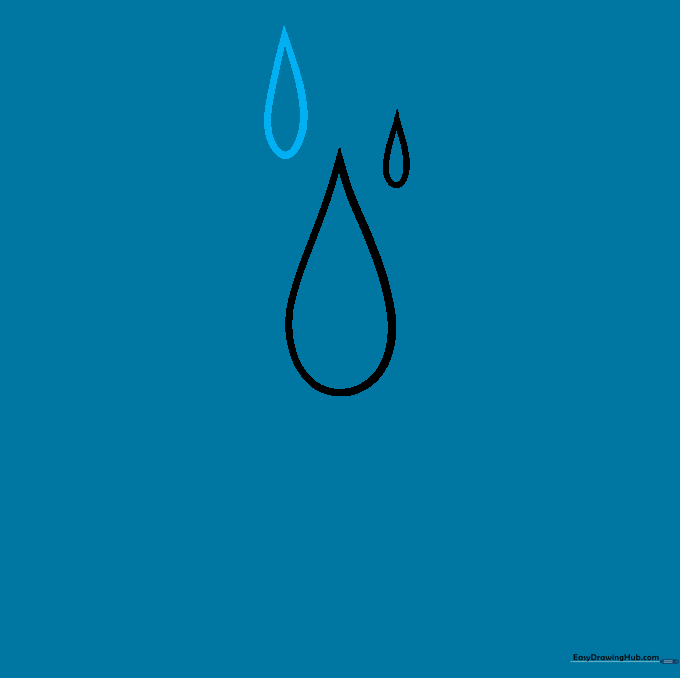
Add a medium-sized teardrop to your composition. Tip: Try to point them in slightly different directions to show they are flying through the air.
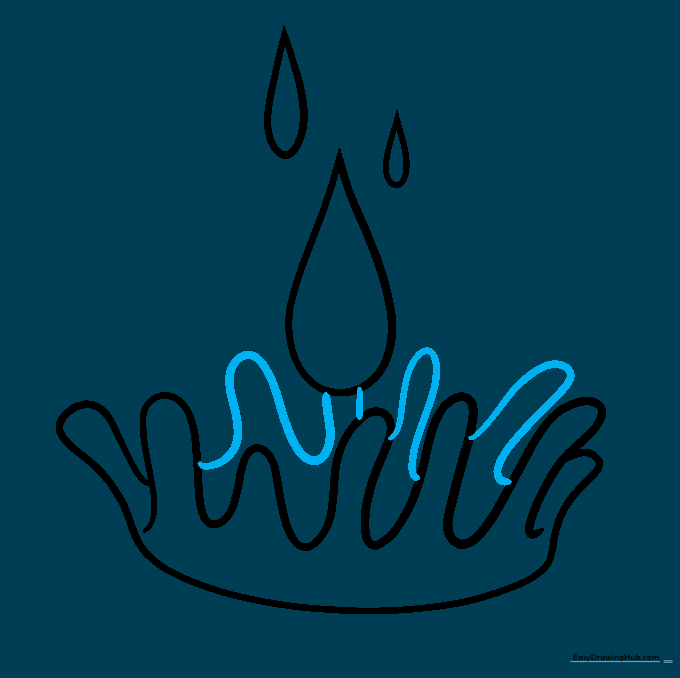
Step 4: Sketching the Base Splash

Draw a long, curved line that doubles back on itself. This forms the base of your splash. Tip: Think of this as the 'crown' of the water impact.
Step 5: Defining the Splash Shape

Use a wavy line that overlaps the previous one to enclose the splash. Tip: Don't worry about making it perfect; water is fluid and naturally irregular!
Step 6: Adding Side Droplets
Draw small curved lines between the splash sections to create secondary droplets. Tip: These small details make the drawing look much more energetic.
Step 7: Filling the Air with Droplets
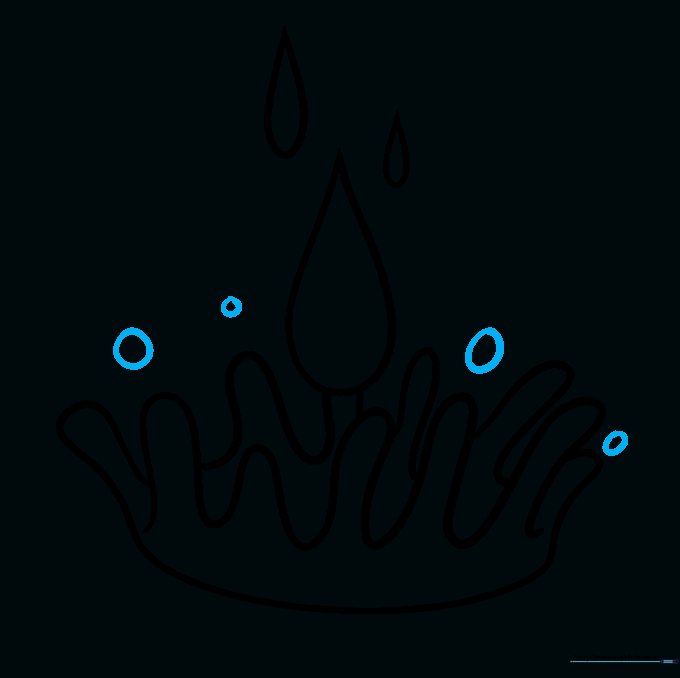
Add various circles and ovals around the splash. Tip: Vary the sizes to show some are closer to the viewer and some are further away.
Step 8: Adding Ripples
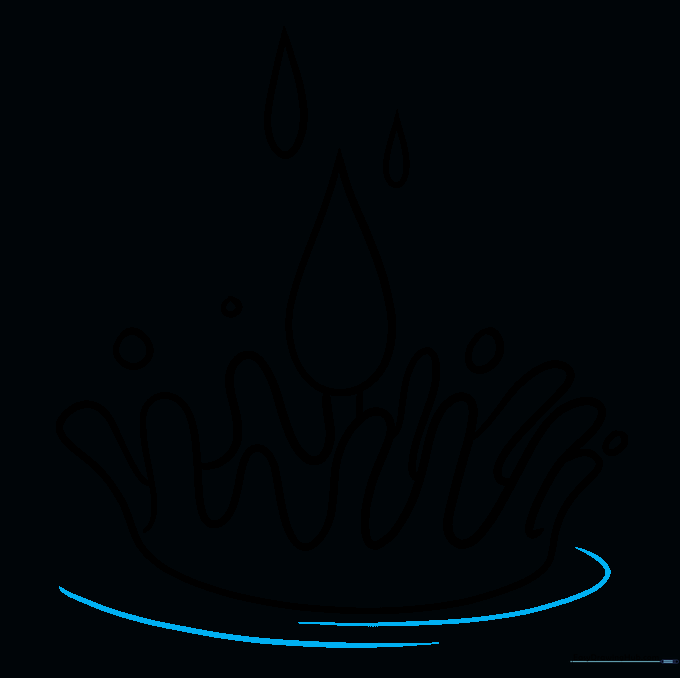
Draw curved lines at the base to indicate ripples. Tip: Keep these lines parallel to each other to show the water surface spreading out.
Step 9: Finalizing the Outline
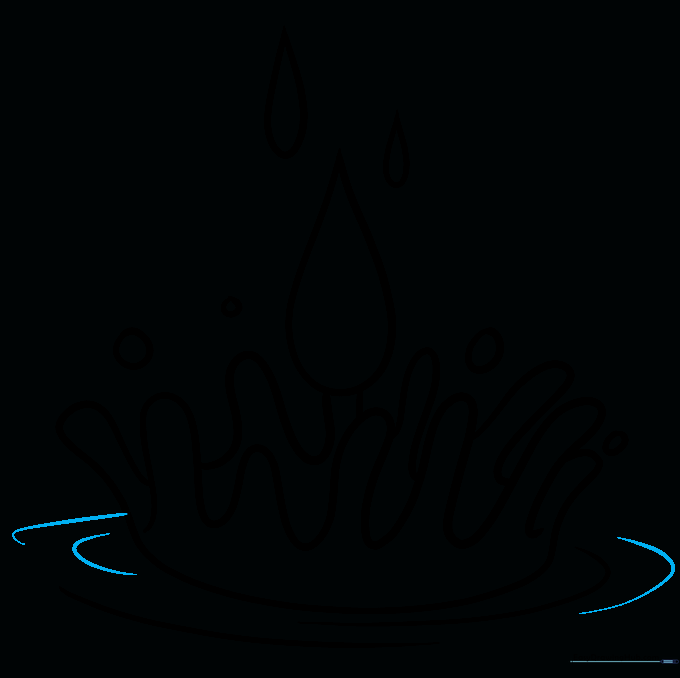
Add more ripple lines to complete the effect. Tip: Use a darker pencil or pen to go over your final lines, then erase any stray guide marks.
Step 10: Adding Color

Color your splash! We used blue, but you can use any color to represent different liquids. Tip: Leave a small white sliver uncolored on each drop to create a 'shine' effect.
More Tutorials


