How to Draw Washing Hands: Easy 10-Step Guide
This step-by-step tutorial is perfect for artists ages 5 and up who want to practice drawing human anatomy in a fun, cartoon style. You will only need a pencil, an eraser, and your favorite coloring markers to complete this hygiene-themed project. Follow along to master hand proportions and add bubbly details to your artwork.
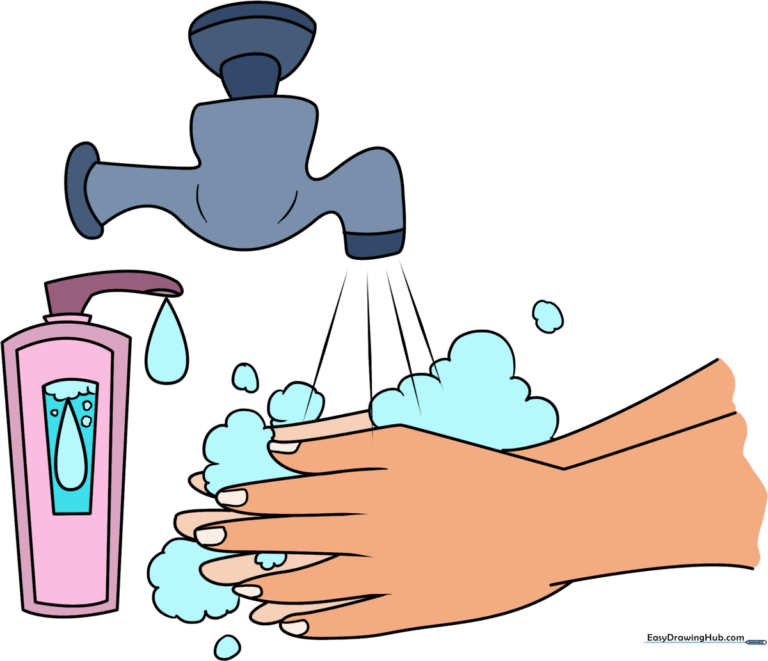
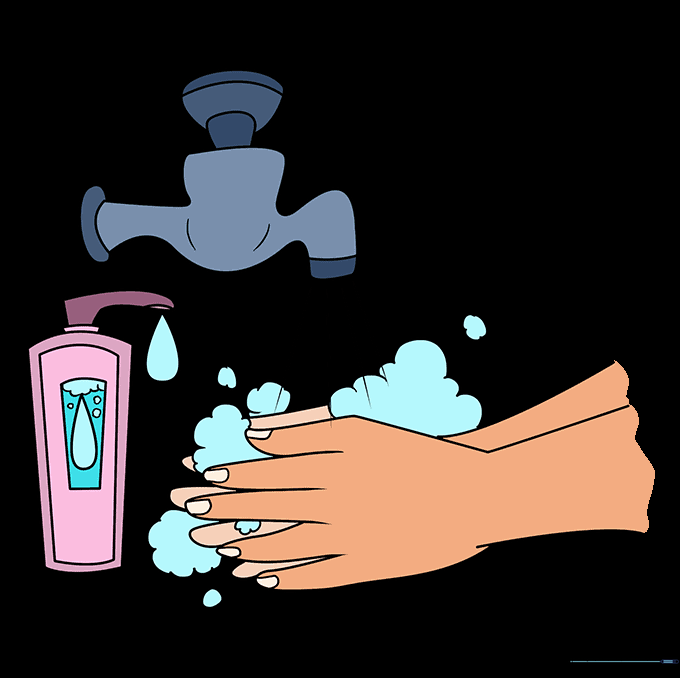
🎯 Final Result
Step-by-Step Instructions
Step 1: Sketching the First Hand

Start by drawing the first hand. Use smooth, curved lines to form the arm and the back of the hand. Add long, narrow 'U' shapes for the fingers. Teacher's Tip: Keep your pencil lines light so you can easily adjust the finger length if they look a bit too long!
Step 2: Adding Fingernail Details
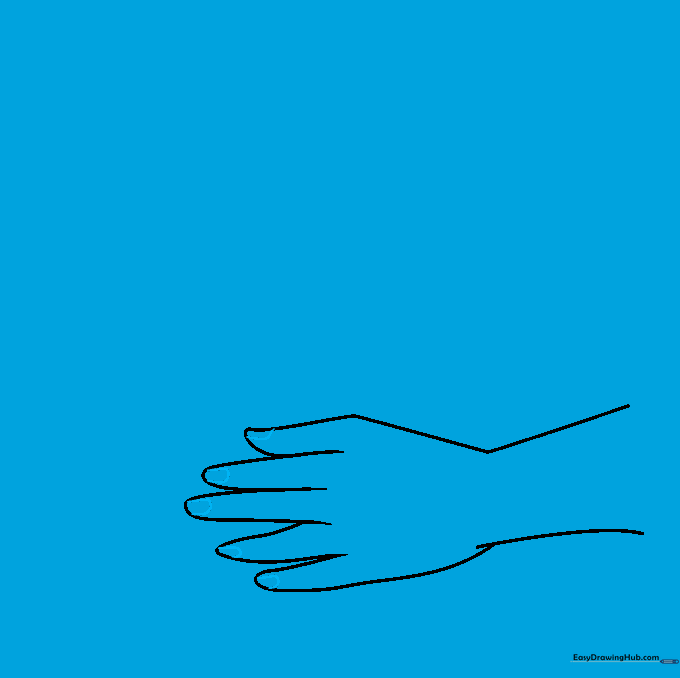
Draw a short, gentle curve at the tip of each finger to represent the fingernails. Teacher's Tip: Don't press too hard here; these lines should be subtle to keep the cartoon style looking clean.
Step 3: Drawing the Second Hand
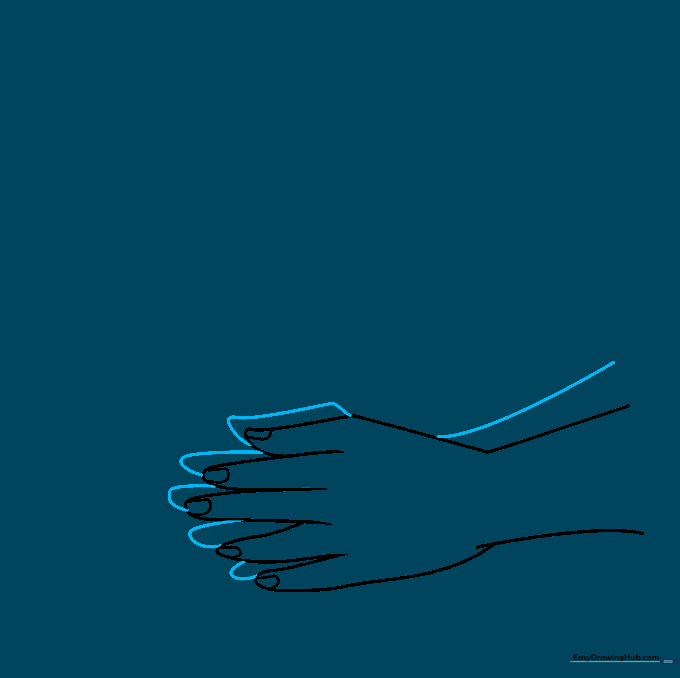
Draw the second hand tucked behind the first. Use a curved line for the arm and 'U' shapes for the fingers peeking out from behind the first hand. Teacher's Tip: Overlapping shapes like this is a great way to create depth in your drawings.
Step 4: Adding Suds and Bubbles

Draw cloud-like 'U' shapes around the hands to represent soapy suds, and add a few small circles for floating bubbles. Teacher's Tip: Vary the size of your bubbles to make the soap look more realistic and playful.
Step 5: Sketching the Faucet
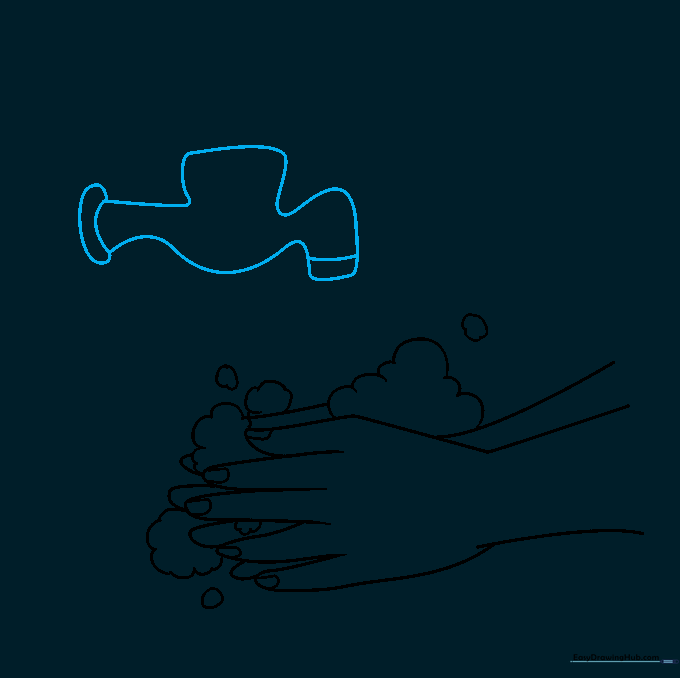
Draw the faucet using curved lines for the pipe and the spout. Ensure the pipe connects smoothly to the wall. Teacher's Tip: Use parallel lines to keep the pipe looking uniform and sturdy.
Step 6: Adding the Faucet Handle
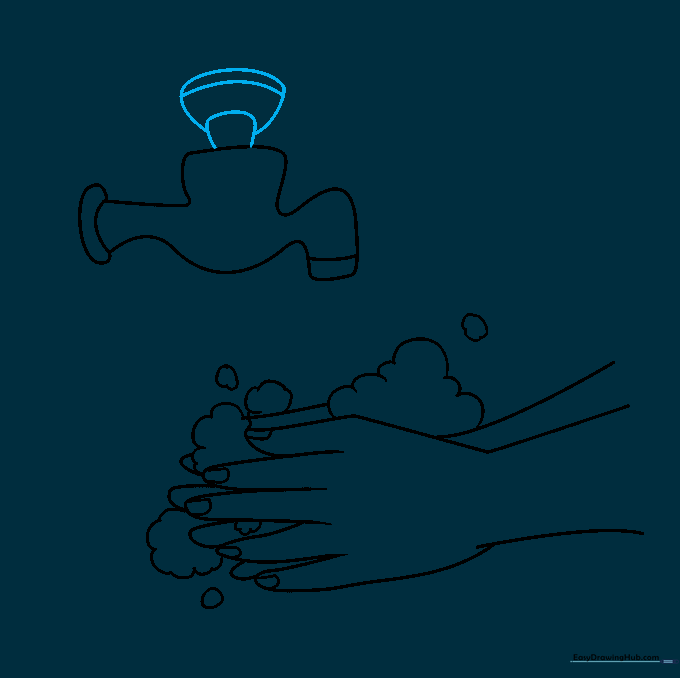
Draw a rounded shape on top of the faucet body for the handle, then add a smaller rounded cap on top. Teacher's Tip: Keep the handle centered so your faucet looks balanced.
Step 7: Adding Water Flow
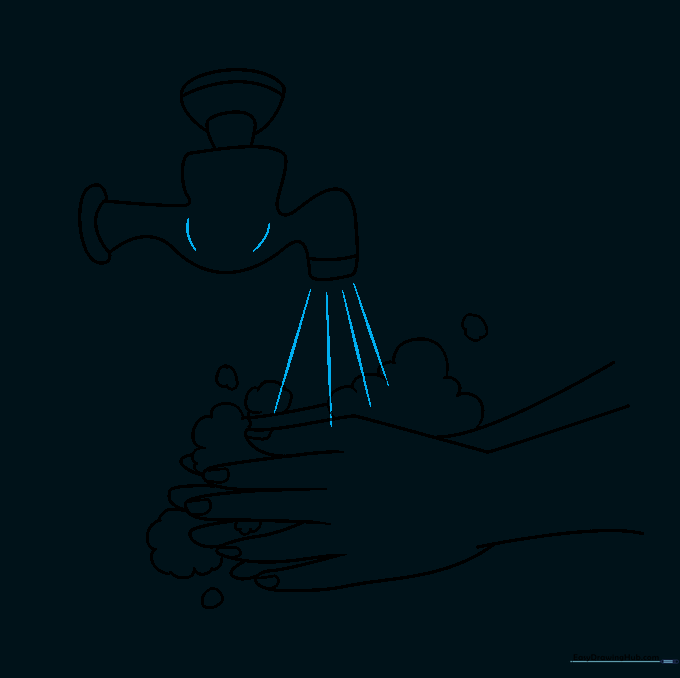
Contour the faucet with a few curved lines, then draw straight, diagonal lines falling from the spout to show water. Teacher's Tip: Use a ruler if you want your water streams to look perfectly straight!
Step 8: Adding the Soap Bottle
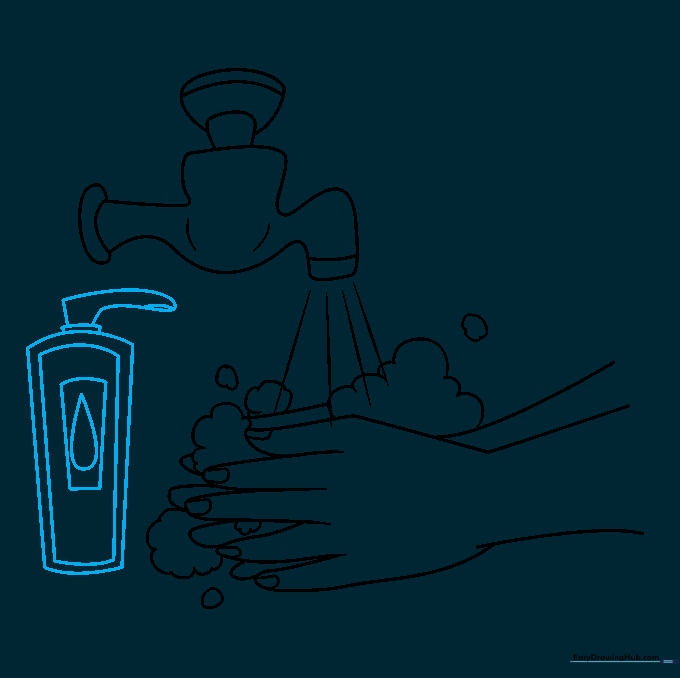
Draw a rectangular pump bottle next to the faucet. Include a small label and a pump mechanism on top. Teacher's Tip: Take your time with the pump—it's a small detail, so use a sharp pencil.
Step 9: Final Touches
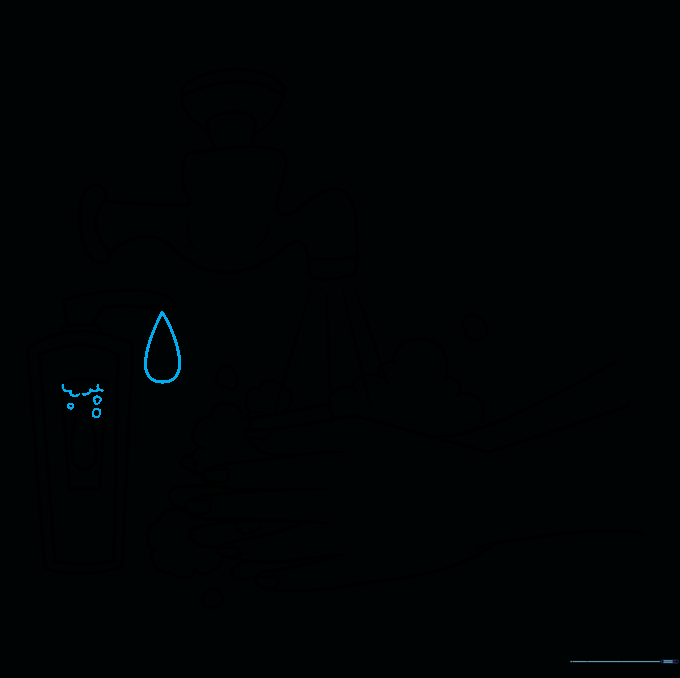
Add a small teardrop shape at the tip of the pump to show a drop of soap, and decorate the label with tiny circles. Teacher's Tip: These small details make your drawing look professional and complete.
Step 10: Color Your Masterpiece
Bring your drawing to life with bright colors! Use blues for the water and bubbles, and choose your favorite color for the soap bottle. Teacher's Tip: Try using light blue for the water to make it look fresh and clean.
More Tutorials


