How to Draw Violet from Rainbow High: Easy 9-Step Guide
Bring your favorite fashionista to life with this easy-to-follow guide, perfect for young artists ages 7 and up. You will need a pencil, an eraser, and your favorite purple markers to capture Violet's signature style. By the end of this lesson, you'll have a confident, stylized portrait ready to display.
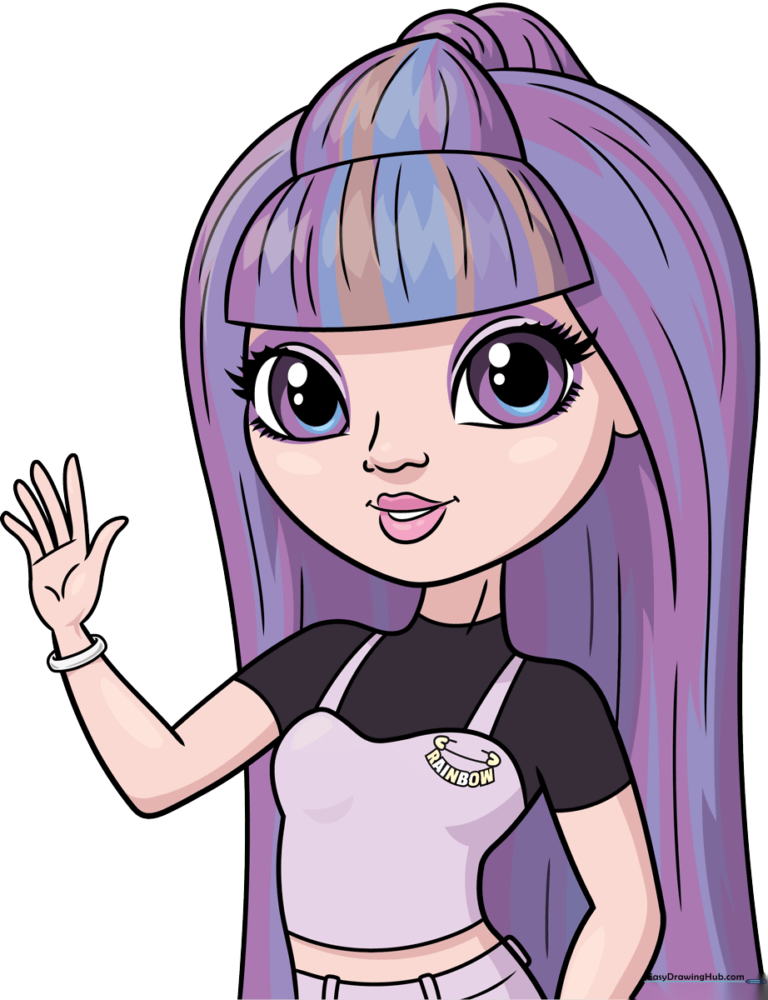
🎯 Final Result
Step-by-Step Instructions
Step 1: Sketching the Expressive Eyes
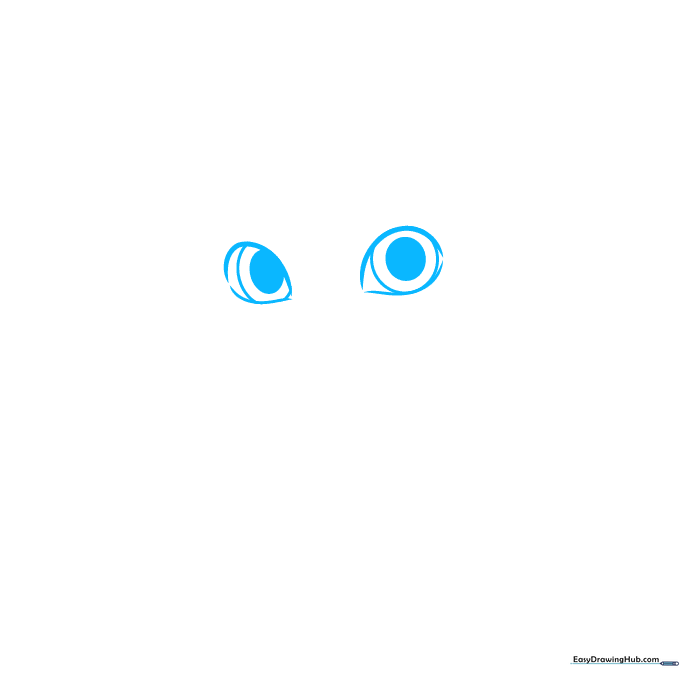
Start by drawing two large, almond-shaped curves for the eyes. Tip: Leave the top corners slightly open to give her a modern, stylized look. Add a partial circle inside each for the iris and a small, dark pupil.
Step 2: Adding Lashes and Expression
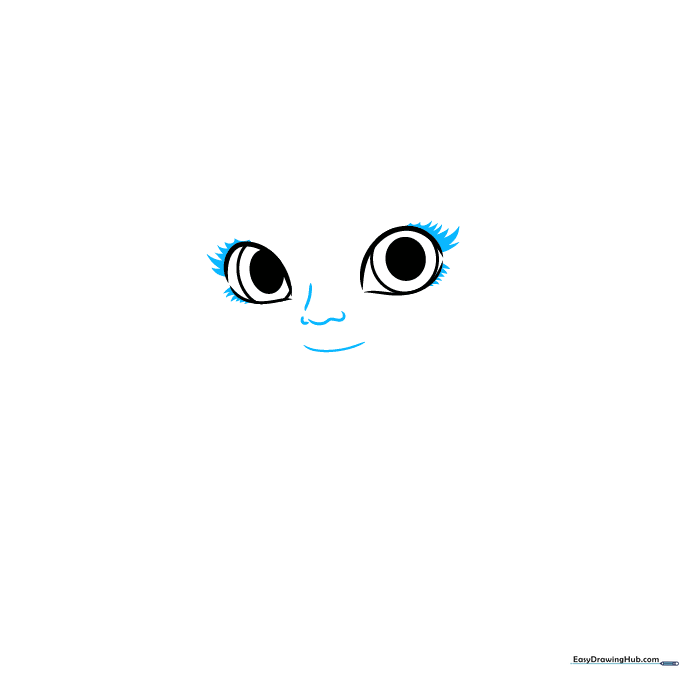
Add thick, bold lashes above and below the eyes to give her that signature Rainbow High glam. Sketch a small, gentle curve for the nose and a soft, smiling mouth. Tip: Keep the mouth small to maintain her youthful, cheerful expression.
Step 3: Framing the Face
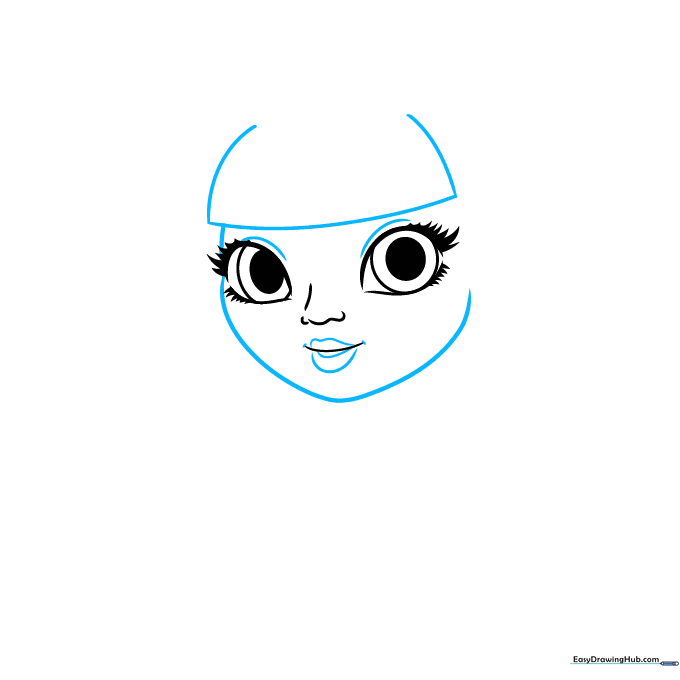
Draw an incomplete half-circle above the eyes to create her bangs. Use a long, smooth curved line to define the shape of her face. Tip: Use light, sweeping motions to get the chin shape just right.
Step 4: Styling the Hair
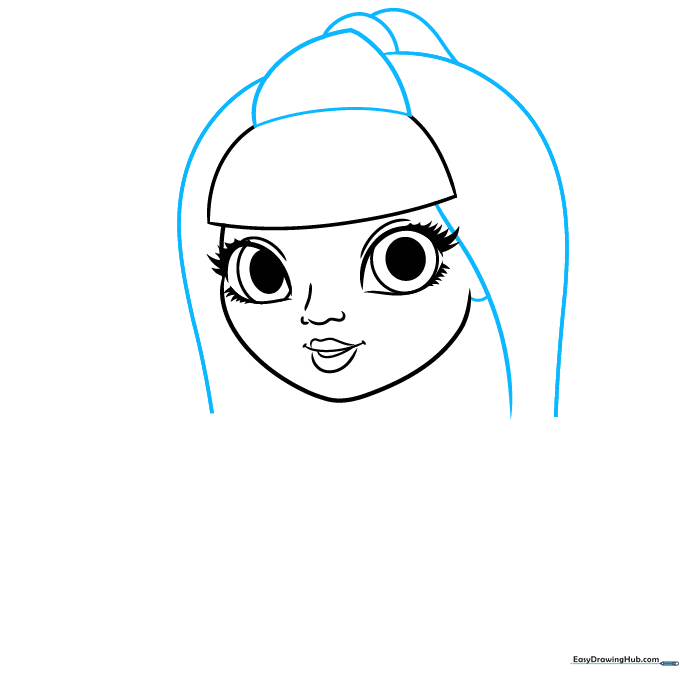
Add overlapping half-circles above the bangs to create volume. Extend long, flowing curved lines down the sides of her face for her hair, and add a small curve for her ear. Tip: Vary the length of your hair lines to make it look natural and bouncy.
Step 5: Neck and Shoulders
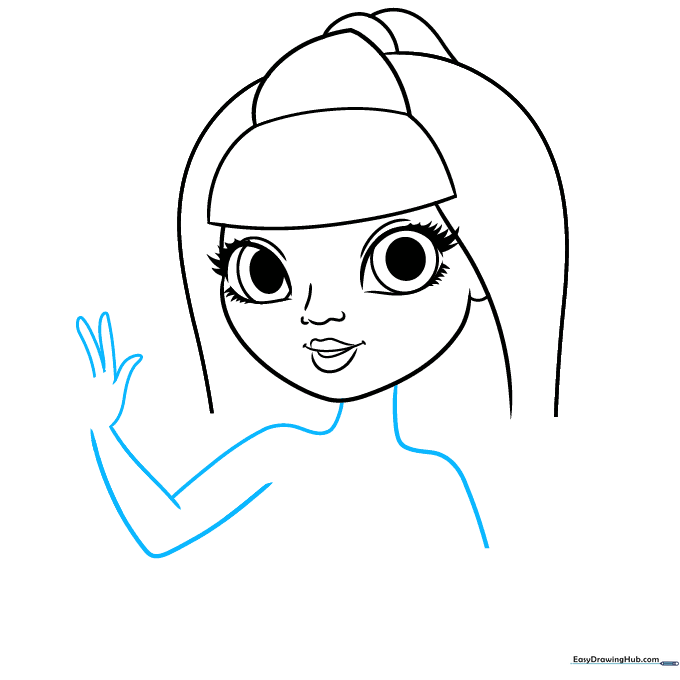
Draw two long, graceful curves for the neck and shoulders. Use smaller, overlapping lines to sketch the arm and fingers. Tip: Keep the fingers slightly rounded to make them look soft and realistic.
Step 6: Adding Accessories
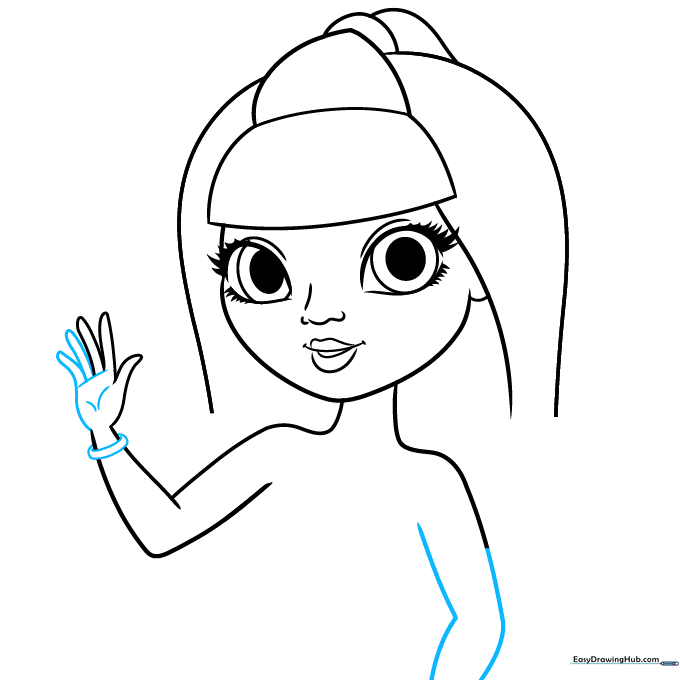
Draw a bracelet around her wrist using two simple curved lines. Continue the arm lines to complete the pose. Tip: Adding accessories like bracelets is a great way to practice drawing small, precise details.
Step 7: Outlining the Outfit
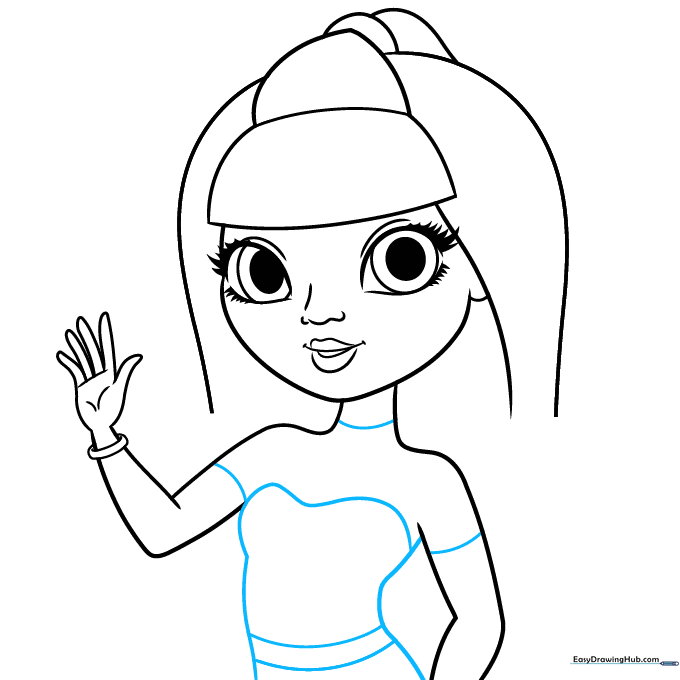
Sketch the torso using long, smooth lines. Add horizontal bands at the neck and arms to represent her t-shirt, and define the waistline of her pants. Tip: Use a ruler if you struggle to keep your lines straight for the clothing seams.
Step 8: Adding Character Details
Add spaghetti straps to her shirt and draw small rectangles on her pants for belt loops. Write 'RAINBOW' in bold letters on her shirt. Tip: Take your time with the lettering to ensure it fits perfectly within the space.
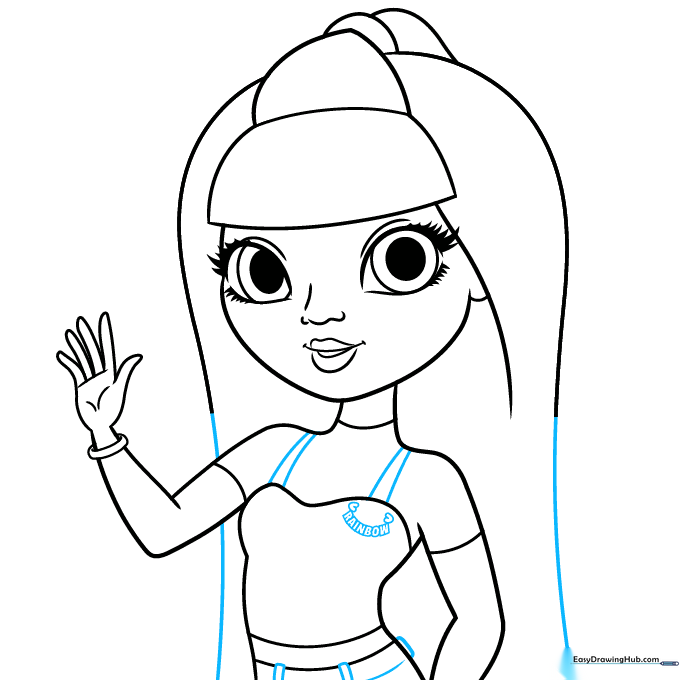
Step 9: Final Touches
Draw the safety pin detail on her shirt and add texture to her hair with flowing curved lines. Tip: Use a fine-liner pen to go over your final pencil lines before erasing the guidelines for a professional look.
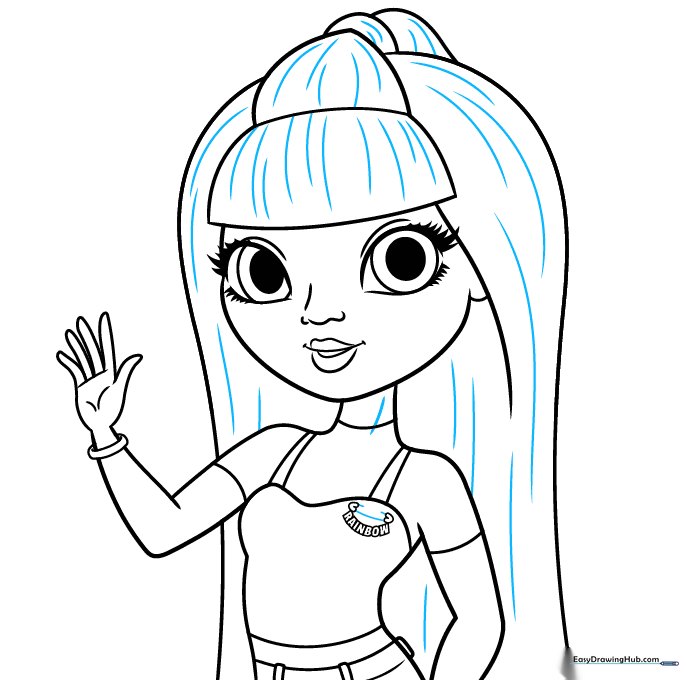
Step 10: Bring Violet to Life with Color
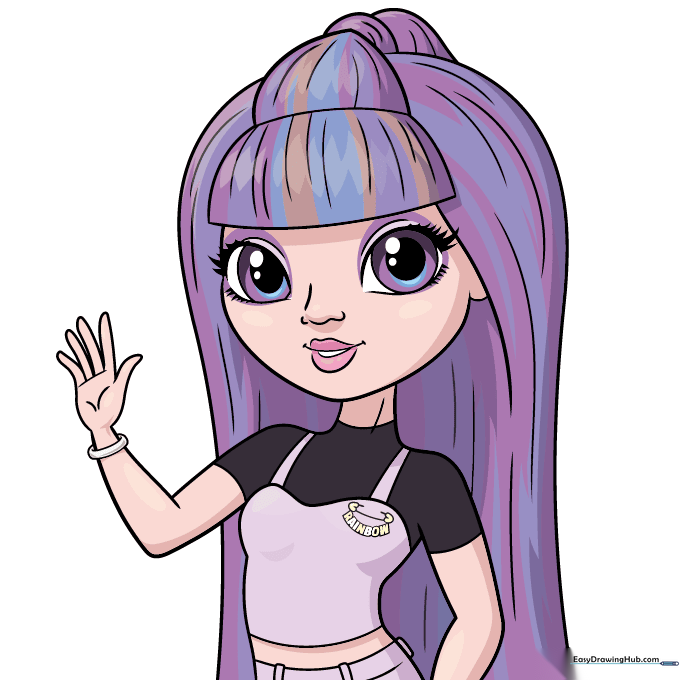
Now for the fun part! Use various shades of purple to color her hair, eyes, and outfit. Tip: Use a lighter purple for highlights in her hair to give it a shiny, realistic effect.
More Tutorials


