How to Draw a Vampire: Easy 10-Step Guide for Kids
Ready to create your own spooky character? This tutorial is perfect for young artists ages 6+ who want to master cartoon-style facial features. Grab your pencil, eraser, and paper, and let’s bring this friendly vampire to life together.
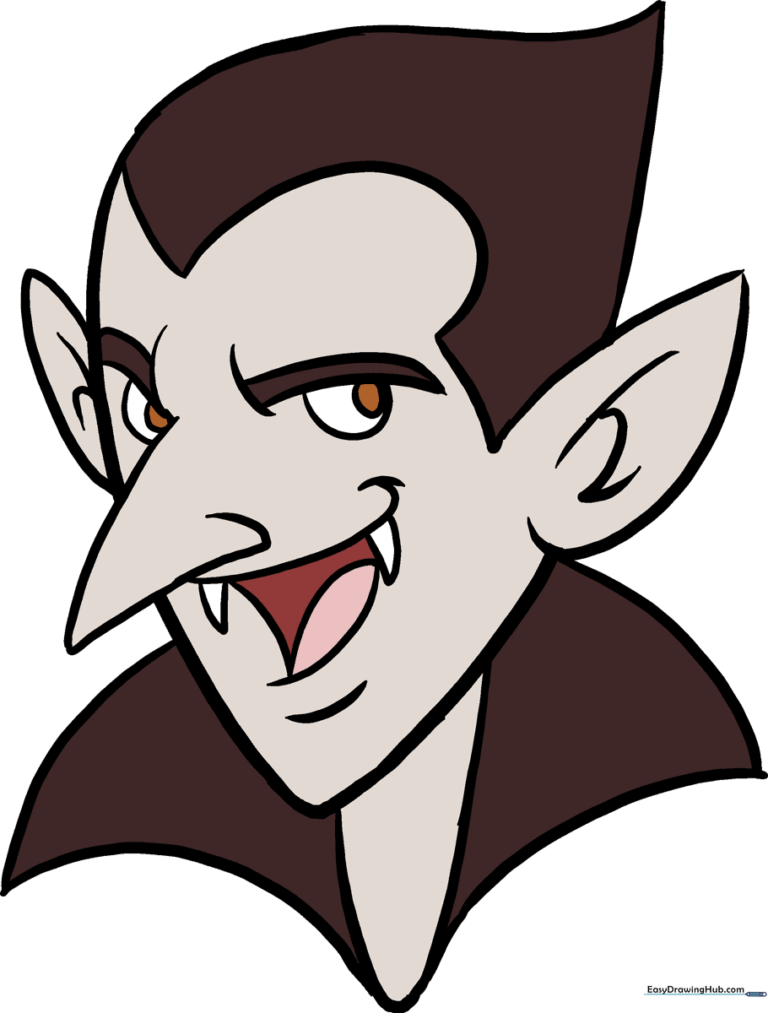
🎯 Final Result
Step-by-Step Instructions
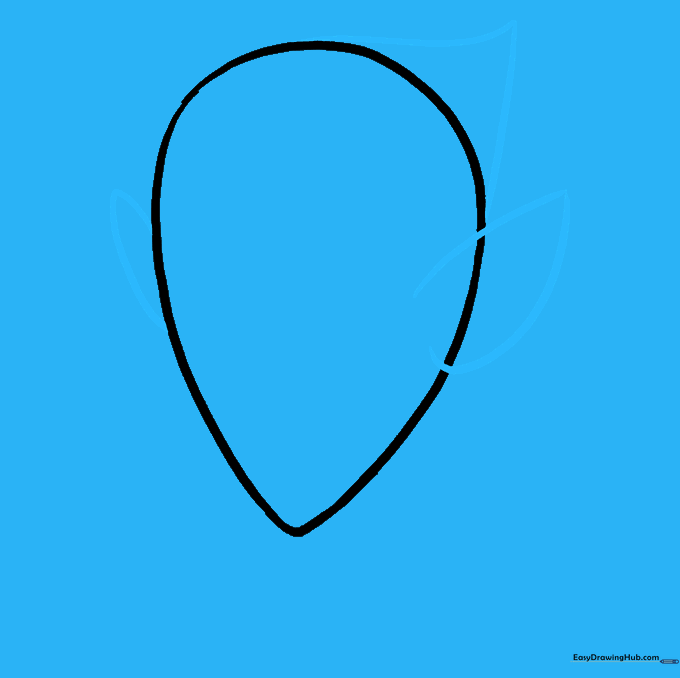
Sketching the Head Shape

Draw an upside-down teardrop shape to serve as the head and chin. Teacher's Tip: Keep your pencil pressure light so you can easily erase the guidelines later.
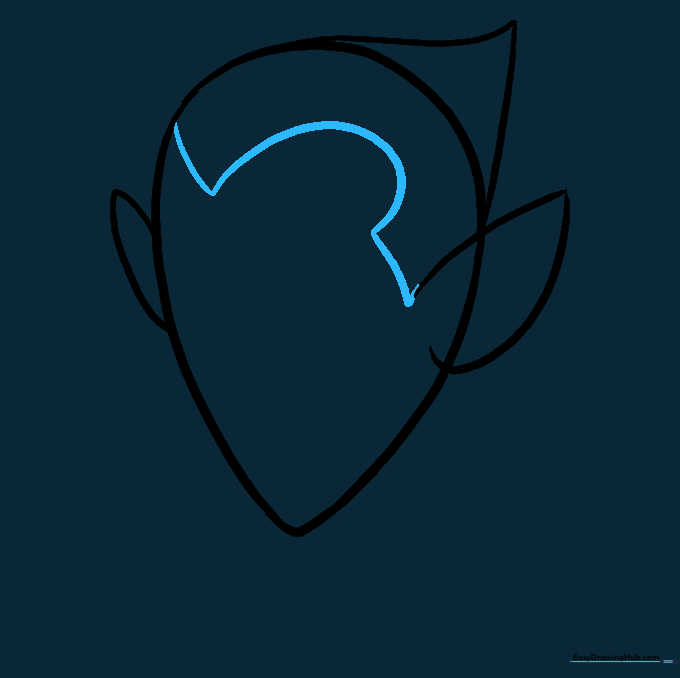
Adding Ears and Hairline
Add two curved, pointed ears on the sides of the head. Then, sketch the hair outline using soft, curved lines. Teacher's Tip: Make the ears symmetrical to give your character a balanced look.
Defining the Hairline
Refine the hairline by drawing a widow's peak at the center of the forehead. Teacher's Tip: A sharp point at the hairline is a classic detail that makes your vampire look more authentic.
Detailing the Ears

Use small, connected curved lines inside the ears to show depth. Teacher's Tip: Don't press too hard; these inner lines should be subtle to keep the drawing looking clean.
Sketching the Neck

Draw a simple, rounded shape beneath the chin to form the neck. Teacher's Tip: Keep the neck narrow so the collar we add next looks larger and more dramatic.
Drawing the Collar

Add the iconic flared collar using two curved triangles on either side of the neck. Teacher's Tip: Make these points wide to give your vampire a bold, classic silhouette.
Adding the Nose

Draw a long, bent line for the nose with a slight curve at the tip. Teacher's Tip: Place the nose in the center of the face, leaving enough room below for the mouth.
Creating the Mouth and Fangs

Sketch a curved triangle for the mouth, adding two downward-pointing triangles for fangs. Teacher's Tip: Use a small curved line for the tongue to give the character personality.
Drawing the Eyes
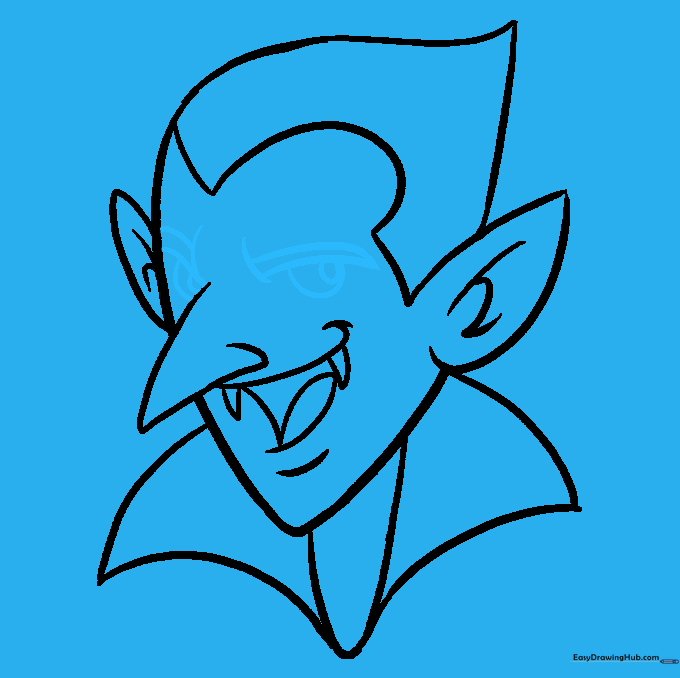
Draw expressive eyebrows and circular eyes with smaller pupils inside. Teacher's Tip: Make the eyes slightly slanted to give your vampire a mischievous expression.
Coloring Your Vampire

Bring your drawing to life with color! Use dark purples or blacks for the cape and pale tones for the skin. Teacher's Tip: Try using colored pencils for smooth, even shading.
More Tutorials


