How to Draw Ursula: Easy 10-Step Disney Villain Guide
Bring the Sea Witch to life with this step-by-step guide designed for young artists and Disney fans. You will need a pencil, eraser, and paper to capture Ursula's iconic, dramatic expression. Follow along to practice facial proportions and fluid tentacle shapes in this fun, creative session.
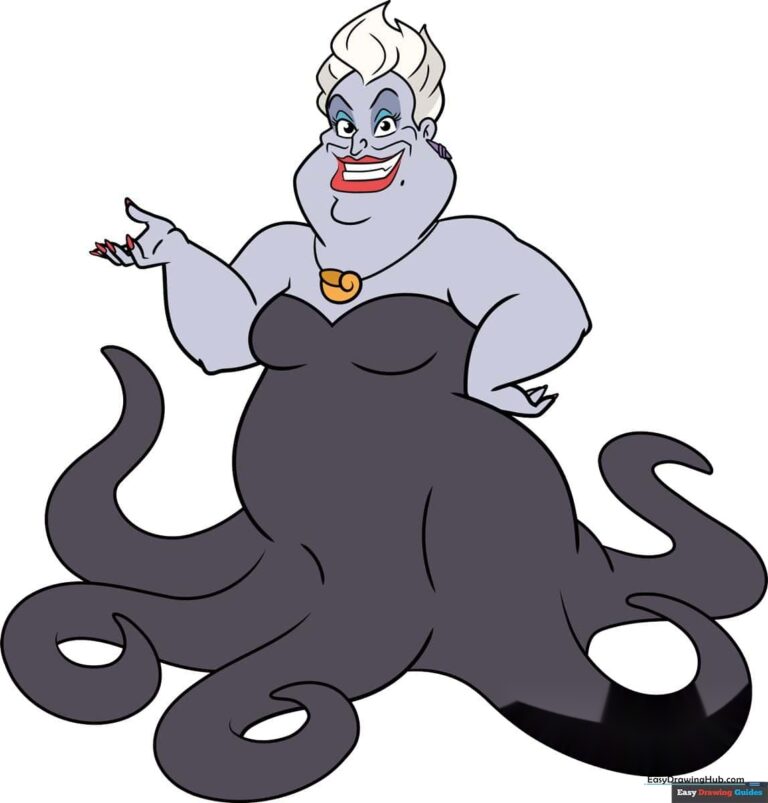
🎯 Final Result
Step-by-Step Instructions
Step 1: Sketching the Face Shape
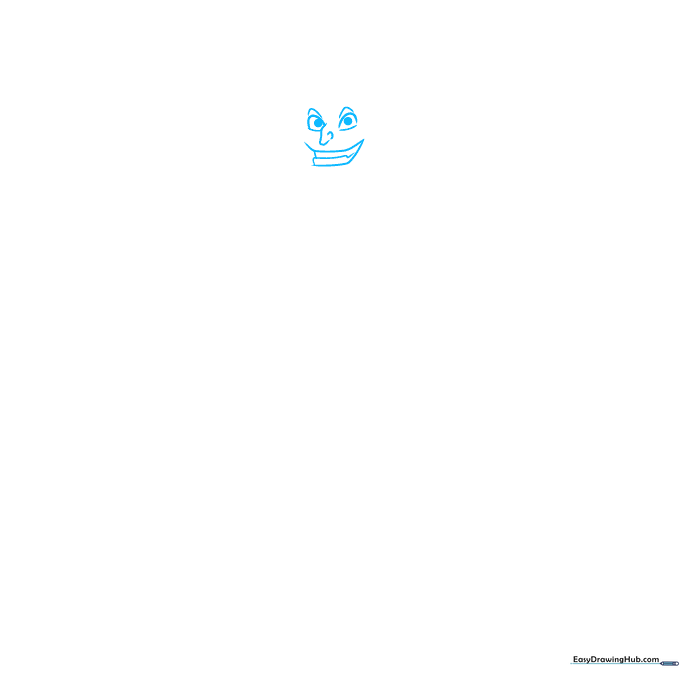
Sketch a bent triangle with a curve to the right to form the jawline. Add two horizontal dashes for the eyes, then draw hills above them for lids and circles for pupils. Draw upside-down V-shapes for her signature arched brows. Teacher's Tip: Keep your pencil lines light so you can easily erase the construction lines later.
Step 2: Defining the Mouth and Face
Draw curves around the mouth area and a semicircle underneath for her chin. Add lashes above the eyes to give her that dramatic look. Outline the left side of the face with two smooth curves. Teacher's Tip: Focus on the curve of the smile to capture her mischievous personality.
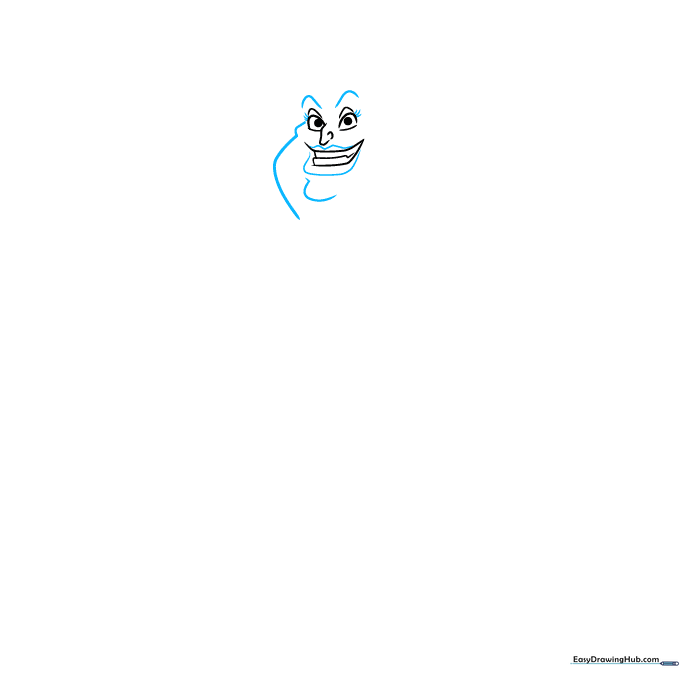
Step 3: Adding Hair and Earrings
Sketch wide, curvy triangles to represent her iconic white hair. Draw an oval for the ear and add a diamond shape for her shell earring with two small rectangles inside. Teacher's Tip: Make the hair shapes bold and flowy to contrast with her sharp facial features.
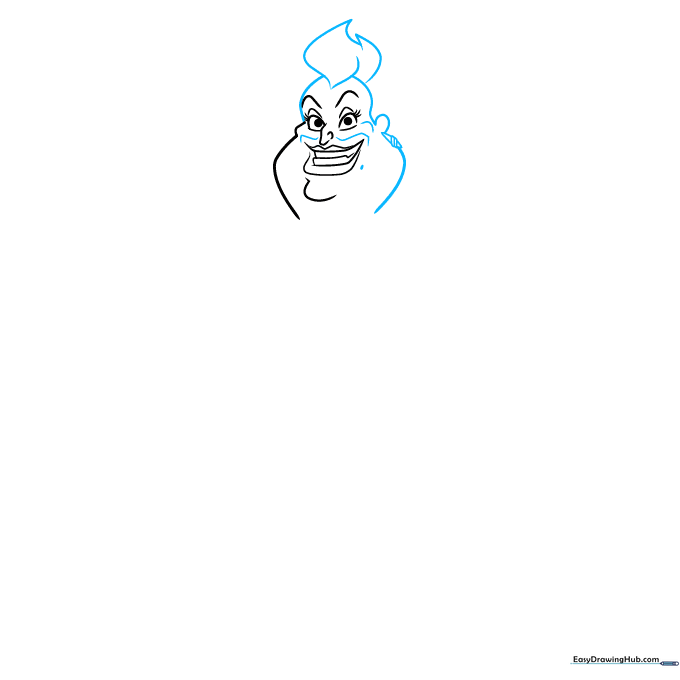
Step 4: Shoulders and Arms
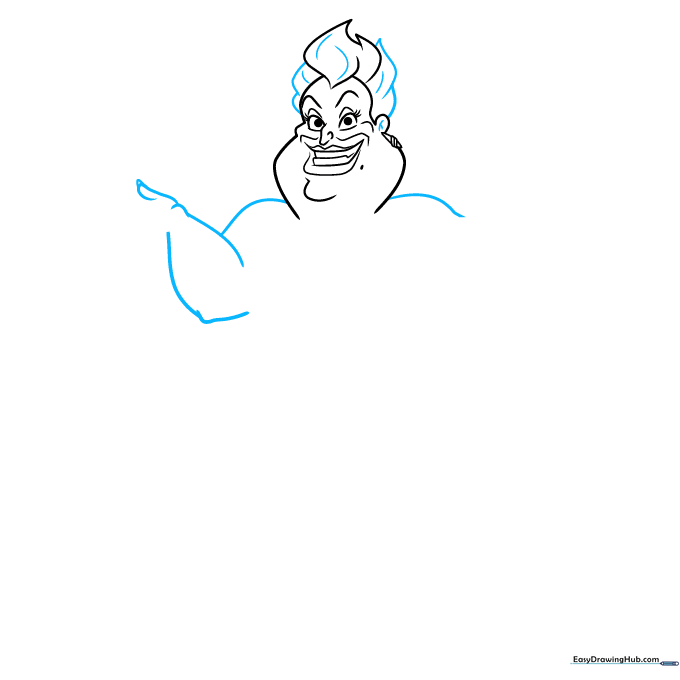
Add rounded triangles on top of the head for hair volume. Use smooth curves to draw the shoulders. Outline the arm with a loose V-shape and use a 'hot dog' shape for the finger. Teacher's Tip: Use long, sweeping strokes for the shoulders to show her large, imposing stature.
Step 5: Finishing the Hands
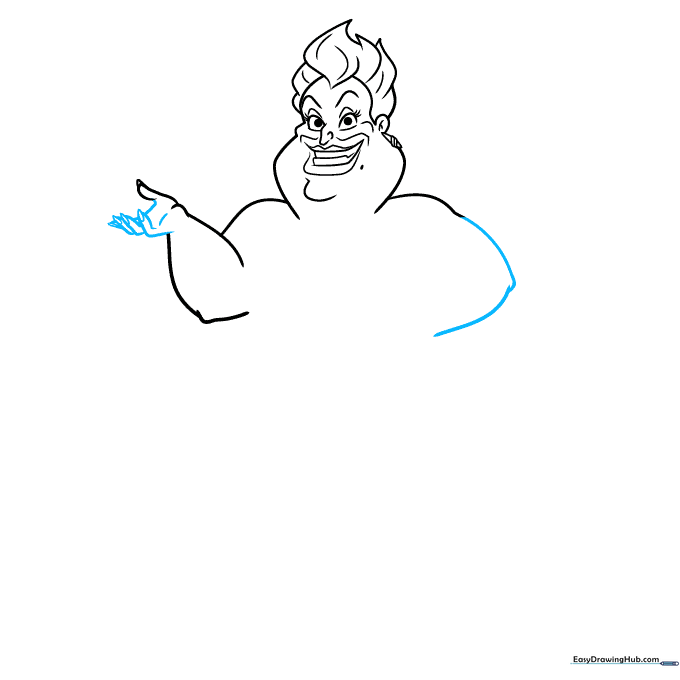
Start the right arm with two diagonal curves. On the left, draw the fingers using overlapping 'hot dog' shapes. Complete the hand with two small dashes for detail. Teacher's Tip: Overlapping shapes create a sense of depth, making the hand look more realistic.
Step 6: Outlining the Body
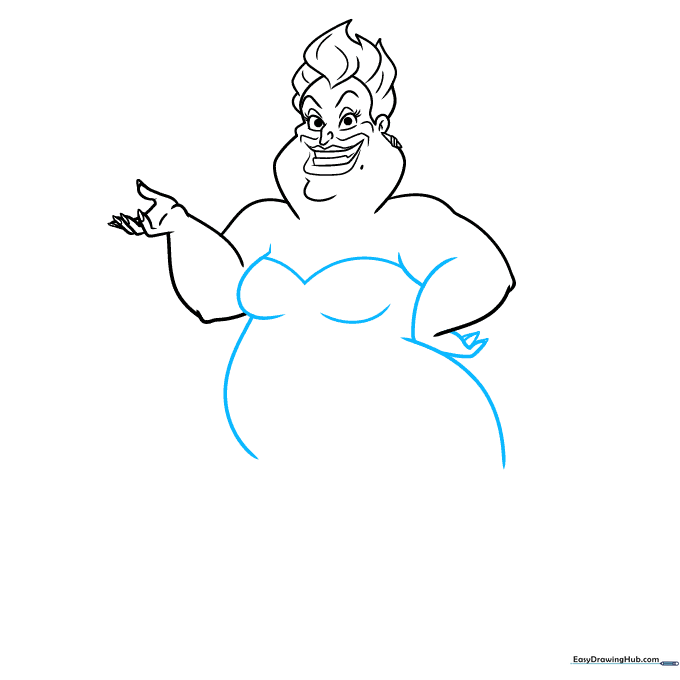
Draw a V-shape on the chest, then add a curve and semicircle. Complete the right arm with three small triangles for the sleeve detail. Sketch two large curves to outline the main body. Teacher's Tip: Keep the body outline wide to emphasize her powerful presence.
Step 7: Drawing the Tentacles
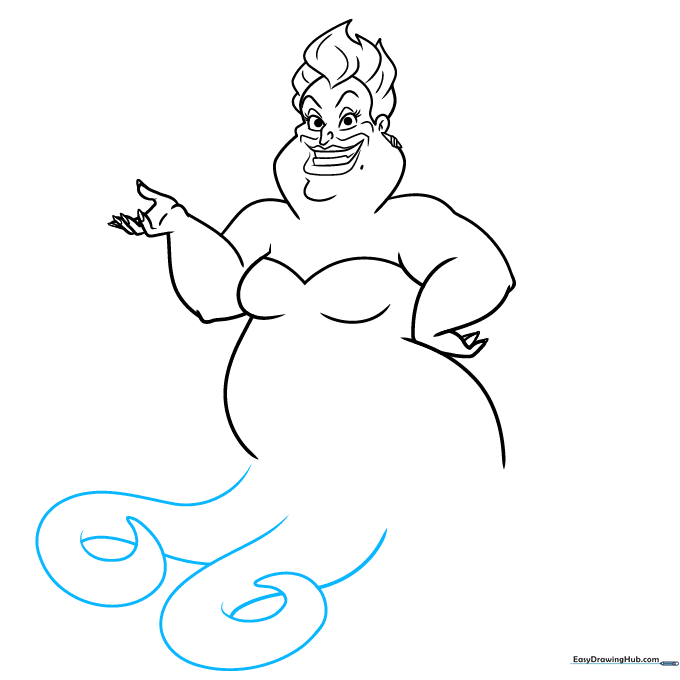
For each tentacle, draw a swirly line, then make a triangle and add two more curves to create an overlapping, wavy effect. Teacher's Tip: Don't worry about making them perfect; tentacles are naturally organic and wiggly!
Step 8: Adding More Tentacles
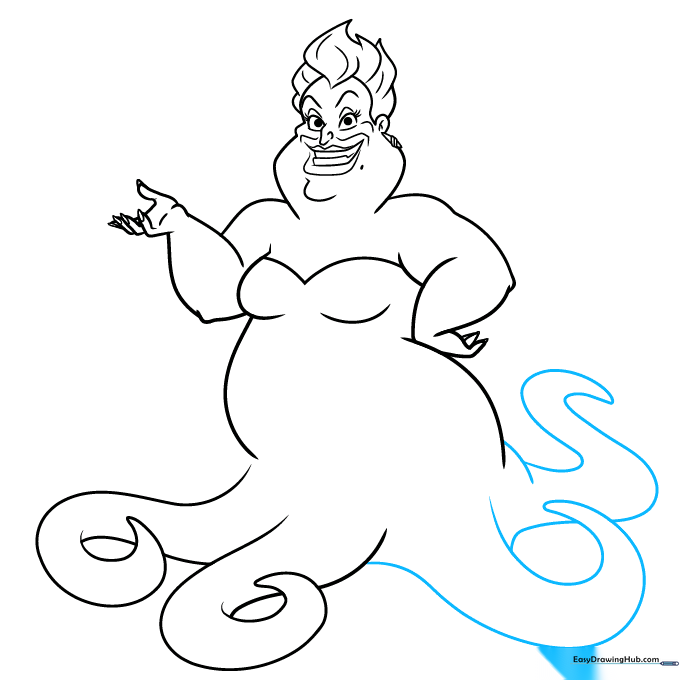
Draw two more tentacles using a broad C-shape and an S-shape to fill out the bottom of your drawing. Teacher's Tip: Varying the size of the tentacles adds movement to your character.
Step 9: Final Details and Inking
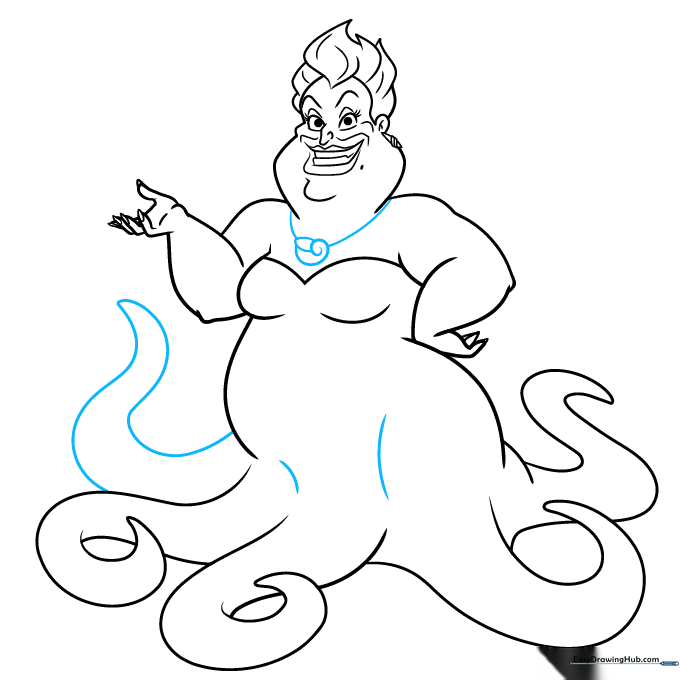
Add the final tentacle with a long, wavy triangle. Draw the shell necklace using a swirly line and a lemon shape. Once you're happy, outline your drawing with black ink. Teacher's Tip: Use a steady hand when inking to keep the lines clean and professional.
Step 10: Adding Color
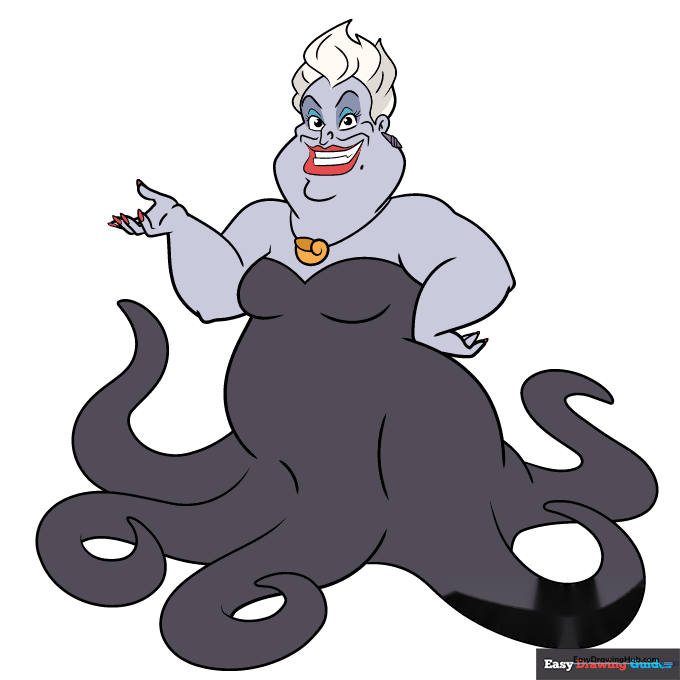
Bring Ursula to life! Use light purple for her skin, greyish-purple for the tentacles, and bold red for her lips. Add grey shadows to her hair and gold for the shell necklace. Teacher's Tip: Use light pressure with your colored pencils to blend the purple shades smoothly.
More Tutorials


