How to Draw Uranus: Easy 9-Step Space Art Guide
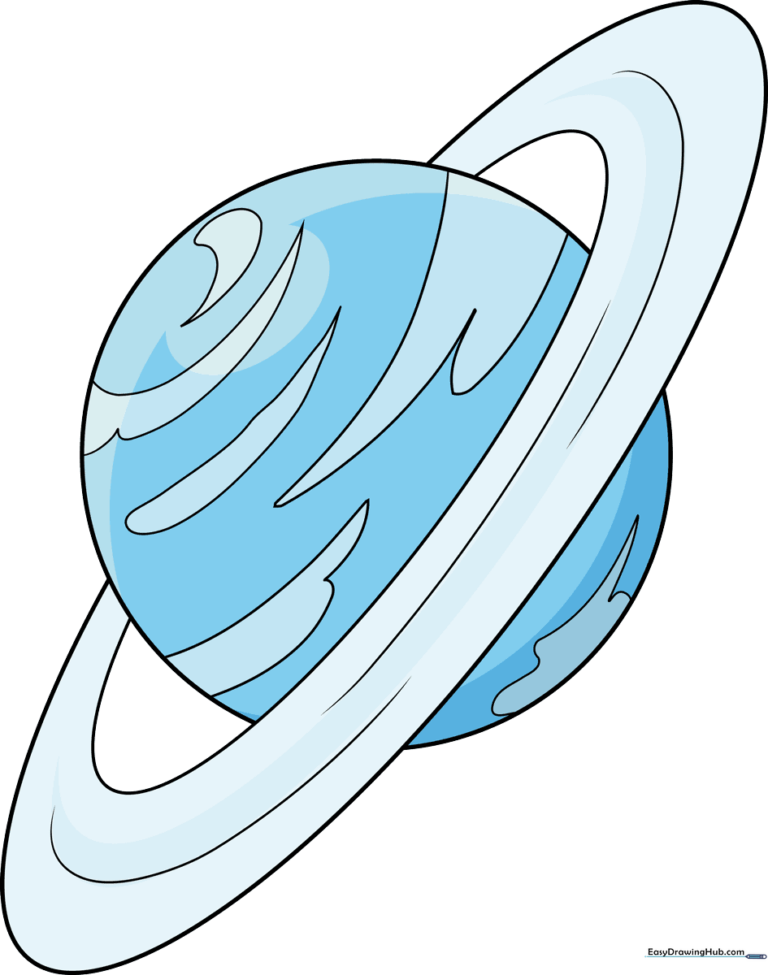
Blast off into art class with this simple guide to drawing Uranus! Designed for young space explorers, this tutorial uses basic shapes to build the planet's iconic rings and swirling atmosphere. Grab your pencil, eraser, and some blue crayons to get started.
🎯 Final Result
Step-by-Step Instructions
Step 1: Sketching the Planet Base
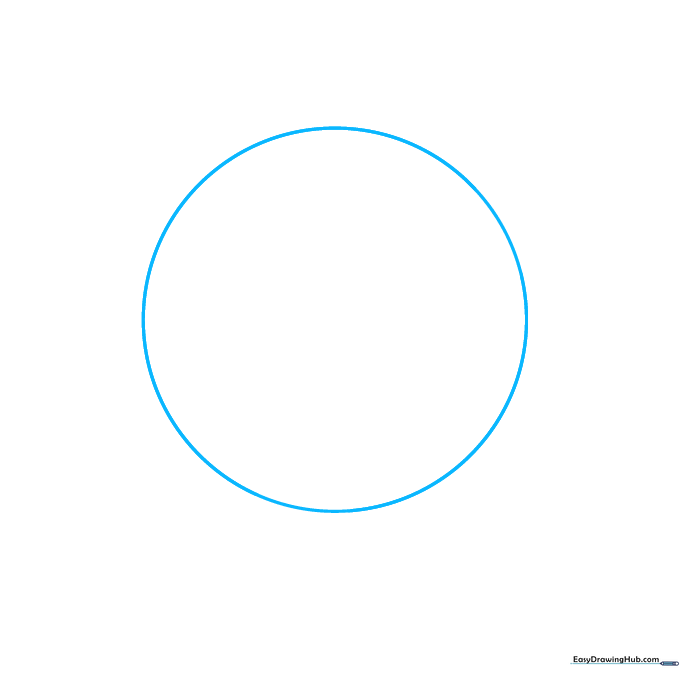
Draw a large, neat circle to represent the body of Uranus. Teacher's Tip: Use a light touch with your pencil so you can easily erase any overlapping lines later.
Step 2: Starting the Ring System
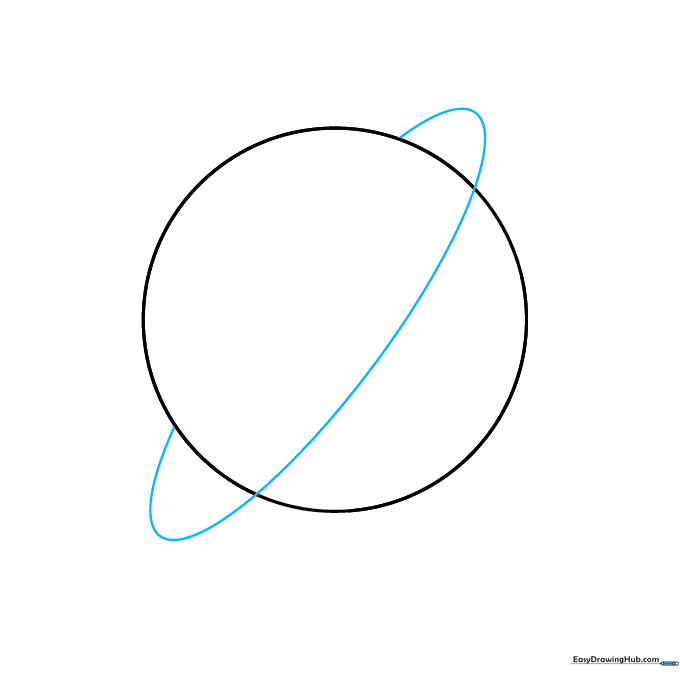
Draw a long, curved line that cuts across the center of your circle. This creates the inner edge of the planet's rings. Teacher's Tip: Imagine the ring is wrapping around the planet like a hula hoop.
Step 3: Defining the Rings and Clouds
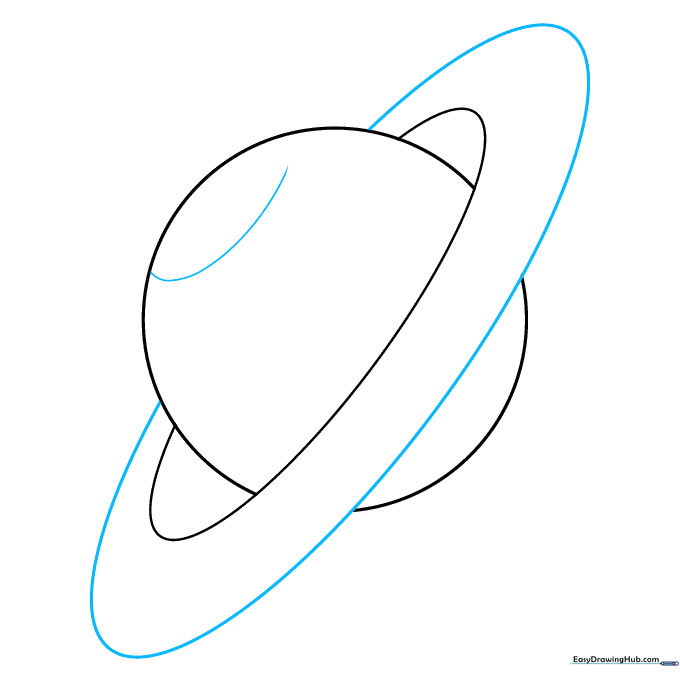
Draw a second, larger partial oval around the first to complete the ring structure. Erase the lines inside the rings to make them look like they are behind the planet. Then, add a small curved line near the top pole for a cloud. Teacher's Tip: Keep your eraser handy for clean, crisp lines.
Step 4: Adding Atmospheric Texture
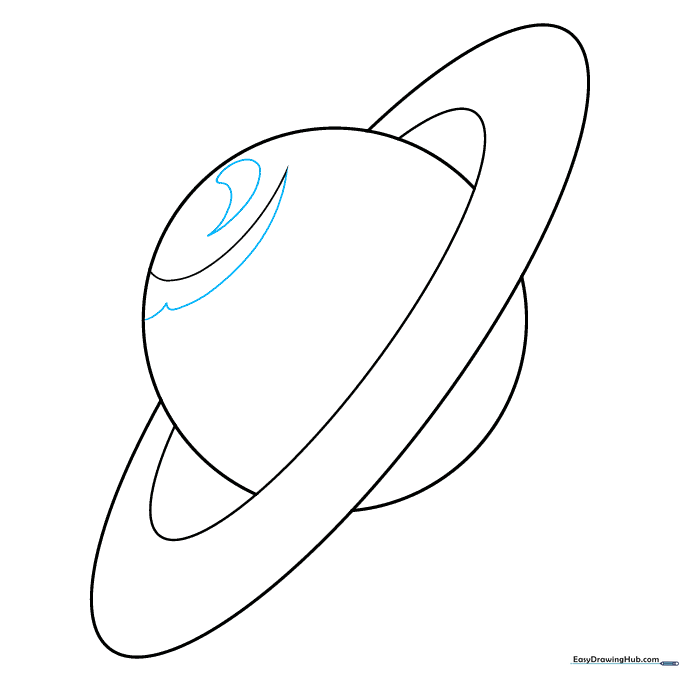
Draw a curved line near the top pole to enclose a sharp, organic shape. Add an apostrophe-like shape above it. Teacher's Tip: Clouds in space aren't perfect; don't worry if these shapes look a little irregular!
Step 5: Drawing Mid-Planet Clouds
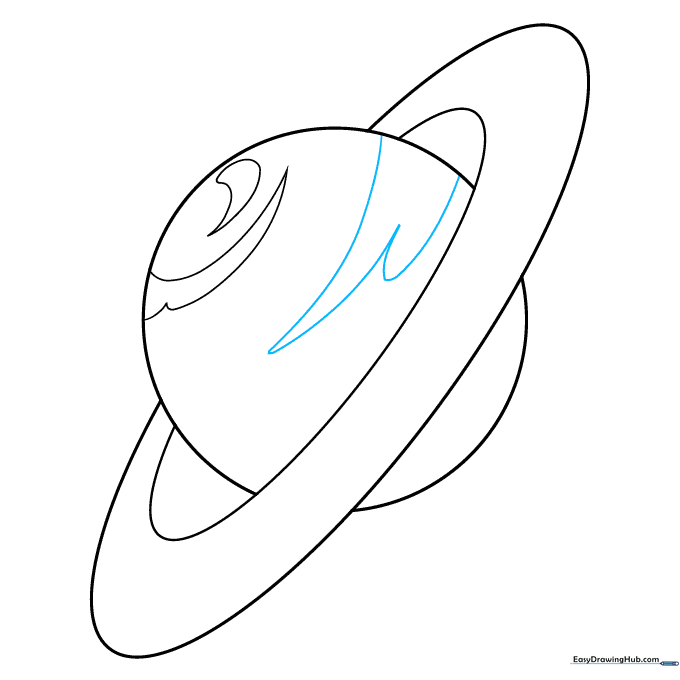
Use soft, curved lines to create a long, lobed cloud shape near the middle of the planet, just above the ring line. Teacher's Tip: Think of these as wispy, high-altitude clouds.
Step 6: Adding More Surface Detail
Add another irregular, blob-like shape near the center to represent more swirling atmosphere. Teacher's Tip: Vary the size of your shapes to make the planet look more dynamic.
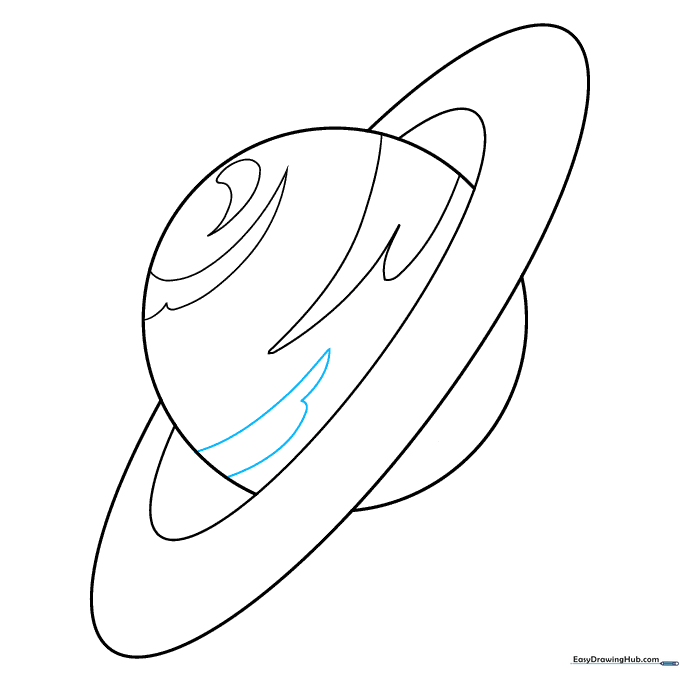
Step 7: Southern Hemisphere Clouds
Draw an elongated shape on the lower surface of the planet. Then, start a curved line near the southern pole. Teacher's Tip: This helps balance the composition of your drawing.
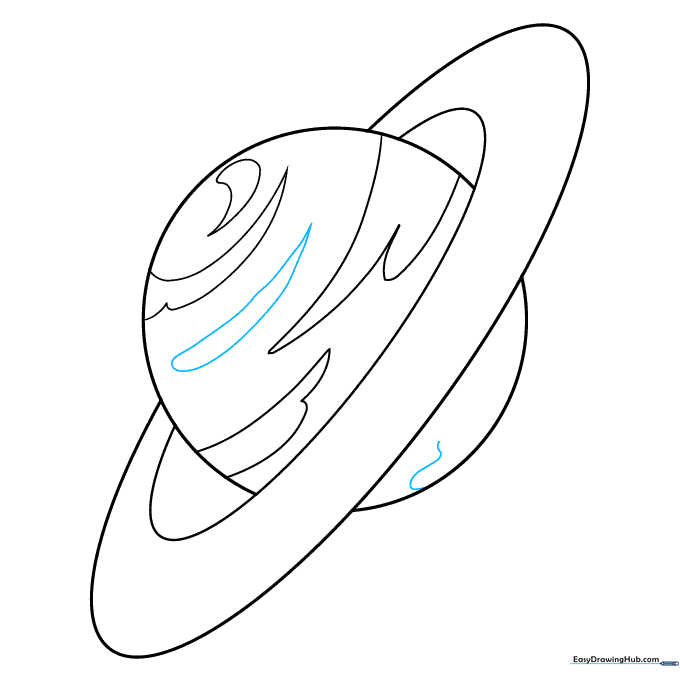
Step 8: Finalizing Textures
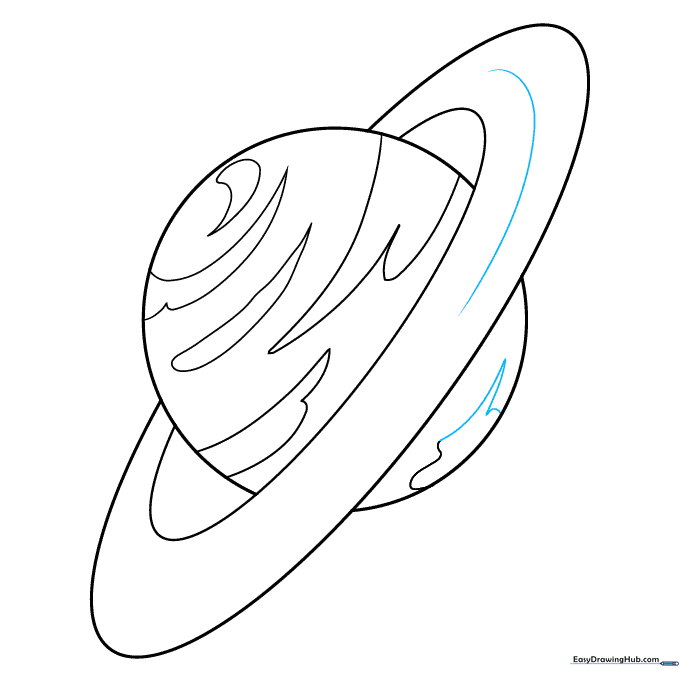
Use curved lines that meet at points to finish the southern cloud. Add a long curved line to the rings to give them texture. Teacher's Tip: The ring texture line should follow the same curve as the ring itself.
Step 9: Final Touches
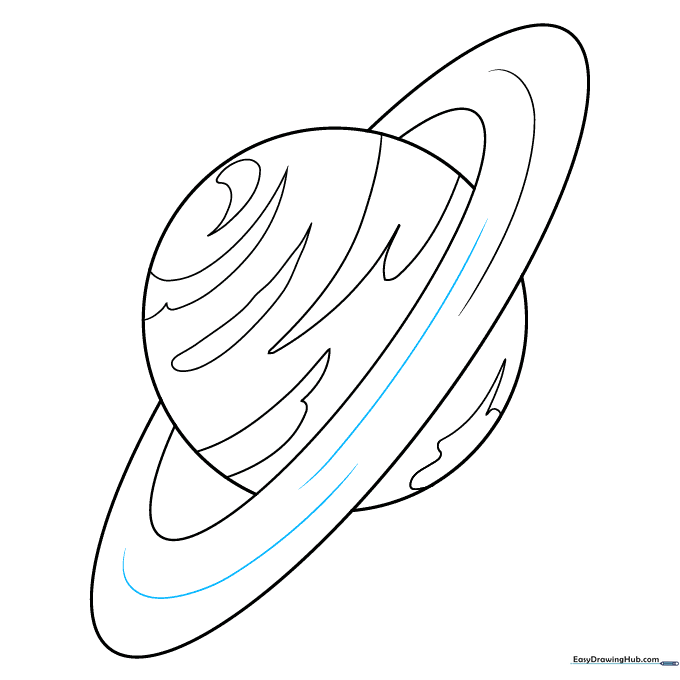
Add a few more curved lines across the rings to complete the look. Your outline is finished! Now, color it in with icy shades of sky blue and pale blue to match the real planet. Teacher's Tip: Use a light blue for the base and a slightly darker blue for the cloud shadows.
Coloring and Science Facts
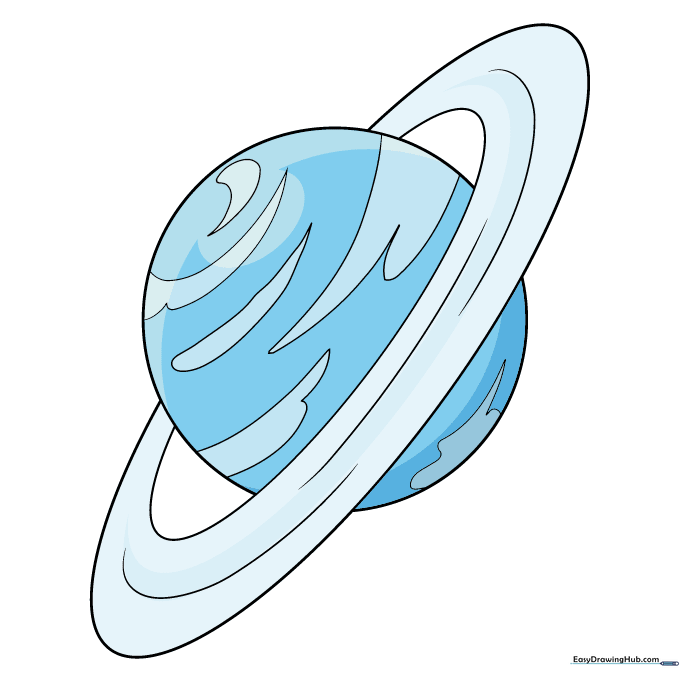
Uranus is an 'ice giant' made of water, methane, and ammonia. When coloring, try blending different shades of blue to create that cold, gaseous look. Teacher's Tip: Use circular motions with your crayon to make the atmosphere look smooth.
More Tutorials


