How to Draw Twilight Sparkle: Easy 10-Step Pony Tutorial
Bring the magic of Equestria to your sketchbook! This tutorial is perfect for young artists ages 5+ who want to draw Twilight Sparkle. All you need is a pencil, an eraser, and some colored pencils to complete this character study.
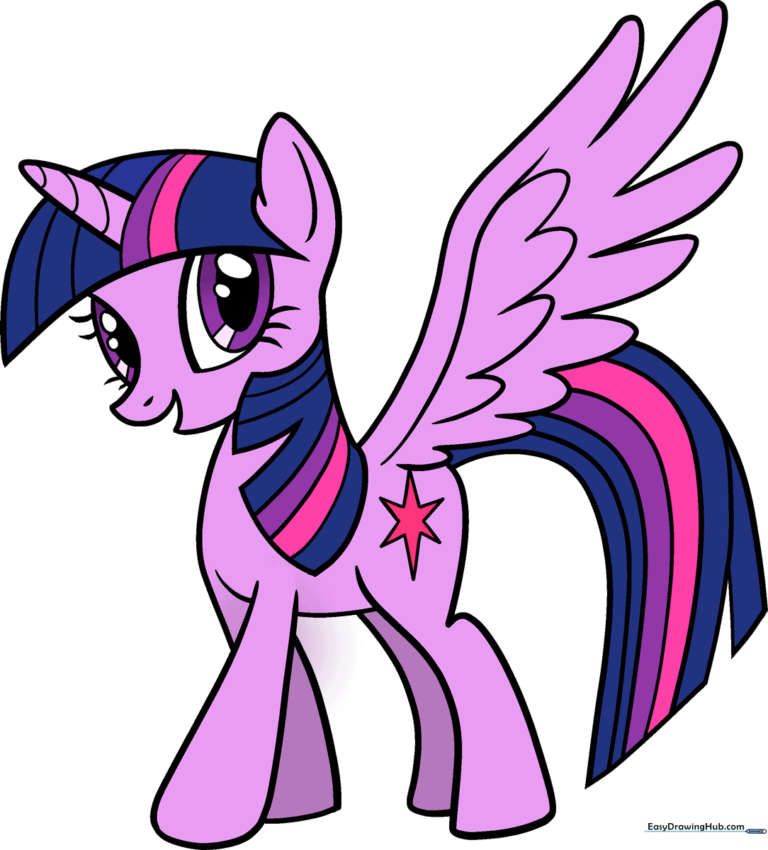
🎯 Final Result
Step-by-Step Instructions
Step 1: Sketching the Expressive Eyes

Draw two teardrop shapes for the eyes, making one slightly wider to show perspective. Add three ovals inside each for the pupils and highlights. Teacher's Tip: Keep your pencil pressure light so you can easily erase the guidelines later.
Step 2: Defining the Ear and Muzzle
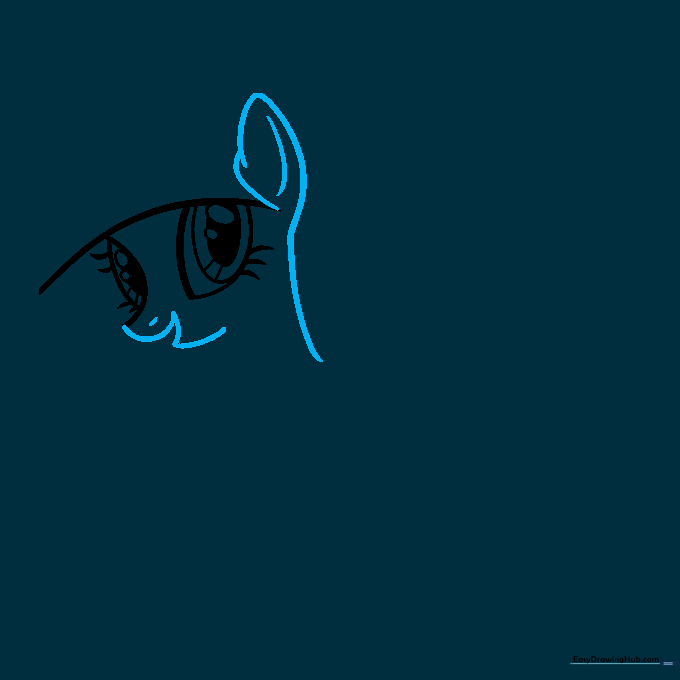
Sketch a leaf-like shape for the ear with a curved inner line. For the nose, draw a small triangle shape. Teacher's Tip: Use a tiny dash for the nostril to give her a cute, friendly expression.
Step 3: Adding the Horn and Mane
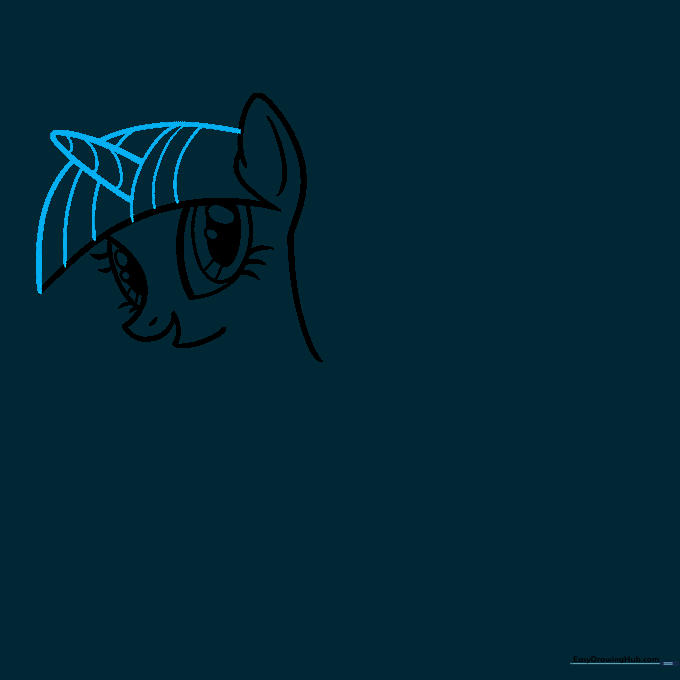
Draw a smooth curve over the head and add a narrow, pointed triangle for her unicorn horn. Make sure the horn overlaps the hair line. Teacher's Tip: Add a few extra lines in the mane to show the flow of her hair.
Step 4: Shaping the Neck
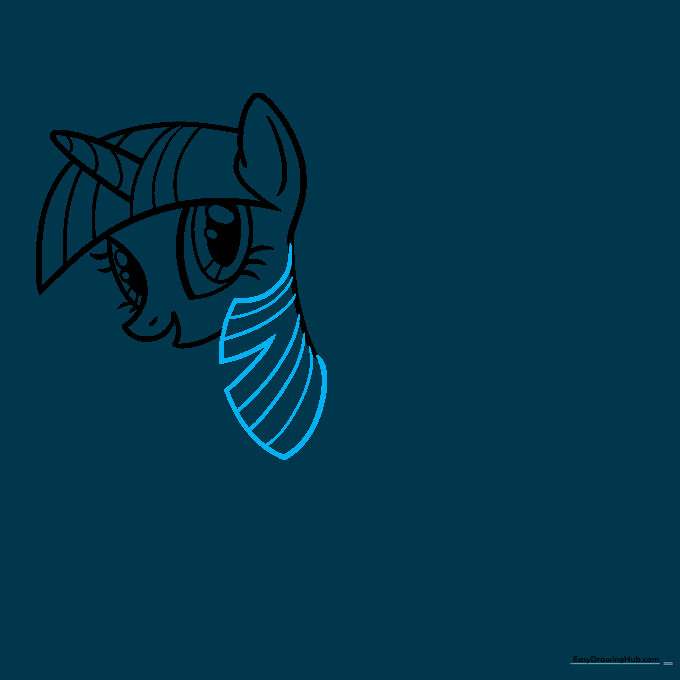
Connect the head to the body with two graceful, curved lines. Create a small triangular cutout to define the neck's shape. Teacher's Tip: Keep these lines fluid to make the pony look elegant.
Step 5: Sketching the Front Legs

Draw a cone-like shape for the left leg and two simple lines for the right leg. Teacher's Tip: Ensure the legs are slightly wider at the bottom to give the pony a stable stance.
Step 6: Completing the Body and Cutie Mark
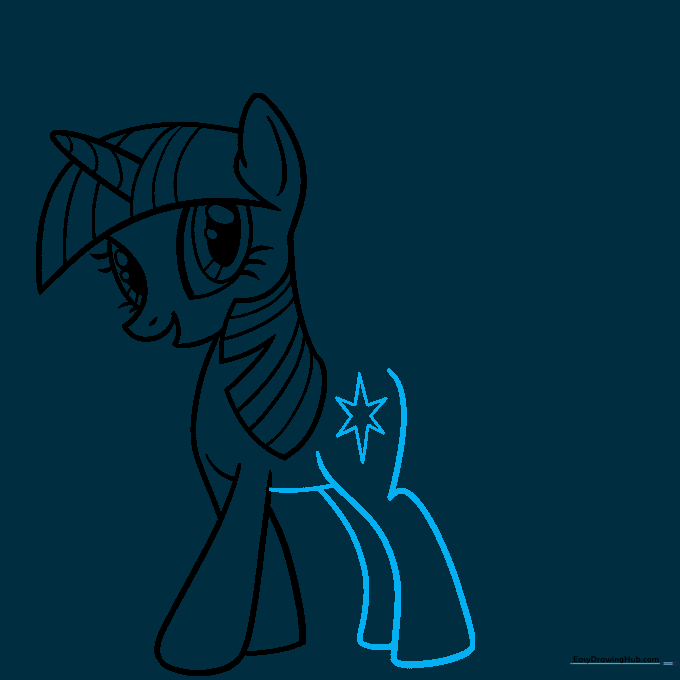
Outline the back and belly with a continuous curve, then add the back legs. Don't forget to sketch a small star for her cutie mark! Teacher's Tip: Use a ruler if you find drawing the star points tricky.
Step 7: Drawing the Wing
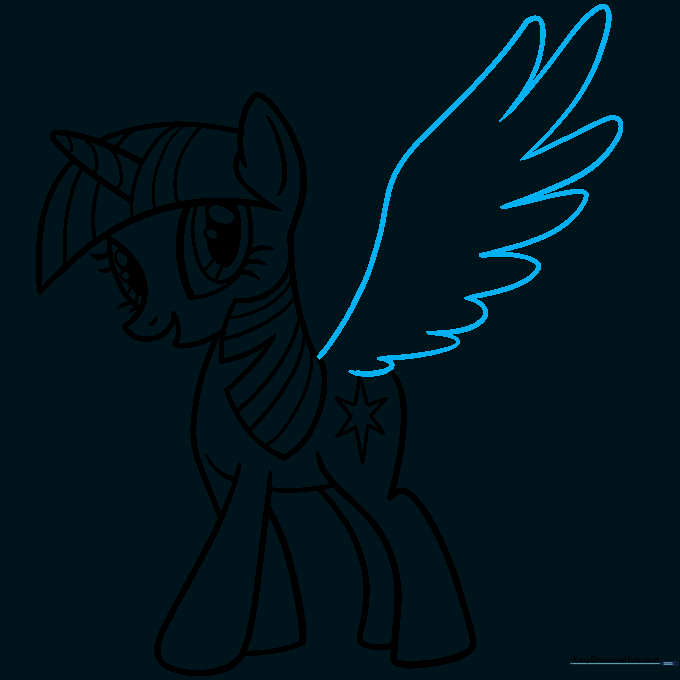
Start the wing with a large, upward-curving line. Add several smaller, petal-shaped loops to represent the feathers. Teacher's Tip: Vary the size of the loops to make the wing look more natural.
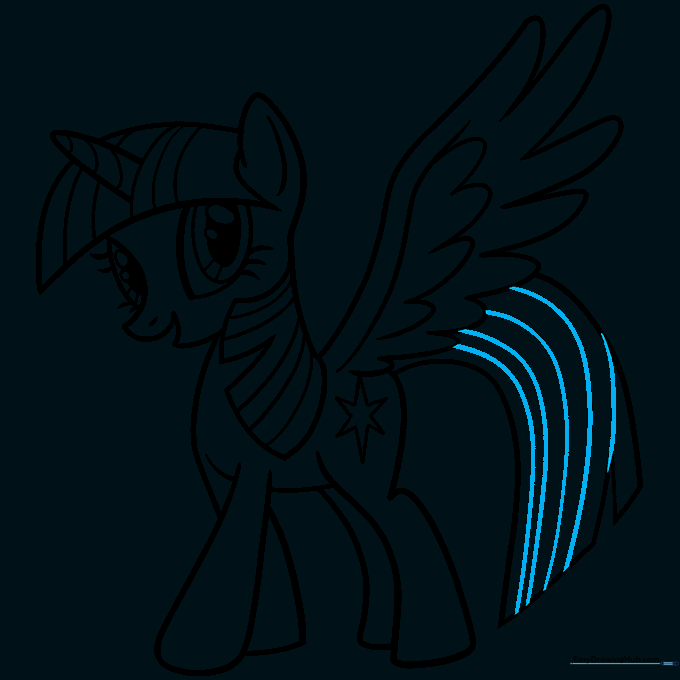
Step 8: Adding Wing Details and Tail

Add more feather details inside the wing. For the tail, draw two long, flowing curves that meet at a point. Teacher's Tip: Make the tail look bouncy by curving the lines outward.
Step 9: Final Outline
Add a few final curved lines inside the tail for texture. Once you are happy with your sketch, trace over your lines with a black marker. Teacher's Tip: Use a steady hand and go slowly for a clean, professional look.
Step 10: Coloring Your Masterpiece
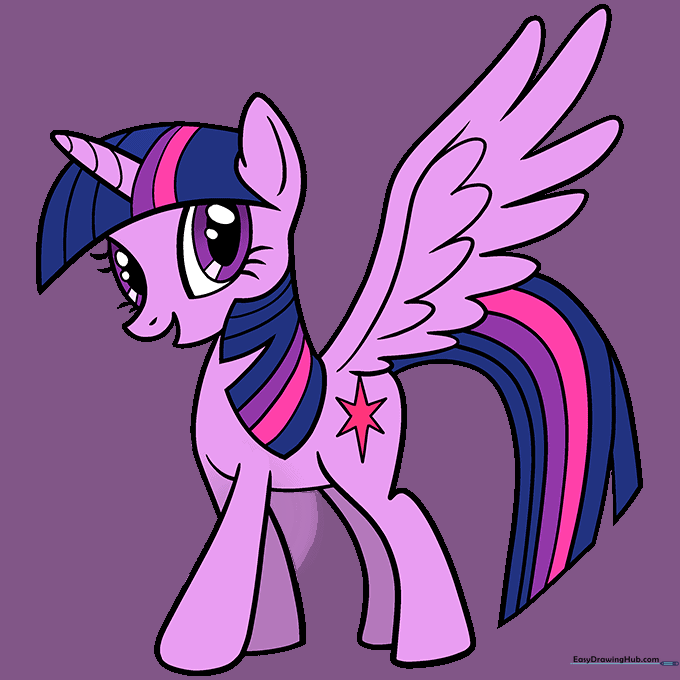
Bring Twilight Sparkle to life! Use light purple for her body, dark purple for the eyes, and a blend of purple, pink, and blue for her mane. Teacher's Tip: Color in the same direction to keep your work looking smooth and tidy.
More Tutorials


