How to Draw Tuxedo Sam: Easy 10-Step Guide for Kids
Bring Sanrio’s favorite dapper penguin to life with this beginner-friendly drawing tutorial. Designed for ages 5 and up, this activity requires only a pencil, paper, and an eraser to build confidence in character sketching. Follow along to develop your spatial awareness and line control while creating your own Tuxedo Sam masterpiece.
🎯 Final Result

Step-by-Step Instructions
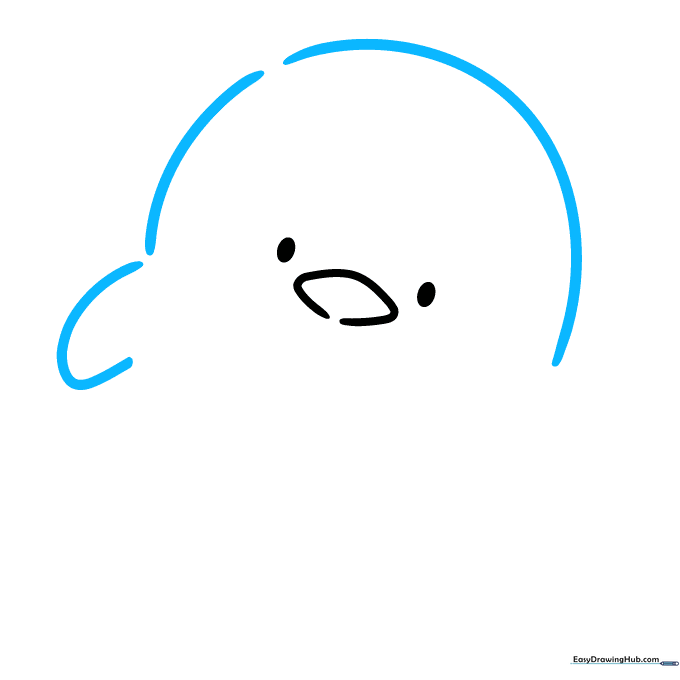
Step 1: Sketching the Face and Beak

Start by drawing the curved outline of the beak, keeping the lines open. Add two small, shaded ovals for the eyes. Teacher's Tip: Keep your pencil pressure light so you can easily adjust the eye placement if needed.
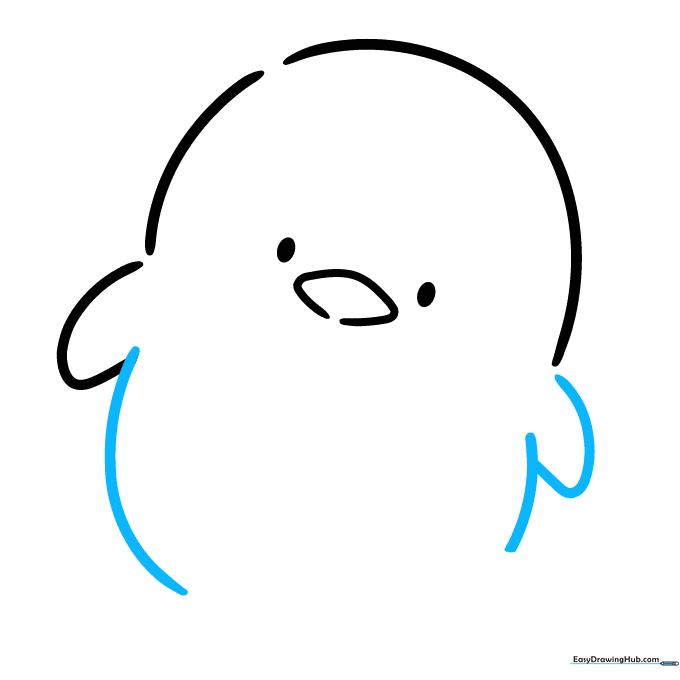
Step 2: Shaping the Head and Flipper
Use long, sweeping curved lines to define the round head and the first flipper. Tip: Don't worry about closing the lines perfectly; leaving them slightly open gives the drawing a soft, cartoon-like quality.
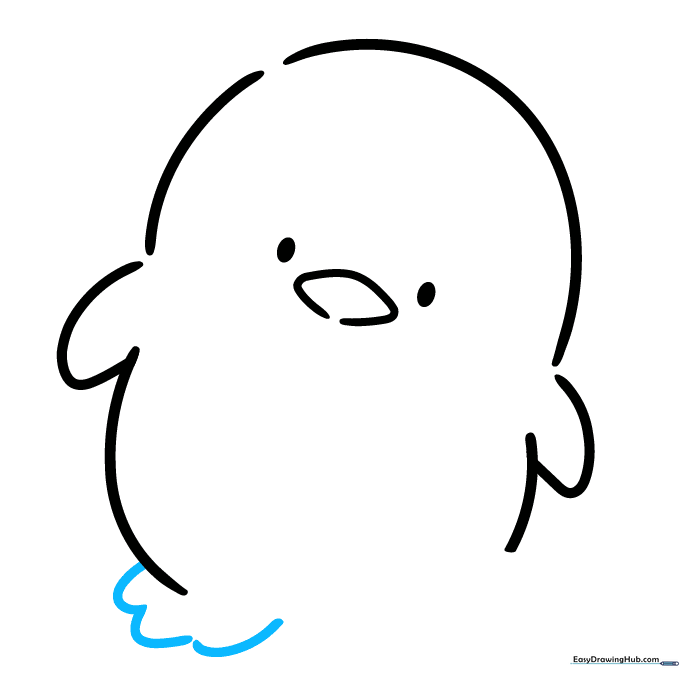
Step 3: Defining the Torso
Add the second flipper and the sides of the body using overlapping curved lines. Tip: Imagine the body as a soft, rounded bean shape to help keep your proportions consistent.
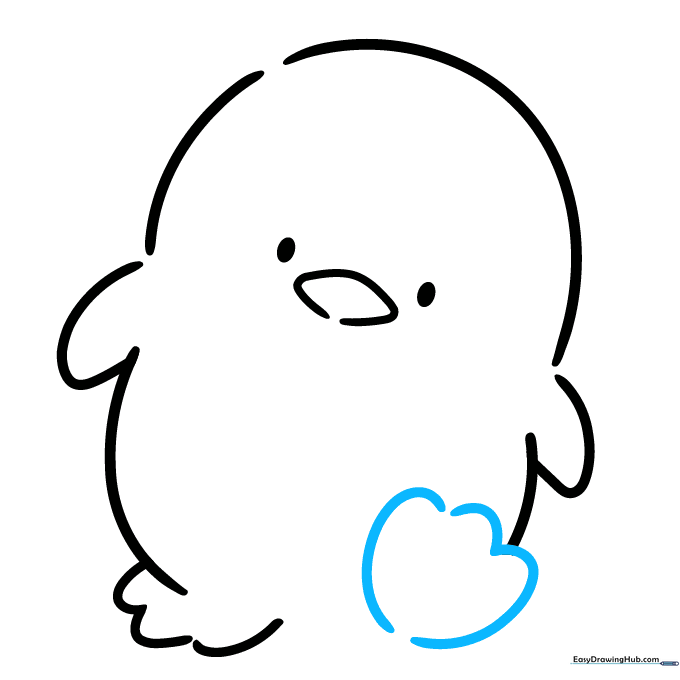
Step 4: Drawing the First Foot
Sketch the foot using three simple, connected curved lines. Tip: Keep the toes rounded rather than pointed to maintain the character's cute, chibi aesthetic.
Step 5: Adding the Second Foot
Draw the second foot slightly raised to show movement. Tip: Use a 'stepping' motion in your drawing to make the character look active and playful.
Step 6: The Hat Brim

Draw the rectangular brim of his signature hat using curved lines. Connect the feet with a gentle curve to ground the character. Tip: Ensure the brim is wider than the head to give it a classic sailor-hat look.
Step 7: Completing the Hat
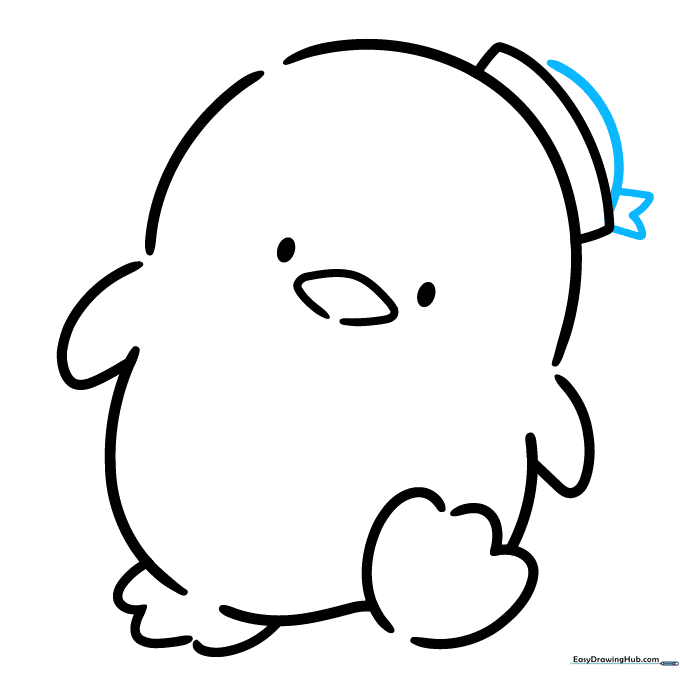
Add the crown of the hat and a small bookmark ribbon on the side. Tip: Use short, straight lines for the ribbon to contrast with the soft curves of the hat.
Step 8: Adding the Bow Tie
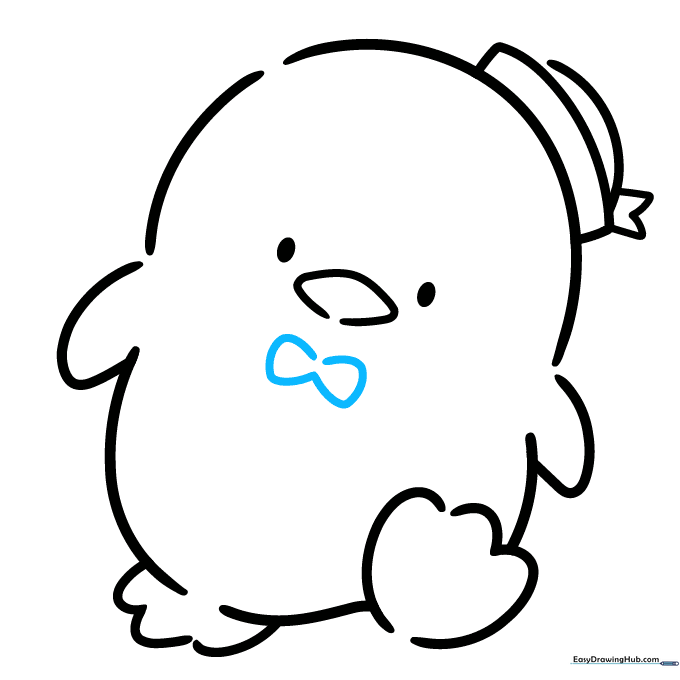
Draw an hourglass shape just below the beak for the bow tie. Tip: Keep the center of the bow small so the two loops look balanced and symmetrical.
Step 9: Finalizing the Tuxedo Pattern
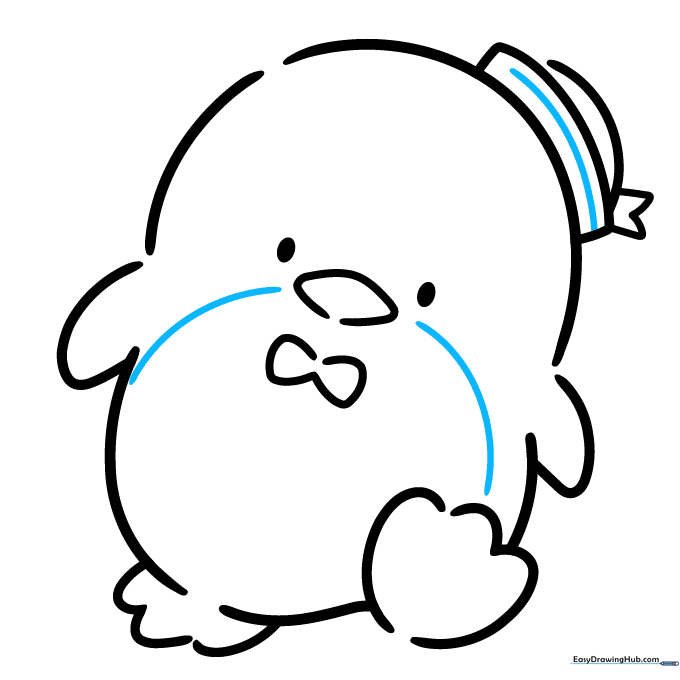
Add the final details of the tuxedo pattern by drawing curved lines from the beak down to the torso. Tip: These lines define the 'vest' area, so keep them smooth and flowing.
Step 10: Bringing Him to Life with Color

Time to color! Use blue for the head and body, white for the belly, and yellow for the beak and feet. Use red or pink for the bow tie and hat ribbon. Tip: Use light, circular strokes with your colored pencils for a smooth, even finish.
More Tutorials


