How to Draw Tulips in a Pot: Easy 9-Step Guide
This tutorial is perfect for young artists ages 5 and up looking to practice organic shapes and layering. All you need is a pencil, an eraser, and your favorite coloring supplies. Follow along to create a vibrant, professional-looking potted flower arrangement in just a few simple steps.
🎯 Final Result

Step-by-Step Instructions
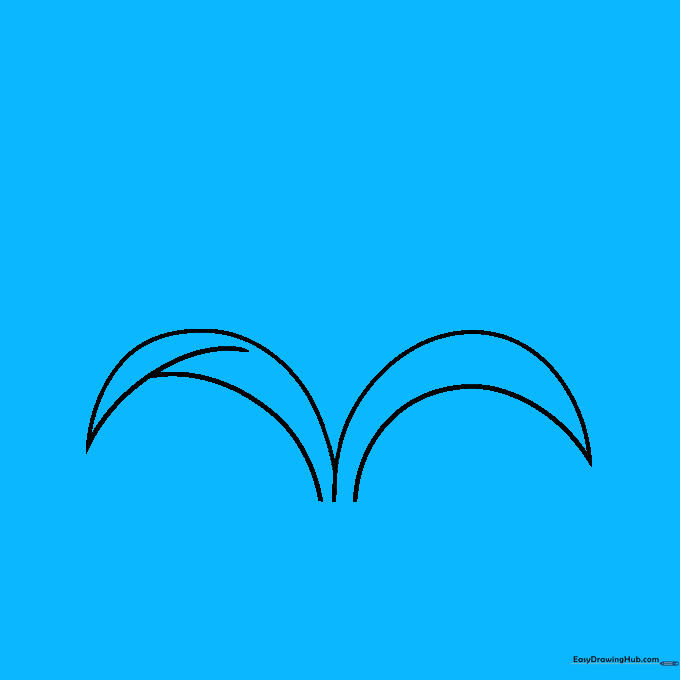
Step 1: Sketching the Base Leaves

Start by drawing two curved lines that meet at a sharp point to form your first leaf. Teacher's Tip: Add a small overlapping line near the base to show a natural bend in the leaf—it makes your drawing look much more realistic!
Step 2: Forming the First Tulip
Extend two lines upward from between the leaves to create the stem. At the top, draw a large 'C' shape to outline the petals. Teacher's Tip: Keep your pencil pressure light here so you can easily erase the stem lines inside the flower head later.
Step 3: Adding Petal Detail
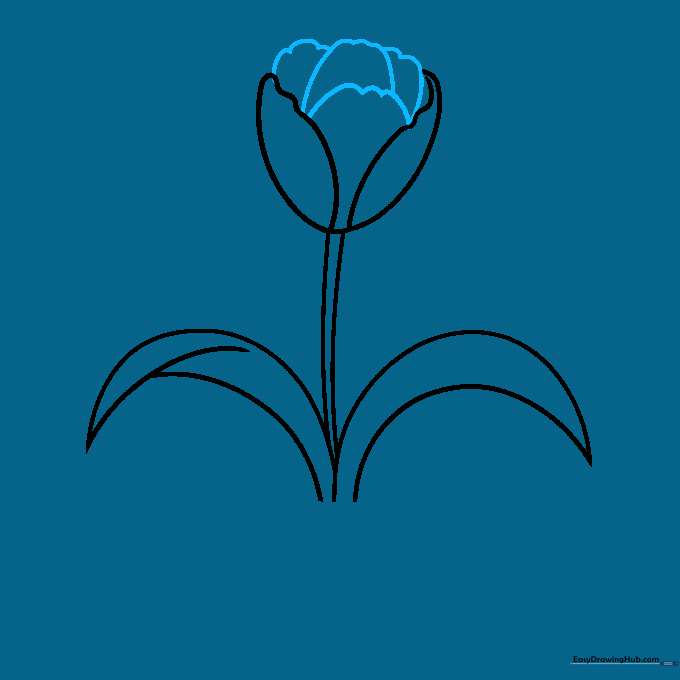
Use overlapping wavy lines to add depth to the tulip's petals. Teacher's Tip: Tulips have soft, rounded edges, so don't worry about making your lines perfectly straight—wavy lines look more natural.
Step 4: Sketching the Second Flower
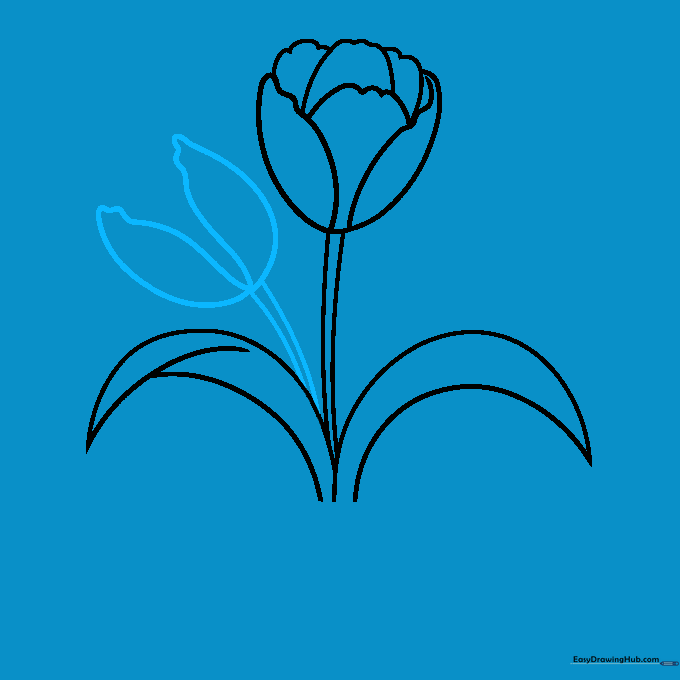
Draw a second stem next to the first, then top it with irregular, wavy semi-circles to create a different petal shape. Teacher's Tip: Varying the heights of your flowers makes the arrangement look more realistic and less like a row of soldiers.
Step 5: Layering the Third Flower
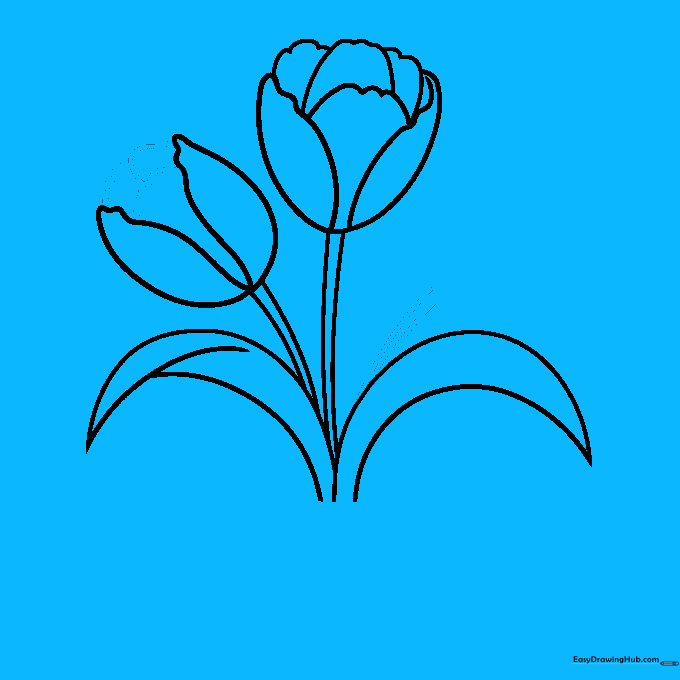
Complete the second flower with more wavy lines, then start the third stem. Teacher's Tip: If your lines overlap, that's okay! It helps create the illusion that the flowers are grouped closely together in the pot.
Step 6: Defining the Third Bloom

Enclose the petals of the third flower using long, sweeping curved lines. Teacher's Tip: Try to make these petals look slightly more open than the others to add variety to your drawing.
Step 7: Drawing the Pot Rim
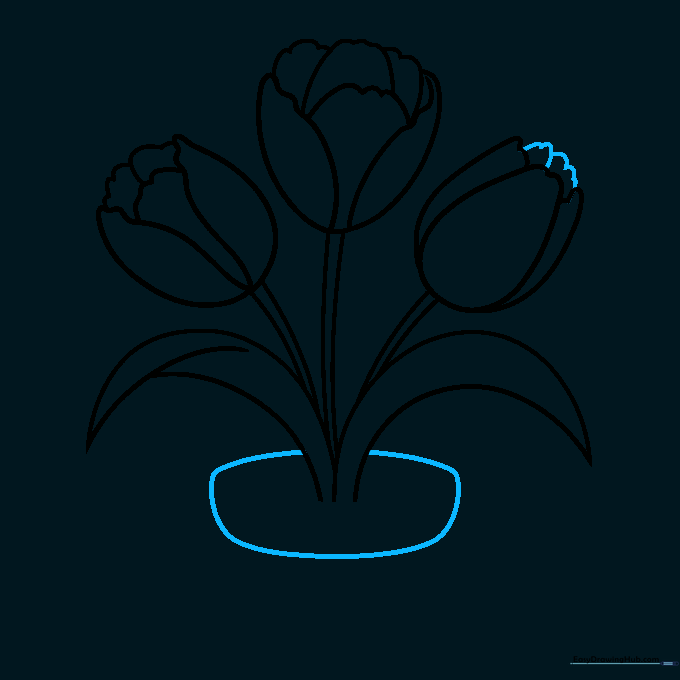
Add final petal details to the third flower, then draw a rounded shape at the bottom to start the pot. Teacher's Tip: Ensure the pot is wide enough to 'hold' all three stems comfortably.
Step 8: Completing the Pot
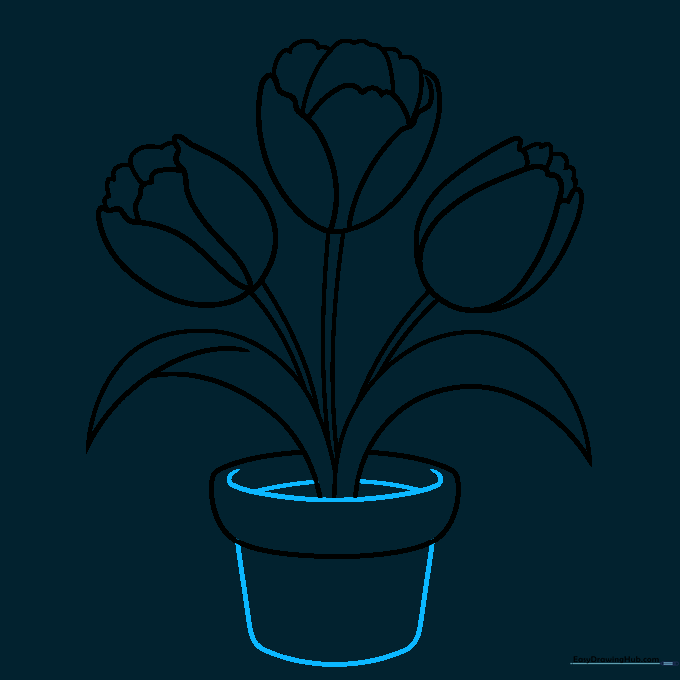
Use a 'C' shaped line for the pot's opening and a rounded rectangle for the base. Teacher's Tip: Use a ruler if you struggle with straight lines, but freehand gives it a charming, rustic look!
Step 9: Final Touches

Add a few more leaves behind the flowers to fill in the space. Teacher's Tip: Drawing leaves behind the flowers creates a sense of depth, making your drawing look 3D.
Step 10: Bring It to Life with Color

Time to color! Tulips come in every color of the rainbow—red, yellow, purple, or even white. Teacher's Tip: Use two shades of green for the leaves to add highlights and shadows, making your drawing pop off the page.
More Tutorials


