How to Draw Tsunade: Easy 9-Step Anime Portrait Guide
Ready to bring the legendary Sannin to life? This tutorial is perfect for anime fans ages 8+ looking to refine their character sketching skills. You’ll only need a pencil, an eraser, and a sheet of paper to capture Tsunade’s iconic look.
🎯 Final Result
Step-by-Step Instructions
Step 1: Sketching the Anime Eyes
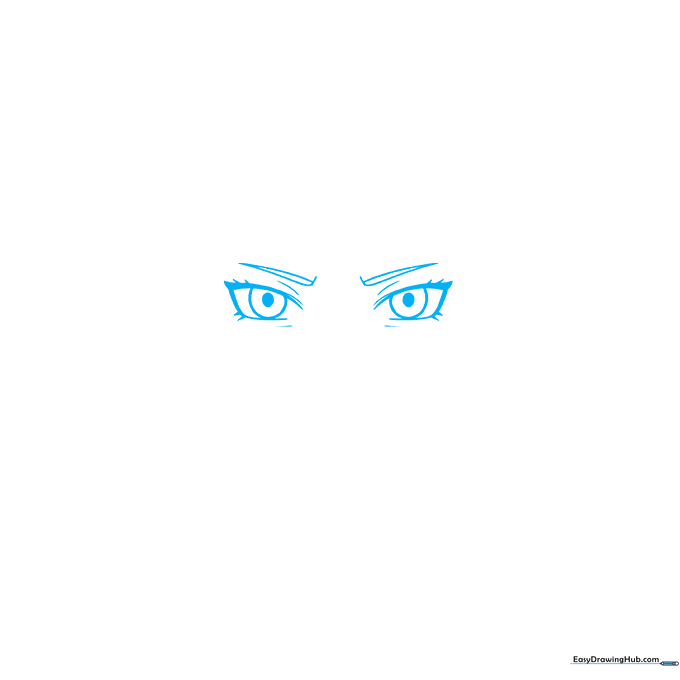
Start by drawing two rectangular shapes for the eyes. Tip: Keep the lines light! Add a partial circle inside each for the iris, and shade a small pupil in the center. Don't forget to add those sharp, furrowed eyebrows to give her that signature serious look.
Step 2: Defining the Facial Structure

Use smooth, curved lines to shape the chin and jawline. Add a small dash for the nose bridge and a simple line for her mouth. Tip: Keep the chin slightly pointed to maintain that classic anime aesthetic.
Step 3: Starting the Hairline
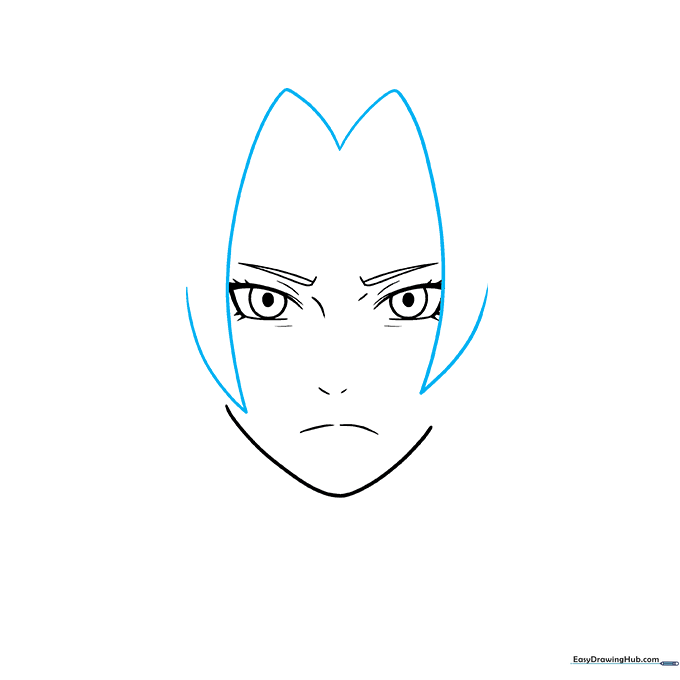
Draw a large 'M' shaped line across the top of the forehead to begin her hair. Tip: Use long, sweeping strokes to make the hair look natural and flowing rather than stiff.
Step 4: Adding the Forehead Diamond
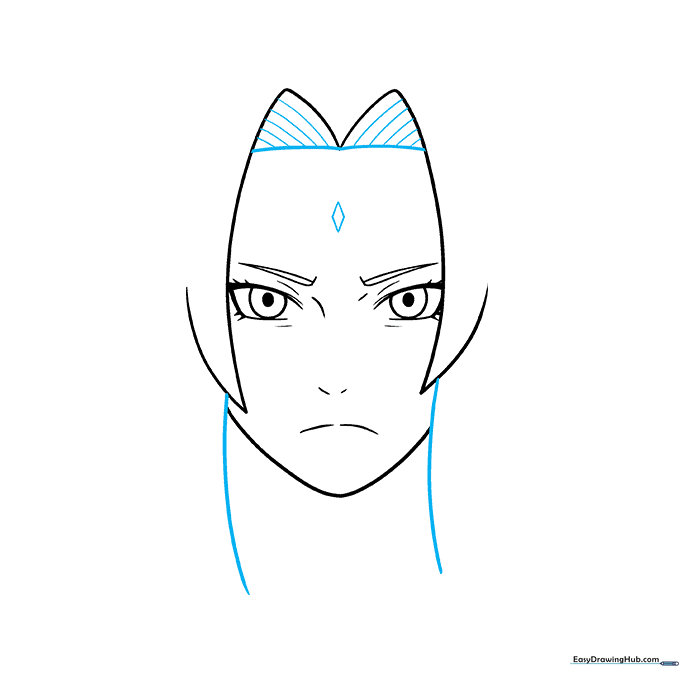
Enclose the face with curved lines extending from the hair. Draw a small diamond shape on her forehead. Tip: This is a key character detail, so take your time to make it symmetrical.
Step 5: Developing the Hair Volume
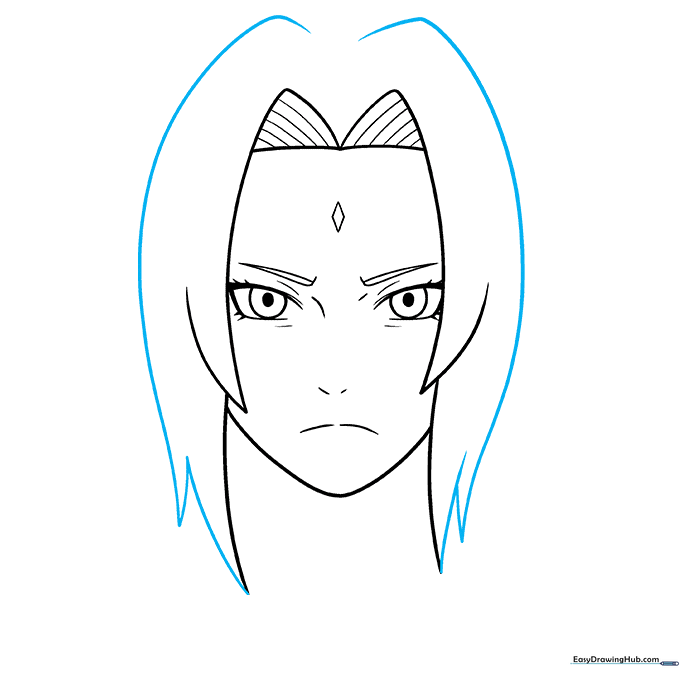
Continue the hair using long, curved lines that meet at jagged, sharp points. Tip: Anime hair is often drawn in 'clumps'—try to vary the size of these clumps for a more dynamic look.
Step 6: Drawing the Neck and Collar
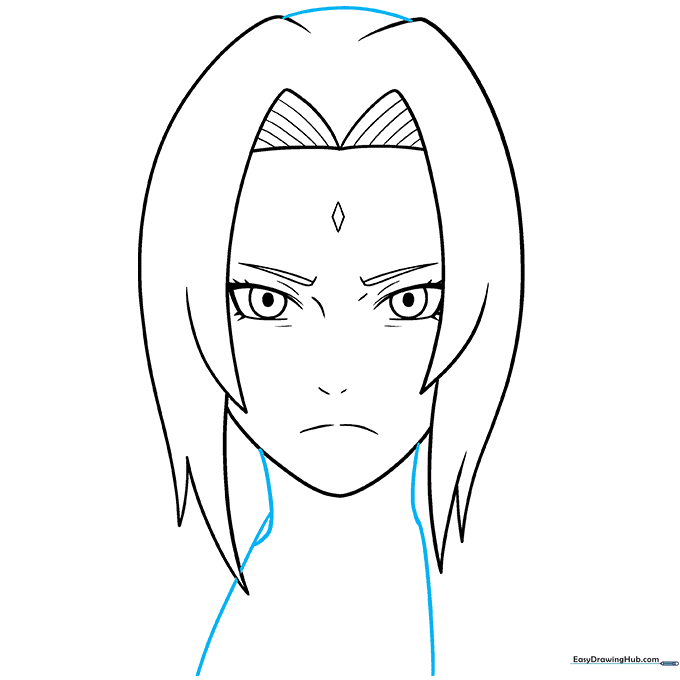
Connect the top of the head with a smooth curve. Extend two lines downward to form the neck and the start of her collar. Tip: Ensure the neck isn't too thick; keep it proportional to the head size.
Step 7: Shaping the Garment
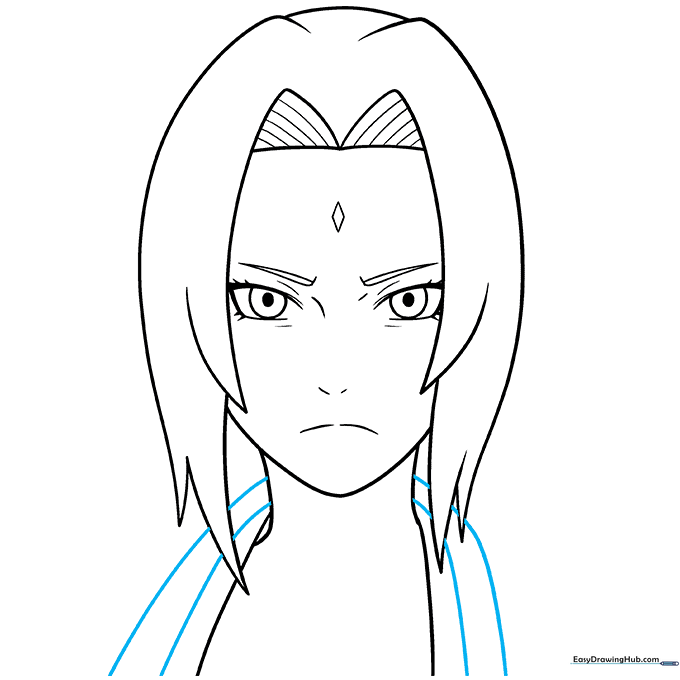
Draw a 'U' shape around the neck to represent the collar of her garment. Tip: Use a steady hand to keep the 'U' shape even on both sides.
Step 8: Adding Shoulder Details
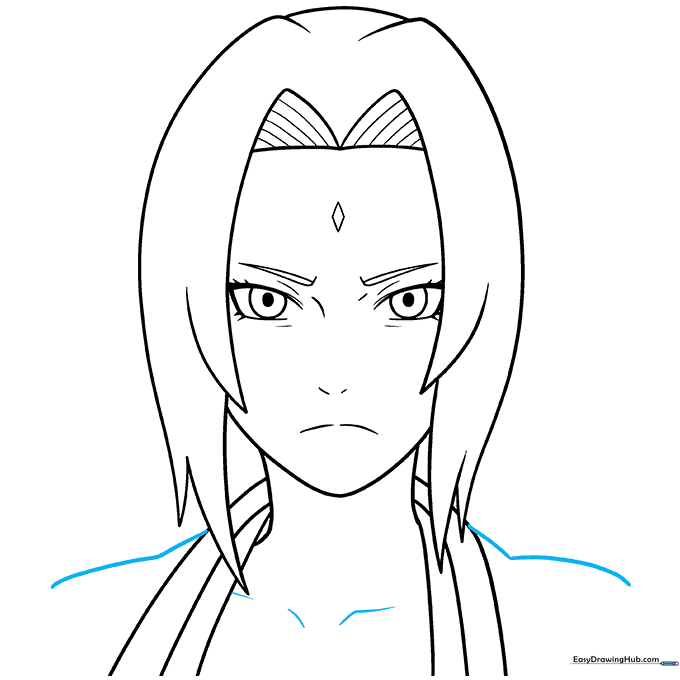
Extend lines from the collar to form the shoulders. Add small curved lines to suggest the collarbones. Tip: Adding these small anatomical details makes the drawing look much more professional.
Step 9: Finalizing the Outline
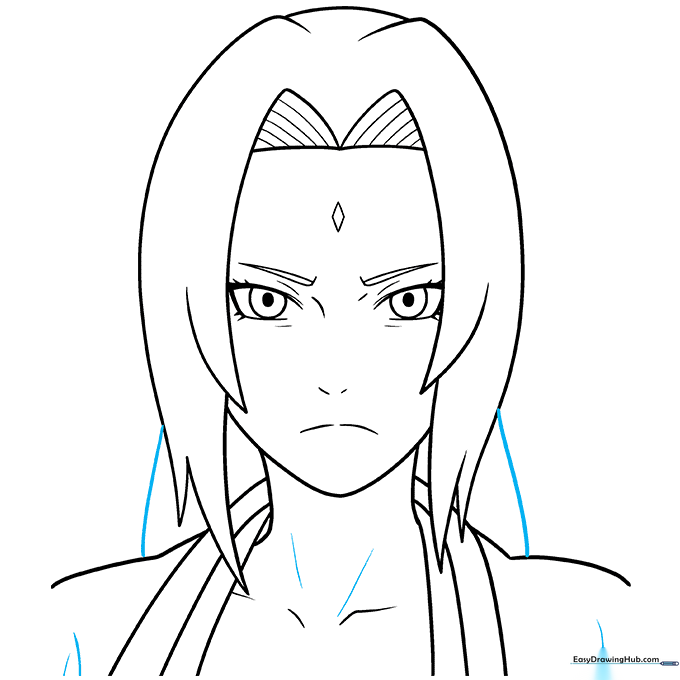
Refine the hair and garment lines to complete the sketch. Tip: Go over your final lines with a pen and erase the pencil marks for a clean, finished look.
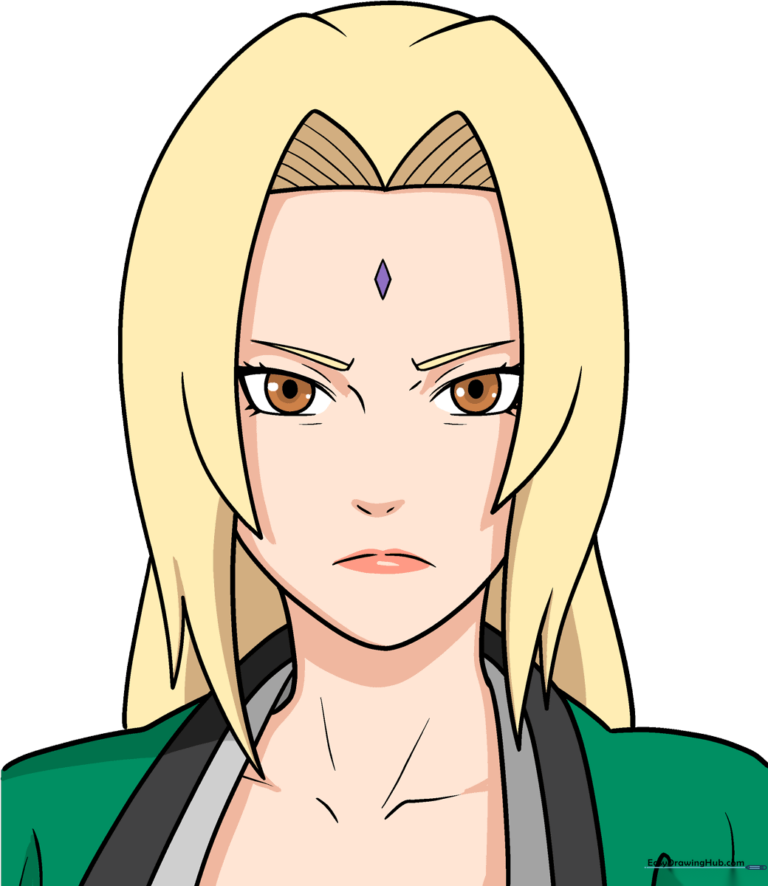
Step 10: Bringing Tsunade to Life with Color
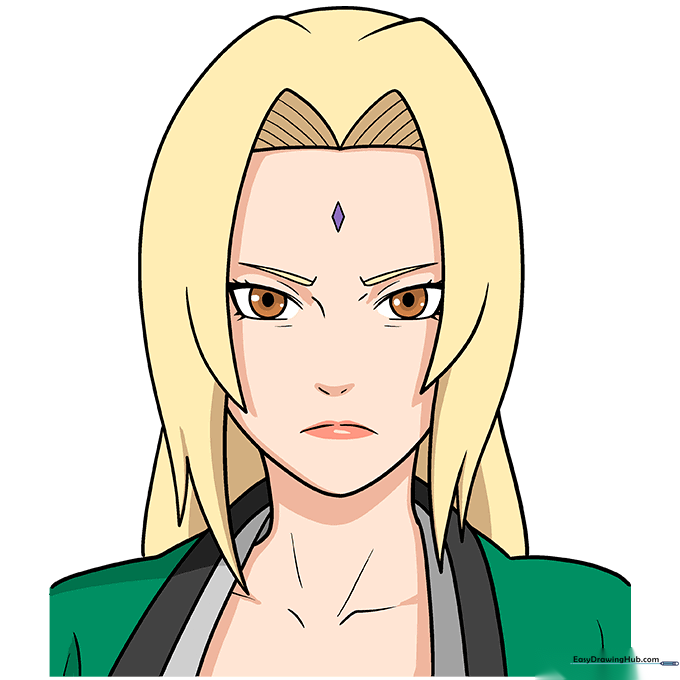
Time to color! Use a bright blonde for her hair, a soft brown for her eyes, and a vibrant purple for the diamond mark. Her signature outfit is typically green. Tip: Use light, circular motions with your colored pencils to get an even, smooth finish.
More Tutorials


