How to Draw Toodles from Dandy’s World: Easy Step-by-Step
Bring Toodles from Dandy's World to life with this beginner-friendly drawing guide. Designed for young artists, this activity requires only a pencil, paper, and an eraser to master Toodles' iconic look. Follow along to develop your sketching confidence and create a fun, stylized character portrait.
🎯 Final Result

Step-by-Step Instructions
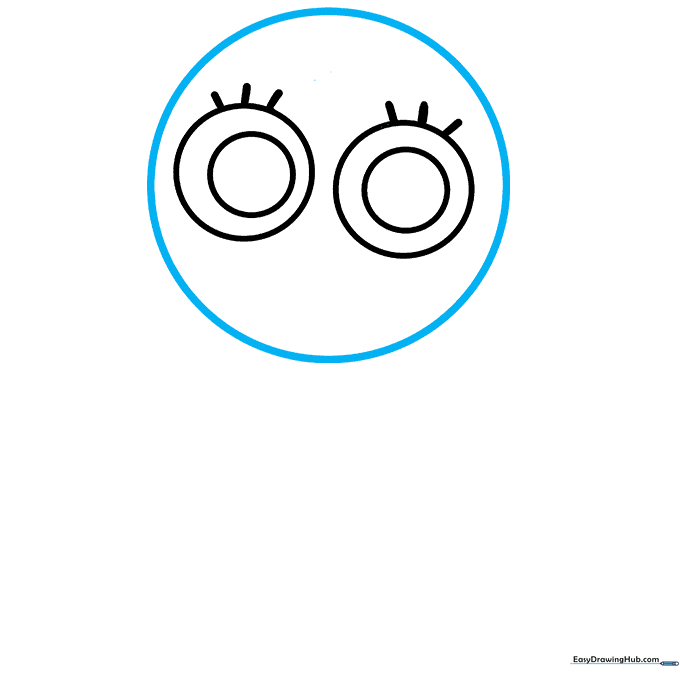
Step 1: Sketching the Expressive Eyes

Start by drawing two large circles for the eyes, then add a smaller circle inside each for the pupils. Add three short, flicking lines on top of each eye for eyelashes. Teacher's Tip: Keep your pencil pressure light so you can easily adjust the symmetry before committing to darker lines.
Step 2: Defining the Head Shape

Draw a clean, rounded circle around the eyes to form the head. Teacher's Tip: Don't worry if it's not a perfect circle; Toodles has a playful, bouncy personality, so a slightly organic shape adds character!
Step 3: Adding Cheeks and a Smile
Use curved lines to create small partial circles under the eyes for blushing cheeks. Draw a crescent-shaped mouth and add short vertical lines inside to represent teeth. Teacher's Tip: Use a steady hand for the smile to give Toodles that signature cheerful expression.
Step 4: The Number Eight and Neck
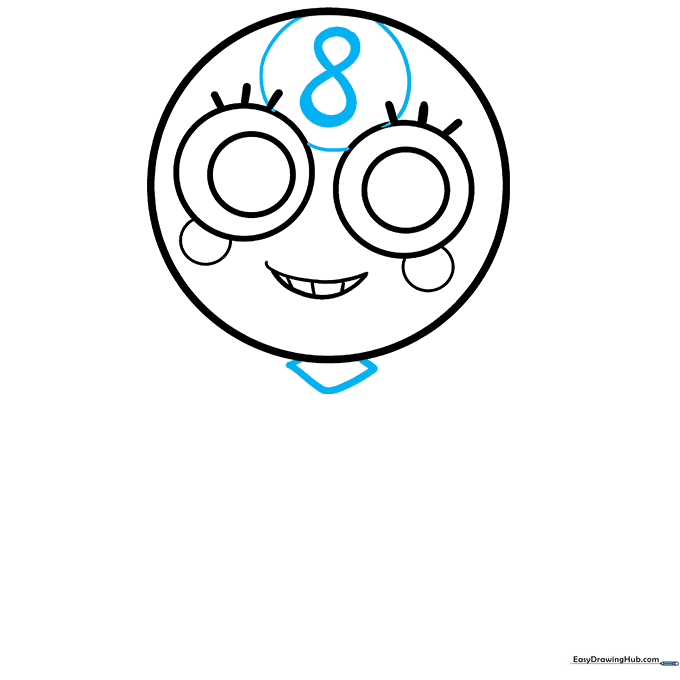
Draw a small partial circle between the eyes and shade a bold number '8' inside. Below the head, draw a diamond shape for the neck. Teacher's Tip: The diamond shape acts as a hinge, helping the character look more dynamic.
Step 5: Drawing the First Arm
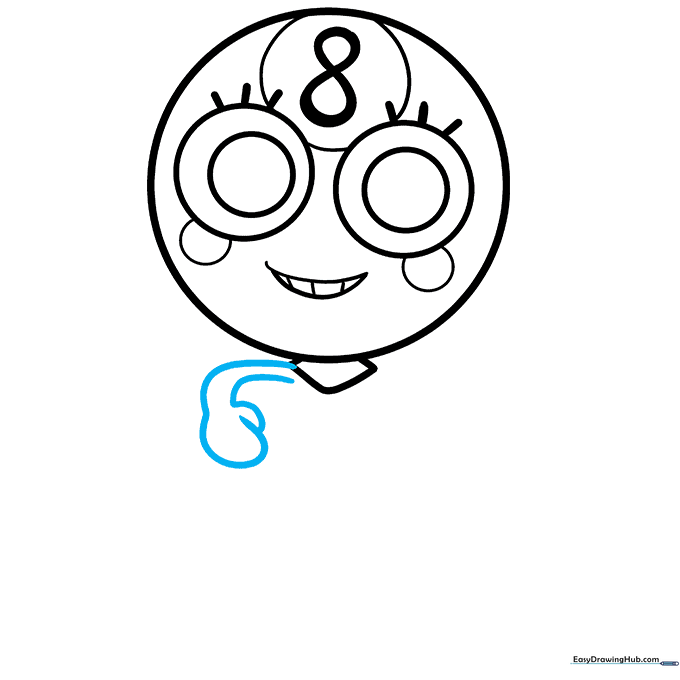
Sketch a bent arm leading into a mitten-like hand. Teacher's Tip: Keep the arm lines smooth and fluid to suggest movement.
Step 6: Adding the Second Arm
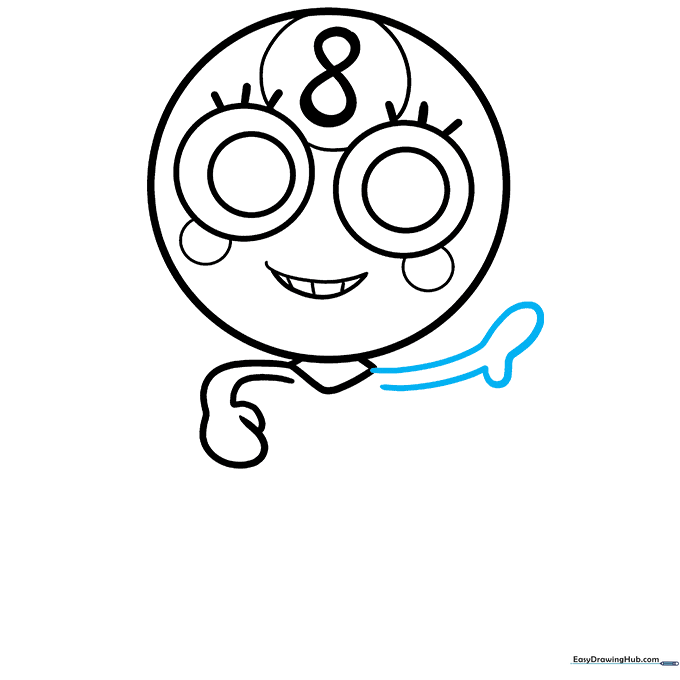
Draw the second arm extending in the opposite direction to create balance. Teacher's Tip: Use your first arm as a reference to keep the thickness consistent.
Step 7: Sketching the Dress
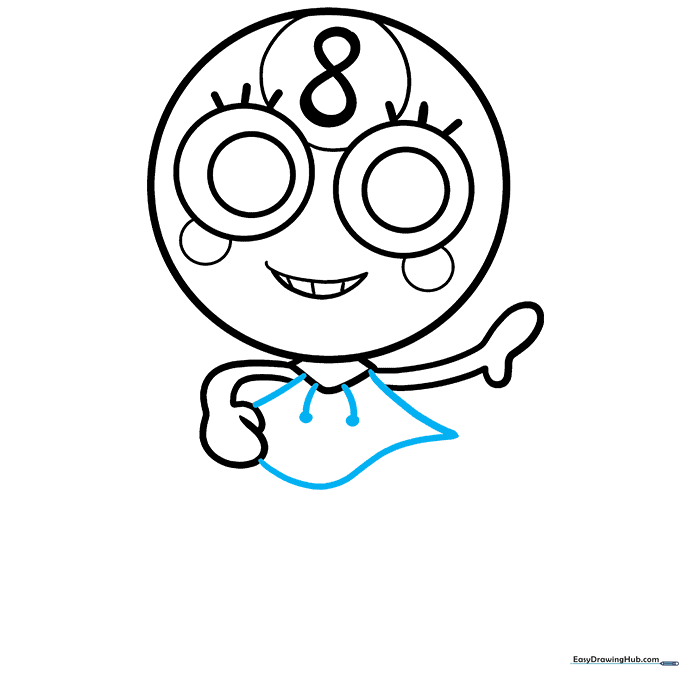
Enclose the dress shape beneath the neck using curved lines. Add two downward lines from the neck with shaded dots at the ends. Teacher's Tip: These dots add a nice decorative touch to the collar area.
Step 8: Drawing the First Leg
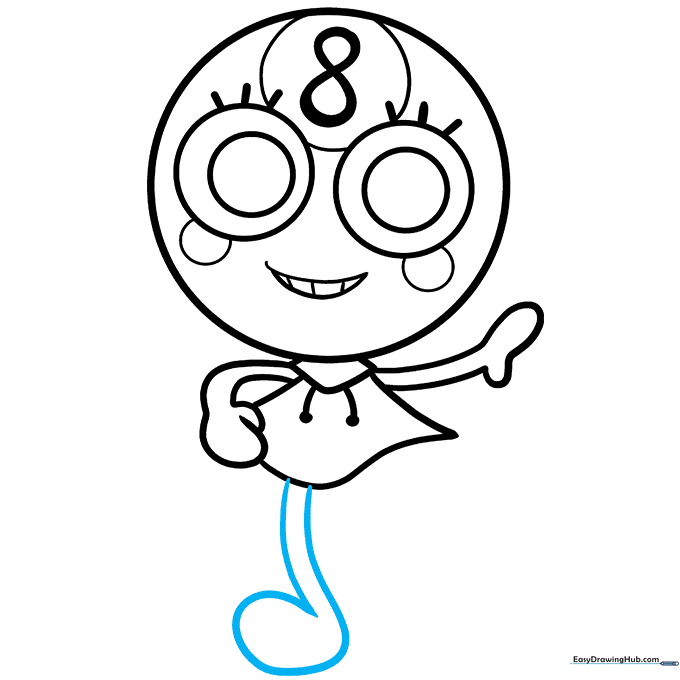
Extend a long curved line and double it back to form the leg and foot, resembling a music note. Teacher's Tip: Focus on the 'doubling back' technique to give the leg volume.
Step 9: Adding the Final Leg
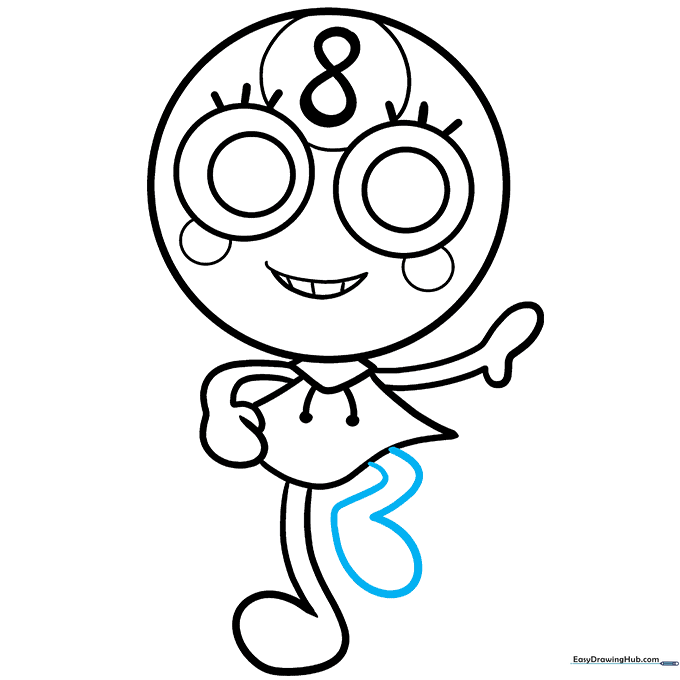
Draw the second leg bent at the knee, as if Toodles is mid-step. Teacher's Tip: Varying the leg positions makes the character look like they are in motion.
Step 10: Final Coloring

Your outline is complete! Toodles uses a classic black-and-white palette, similar to an eight-ball. Teacher's Tip: Use bold black markers for the eyes and limbs to make the character pop against the white paper.
More Tutorials


