How to Draw Tomato Head: Easy Fortnite Drawing Guide
Bring your favorite Fortnite skin to life! This guide is designed for young artists and beginners to practice character proportions and detail work. Grab a pencil, an eraser, and your favorite markers to start sketching this iconic character.
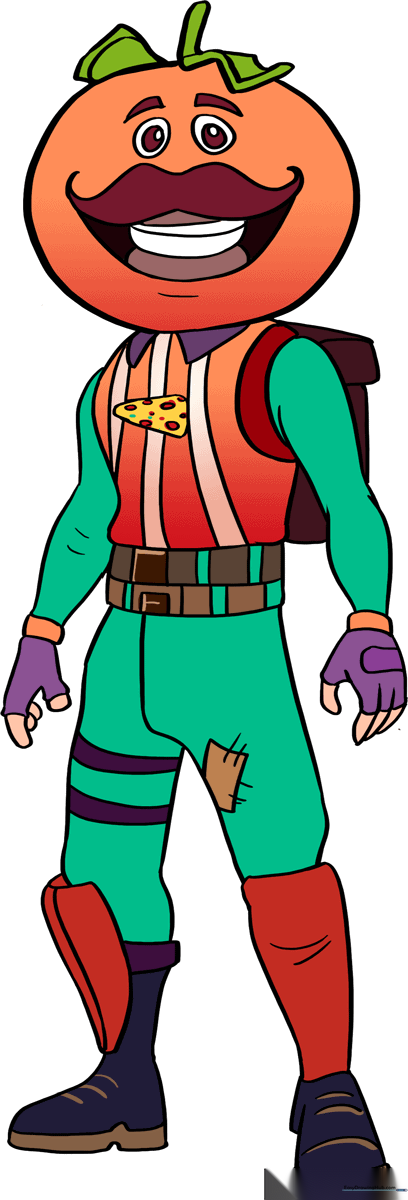
🎯 Final Result
Step-by-Step Instructions
Step 1: Sketching the Tomato Head

Start by drawing a large circle for the head. Add a small, curved stem on top, then sketch the leafy crown using wavy, zig-zag lines. Teacher's Tip: Keep your pencil lines light and loose; you can darken the final shape once you're happy with the proportions.
Step 2: Defining the Torso
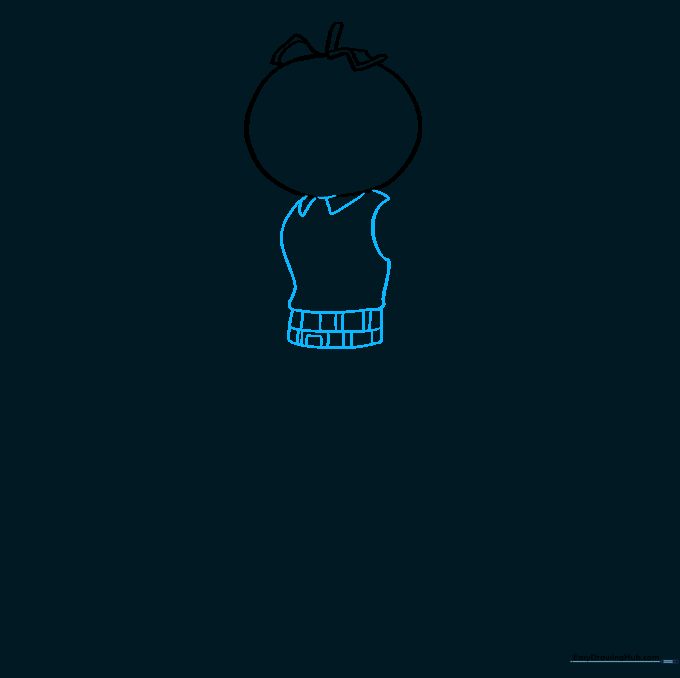
Draw two small triangles under the head for the collar. Use curved lines to build the torso, leaving a 'C' shaped gap on one side for the arm. Tip: Focus on the flow of the lines to make the character look dynamic rather than stiff.
Step 3: Adding Shirt Details
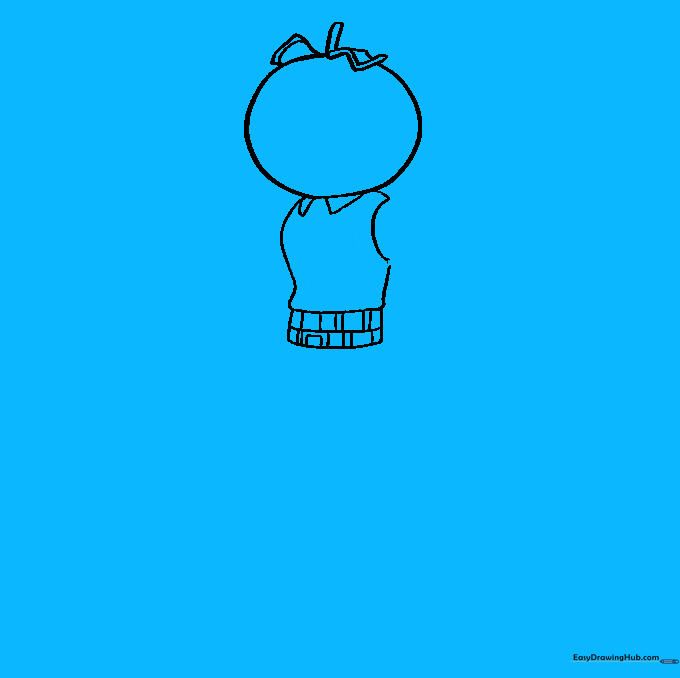
Draw a rounded triangle in the center of the chest. Add small dots and ovals for texture, then draw vertical stripes down the shirt. Tip: Use a ruler if you struggle with straight lines, but freehand is great for building muscle memory!
Step 4: Sketching the Legs
Outline the legs using two irregular, curved shapes. These don't need to be perfect; they represent the baggy style of the character's pants. Tip: Think of these as two long, soft tubes.
Step 5: Drawing the Boots
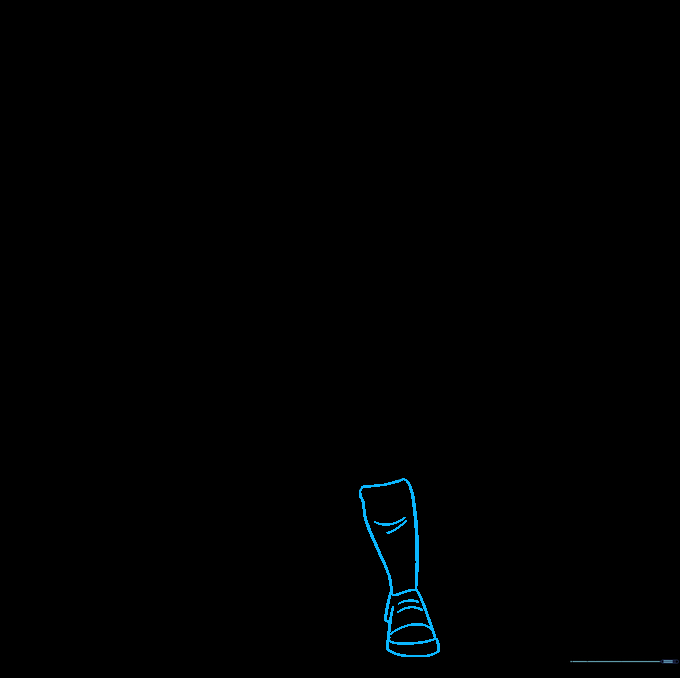
Draw a curved rectangle for the upper part of the boot and add horizontal lines for texture. Enclose the bottom with a rounded shape for the sole. Tip: Notice how the curve of the sole gives the boot a sense of weight.
Step 6: Adding Pant Details
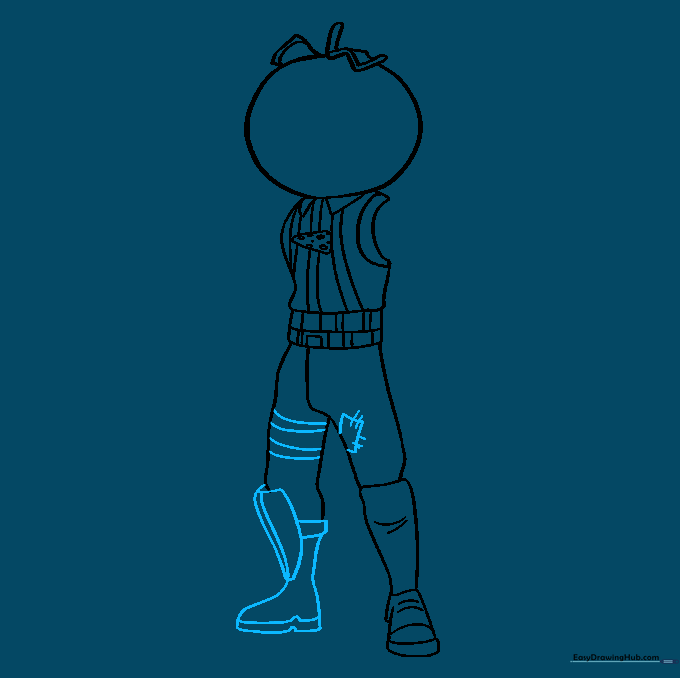
Refine the boots and add a square patch to one pant leg. Use tiny, perpendicular lines to show the stitches on the patch. Tip: Small details like stitches make your drawing look much more professional!
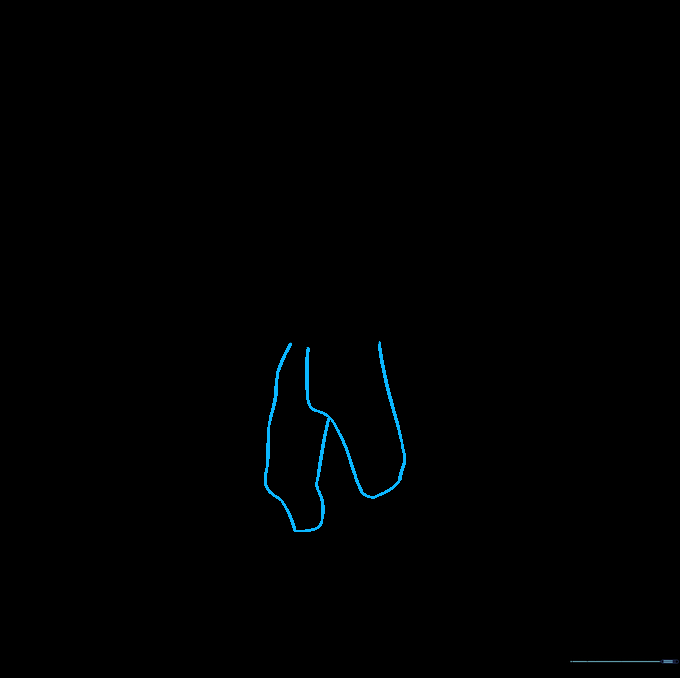
Step 7: Sketching the Arms
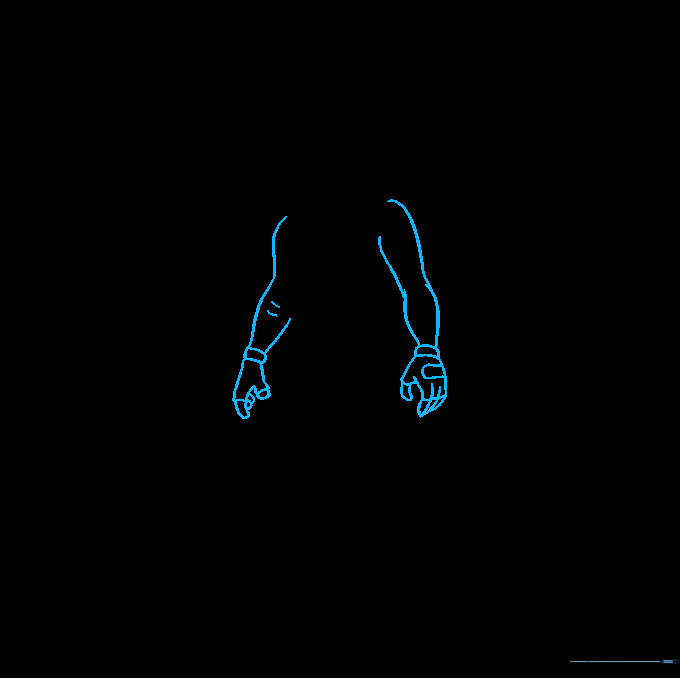
Draw the arms using curved lines to suggest muscle. Add cuffs at the wrists and sketch the fingerless gloves. Tip: When drawing hands, keep the shapes simple—think of them as rounded blocks rather than individual fingers.
Step 8: Drawing the Backpack
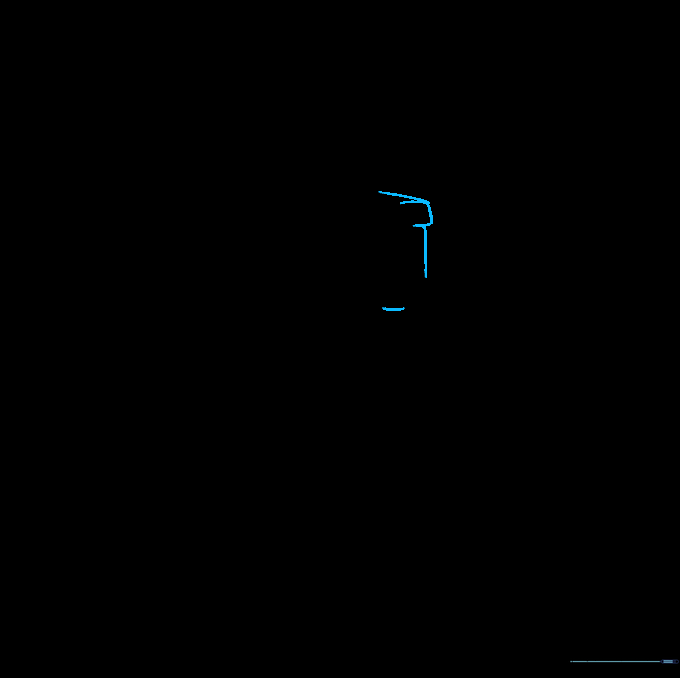
Add the backpack by drawing a simple rectangle with a lid on the character's back. Tip: Keep this shape clean so it doesn't distract from the main character design.
Step 9: Finalizing the Face
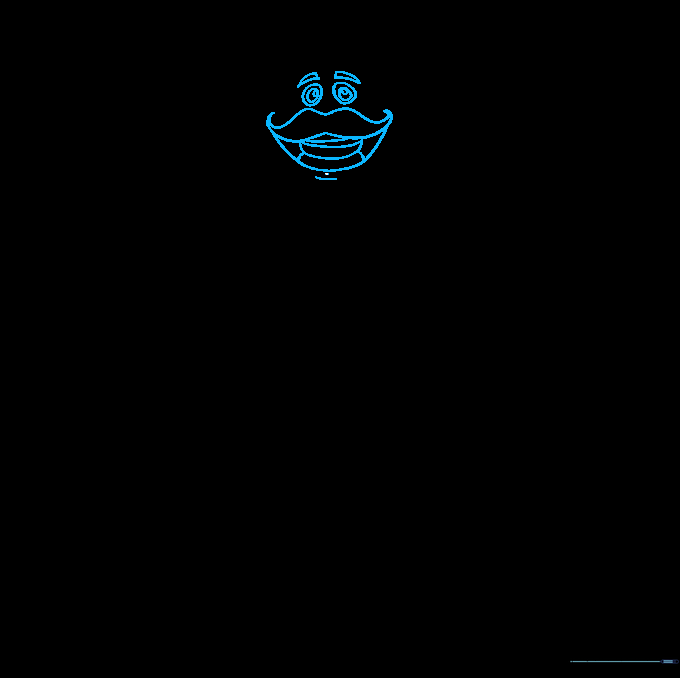
Draw the eyebrows, circular eyes, and the iconic 'M' shaped mustache. Finish with a curved mouth showing teeth. Tip: Take your time on the face—this is where the character's personality really shines through!
Step 10: Color and Polish

Use bright reds for the head and earthy tones for the outfit to make your Tomato Head pop. Once finished, erase any stray pencil marks to clean up your masterpiece.
More Tutorials


