How to Draw Tom Cat: Easy 10-Step Cartoon Guide
Ready to bring everyone's favorite mischievous cat to life? This tutorial is perfect for ages 6+ and requires only a pencil, eraser, and paper. Follow these simple steps to master Tom's expressive features and classic cartoon proportions.
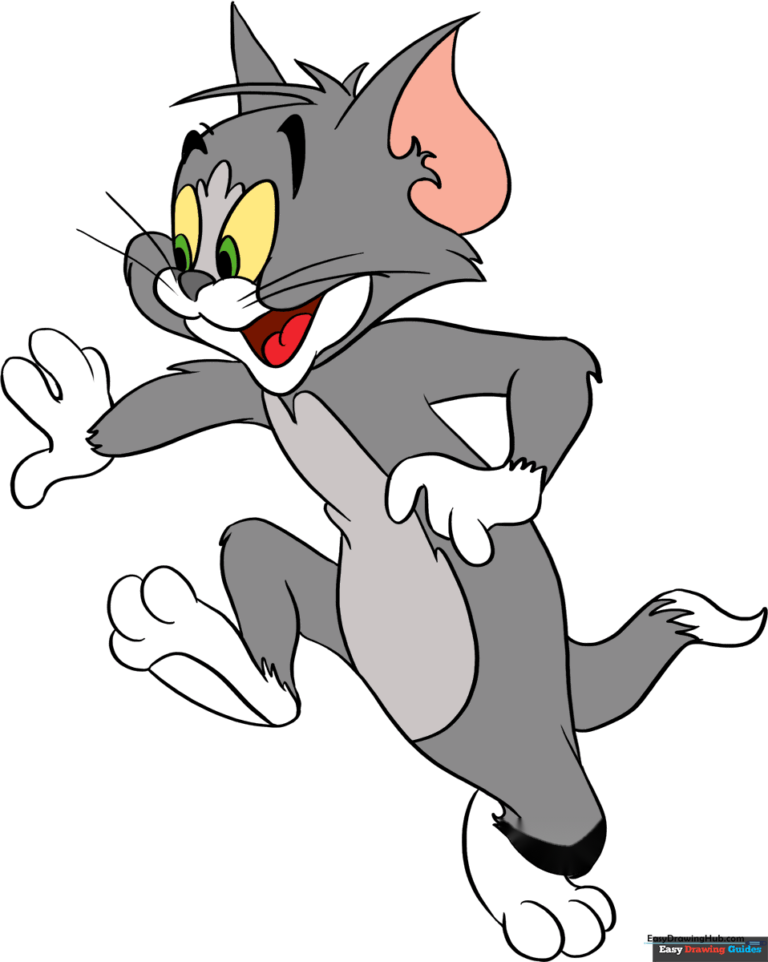
🎯 Final Result
Step-by-Step Instructions
Sketching the Head Shape
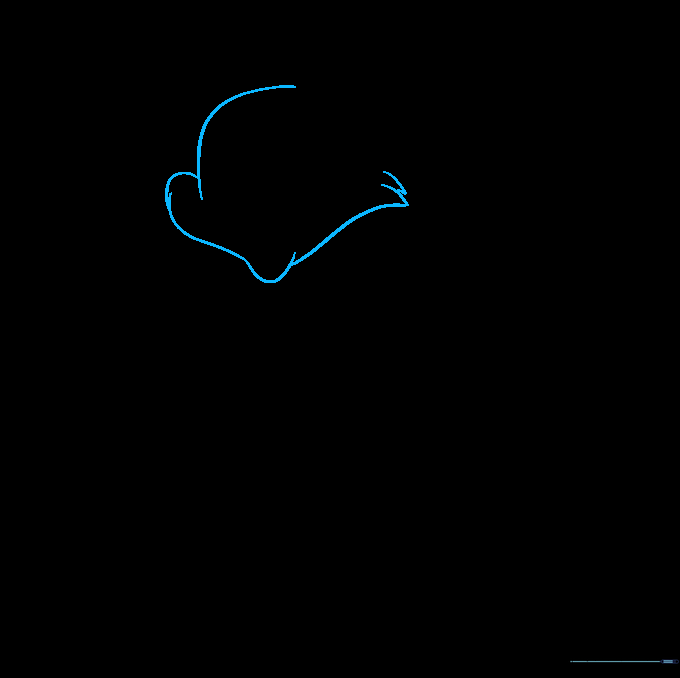
Begin by sketching Tom's face using curved lines for the forehead, cheek, and chin. Add short, overlapping jagged lines on the side to create his signature fur tufts. Teacher's Tip: Keep your pencil pressure light so you can easily adjust the shape if needed.
Defining the Muzzle and Nose
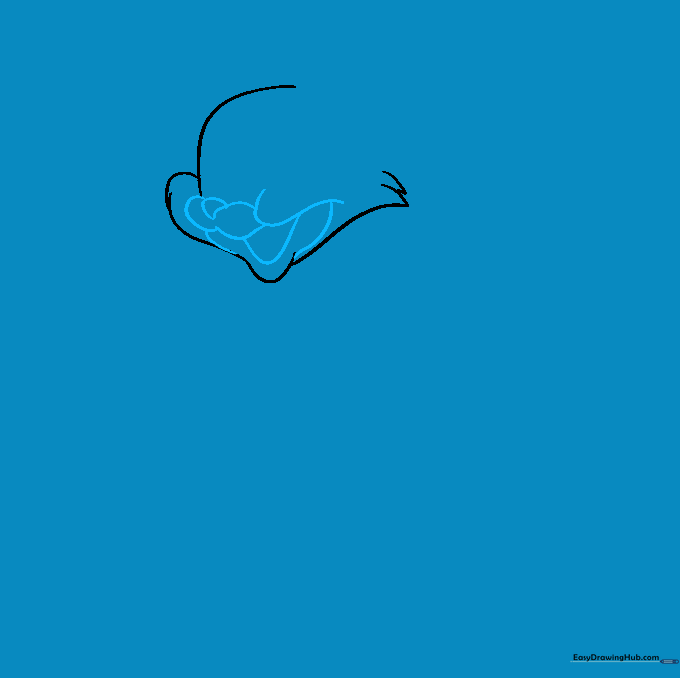
Draw the lower jaw and open mouth using 'U' shaped lines. Enclose a peanut-shaped area for the muzzle and place his small nose right in the center. Teacher's Tip: The peanut shape is the anchor for his expression, so take your time getting the proportions right.
Adding the Ears and Fur
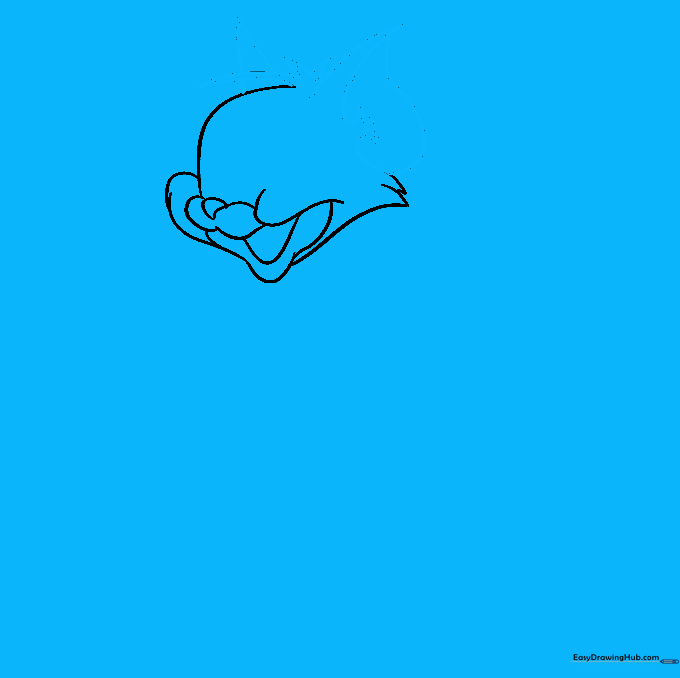
Sketch the triangular ears on top of the head. Add inner ear details with curved lines and draw small fur tufts between the ears. Teacher's Tip: Using jagged lines for the fur tufts gives him that classic, slightly scruffy cartoon look.
Outlining the Torso
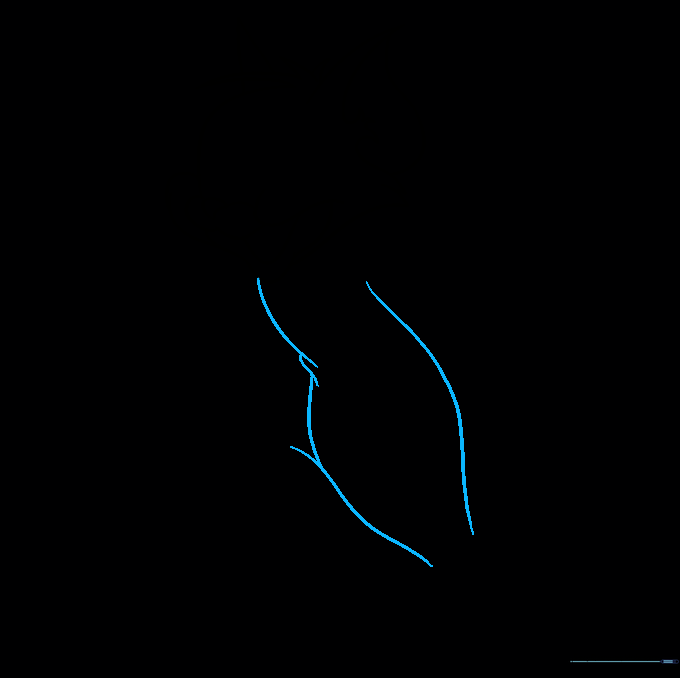
Use long, sweeping curved lines to form Tom's chest and abdomen. Ensure the lines overlap slightly to show where the chest meets the belly. Teacher's Tip: Keep these lines fluid to make his body look flexible and active.
Drawing the First Arm
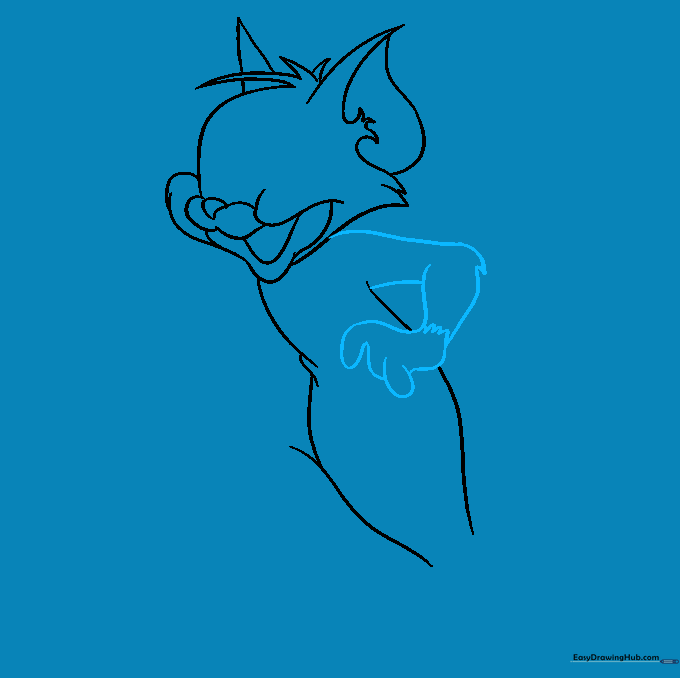
Sketch the arm with a bent elbow, using two lines for the upper and lower arm. Add the hand with 'U' shaped fingers and a zigzag line at the wrist for fur. Teacher's Tip: If the fingers look too thin, thicken them slightly to match the cartoon style.
Adding the Second Arm
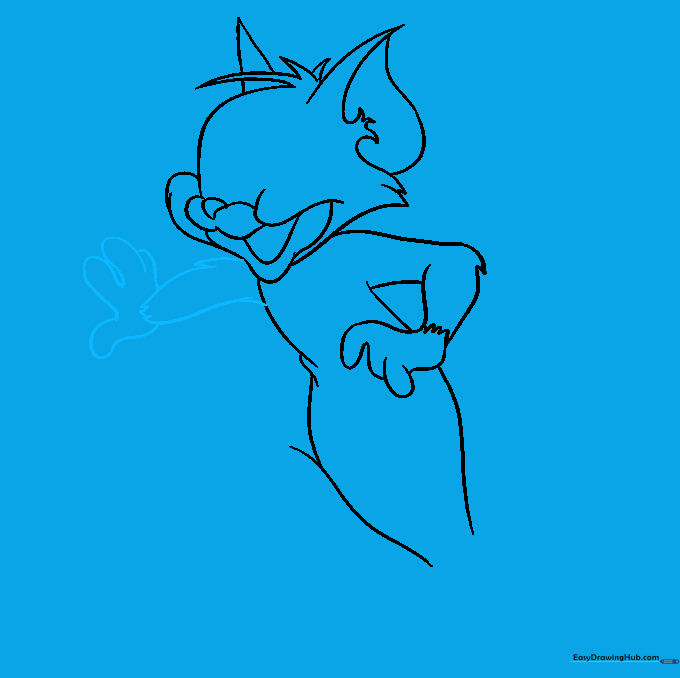
Draw the second arm using similar curved lines, incorporating jagged fur textures at the wrist. Complete the hand with thumb and fingers. Teacher's Tip: Consistency is key—try to match the size of the first hand to keep his proportions balanced.
Sketching the Legs and Feet
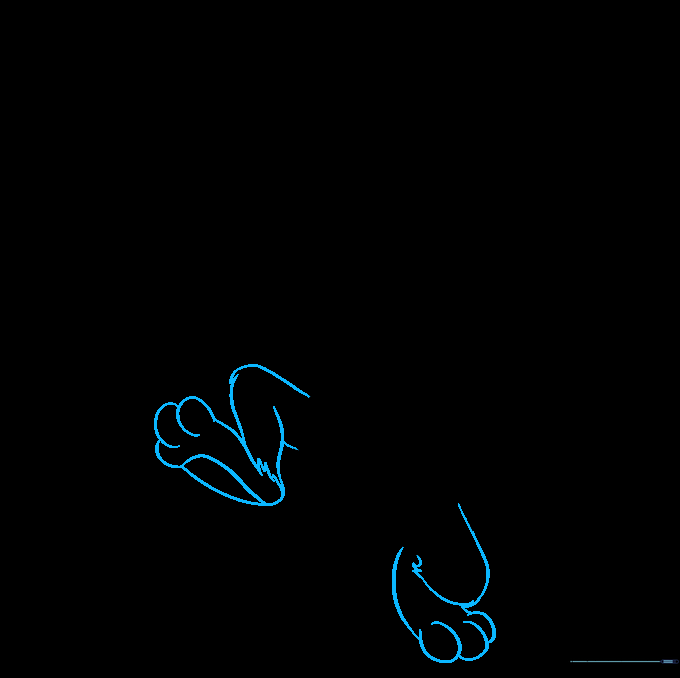
Draw the legs with bent knees using jagged lines for fur. Add the feet with 'U' shaped toes and a curved pad on the bottom of the raised foot. Teacher's Tip: Focus on the 'bent' knee shape to give Tom a dynamic, ready-to-pounce posture.
Adding Belly Spot and Tail
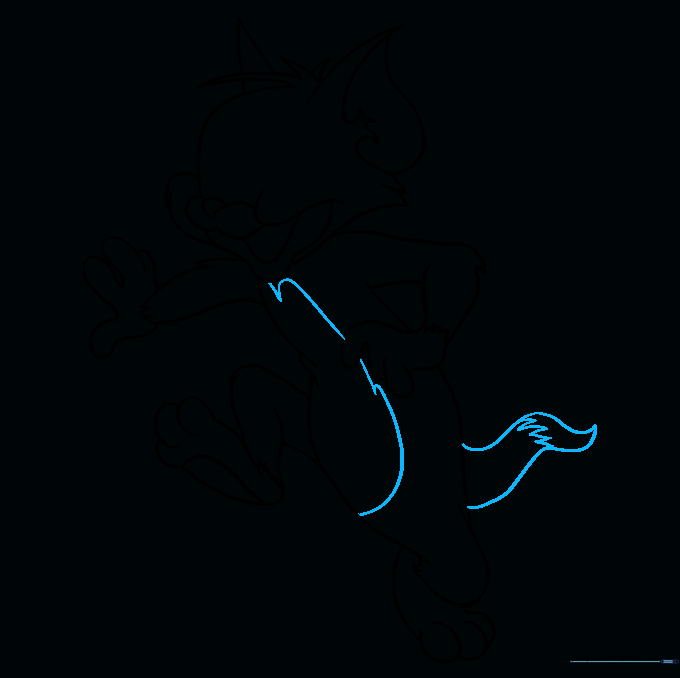
Outline the patch on his belly and draw a long, curved tail. Add a small zigzag line near the tip of the tail to show fur texture. Teacher's Tip: A long, expressive tail helps define Tom's personality, so don't be afraid to make it nice and curvy!
Final Facial Details

Add the tongue, whiskers, and expressive eyes. Use three partial ovals for the eyes and shade the smallest for the pupil. Add eyebrows above the eyes to give him character. Teacher's Tip: The eyebrows are the most important part of his expression—angle them slightly to make him look focused or mischievous.
Coloring Your Masterpiece
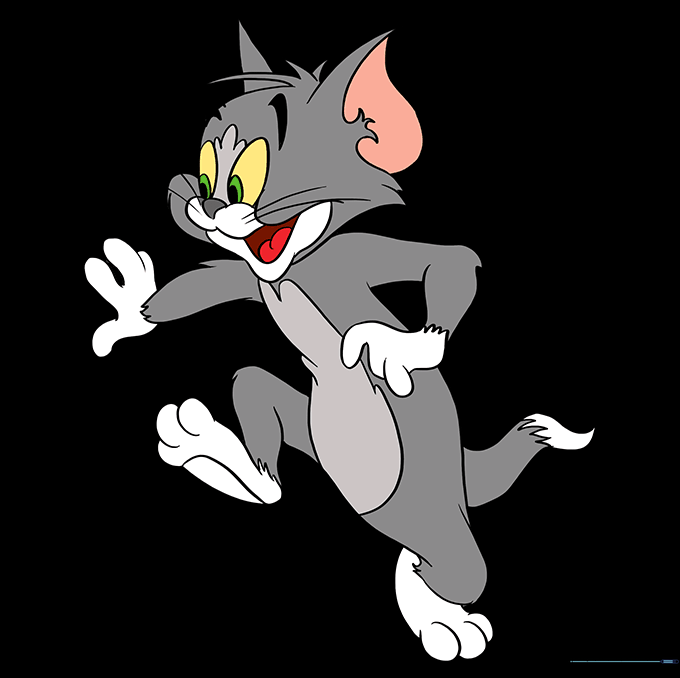
Time to bring Tom to life! Use shades of grey for his fur and white for his muzzle, hands, feet, and belly. Teacher's Tip: Use light, circular motions with your colored pencils to get a smooth, even coat of color.
More Tutorials


