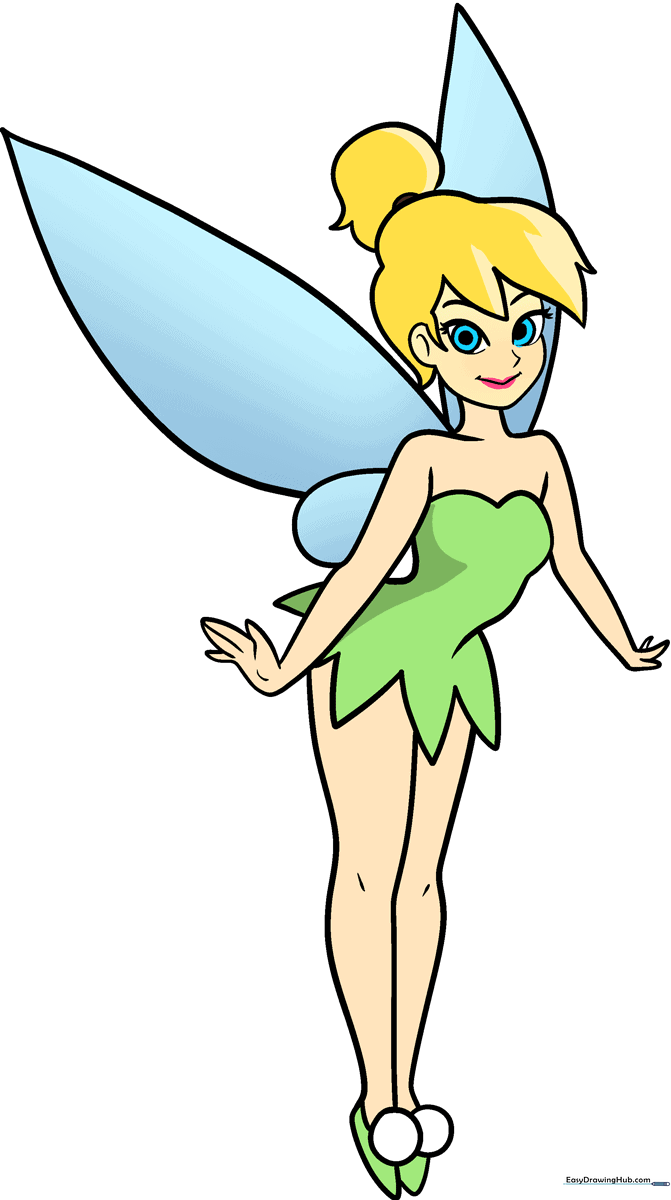
How to Draw Tinkerbell: Easy 10-Step Fairy Guide
Bring the magic of Neverland to your sketchbook with this Tinkerbell drawing guide. Designed for young artists ages 7+, this tutorial uses basic shapes to build her iconic pose. You will need a pencil, an eraser, and your favorite coloring markers to complete this whimsical fairy portrait.
🎯 Final Result
Step-by-Step Instructions
Step 1: Sketching the Expressive Face
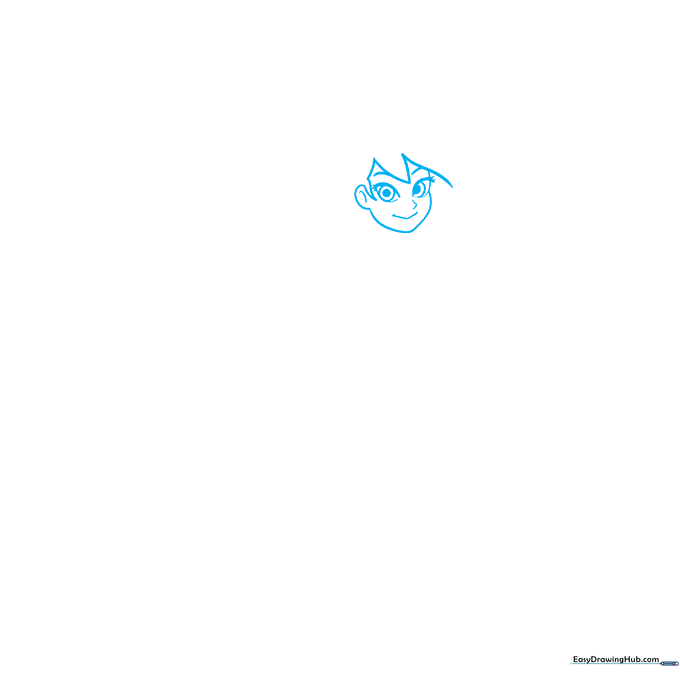
Start by drawing the fairy's face. Sketch two almond-shaped eyes with thick upper lids for lashes. Add two small circles inside for pupils. Teacher's Tip: Keep the nose and mouth small and delicate to maintain her dainty, fairy-like appearance.
Step 2: Defining the Iconic Bun
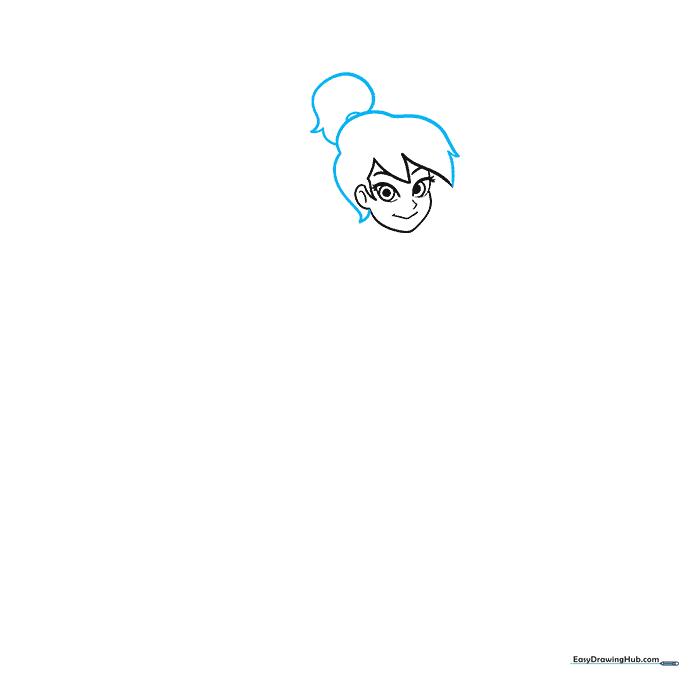
Use jagged, curved lines to create her messy, high-fashion bun. Tip: Don't worry about making the hair lines perfectly smooth; Tinkerbell's hair has a playful, textured look that works best with quick, confident strokes.
Step 3: Forming the Neck and Shoulders
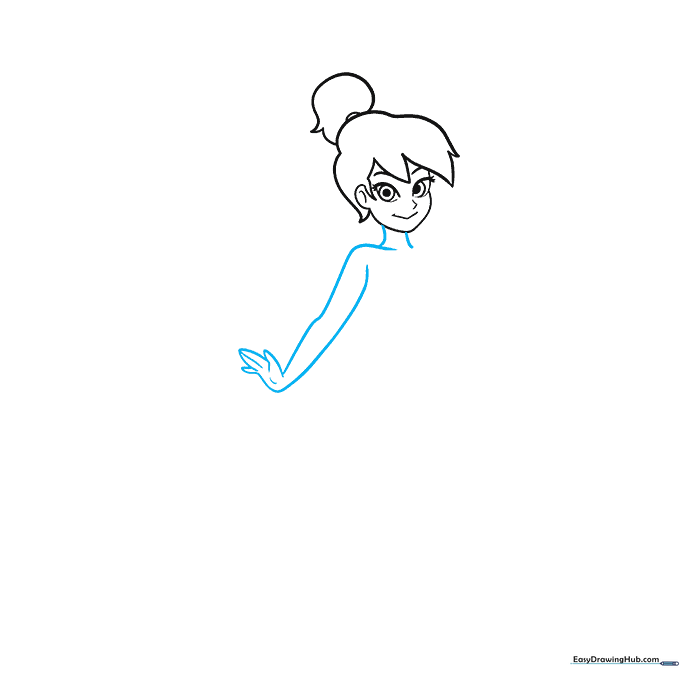
Extend two soft, curved lines downward to form the neck. Add the shoulder and arm using overlapping shapes. Tip: Think of the arm as a series of connected cylinders to get the proportions just right.
Step 4: Sketching the Bodice
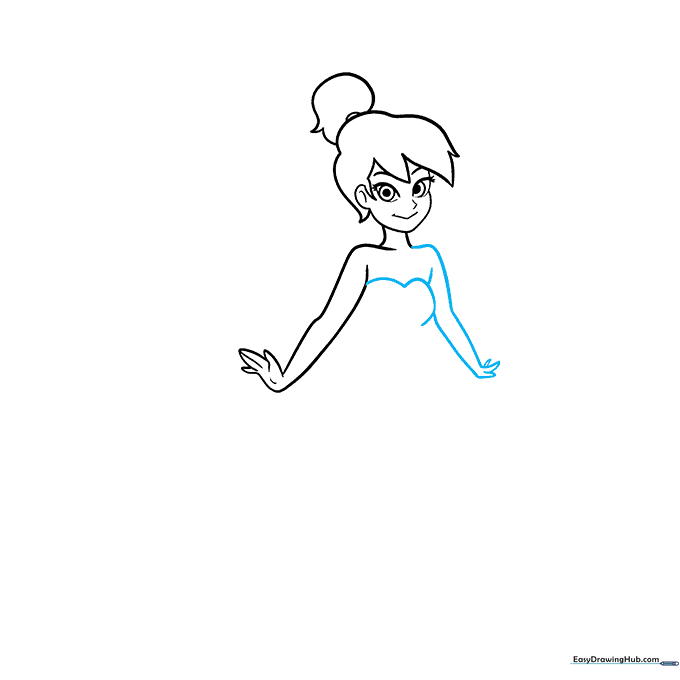
Draw the second arm and a heart-shaped neckline for her dress. Tip: The heart shape is the anchor for her dress; make sure it's centered so she doesn't look lopsided!
Step 5: Creating the Jagged Hemline
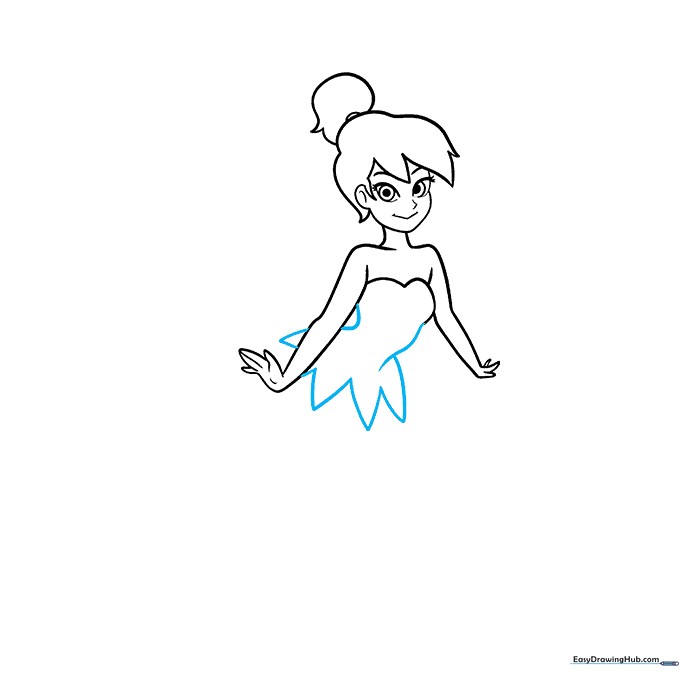
Draw the sides of the dress and finish with a jagged, triangular hem. Tip: Tinkerbell's dress is made of leaves, so the more 'pointy' and uneven the hem, the more authentic it will look.
Step 6: Drawing the First Leg and Shoe
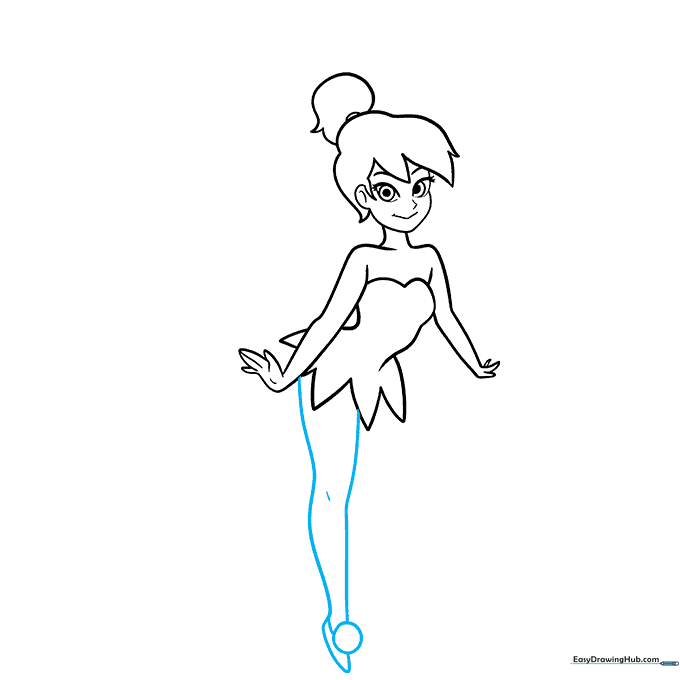
Outline the leg, ending in a pointed foot. Add the shoe with a small circle detail on top. Tip: Draw the knee with a tiny dash to show the joint, which adds realism to your character.
Step 7: Adding the Second Leg
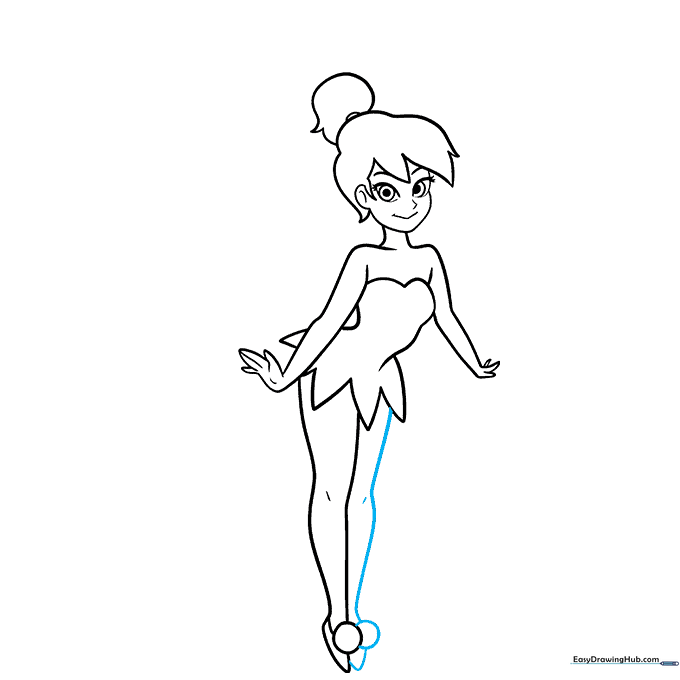
Repeat the process for the second leg, ensuring it aligns with the first. Tip: Keep the legs close together to maintain a balanced, standing pose.
Step 8: Sketching the Upper Wings
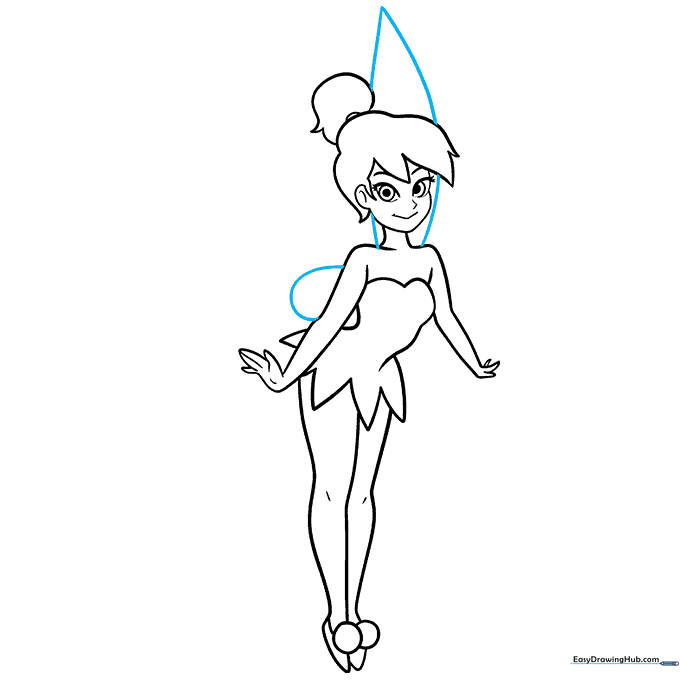
Draw the large wings extending from her shoulders. Tip: Use long, sweeping 'U' shaped lines. The wings should look light and transparent, so use very thin pencil pressure here.
Step 9: Finalizing the Wing Outline
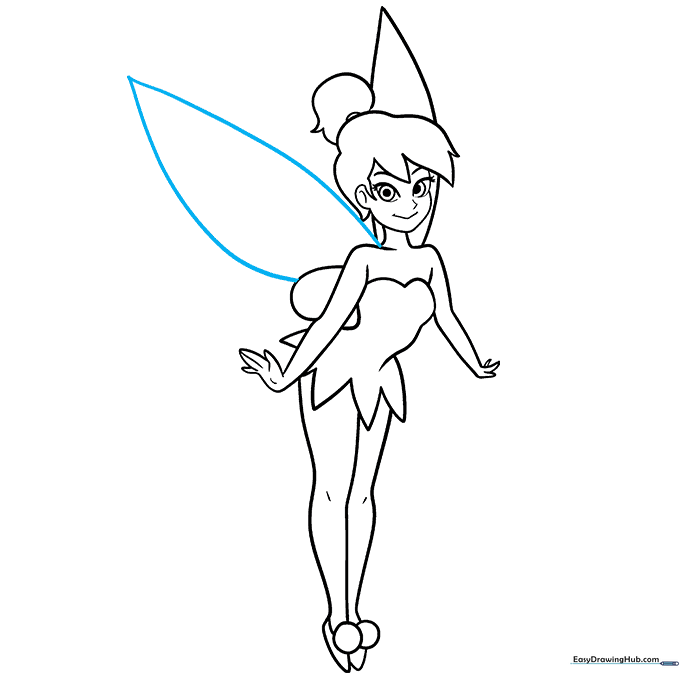
Add the final wing detail to complete the silhouette. Tip: Check that your wings are symmetrical; if one looks too big, gently erase and adjust.
Step 10: Bringing Tinkerbell to Life with Color
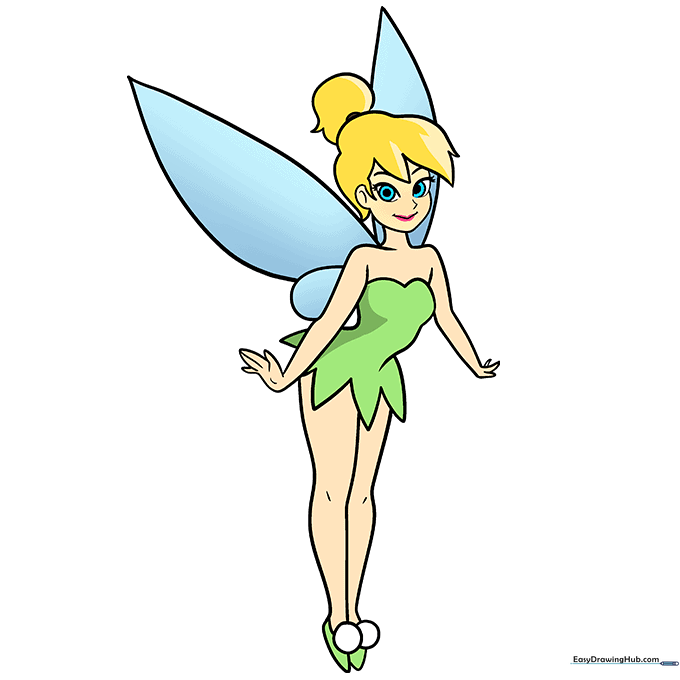
Now for the fun part! Use bright yellow for her hair and a vibrant light green for her dress. Tip: Use a white gel pen to add tiny 'sparkle' dots on her wings to make them pop!
More Tutorials


