How to Draw Tigger: Easy 10-Step Guide for Kids
Ready to bring everyone's favorite bouncy tiger to life? This tutorial is perfect for young artists ages 5 and up. All you need is a pencil, an eraser, and some paper to practice these foundational shapes and character proportions.
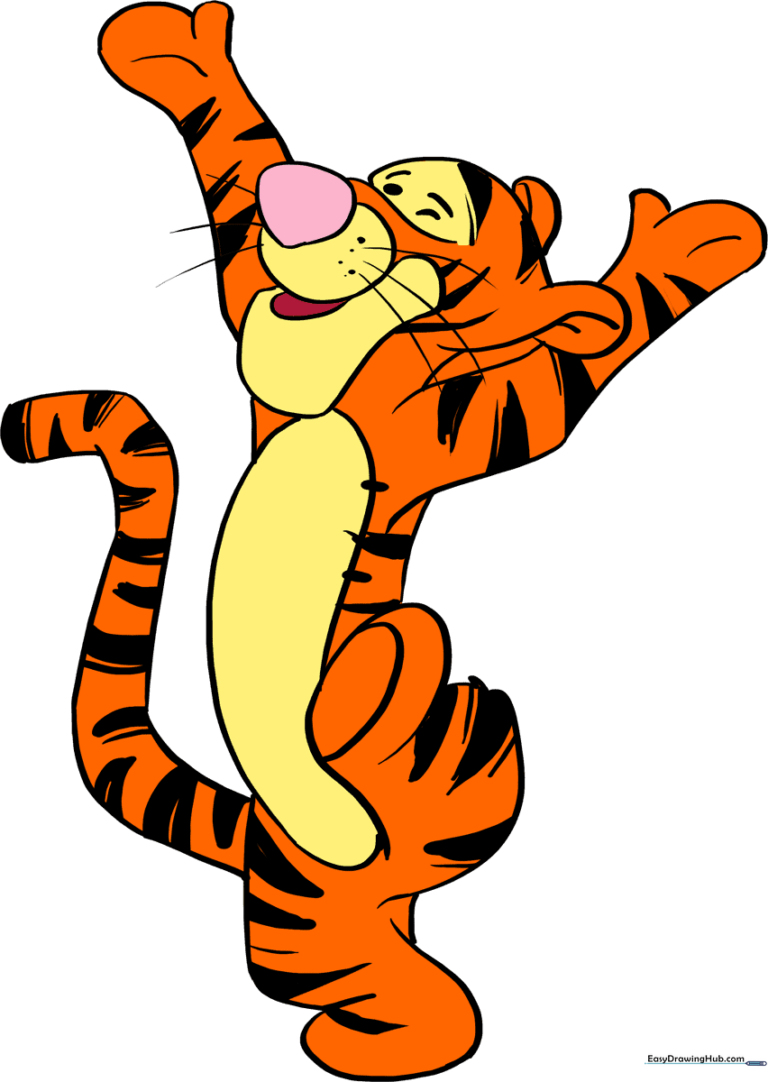
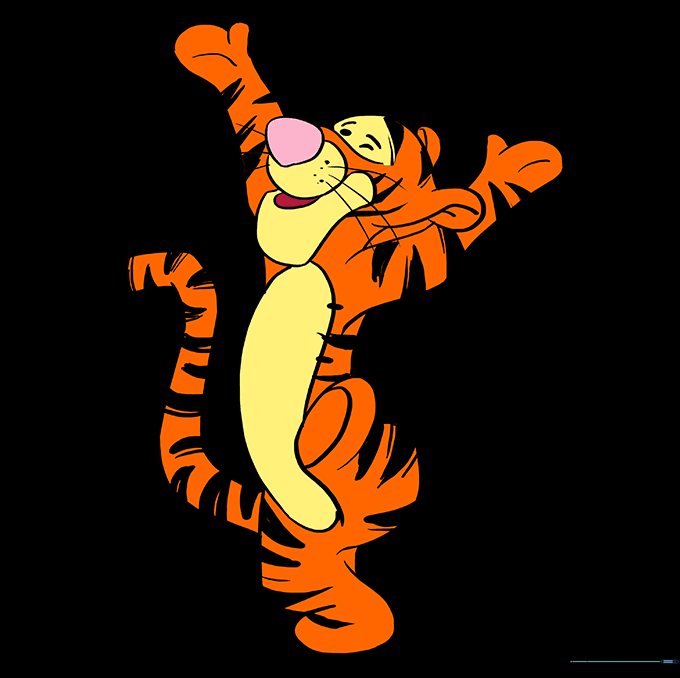
🎯 Final Result
Step-by-Step Instructions
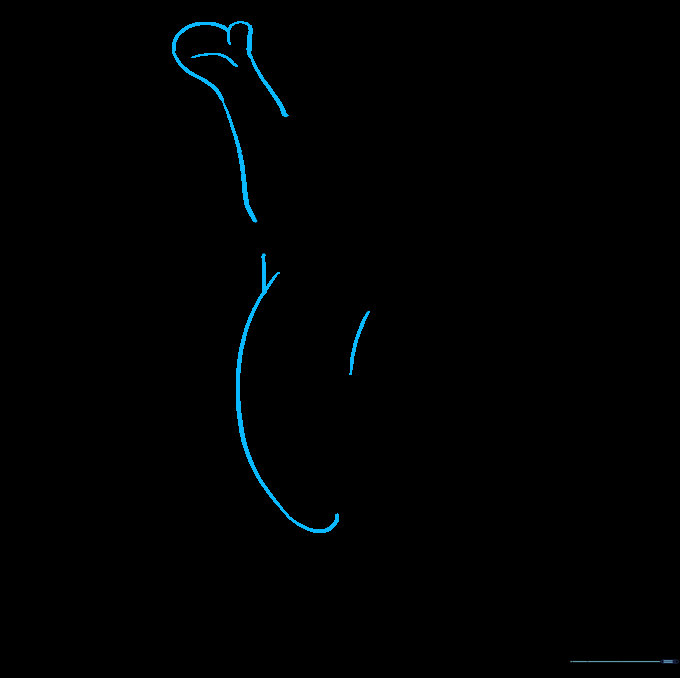
Step 1: Sketching the Head and Ears

Start by using light, overlapping curved lines to sketch the head. Use 'C' shaped lines to enclose the ears. Teacher's Tip: Keep your pencil strokes very light so you can easily erase any overlapping lines once the final outline is set.
Step 2: Defining the Snout

Enclose a series of irregular shapes to form the snout and mouth area. Start with the small, rounded triangle for the nose. Teacher's Tip: Focus on the center of the face to ensure Tigger's expression stays symmetrical.
Step 3: Adding Facial Features
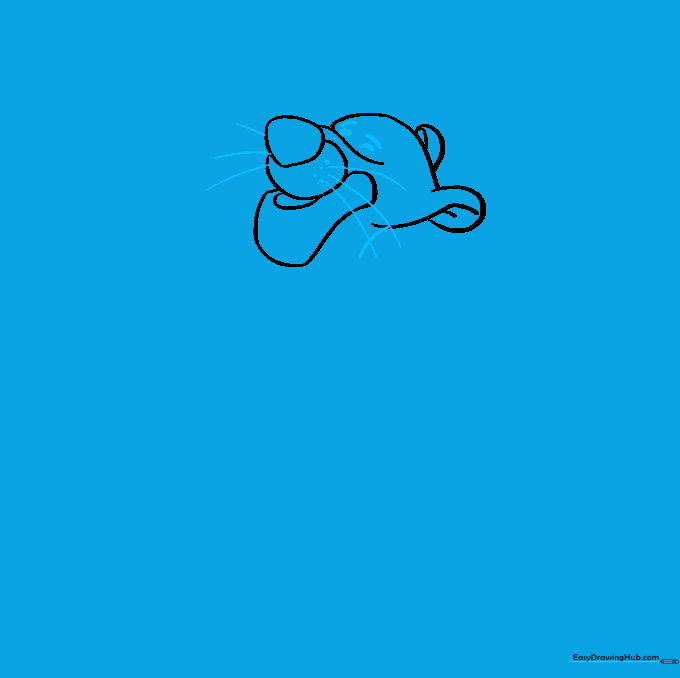
Add the eyes, eyebrows, and whiskers. Use a small dot for one eye and a curved line for the winking eye. Teacher's Tip: Add the tiny dots on the snout last—they give him that classic, playful Tigger look!
Step 4: Stripes and First Arm
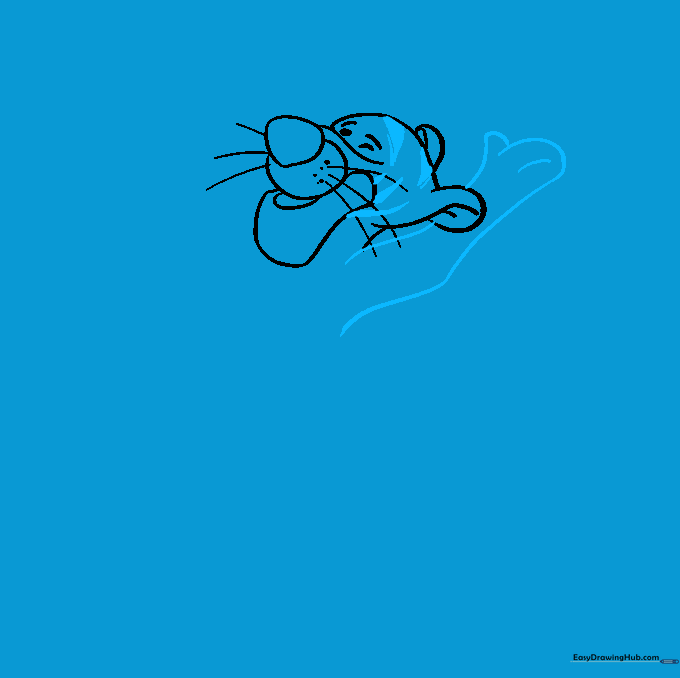
Draw small, curved triangles across the forehead for his stripes. Then, sketch the first outstretched arm. Teacher's Tip: Don't worry if the triangles aren't perfect; Tigger's stripes are naturally irregular!
Step 5: The Second Arm and Belly
Outline the second arm and connect the lines to form the back and belly. Teacher's Tip: Use a smooth, continuous motion for the belly line to make him look round and bouncy.
Step 6: Drawing the First Leg

Extend a curved line from the belly to form the raised leg and foot. Teacher's Tip: Tigger is always bouncing, so drawing the leg in a bent position adds energy to your drawing.
Step 7: Adding the Second Leg
Use curved lines to enclose the second leg and foot. Teacher's Tip: Keep the lines parallel to the first leg to maintain the correct perspective.
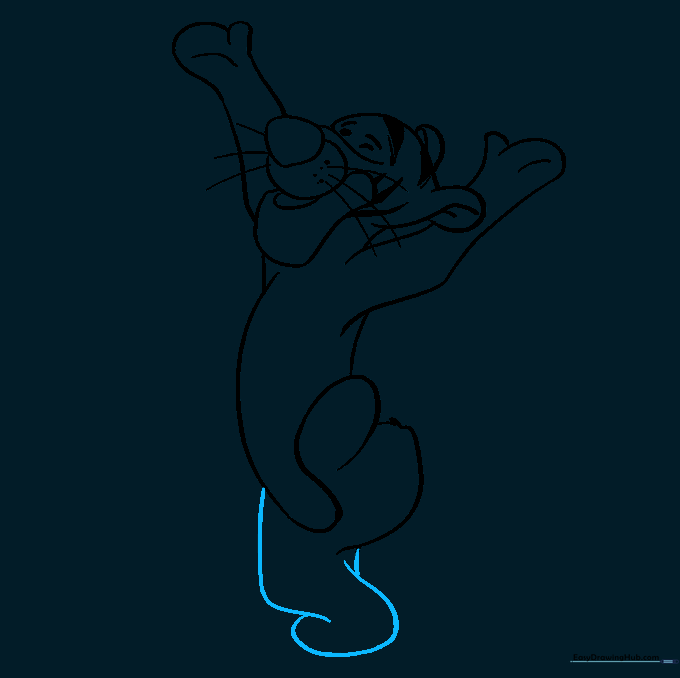
Step 8: Underbelly and Tail
Add the underbelly pattern and the long, springy tail. Teacher's Tip: Make the tail curve slightly to show movement—it makes the character look more alive!
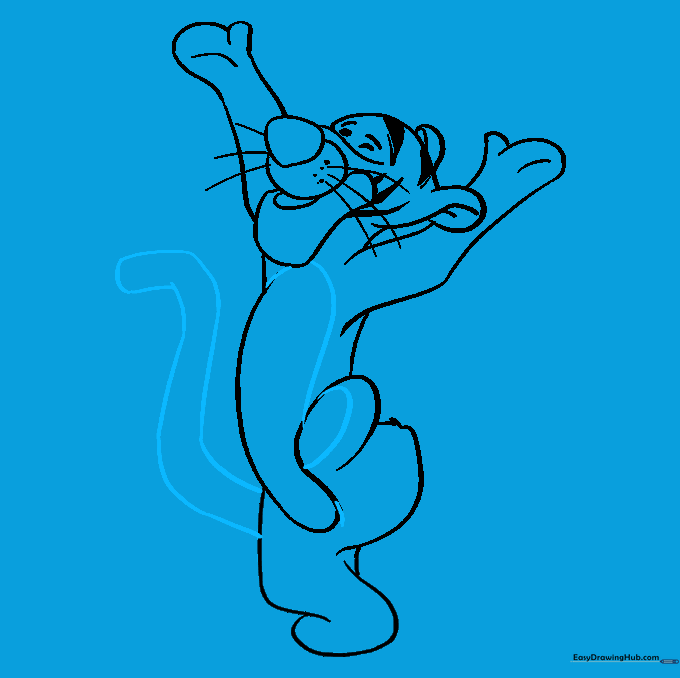
Step 9: Final Stripes
Fill in the rest of the body with small triangles and rectangles for the stripes. Teacher's Tip: Vary the size of the stripes to make them look natural across his arms, legs, and tail.
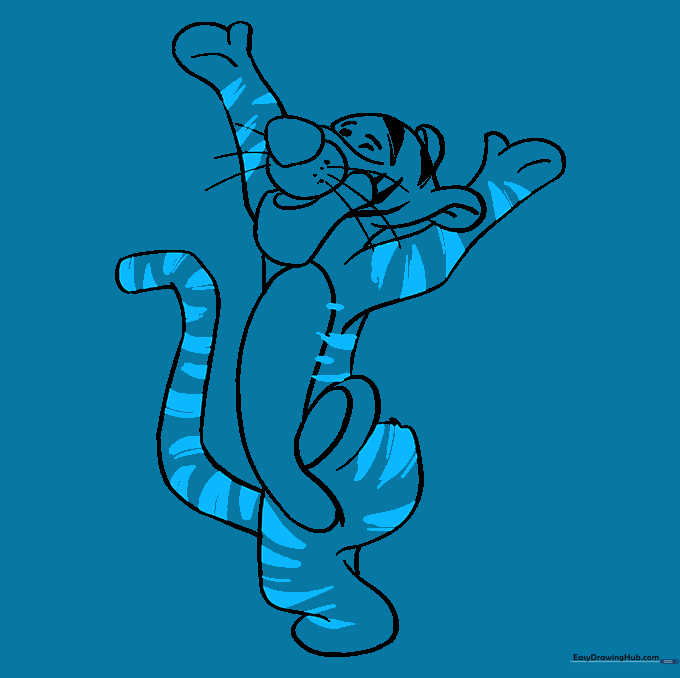
Step 10: Coloring Your Tigger
Bring Tigger to life with color! Use bright orange for the body, creamy white for the belly and muzzle, and a touch of reddish-pink for the nose. Teacher's Tip: Use light pressure with your crayons to keep the colors smooth.
More Tutorials


