How to Draw Ticci Toby: Easy Step-by-Step Guide
Ready to bring this iconic character to life? This tutorial is designed for intermediate artists looking to practice character proportions and fabric folds. You will need a pencil, an eraser, and a fine-liner pen to complete this spooky sketch.
🎯 Final Result
Step-by-Step Instructions
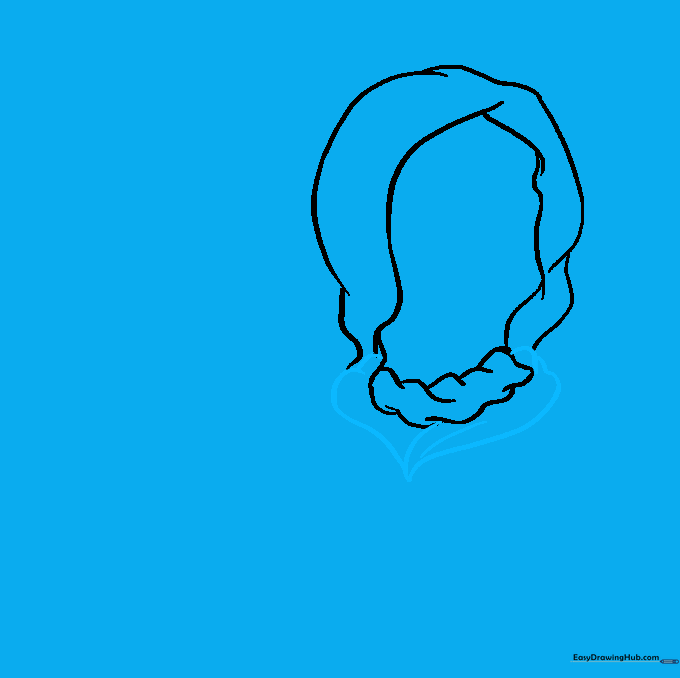
Step 1: Sketching the Hood

Start by drawing the outline of the hood using an inverted 'U' shape. Add a smaller, parallel 'U' inside to show the thickness of the fabric. Teacher's Tip: Keep your pencil pressure light here; we want this to be a soft guide for the head shape.
Step 2: Defining the Scarf

Draw the scarf by using short, overlapping curved lines connecting the sides of the hood. Tip: Use a 'wavy' motion to suggest fabric bunching, which makes the scarf look more realistic and less stiff.
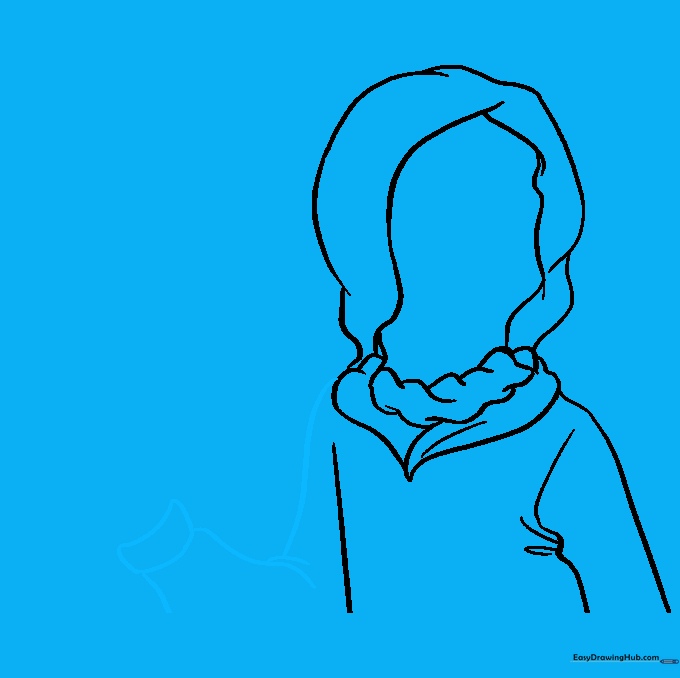
Step 3: Shaping the Hoodie Neck
Create the neck of the hoodie using long, curved lines that meet at a point. Add small, sharp triangles near the folds to imply fabric tension. Tip: Think of these lines as 'V' shapes to give the garment a natural drape.
Step 4: Sketching the Torso and Shoulder
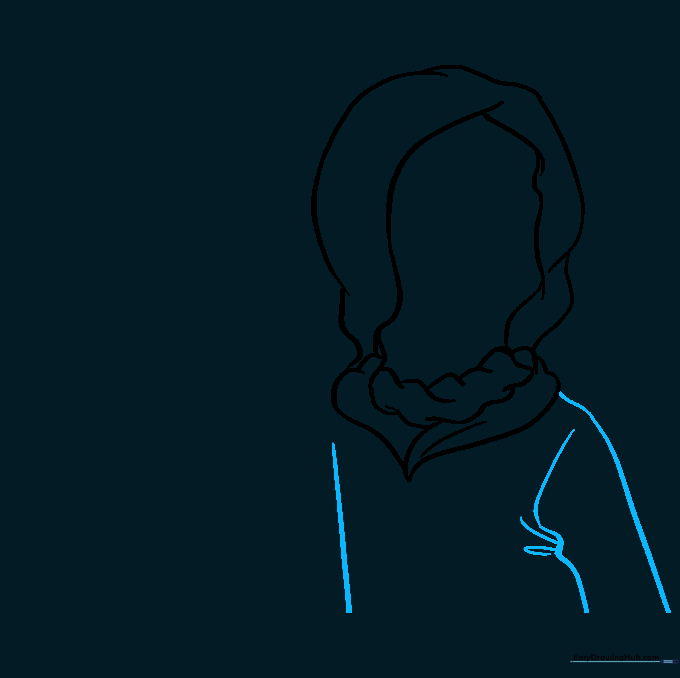
Sketch the shoulder and torso using smooth, sweeping curves. Add a few extra lines near the armpit area to represent the fabric bunching at the joint. Tip: Keep the torso lines slightly wider to give the character a natural posture.
Step 5: Drawing the Arm and Cuff
Outline the arm with curved lines, adding a 'C' shape at the elbow to suggest a fold. Finish the sleeve with a curved rectangle for the cuff. Tip: Ensure the cuff is slightly wider than the arm to make it look like a real sleeve opening.
Step 6: Creating the Hand

Draw the palm and thumb first, then use small, overlapping ovals to represent the clenched fingers. Tip: Don't worry about perfect finger anatomy; simple rounded shapes work best for this stylized look.
Step 7: Adding the Hatchet
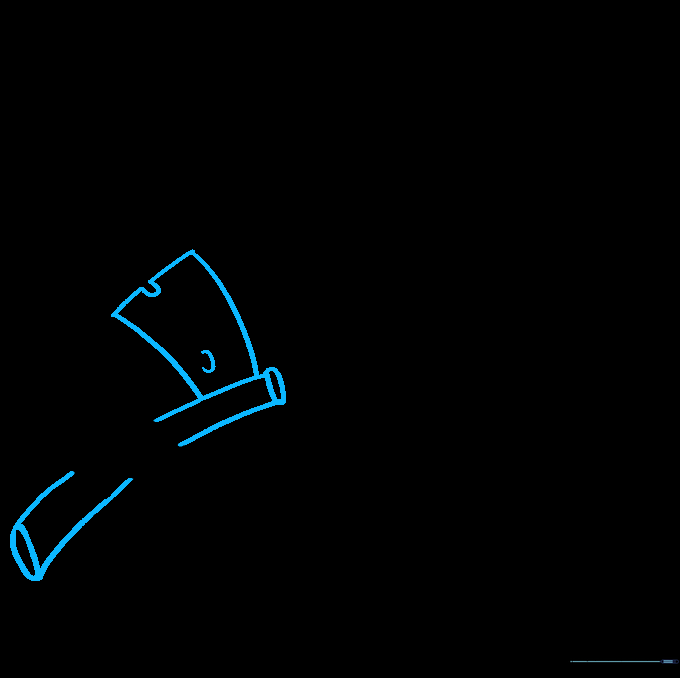
Draw the handle as a long rectangle with small ovals at the ends. For the blade, draw a curved shape with a 'C' notch. Tip: Use a ruler if you struggle with the straight lines of the handle, then round the edges with your pencil.
Step 8: Sketching the Hair
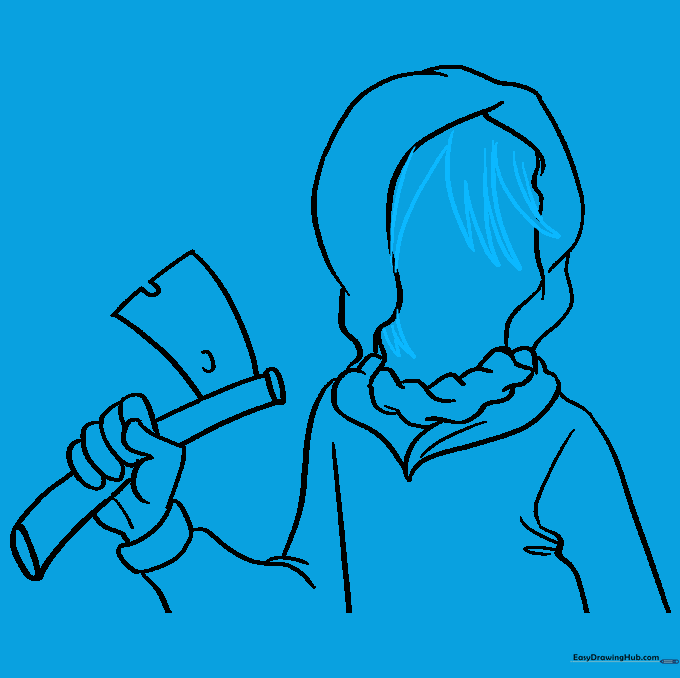
Add the hair using long, jagged, curved lines that taper to points. This creates a messy, unkempt look. Tip: Vary the length of your lines to make the hair look more natural and dynamic.
Step 9: Facial Details
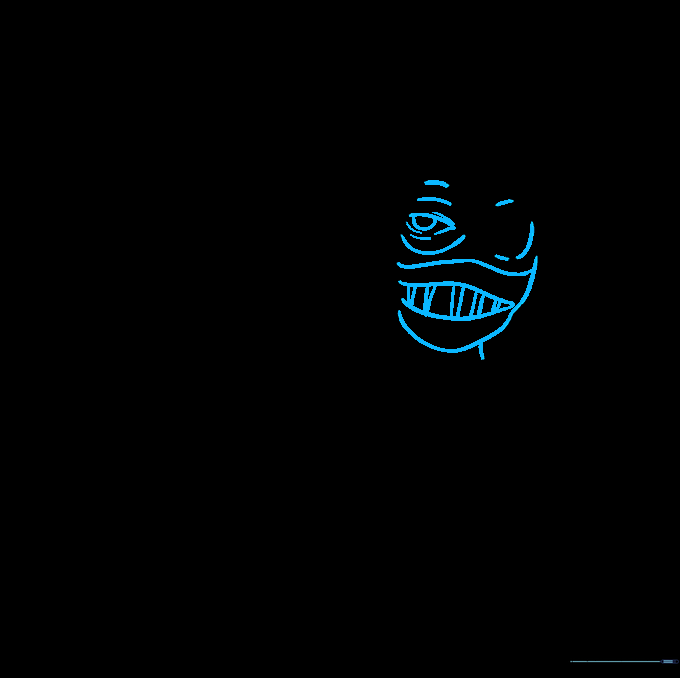
Draw the eyes with large circles for bags underneath, and add the mouth mask using vertical lines across the face. Tip: Use a light touch for the eye bags so they don't look too heavy or dark.
Step 10: Final Coloring
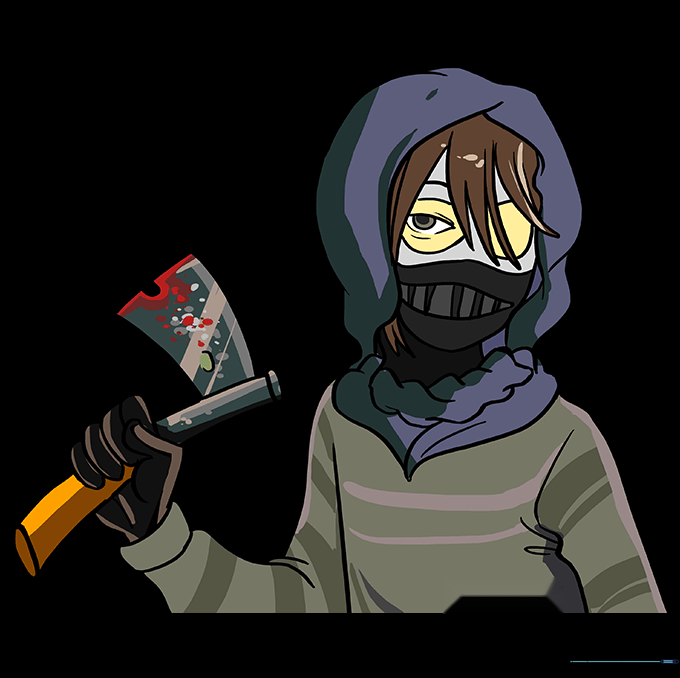
Time to bring it to life! Use muted tones for the hoodie and scarf to match the character's aesthetic. Tip: Use a darker shade of your base color to add shadows under the hood and near the folds for extra depth.
More Tutorials


