How to Draw Tiana: Easy 10-Step Princess Tutorial
Bring Princess Tiana to life with this step-by-step drawing guide, perfect for young artists ages 7+. You will need a pencil, an eraser, and your favorite markers or colored pencils to complete this royal portrait. Follow along to master facial proportions and Tiana’s signature leaf-inspired crown.
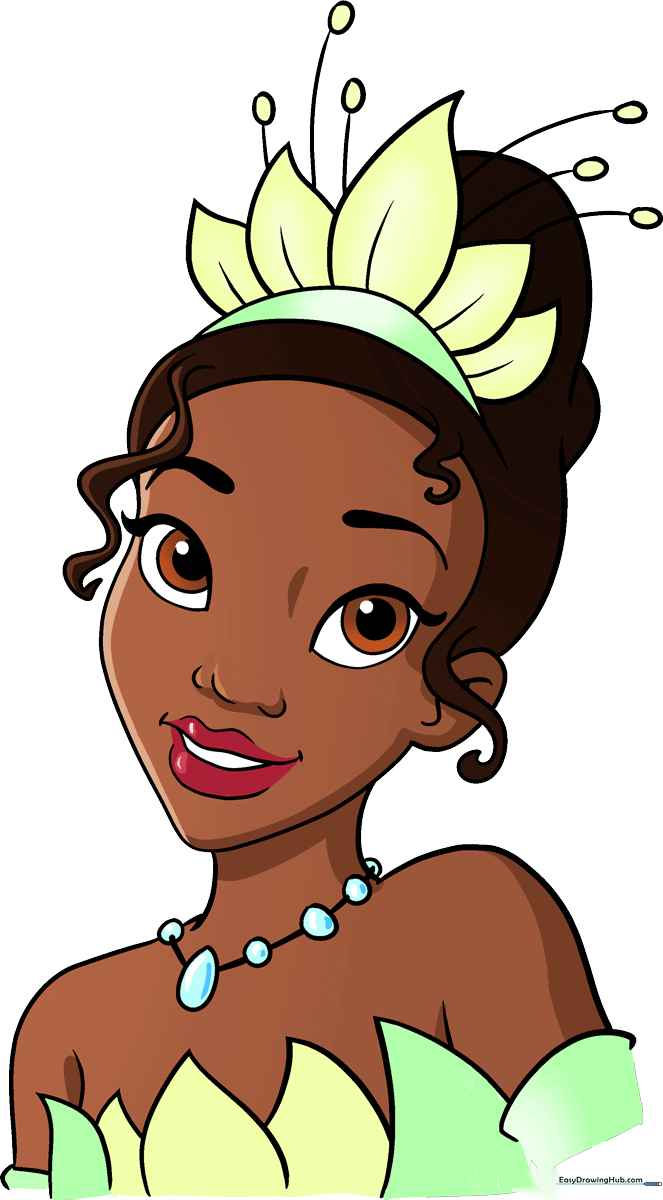
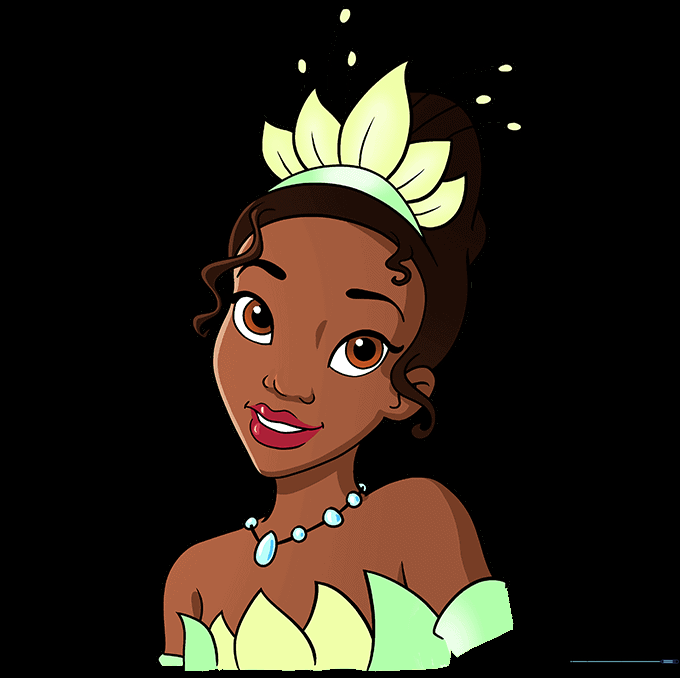
🎯 Final Result
Step-by-Step Instructions
Step 1: Sketching the Expressive Eyes

Draw two teardrop-shaped outlines for the eyes. Add thick, dark lashes at the outer corners. Tip: Draw three small circles inside each eye for the iris and pupil, leaving a tiny white dot to make her eyes sparkle!
Step 2: Defining the Face Shape
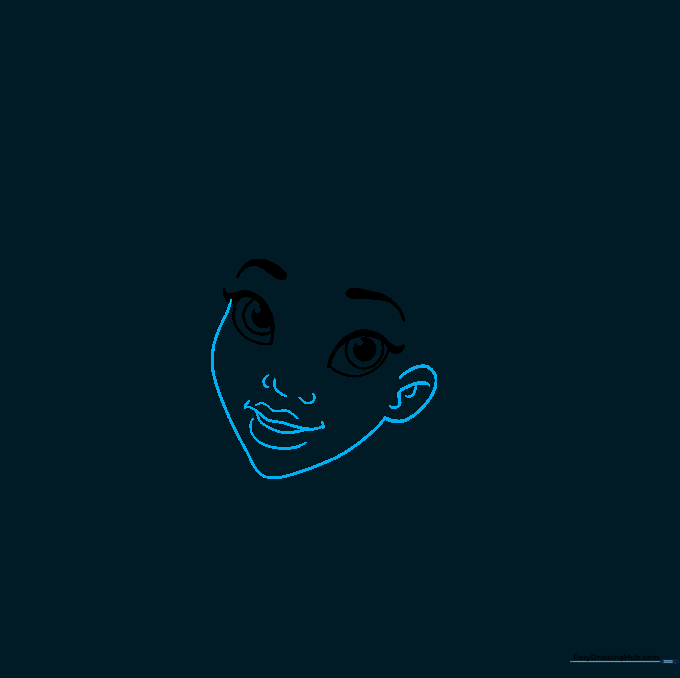
Use a smooth, continuous curved line to form the chin and jawline. Add a small ear on the side and define the nose and lips. Tip: Keep the jawline soft and rounded to maintain that friendly cartoon style.
Step 3: Styling the Hair
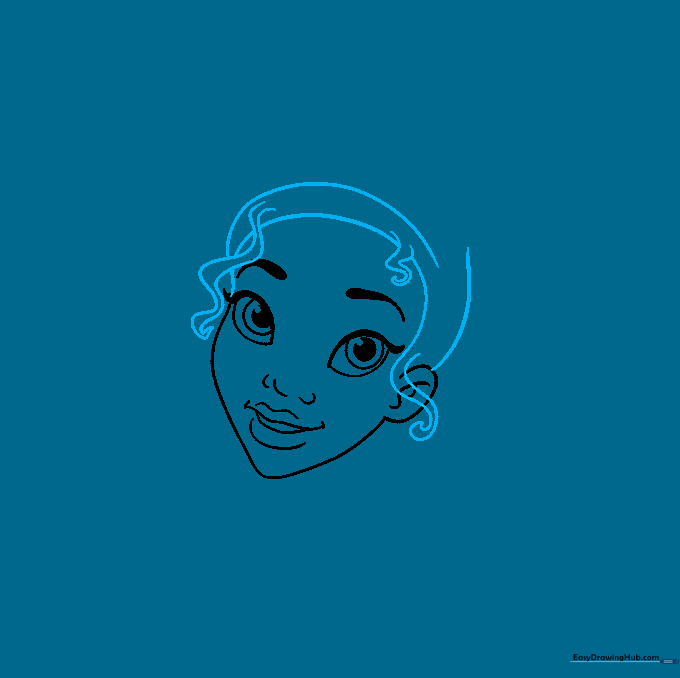
Sketch the hair framing her forehead using soft, curved lines. Add spiral-shaped tendrils on the sides. Tip: Use a light touch with your pencil to create the curls so they look bouncy and natural.
Step 4: Adding the Crown Base

Complete the hair outline and draw the first leaf of her crown. Add a center vein line to the leaf. Tip: Ensure the leaf points slightly upward to give it a regal look.
Step 5: Finishing the Crown
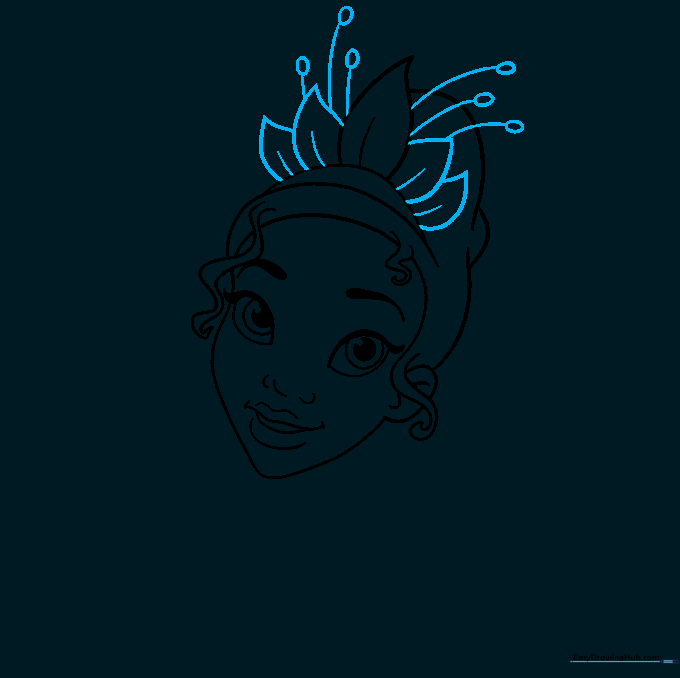
Add more leaves around the crown, each with a center vein. Draw small stems reaching upward with circles at the tips. Tip: Keep the leaves symmetrical for a balanced, professional appearance.
Step 6: Drawing the Neck and Necklace
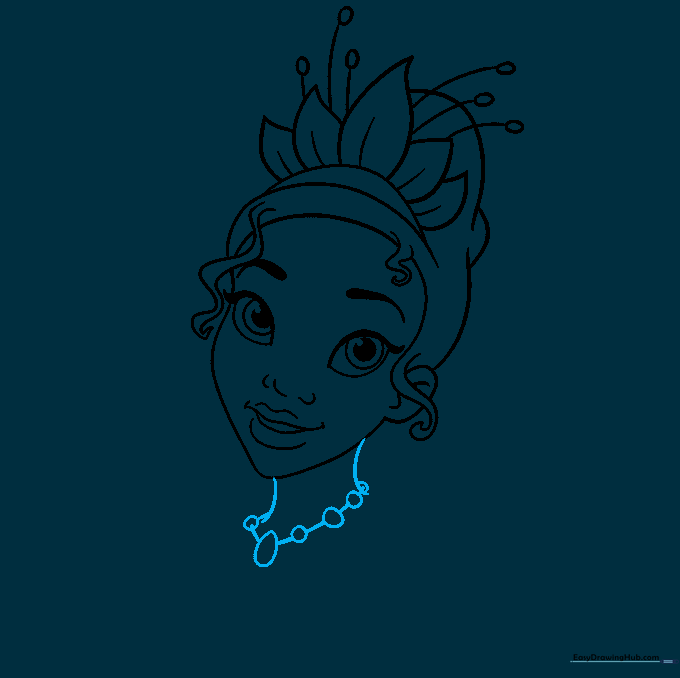
Outline the neck with two gentle curves. Add the necklace using small circles and a teardrop shape. Tip: Draw the necklace beads slightly different sizes to make them look like real jewelry.
Step 7: Sketching the Shoulders
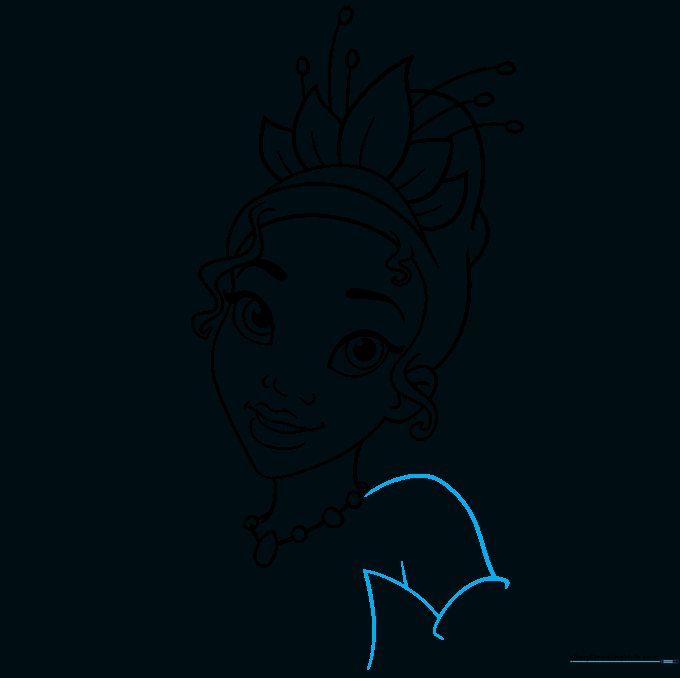
Use overlapping curves to draw the shoulders and the top of her gloves. Tip: Make the glove lines slightly wider than the arm to show the fabric texture.
Step 8: Adding Dress Details
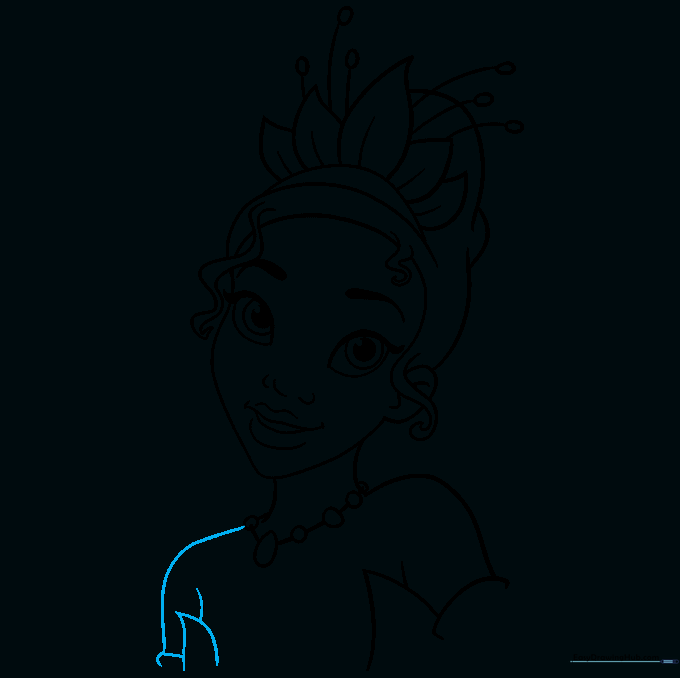
Continue the dress outline with leaf-like shapes. Tip: Use long, sweeping strokes to make the dress look like it's made of soft petals.
Step 9: Finalizing the Outline
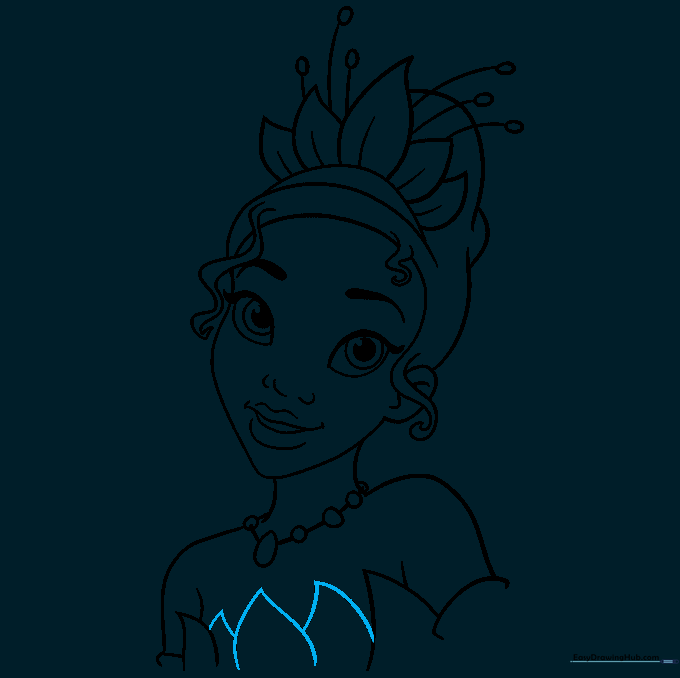
Complete the front of the dress with pointed petal shapes. Tip: Go over your final lines with a pen and erase any stray pencil marks for a clean look.
Step 10: Bringing Tiana to Life with Color
Fill in your drawing! Use vibrant light greens and yellows for the dress and crown. Tip: Use a darker green for the shadows under the petals to add depth to your drawing.
More Tutorials


