How to Draw Thor’s Hammer: Easy 10-Step Guide
Ready to wield the power of Mjolnir? This drawing tutorial is perfect for young artists and Marvel fans ages 6+. You only need a pencil, an eraser, and a piece of paper to bring this legendary weapon to life.
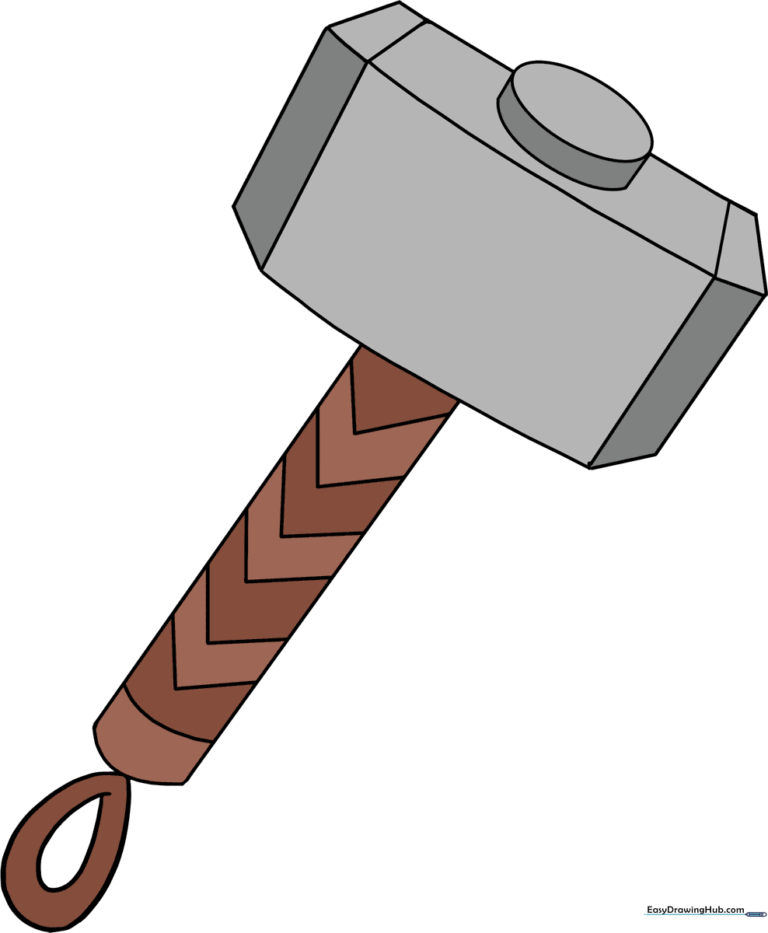
🎯 Final Result
Step-by-Step Instructions
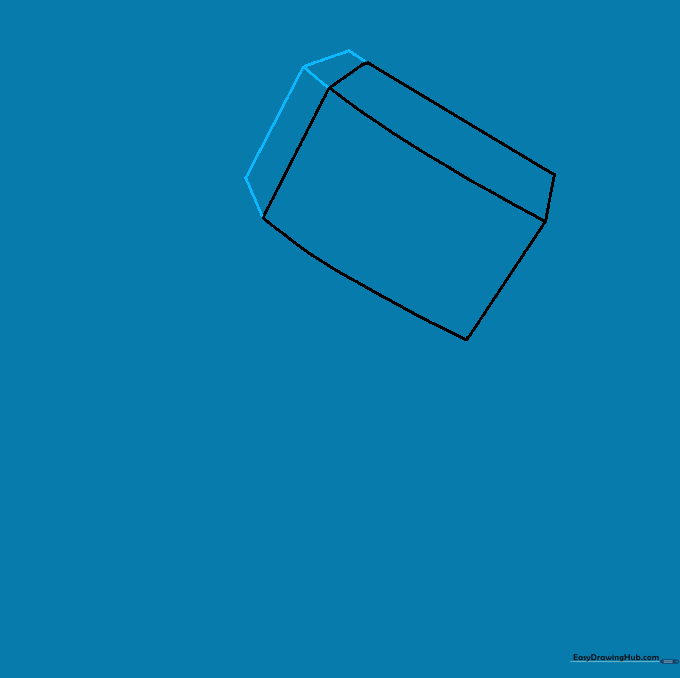
Sketching the Main Block

Draw a slanted rectangle to represent the side of the hammer head. Add short lines at the top corners and connect them to create a 3D cube effect. Teacher's Tip: Use a ruler if you want perfectly straight edges, or keep it freehand for a more organic, comic-book style look.
Defining the First Side
Extend short lines from the corners of one side and connect them to create the hammer's face. Tip: Ensure your lines are parallel to the original rectangle to maintain the 3D perspective.
Defining the Second Side
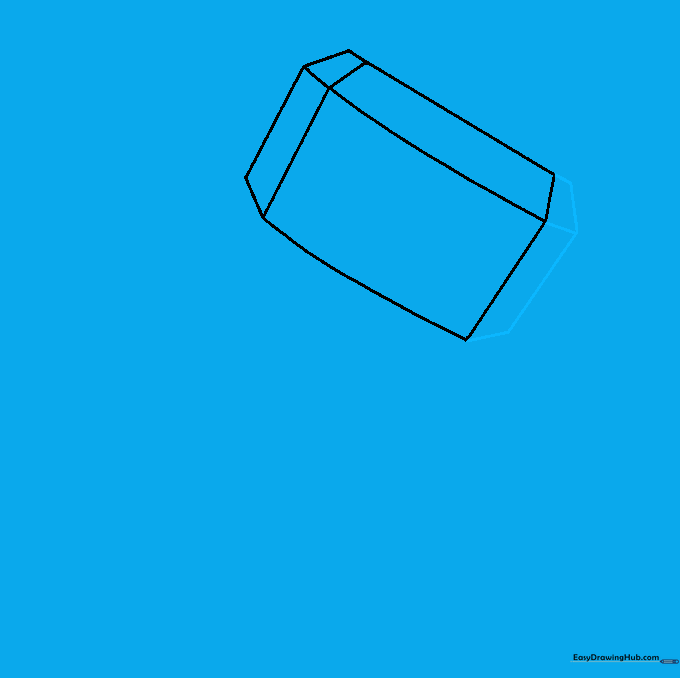
Repeat the process on the opposite side to create the second face of the hammer. Tip: If your lines look a bit wobbly, don't worry—Thor's hammer is ancient and battle-worn!
Adding the Hammer Eye

Draw an oval on top of the hammer head, then add two short lines descending from it, connected by a curve. This is where the handle attaches. Tip: Keep the oval centered for balance.
Cleaning Up

Gently erase any overlapping guide lines inside the hammer head. Tip: Use a kneaded eraser if you have one; it’s gentler on the paper surface.
Drawing the Handle
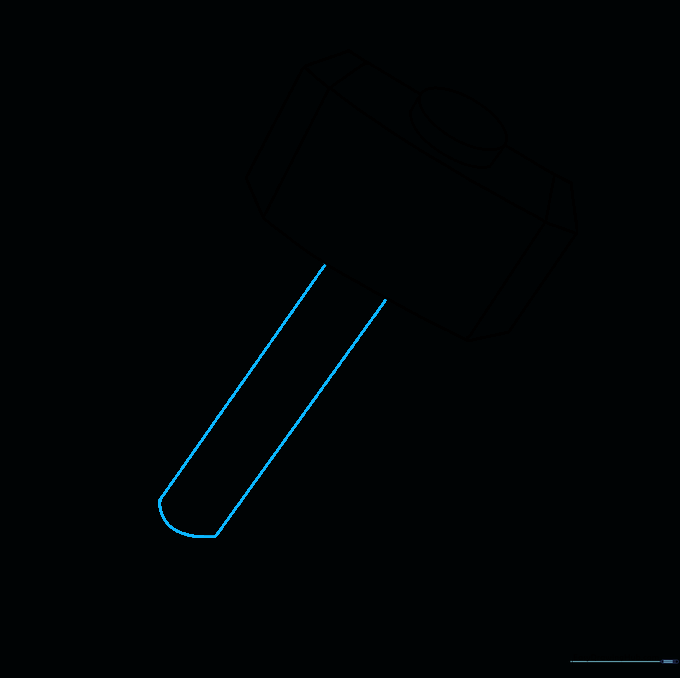
Draw two long, parallel lines extending downward from the hammer head, connecting them with a curve at the bottom. Tip: Make the handle long enough to look like a sturdy grip.
Adding Handle Texture
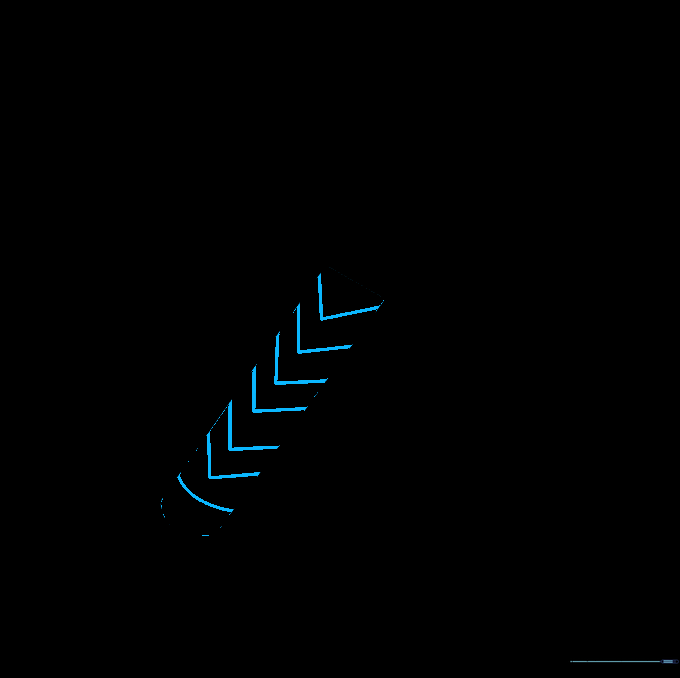
Add a curved line near the top of the handle and draw 'V' shaped patterns along the grip. Tip: These 'V' shapes represent the leather wrapping—keep them evenly spaced for a professional look.
Drawing the Wrist Loop
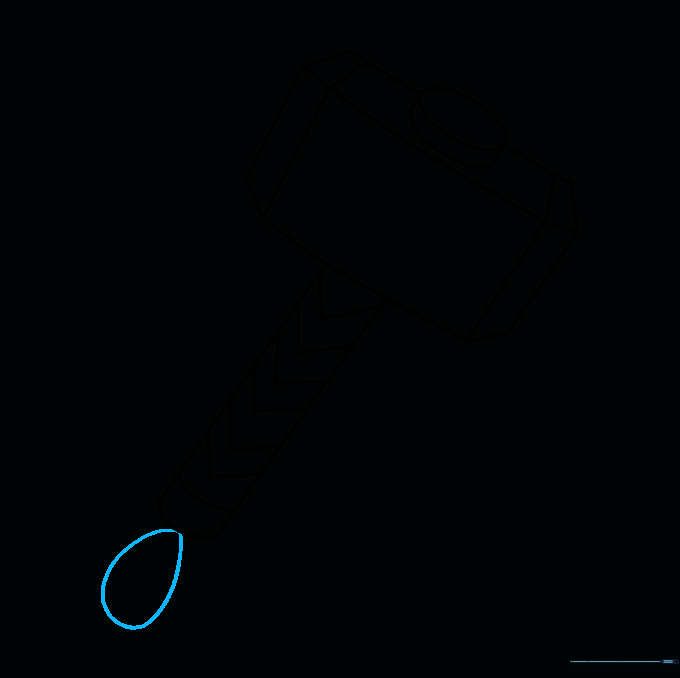
Sketch a teardrop shape at the base of the handle. This is the leather strap. Tip: Make the teardrop large enough to look like it could fit over a wrist.
Detailing the Loop

Draw a smaller teardrop inside the first one to give the strap thickness. Tip: Focus on keeping the lines smooth to show the flexibility of the leather.
Final Polish and Color
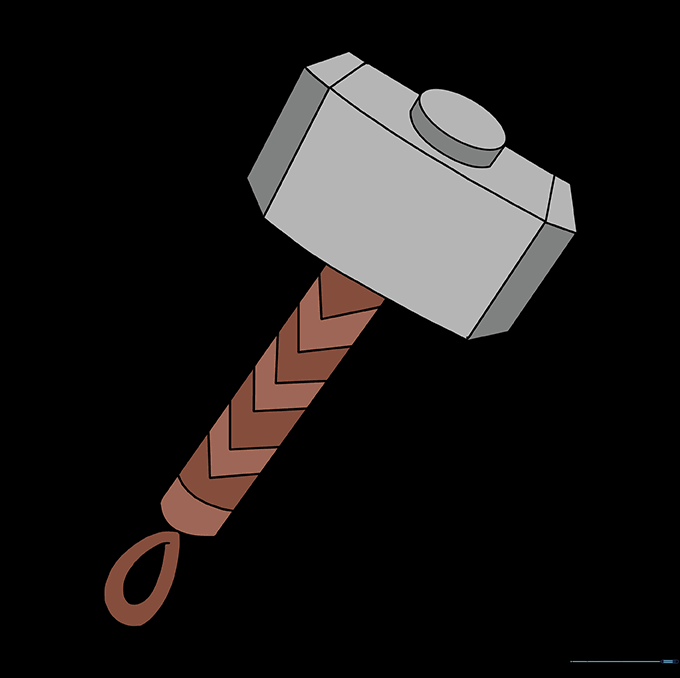
Outline your drawing with a black pen and erase any remaining pencil marks. Color the head silver and the handle brown. Tip: Use a white gel pen to add small highlights on the hammer head to make it look like shiny metal!
More Tutorials


