How to Draw Thomas Jefferson: Easy 10-Step Portrait Guide
Bring history to life with this easy, step-by-step portrait guide to drawing Thomas Jefferson. Designed for students and budding artists, this activity requires only a pencil, eraser, and paper. Follow along to develop your shading and facial proportion skills while creating a classic historical illustration.
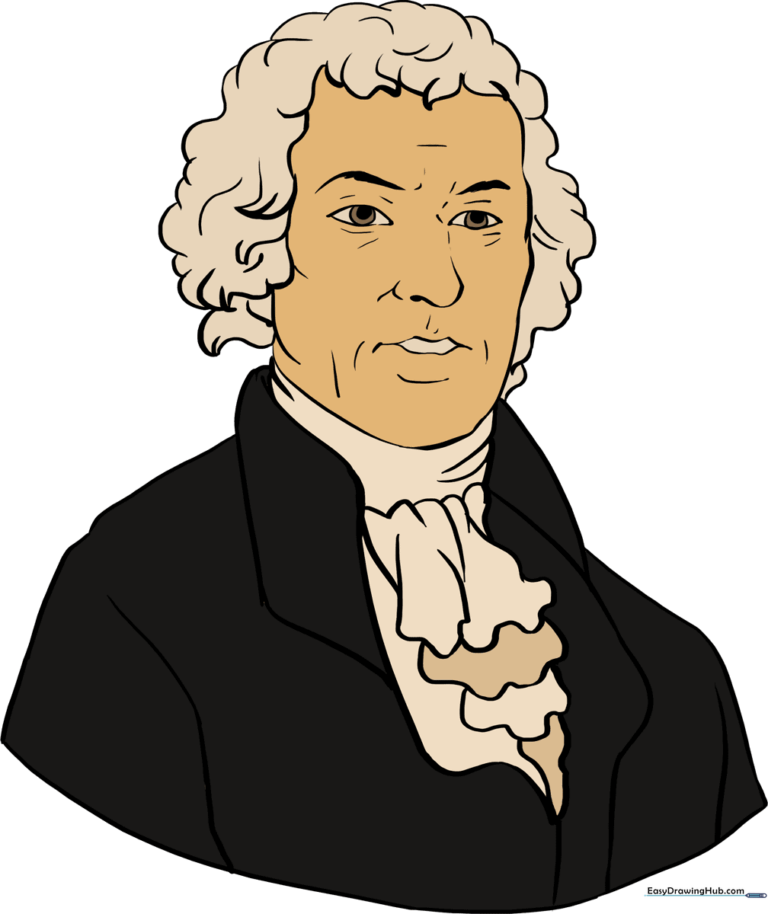
🎯 Final Result
Step-by-Step Instructions
Step 1: Sketching the Face Shape

Start by sketching the basic outline of the face. Use light, curved lines to define the brow, chin, and cheekbones. Teacher's Tip: Keep your pencil pressure light; these are just guidelines that we will refine later.
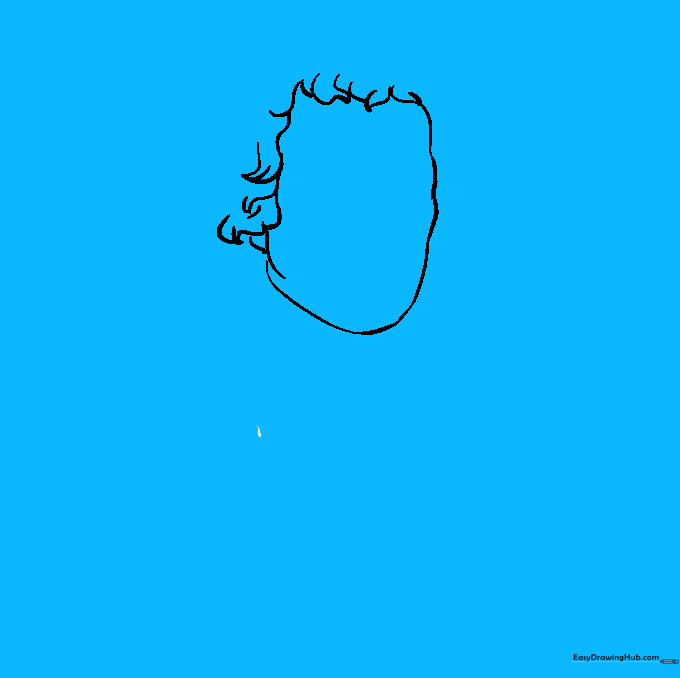
Step 2: Adding the Hairline
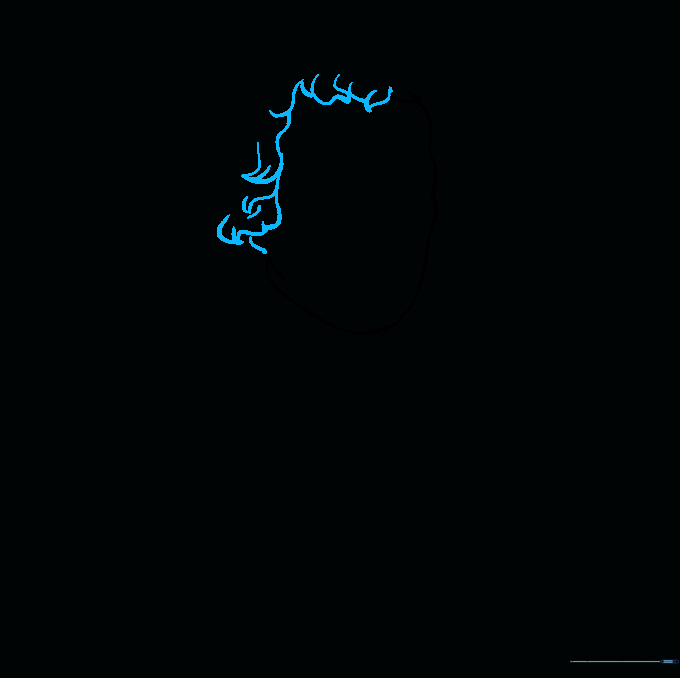
Sketch the hair using short, rhythmic, curved lines that meet at coiling points. Aim for a rectangular shape across the top and sides of the head. Teacher's Tip: Don't worry about perfection; hair is naturally messy, so let your lines be a bit loose.
Step 3: Drafting the Collar
Draw the shirt collar using overlapping curved lines. Add a small rounded parallelogram to the side to represent the jacket collar. Teacher's Tip: Use the 'overlap' technique to create depth, making the clothing look three-dimensional.
Step 4: Drawing the Scarf
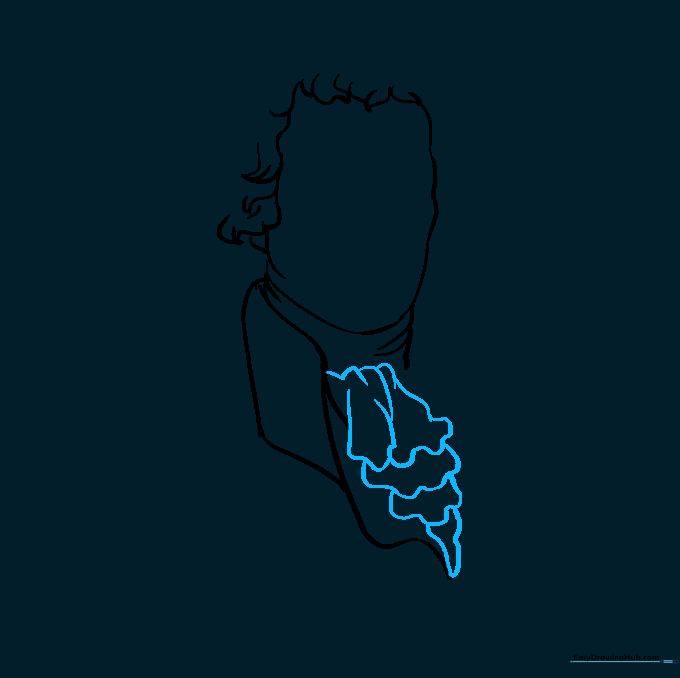
Create the layered scarf by drawing scalloped lines at the bottom. Ensure each layer is slightly narrower than the one above it. Teacher's Tip: Think of this like stacking pancakes—each layer gets smaller as you go down.
Step 5: Defining the Jacket
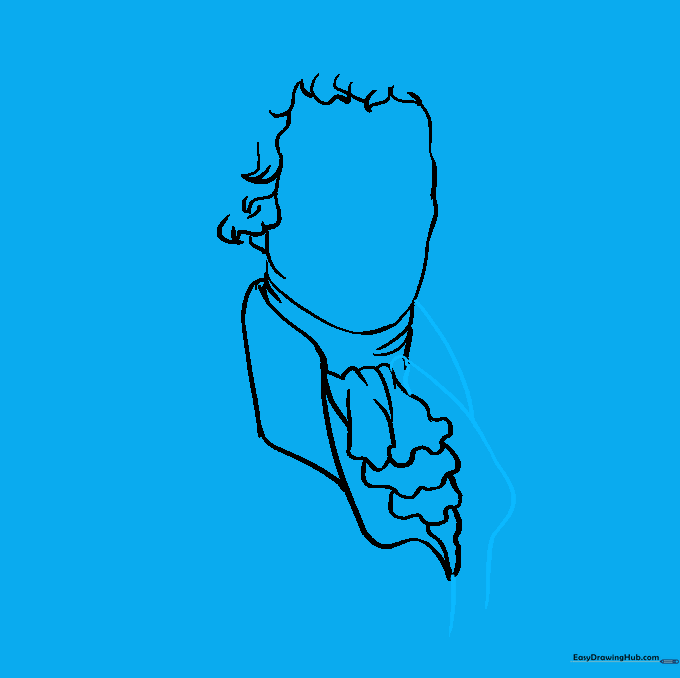
Use smooth, curved lines to finish the collar and the front opening of the jacket. Teacher's Tip: Keep your lines fluid to mimic the drape of heavy fabric.
Step 6: Adding Shoulders
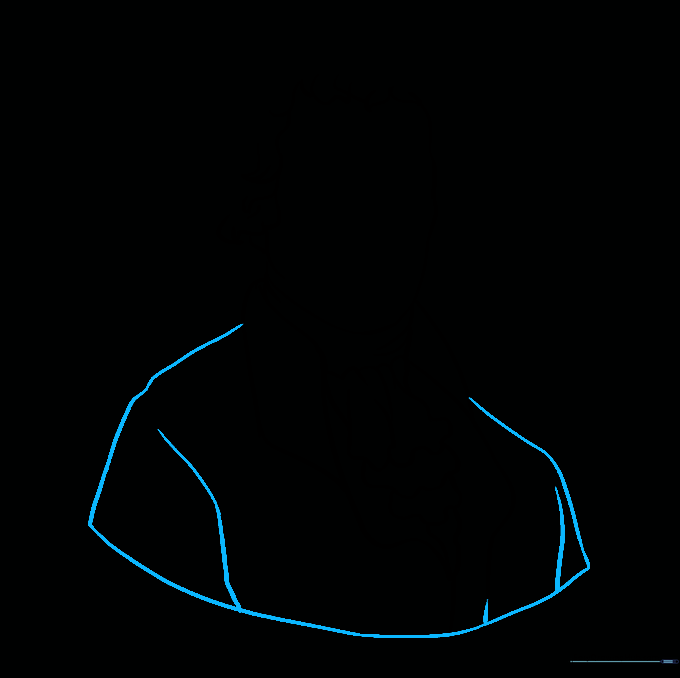
Extend curved lines from the collar to form the shoulders, then add a long, connecting line at the bottom to create a 'bust' effect. Teacher's Tip: This framing helps the portrait look like a classic historical statue.
Step 7: Detailing the Hair
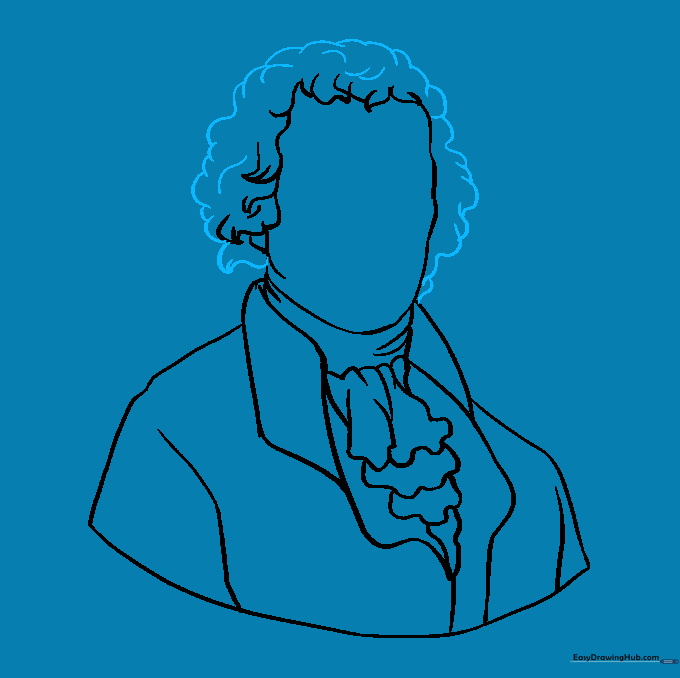
Outline the hair using a series of connected 'U' shaped lines. Add smaller, curved lines inside for texture. Teacher's Tip: Vary the size of your 'U' shapes to make the hair look more natural and less like a solid block.
Step 8: Facial Features
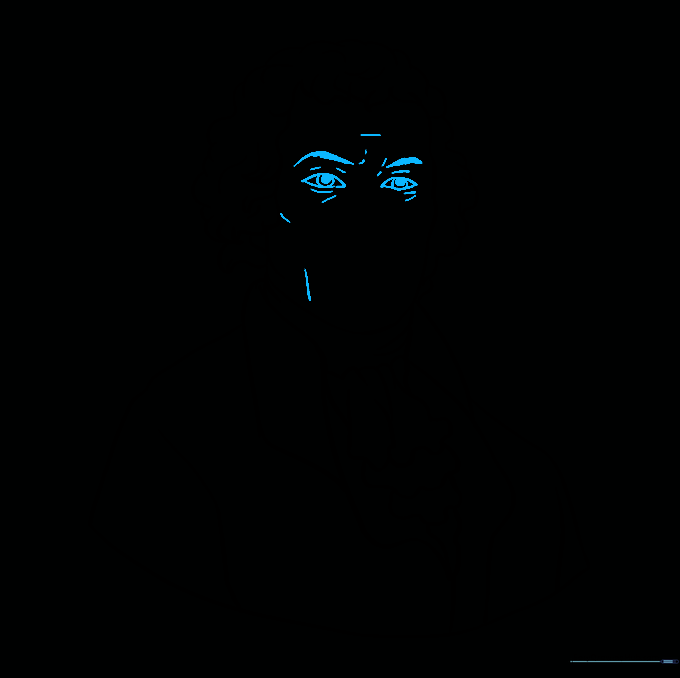
Draw the brows, eyes, and pupils. Add small contour lines around the eyes and forehead to add character. Teacher's Tip: Draw the pupil as a small, dark circle inside the eye to give your portrait a focused expression.
Step 9: Final Facial Details

Sketch the nose and mouth using gentle curves. Add subtle lines around the chin and mouth to complete the face. Teacher's Tip: Less is more here—a few small lines go a long way in showing age and expression.
Step 10: Adding Color
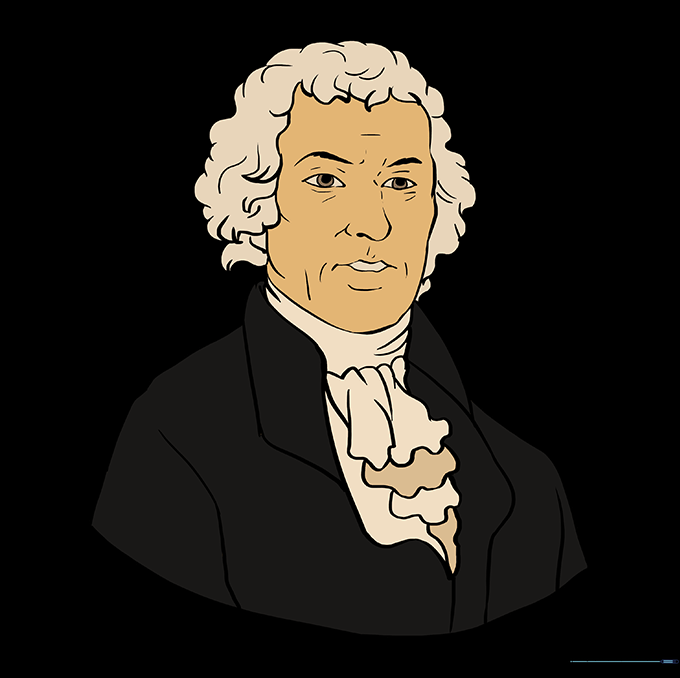
Bring your portrait to life with color! Use muted, historical tones for the jacket and skin. Teacher's Tip: Try using light shading on one side of the face to create a realistic light source.
More Tutorials


