How to Draw the Wind: Easy Step-by-Step Guide
Capturing invisible movement is a fantastic way for young artists to practice expressive line work. This tutorial is perfect for ages 6+ and requires only a pencil, eraser, and paper. By the end, you will master the technique of using curved lines and spirals to show a blustery, windy day.
🎯 Final Result

Step-by-Step Instructions
Sketching the Ground and Tree Trunk

Start by drawing a horizon line using short, jagged strokes to represent grass. Then, sketch the tree trunk with two parallel curved lines that lean to one side. Teacher's Tip: Make the trunk lean significantly to show the 'invisible' force of the wind pushing against it.
Adding Branches and Leaves
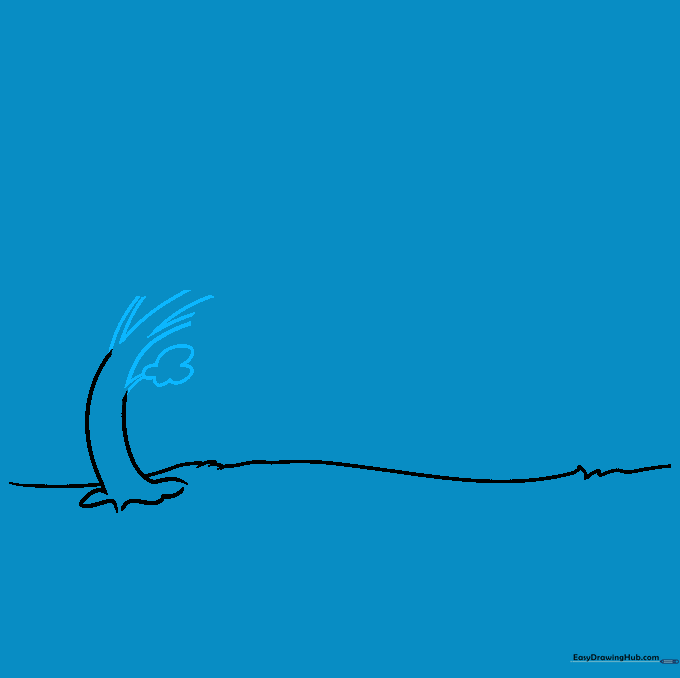
Extend the trunk into branches using pairs of curved lines. Add a small cluster of leaves at the tip of one branch. Teacher's Tip: Keep your pencil pressure light here so you can easily adjust the branch placement if needed.
Forming the Leafy Crown
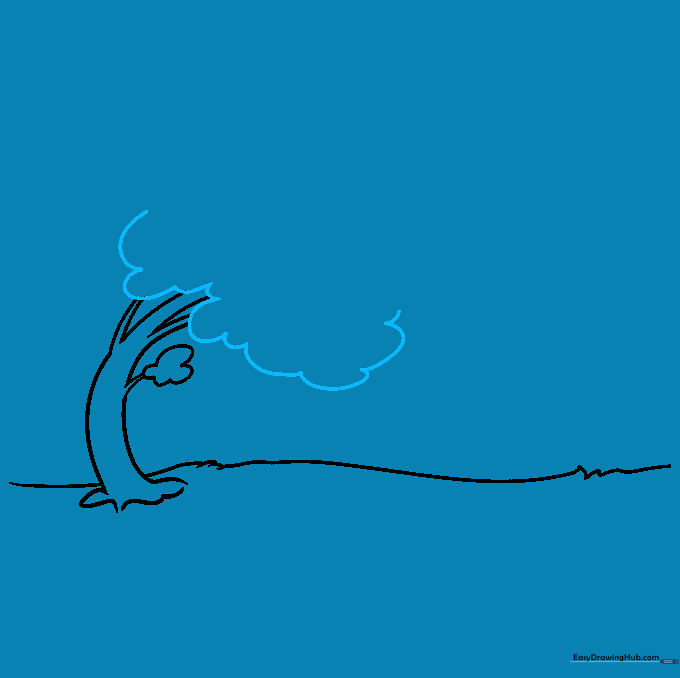
Use a series of overlapping, scalloped curved lines to create a cloud-like shape for the tree's crown. Teacher's Tip: Don't worry about making the circles perfect; nature is irregular and messy!
Introducing Motion Lines
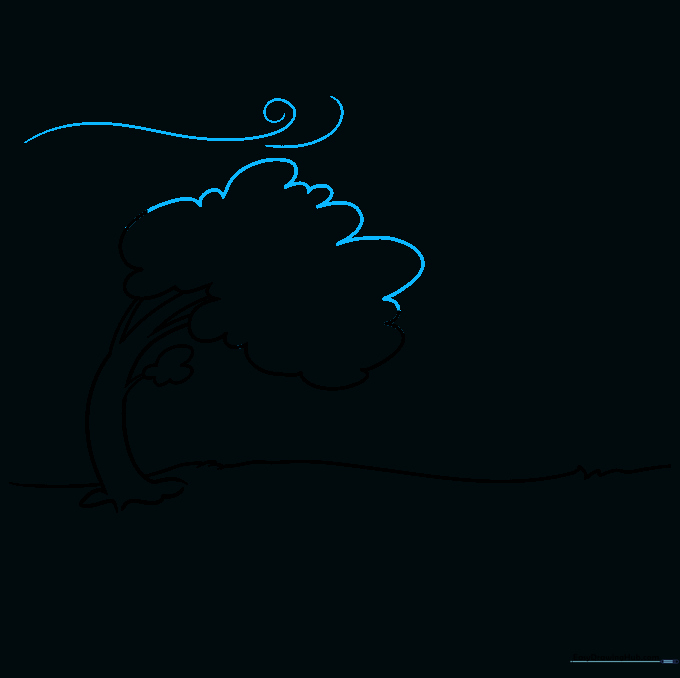
Finish the crown shape and begin drawing long, sweeping curved lines across the page to represent the wind. Add a small spiral at the start of one line to show a gust. Teacher's Tip: The spiral acts as a visual anchor for the eye, suggesting speed.
Drawing Sky Clouds
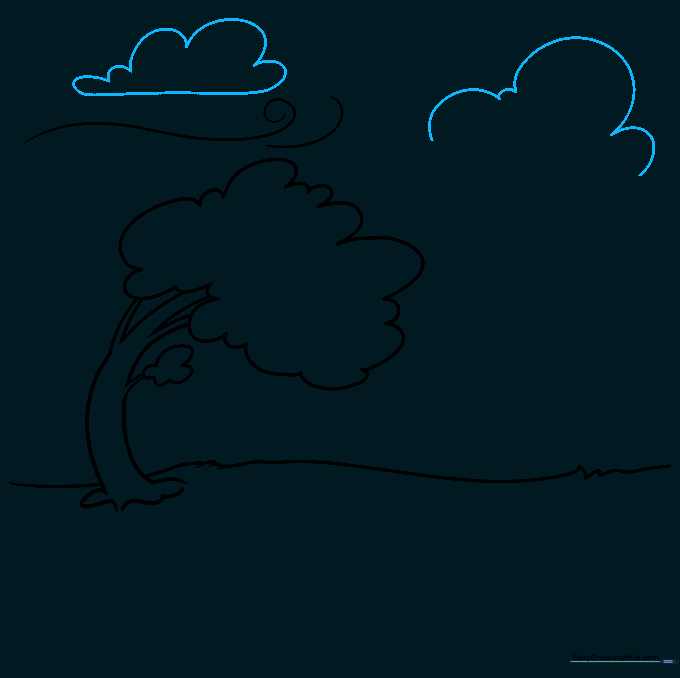
Draw clouds in the sky using a flat horizontal line for the base and soft, rounded humps for the top. Teacher's Tip: Vary the size of your clouds to create a sense of depth in your drawing.
Layering the Wind
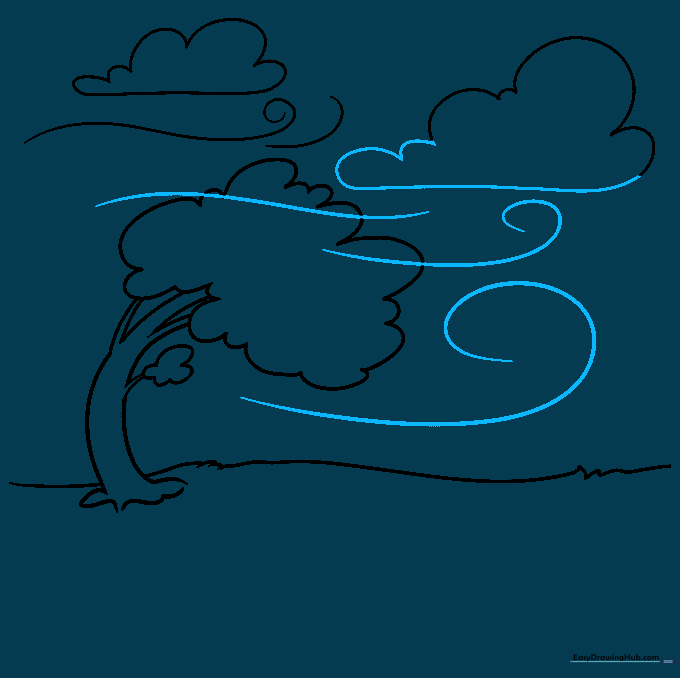
Add more wind lines that cross over the tree and clouds. Include a few more spirals to emphasize the blustery weather. Teacher's Tip: Let these lines overlap the tree to show that the wind is moving through the branches.
Increasing the Intensity
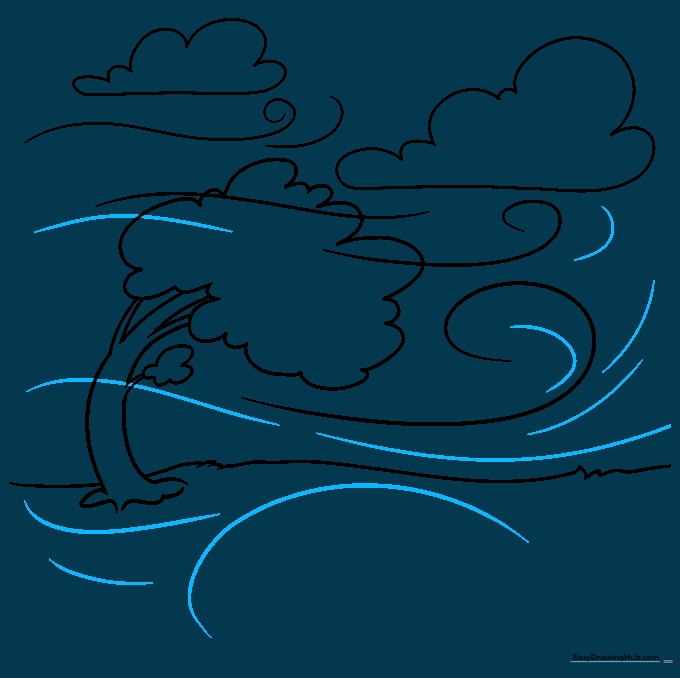
Add even more curved lines to show the wind picking up speed. Teacher's Tip: Use varying line lengths to create a dynamic, energetic feel.
Adding Blowing Leaves
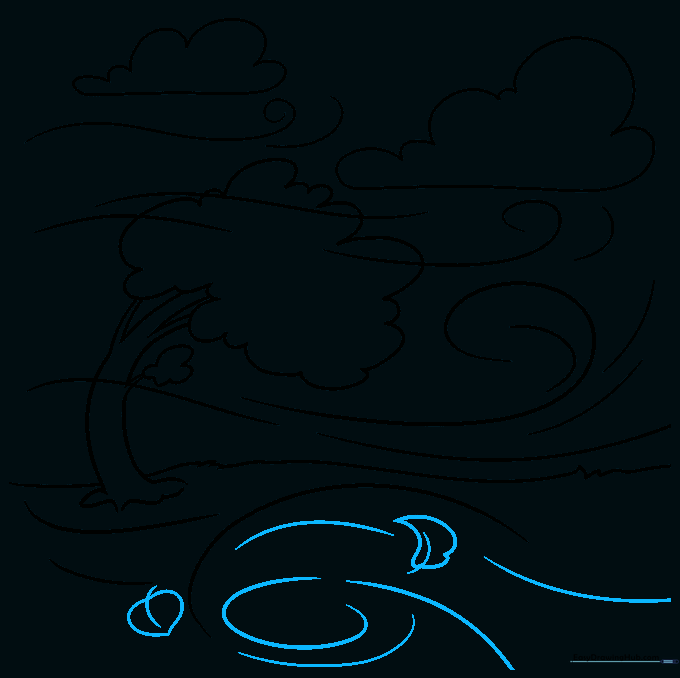
Draw small leaves scattered in the wind. Create each leaf by drawing a curved stem and a pointed, oval-shaped blade. Teacher's Tip: Point the leaves in the same direction as your wind lines to show they are being carried by the breeze.
Finalizing the Composition

Add a few more leaves to fill out the scene. Ensure they look like they are caught in the swirling motion of the wind. Teacher's Tip: Check your drawing for balance—if one side looks too empty, add a small leaf or a wind swirl there.
Coloring Your Windy Day
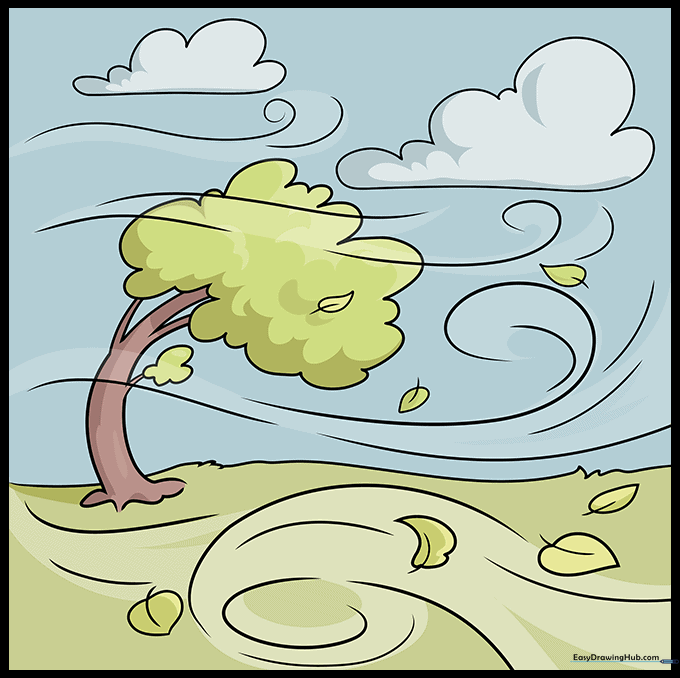
Bring your drawing to life with color! Use blues for the sky, greens or autumn oranges for the leaves, and browns for the tree. Teacher's Tip: Use colored pencils to lightly shade the wind lines to make them stand out against the background.
More Tutorials


