How to Draw the U.S. Capitol: Easy Step-by-Step Guide
Bring a piece of American history to your sketchbook! This tutorial is designed for young artists and beginners to master the iconic architecture of the U.S. Capitol. Grab a pencil, an eraser, and a ruler, and let’s build this landmark one shape at a time.
🎯 Final Result

Step-by-Step Instructions
Step 1: Establishing the Foundation

Start by sketching the three main levels of the building using rectangles. Tip: Use a ruler to keep your vertical lines straight; a steady foundation makes the rest of the drawing much easier to align.
Step 2: Adding the Staircases
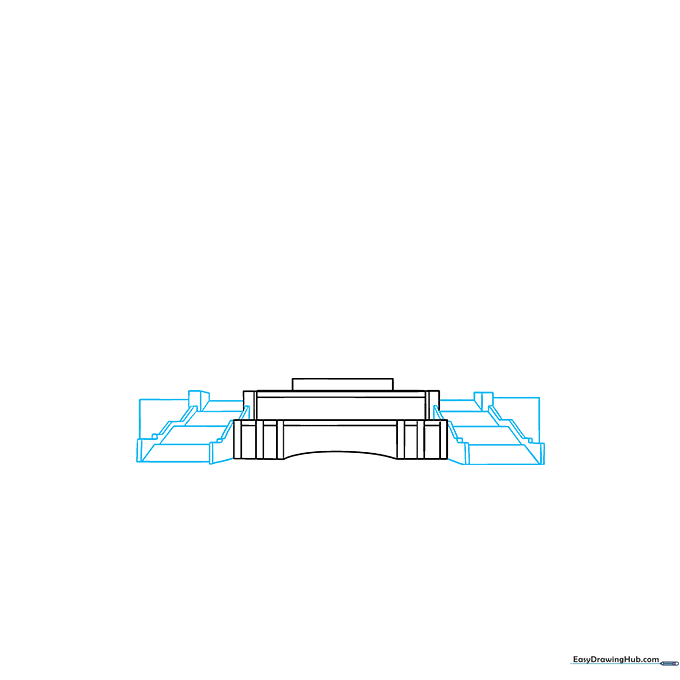
Draw the side staircases using stacks of parallelograms. Tip: Keep your lines light here so you can easily erase any overlapping marks once the structure is defined.
Step 3: Creating Architectural Arches
Add 'U' shaped lines along the base to represent the building's grand arches. Tip: Space them evenly to give your drawing a sense of symmetry and balance.
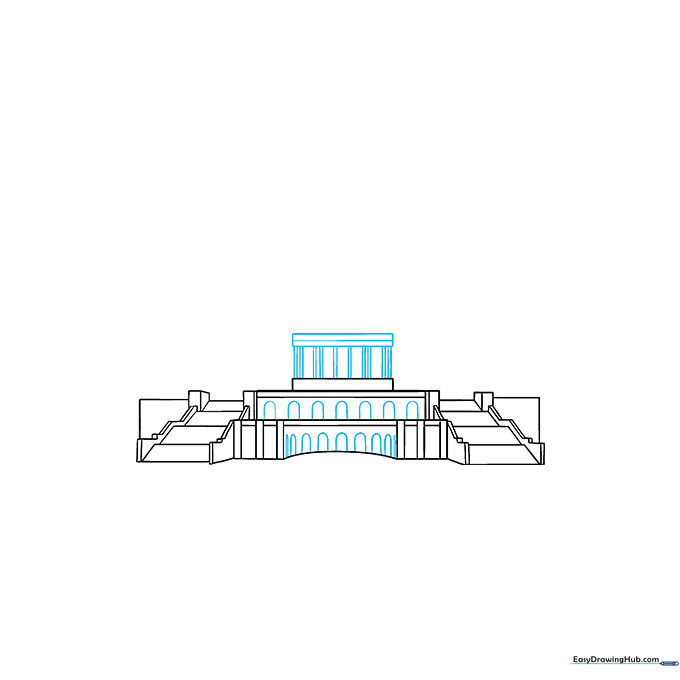
Step 4: Refining the Structure

Sketch various squares and rectangles on the sides to represent the building's wings. Tip: Vary the sizes of these shapes to add depth and realism to the facade.
Step 5: Adding the Rooflines
Draw triangular prisms on the ends of the building to create the roof sections. Tip: Ensure your angles match on both sides to keep the building looking sturdy.
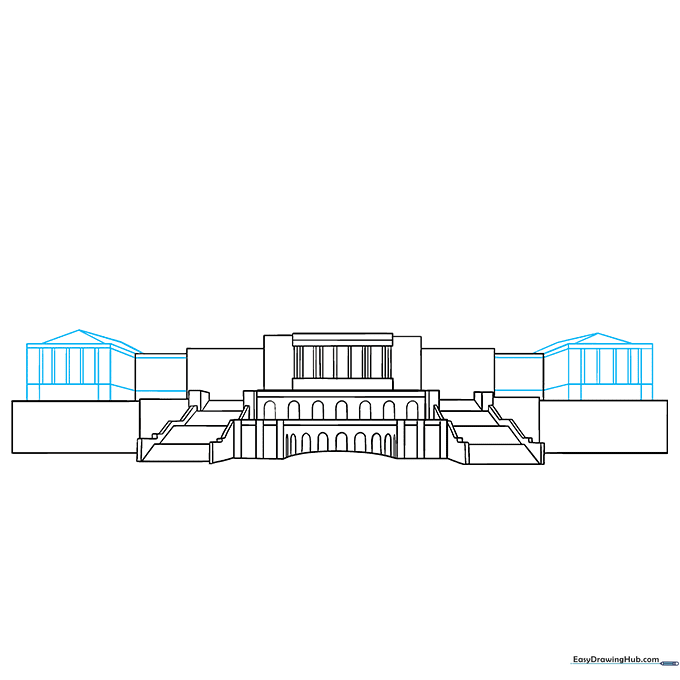
Step 6: Flagpoles and Details
Draw small rectangles for the flags and extend vertical lines for the poles. Tip: Keep the flags small so they don't distract from the main dome we will draw next.
Step 7: Adding Windows
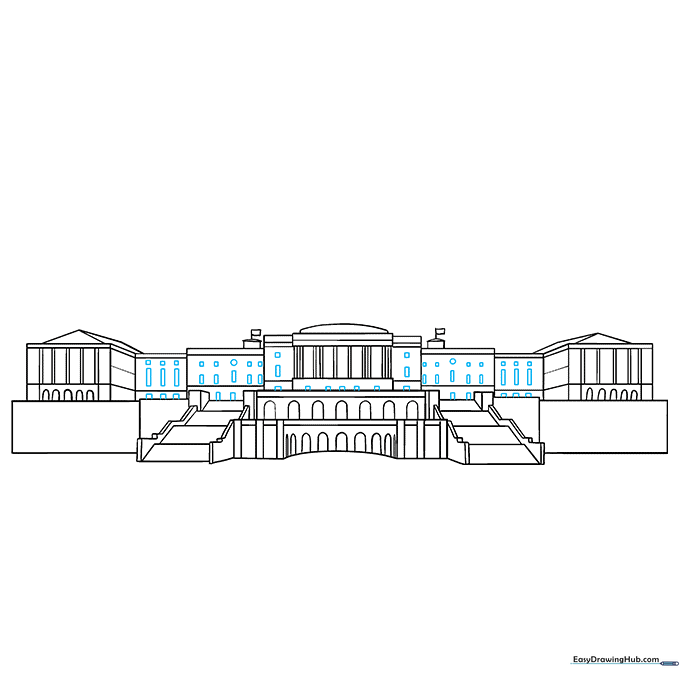
Fill the front facade with small squares and rectangles to represent windows. Tip: Use a consistent grid pattern to make the building look professional and organized.
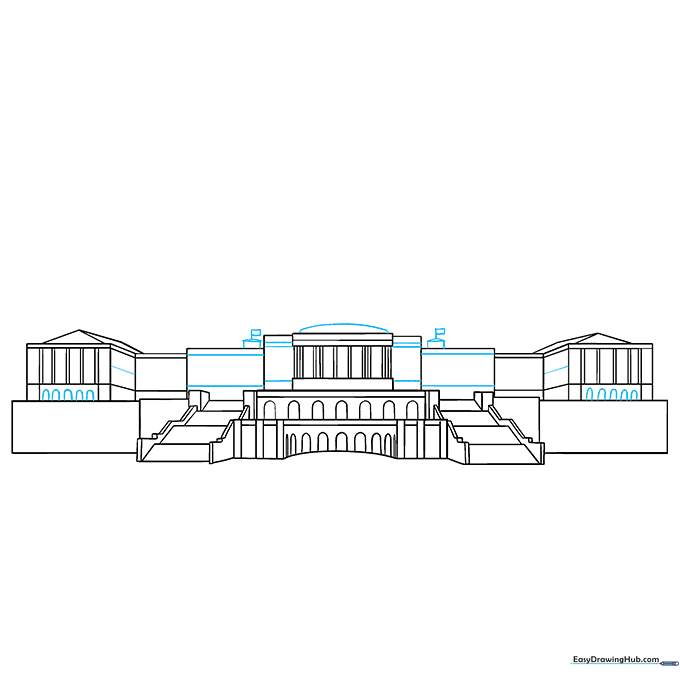
Step 8: Constructing the Dome
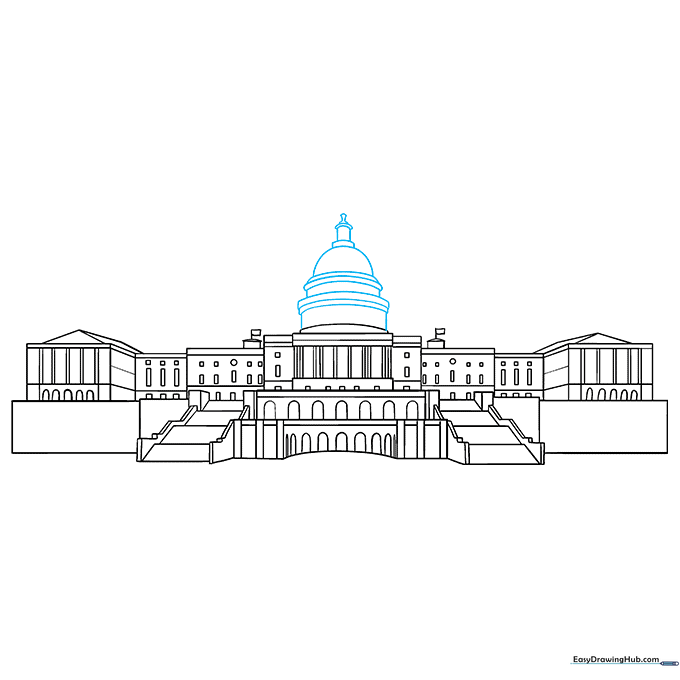
Draw the iconic dome using stacked cylinders and a half-circle. Tip: Start with a light center line to ensure your dome is perfectly centered on the building.
Step 9: Final Details
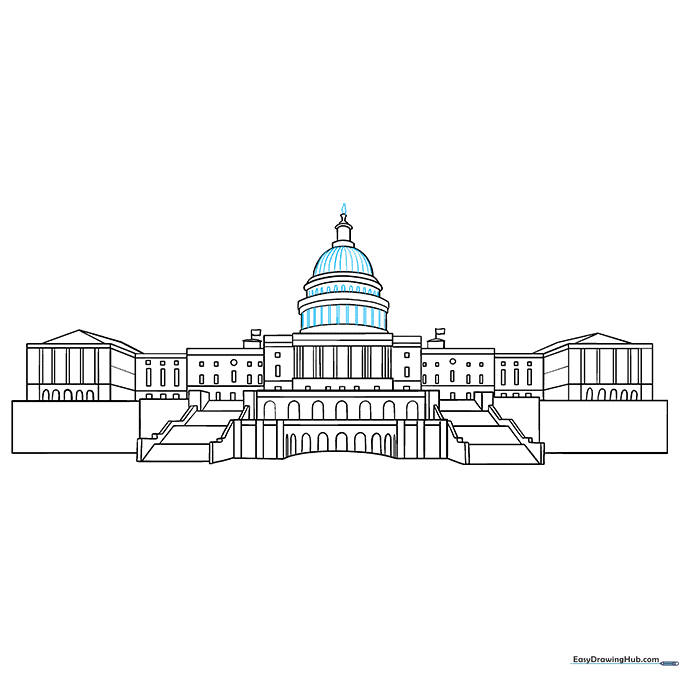
Add the finishing touches to the dome with curved lines and a small flame-like shape at the very top. Tip: Use a fine-liner pen to go over your final lines before erasing your pencil guidelines.
Step 10: Bring It to Life with Color

Time to color! Use cream or beige for the stone, green for the roof sections, and bright red, white, and blue for the flags. Tip: Use light shading under the dome to give it a 3D, rounded look.
More Tutorials


