How to Draw the Tooth Fairy: Easy 10-Step Guide
Bring a touch of magic to your sketchbook with this Tooth Fairy tutorial, designed specifically for young artists and beginners. You will only need a pencil, an eraser, and your favorite coloring supplies to complete this character. Follow along to master facial proportions and whimsical wing details in just ten simple steps.
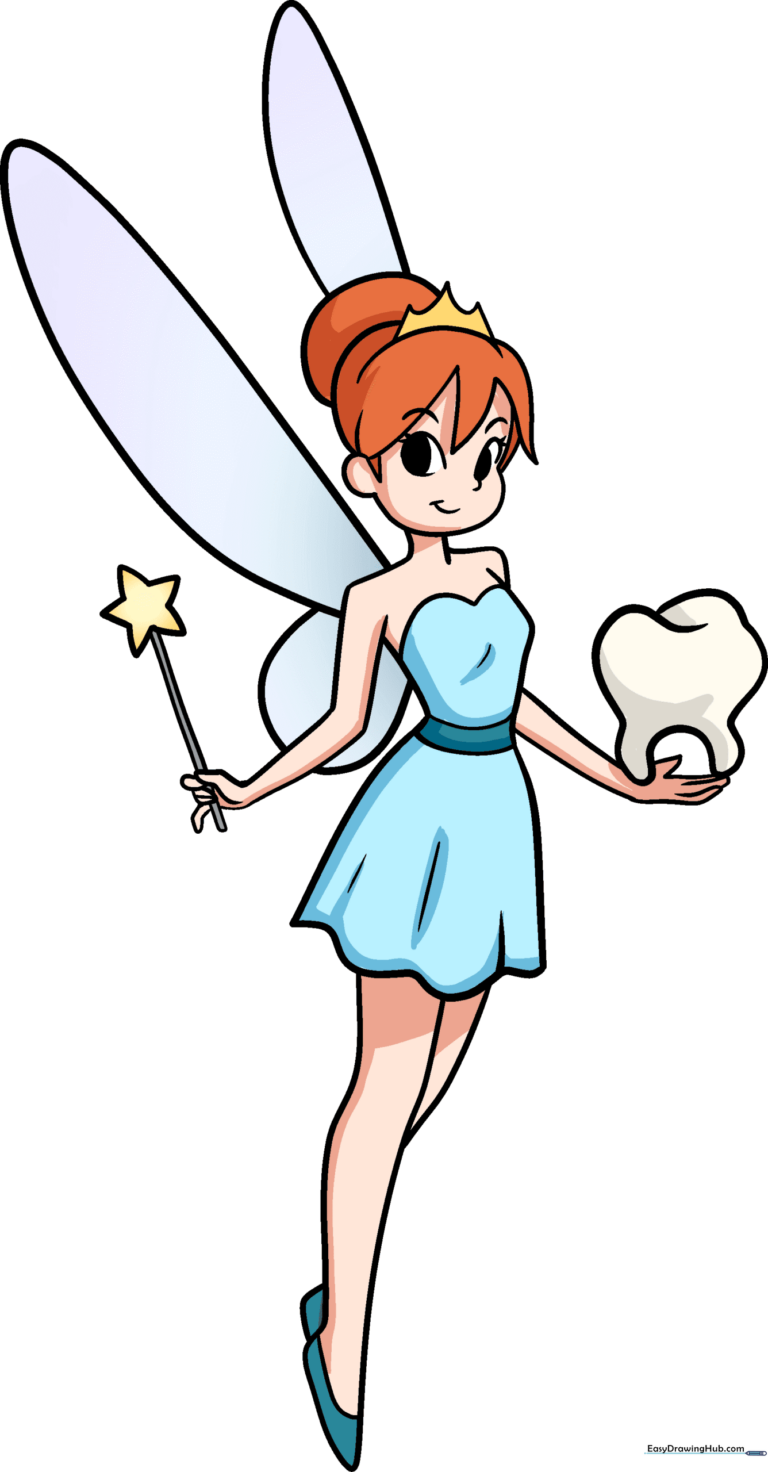
🎯 Final Result
Step-by-Step Instructions
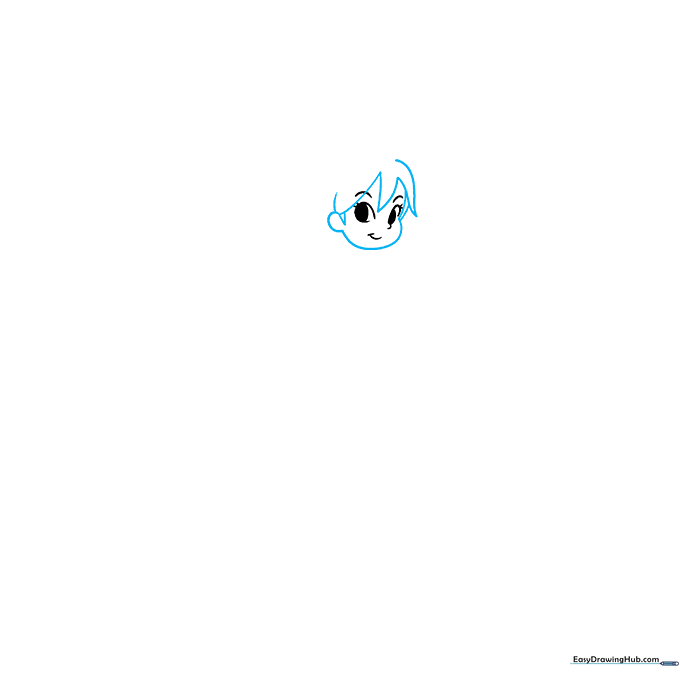
Step 1: Sketching the Expressive Face

Start by drawing the face shape, then add the eyes, eyebrows, and a gentle smile. Teacher's Tip: Keep your pencil pressure light here so you can easily adjust the symmetry of the eyes before moving on.
Step 2: Framing the Hair and Ears
Use long, flowing curved lines to create the hair frame and add a small curve for the ear. Tip: Think of the hair as large, soft shapes rather than individual strands to keep the drawing looking clean.
Step 3: Adding the Tiara and Neck
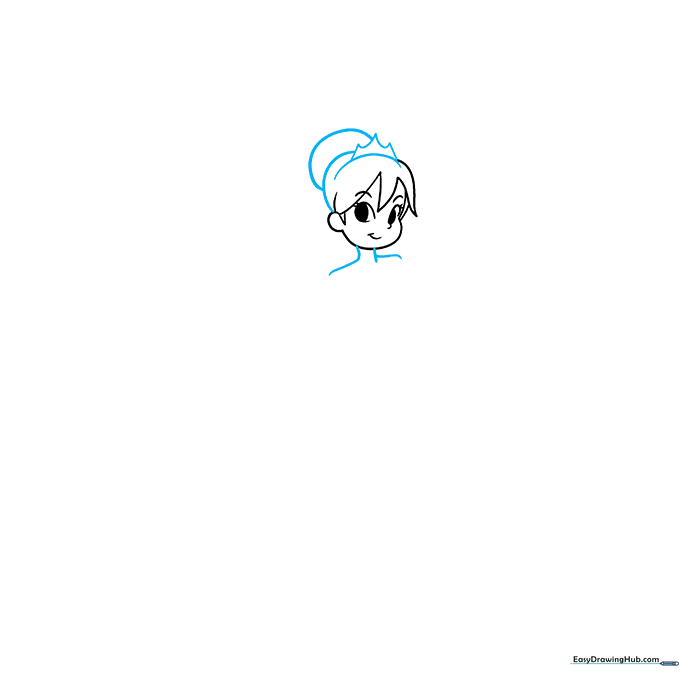
Draw a jagged crown on top of her head and sketch the neck and shoulders below. Tip: Use short, quick strokes for the crown points to give it a sharp, metallic look.
Step 4: Shaping the Arm and Hand
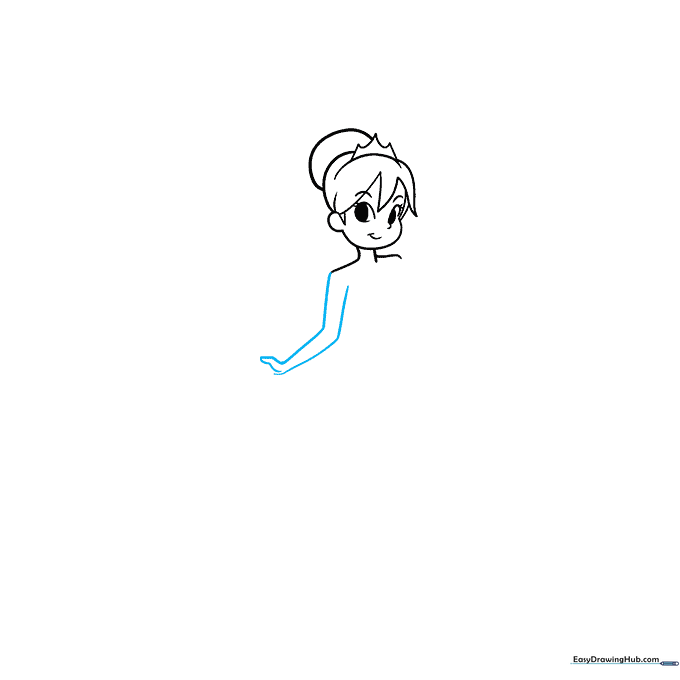
Extend the shoulder line and double it back to form the thumb. Tip: Hands can be tricky! Focus on the 'mitten' shape first before adding detail to the fingers.
Step 5: Drawing the Magic Wand
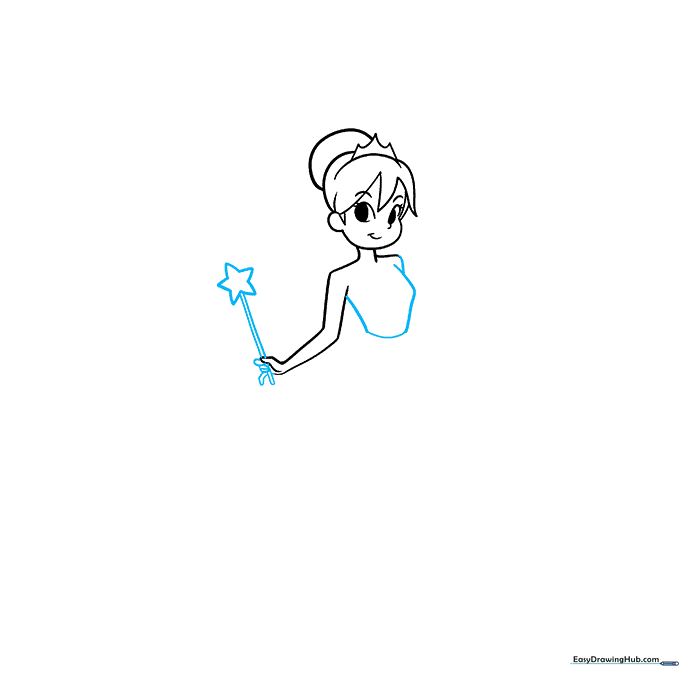
Draw the wand handle behind the thumb and top it with a five-pointed star. Tip: Use a ruler if you want the wand to be perfectly straight, or keep it freehand for a more whimsical feel.
Step 6: Blouse and Tooth Detail
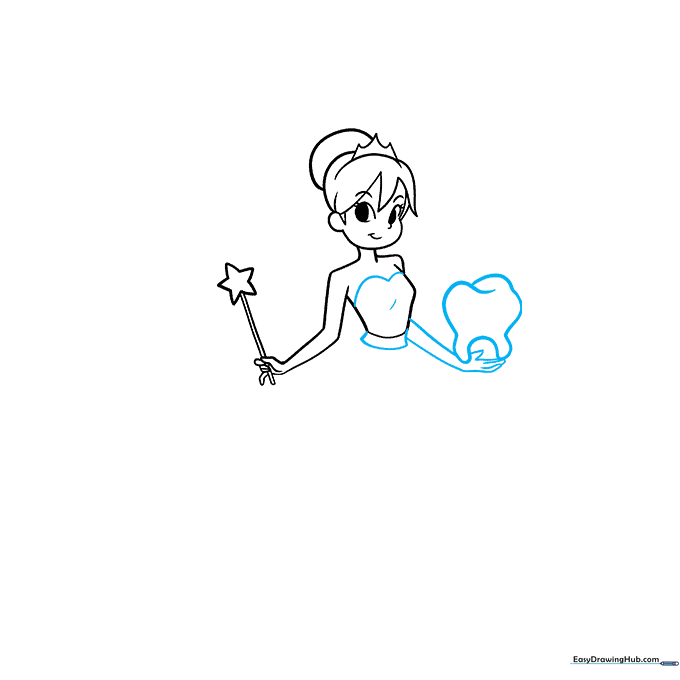
Draw the blouse neckline and sketch the iconic tooth shape nearby. Tip: Make sure the tooth lines overlap slightly at the top to give it a 3D appearance.
Step 7: Sketching the Skirt
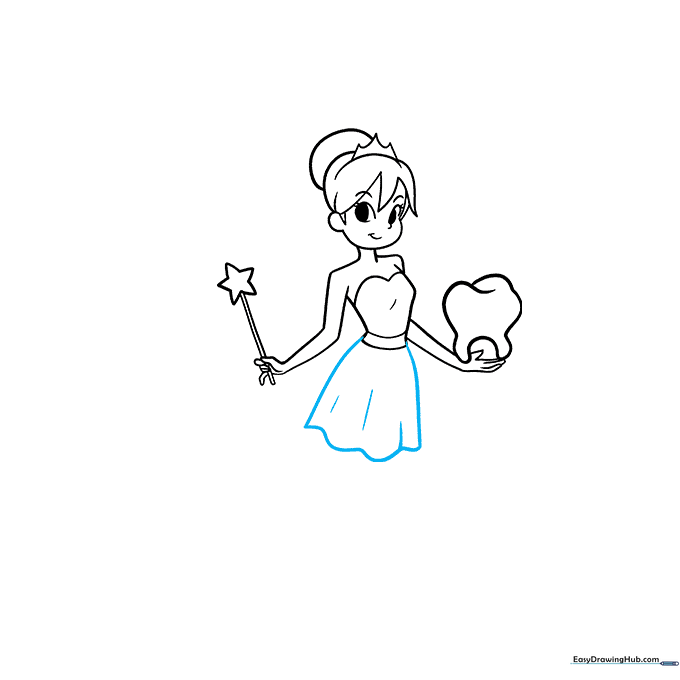
Use soft, curved lines to create the skirt, adding a few extra lines to show the folds of the fabric. Tip: Draw these lines with a flicking motion to make the skirt look light and flowy.
Step 8: Legs and Shoes
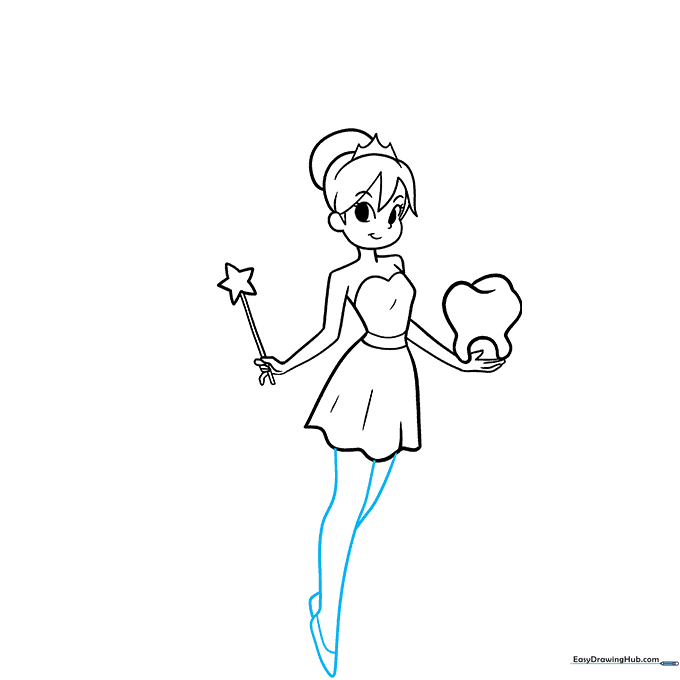
Draw the legs ending in pointed shoes. Tip: Keep the legs slender to maintain the fairy's delicate, magical proportions.
Step 9: Adding the Wings
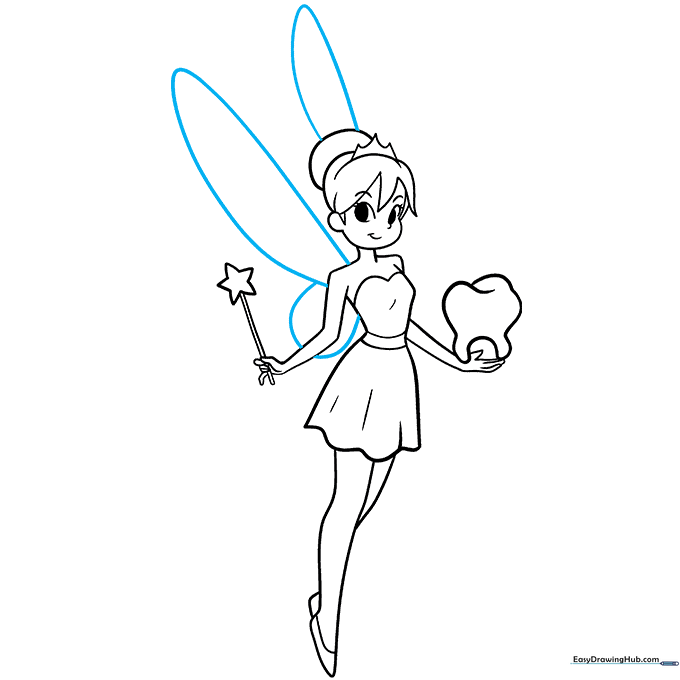
Finish the outline by adding large, curved wings behind the back. Tip: Draw these with a light touch so they look like they are made of gossamer or light fabric.
Step 10: Bringing Your Fairy to Life with Color
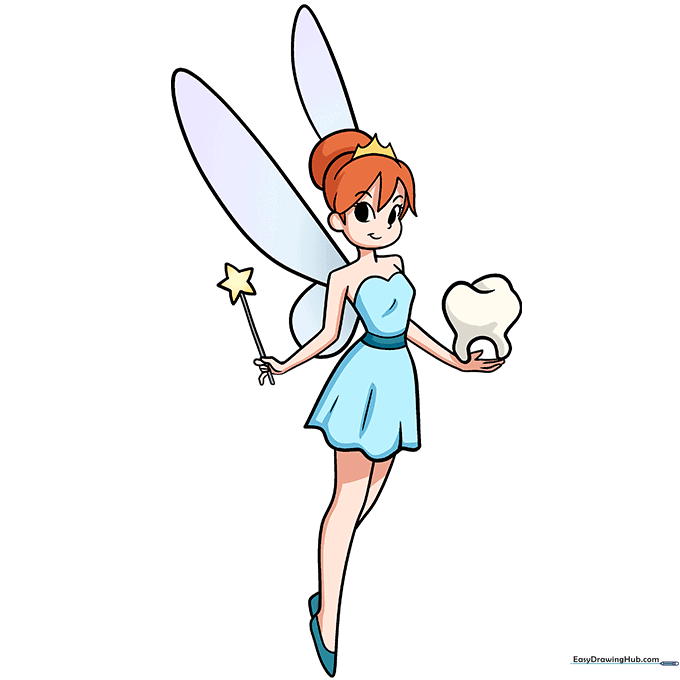
Your outline is complete! Use bright, magical colors for the outfit and wings to make your Tooth Fairy truly shine. Tip: Try using glitter pens or metallic markers for the wand to add extra sparkle.
More Tutorials


