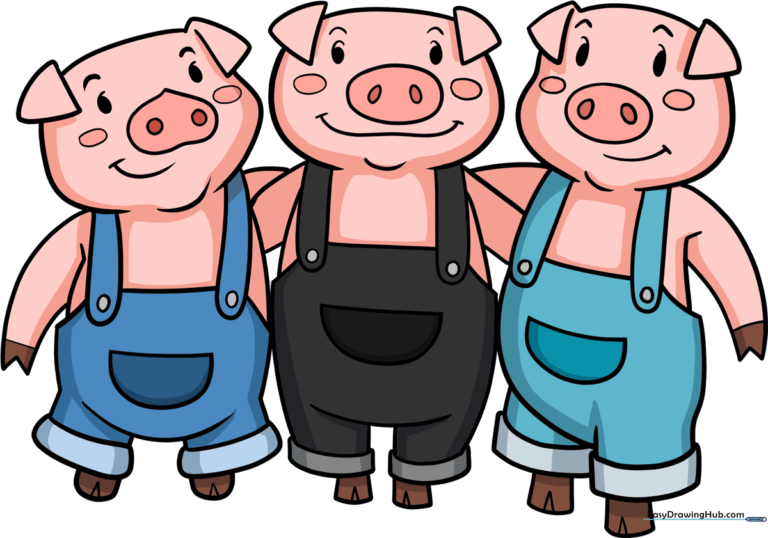
How to Draw the Three Little Pigs: Easy 9-Step Guide
Bring the classic fairy tale to life with this fun drawing activity, perfect for artists ages 5 and up. You will need a pencil, an eraser, and your favorite coloring supplies to create these three charming characters. Follow along to build confidence in your character design and storytelling skills.
🎯 Final Result
Step-by-Step Instructions
Step 1: Sketching the First Pig's Face
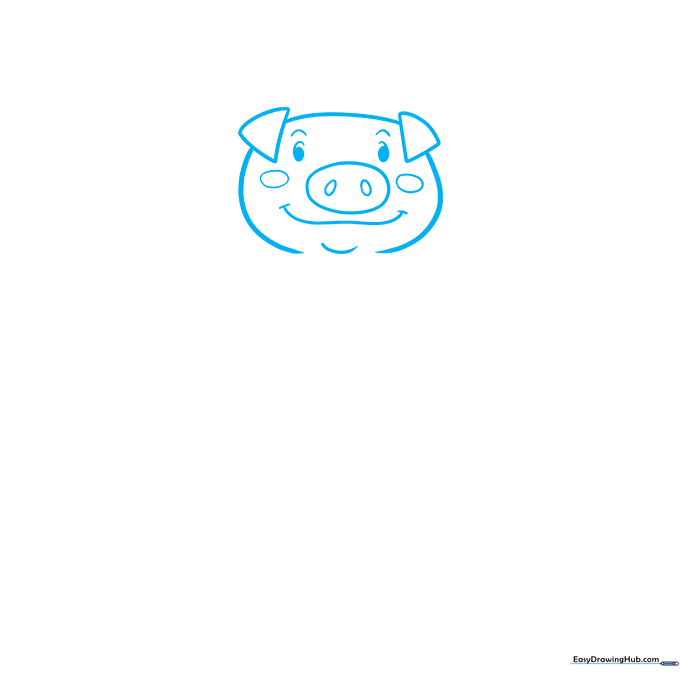
Draw a rounded shape for the head and two triangles for the ears. Teacher's Tip: Keep the eyes as simple shaded ovals to give the pig a friendly, wide-eyed expression.
Step 2: Adding the Overalls
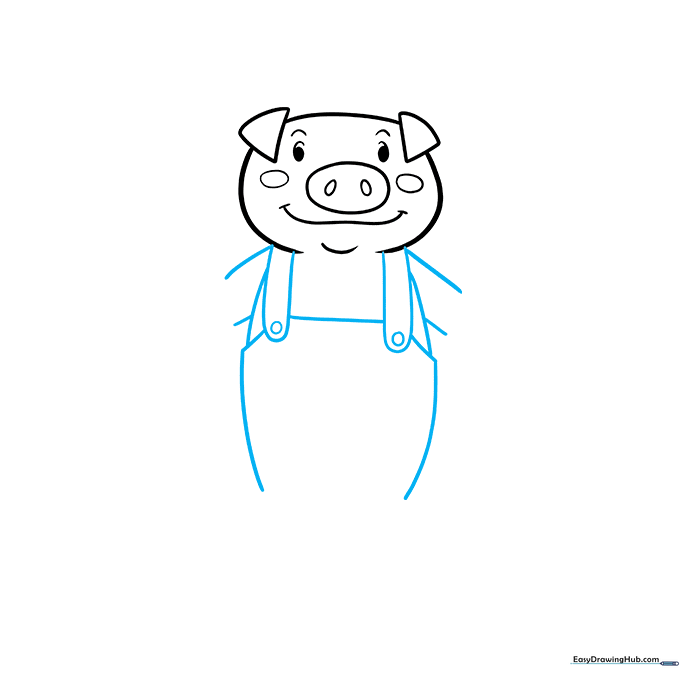
Draw two curved lines for the overall straps, adding a small circle at the end of each for the button. Teacher's Tip: Ensure the straps connect smoothly to the torso to make the clothing look natural.
Step 3: Finishing the First Pig's Outfit

Add a pocket to the center and draw the pant legs with rectangular cuffs. Teacher's Tip: Use small triangles at the bottom to define the hooves clearly.
Step 4: Sketching the Second Pig
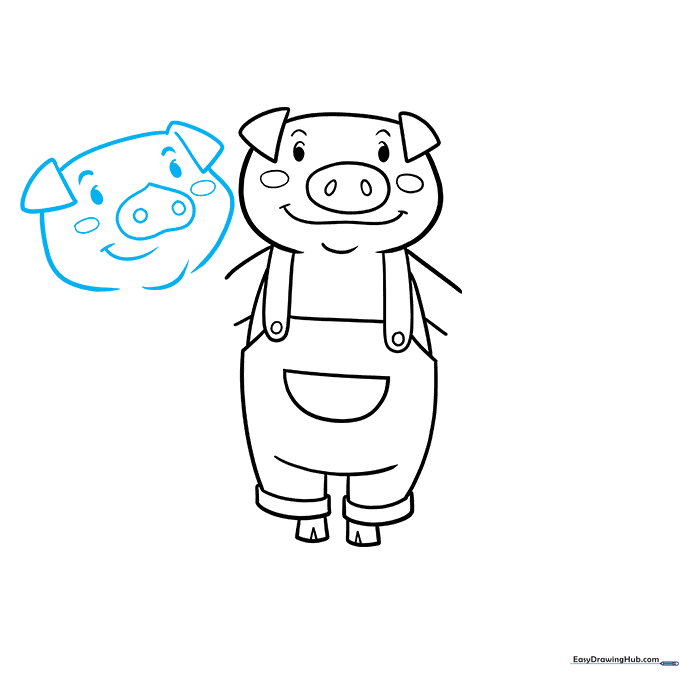
Draw the second pig's face using an upside-down heart for the nose. Teacher's Tip: Varying the nose shape slightly from the first pig adds personality to your drawing.
Step 5: Adding Arms to the Second Pig
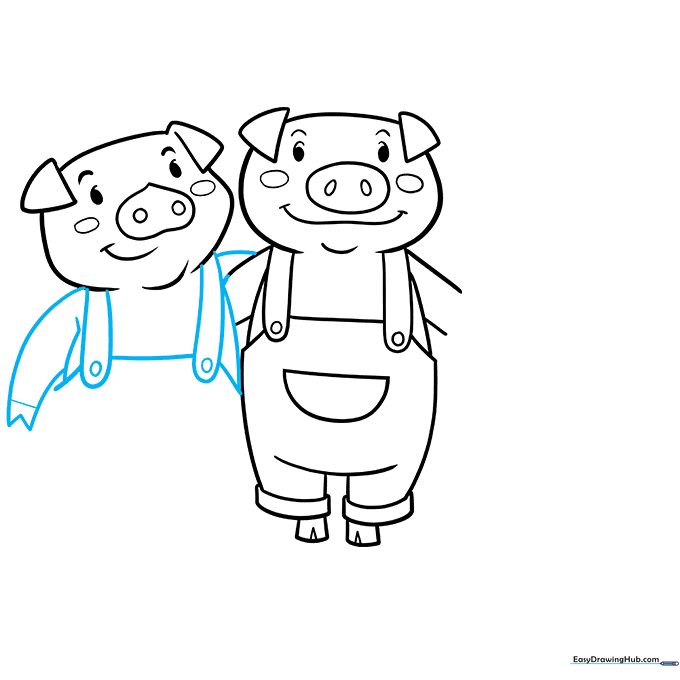
Draw the arms and torso using curved lines. Teacher's Tip: The 'W' shape at the end of the arm is a great way to suggest a hoof without needing complex detail.
Step 6: Completing the Second Pig
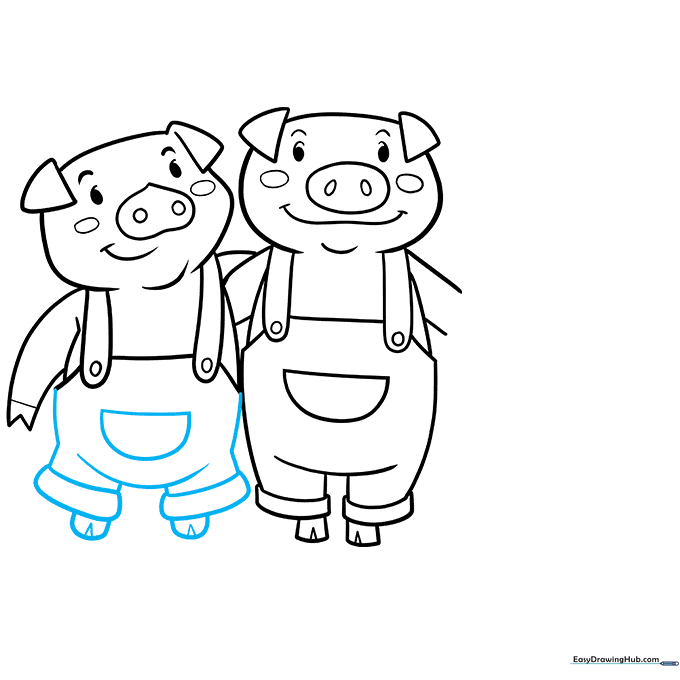
Finish the overalls with a pocket and cuffs. Teacher's Tip: Ensure the lines overlap slightly to give the clothing a sense of depth.
Step 7: Sketching the Third Pig
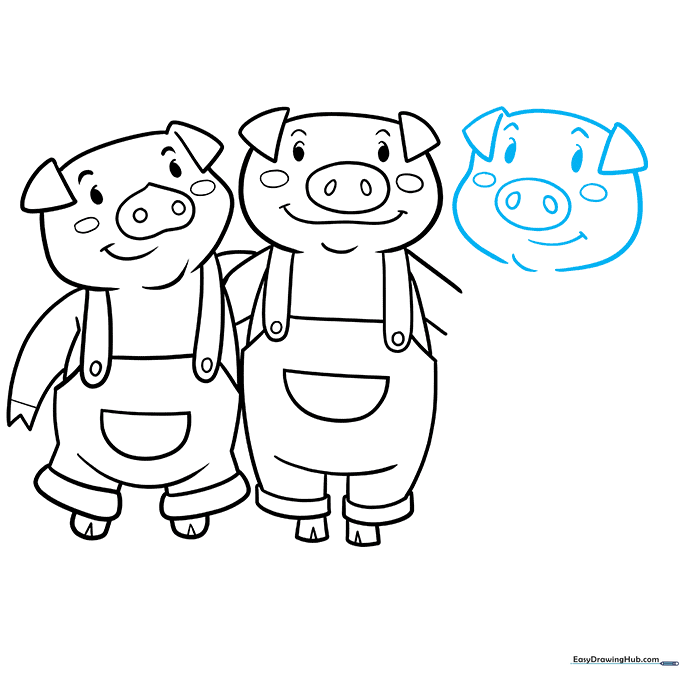
Repeat the head-drawing process for the final pig. Teacher's Tip: Keep the spacing consistent so all three pigs look like a cohesive group.
Step 8: Adding Body Details
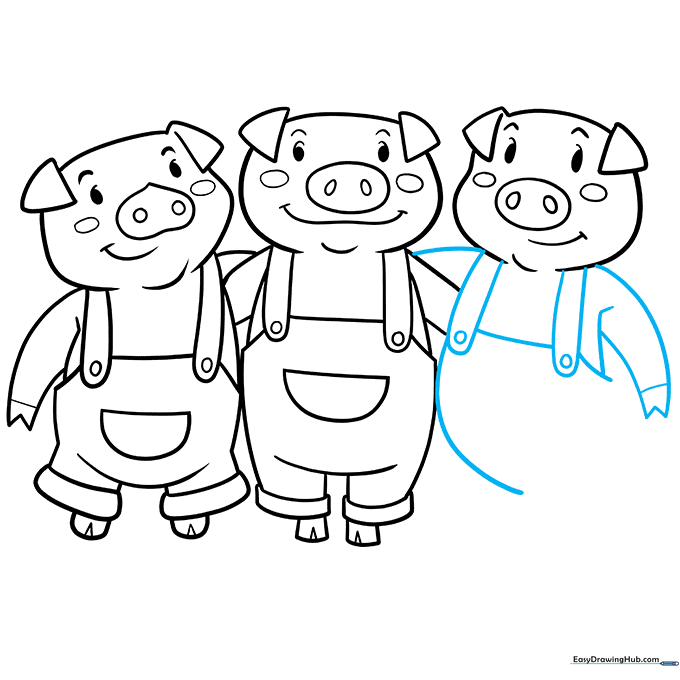
Draw the arms and overalls for the final pig. Teacher's Tip: Use long, smooth strokes for the body to keep the drawing looking clean.
Step 9: Finalizing the Outline
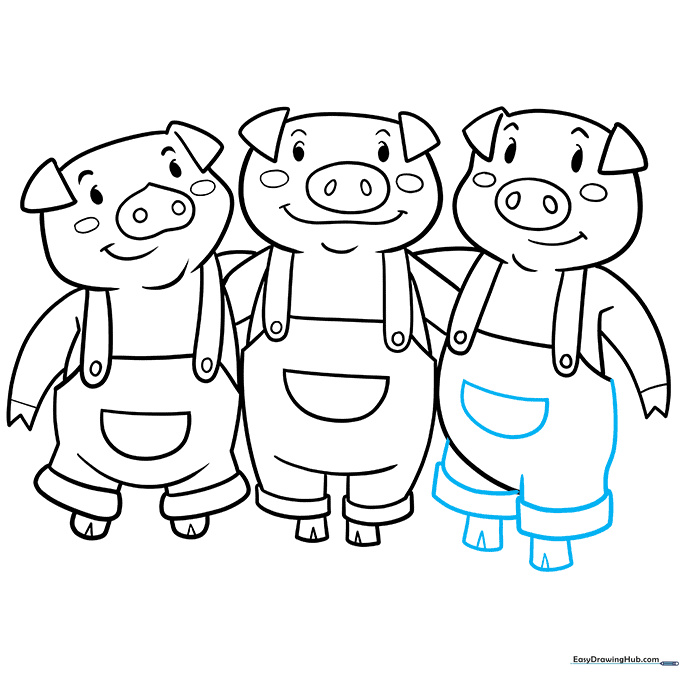
Complete the overalls and feet for the third pig. Teacher's Tip: Once finished, go over your lines with a darker pencil to make the characters pop!
Step 10: Coloring Your Pigs
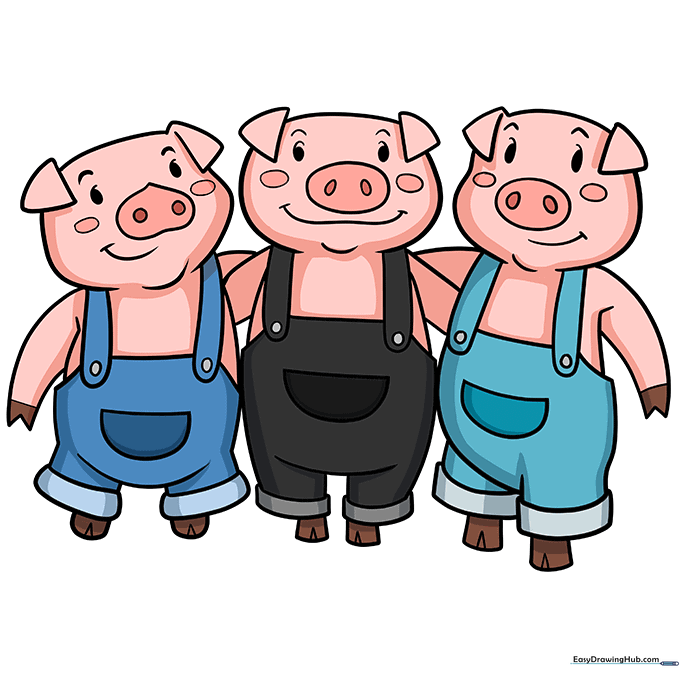
Bring your pigs to life with color! Use soft pinks for the skin and classic blue for the overalls. Teacher's Tip: Try using different shades of brown or spots to give each pig a unique look.
More Tutorials


