How to Draw Taz: Easy 10-Step Looney Tunes Guide
Ready to capture Taz’s wild energy? This tutorial is perfect for young artists ages 6+ looking to master cartoon expressions. Grab a pencil, an eraser, and some paper to start building your character drawing skills today.
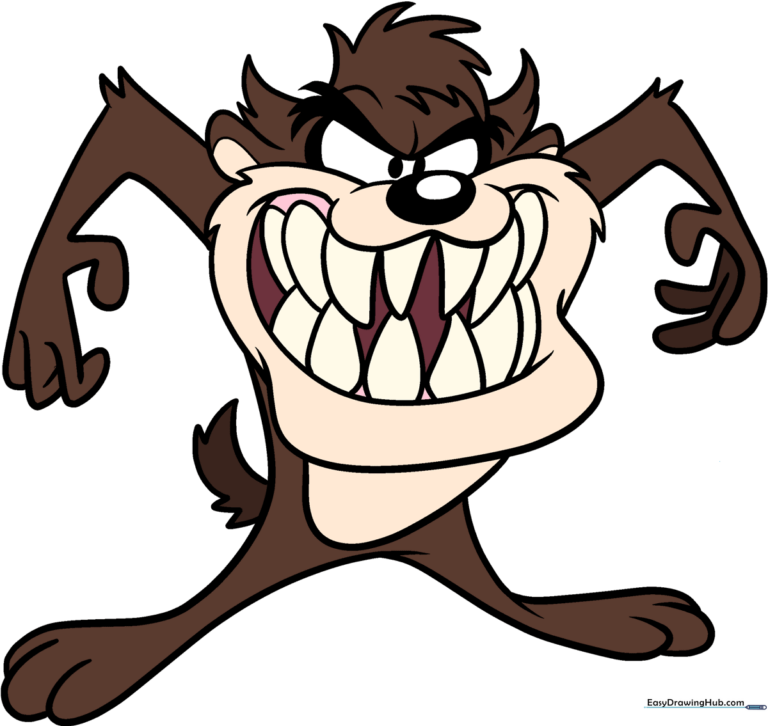
🎯 Final Result
Step-by-Step Instructions
Step 1: Sketching the Face and Nose
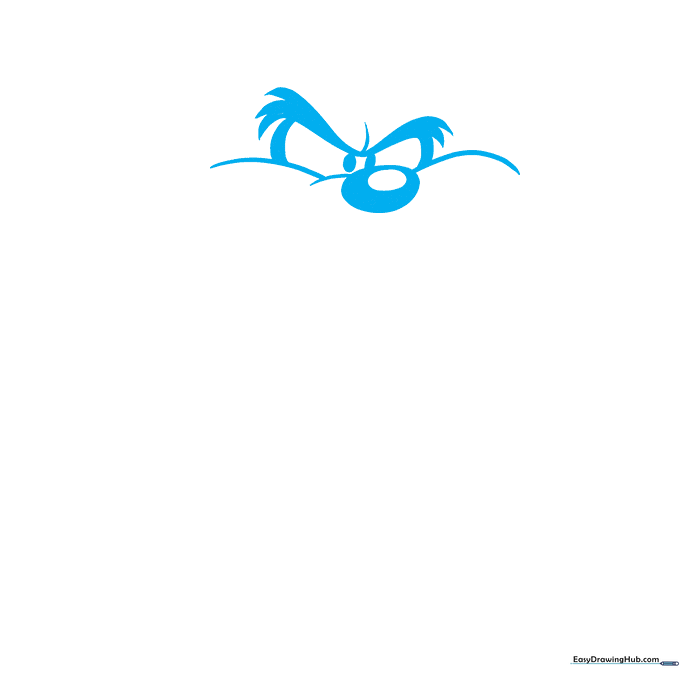
Start by drawing the bridge of the nose and the cheeks using soft, curved lines. Add an oval within an oval for the nose, shading the center to give it depth. Teacher's Tip: Keep your pencil pressure light here so you can easily adjust the symmetry of the eyes and bushy eyebrows later.
Step 2: Adding Fur and Ears
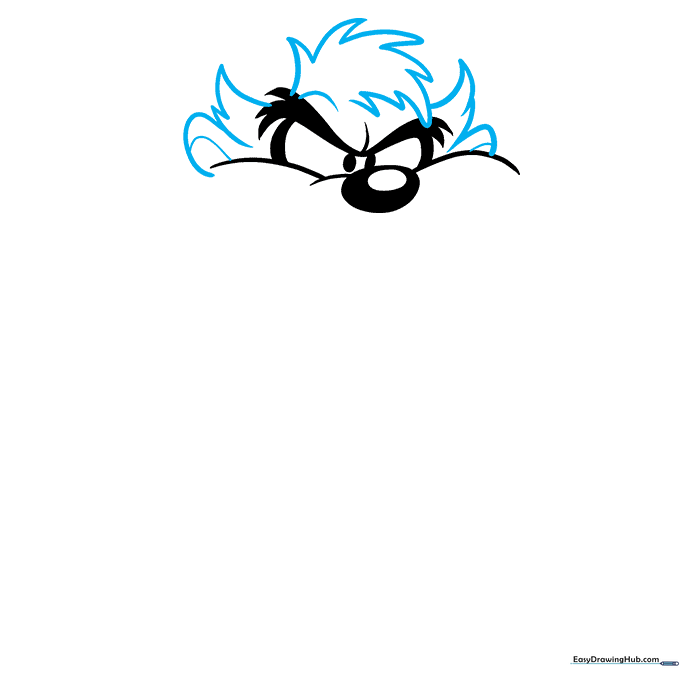
Use short, jagged strokes to create the outline of the ears and hair. Think of these as 'spiky' fur tufts. Add a curved line inside each ear for dimension. Teacher's Tip: Don't worry about making the spikes perfect; Taz is a messy character, so a little irregularity adds personality!
Step 3: Creating the Grin
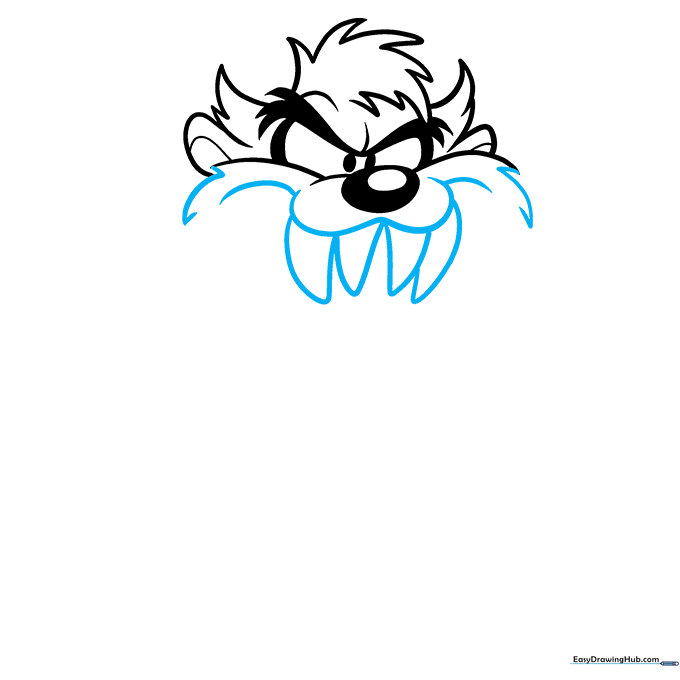
Extend the cheeks with more jagged lines and draw a wide 'W' shape for the mouth. Add curved triangles for those iconic sharp fangs. Teacher's Tip: Use a firm hand for the teeth to make them stand out against the softer fur lines.
Step 4: Defining the Jaw
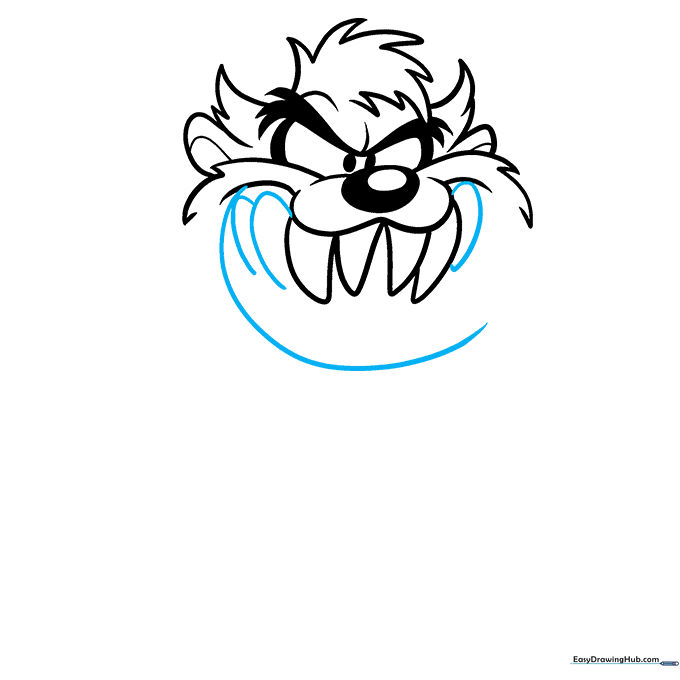
Draw a long, sweeping curved line to form the bottom of the open mouth. Continue adding the triangular teeth along the jawline. Teacher's Tip: Ensure the teeth look like they are growing out of the gums by connecting them with small, rounded base lines.
Step 5: The Bottom Teeth
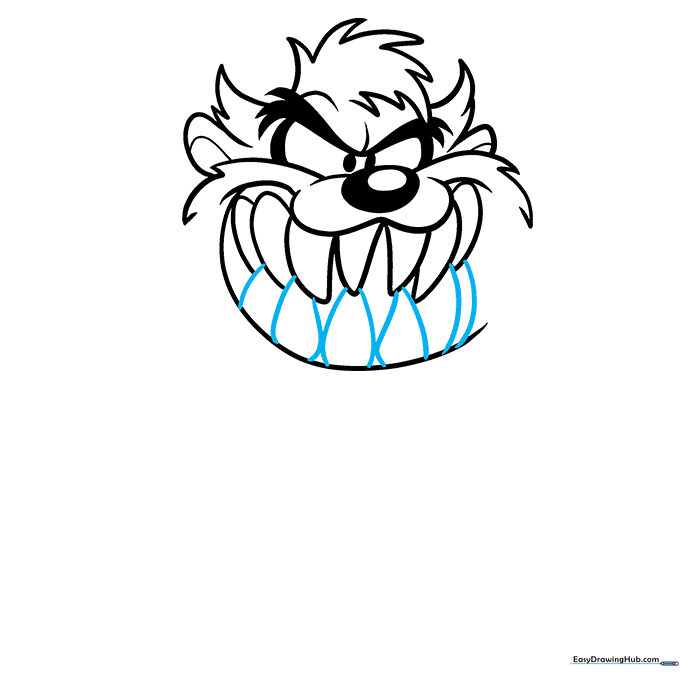
Add the lower row of teeth. Notice how they are slightly tucked behind the upper row to create a sense of perspective. Teacher's Tip: Use a slightly darker pencil stroke for the teeth to emphasize the 'bite'.
Step 6: The Belly
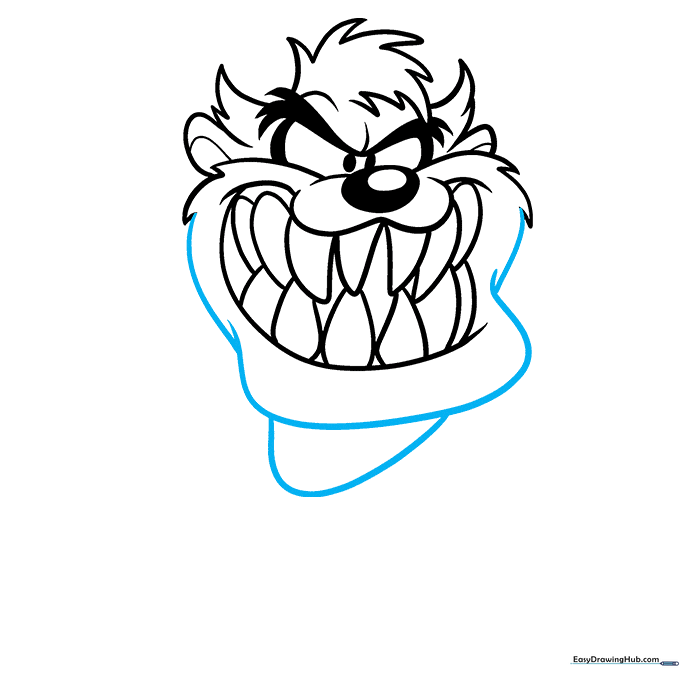
Use long, overlapping curved lines to define the lower lip and the round shape of his belly. Teacher's Tip: Keep the belly line nice and round to contrast with the sharp, jagged lines of his fur.
Step 7: Drawing the Arms
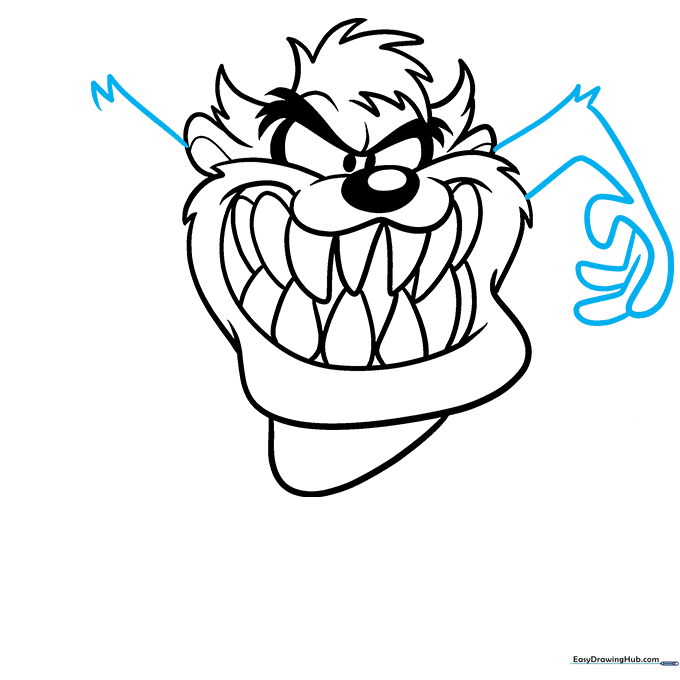
Sketch the arms using curved lines, adding jagged points at the elbows to represent his messy fur. Teacher's Tip: Imagine the arms are in motion to give the drawing that classic 'Taz' energy.
Step 8: Fingers and Toes

Continue the arms and legs, using overlapping curved lines for the fingers and toes. Teacher's Tip: Keep the fingers short and stubby to match the cartoon style.
Step 9: Final Touches
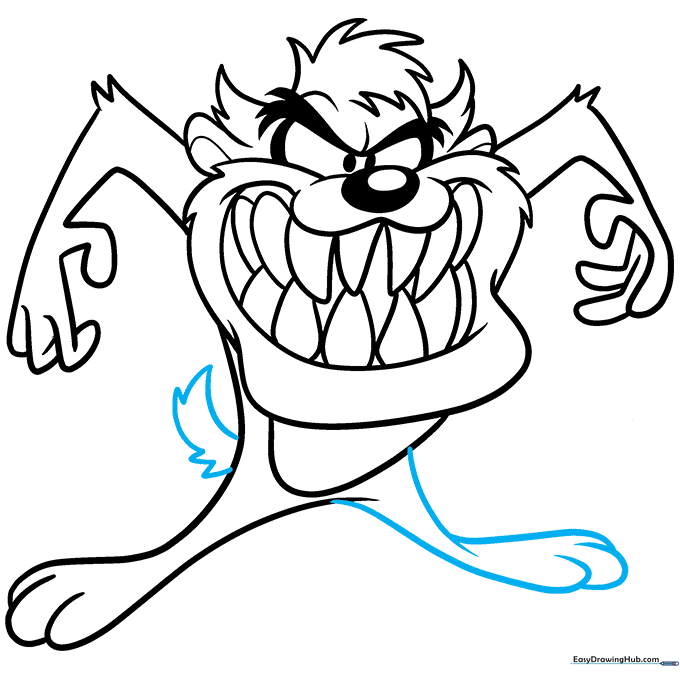
Draw the final leg and finish with a series of jagged lines for the tail. Teacher's Tip: Use quick, flicking motions with your pencil to make the tail look furry.
Step 10: Bring Taz to Life with Color
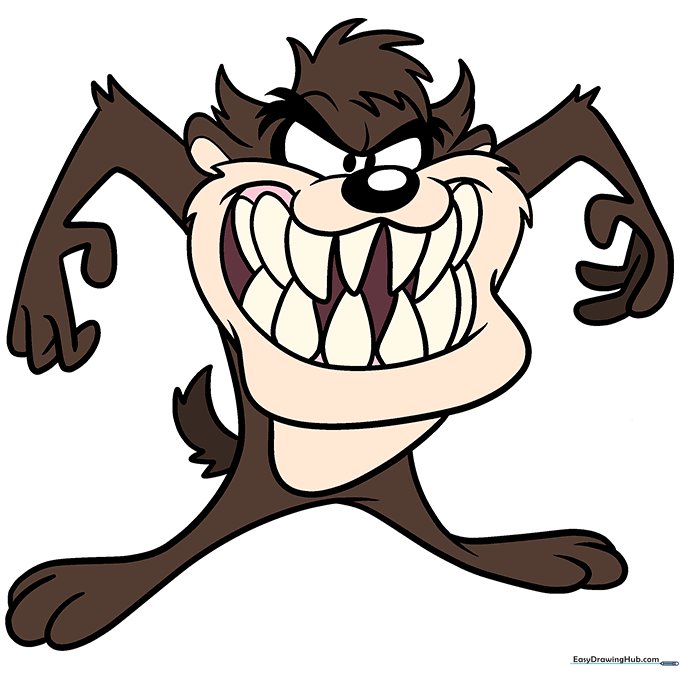
Your outline is complete! Use brown for the fur and a lighter tan for the belly. Teacher's Tip: Use a blending stump or your finger to smudge the brown slightly for a softer, 'furry' texture.
More Tutorials


