How to Draw the Taj Mahal: Easy 10-Step Guide for Kids
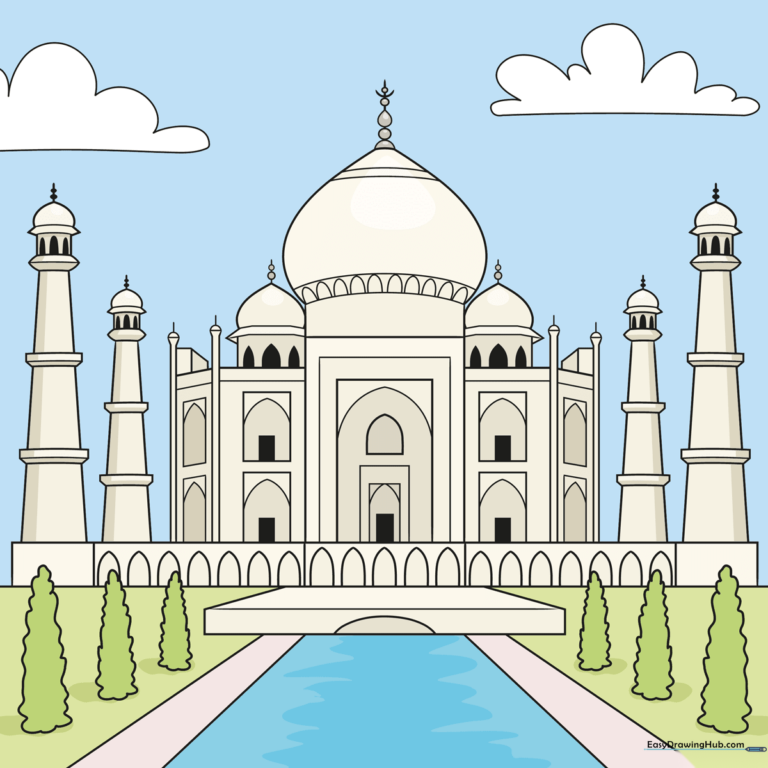
Bring one of the world's most iconic wonders to life with this step-by-step drawing tutorial. Designed for ages 7+, this activity uses basic geometric shapes to help young artists master symmetry and perspective. Grab your pencil, eraser, and paper to begin this architectural adventure.
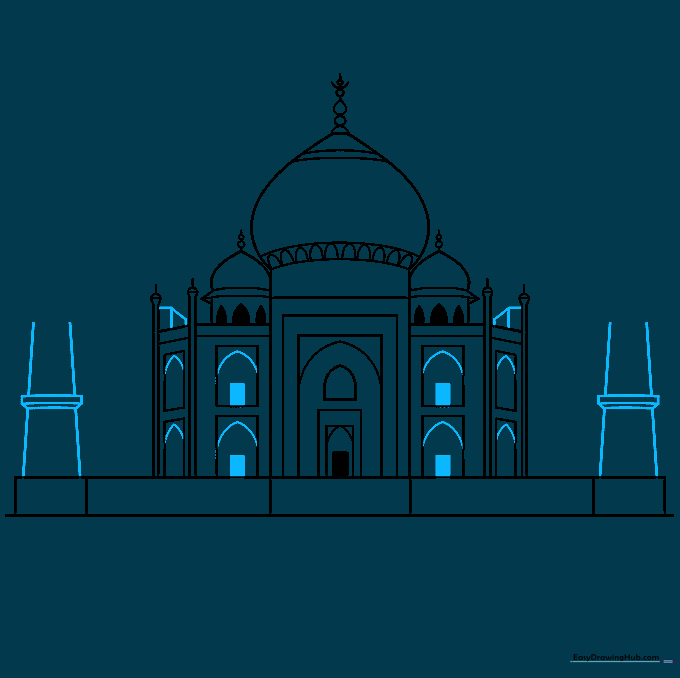
🎯 Final Result
Step-by-Step Instructions
Step 1: Establishing the Central Structure

Start by sketching three rectangles in the center of your page to represent the main building blocks. Add a smaller rectangle in the middle for the primary entrance. Teacher's Tip: Keep your pencil pressure light so you can easily erase your guidelines later as you refine the dome shapes.
Step 2: Defining the Entrance and Finial
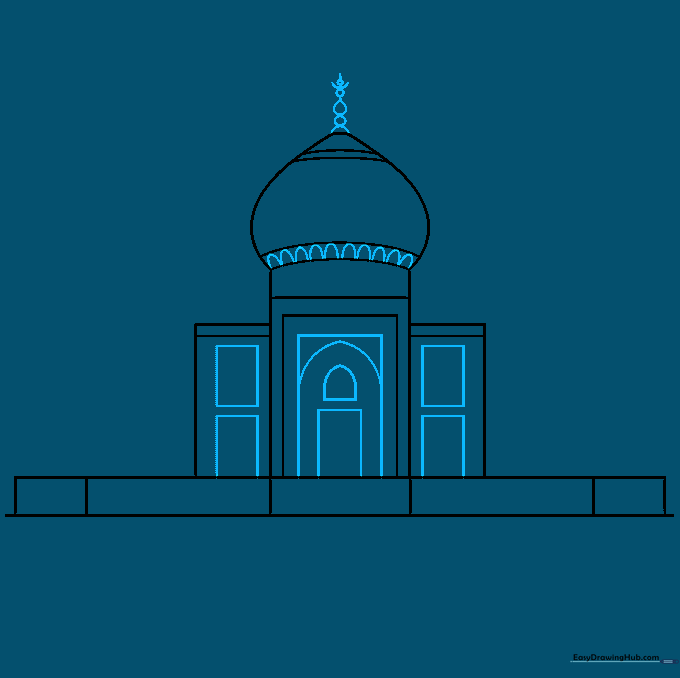
Draw a rectangle within the center structure to define the doorway, then add the teardrop-shaped finial on top of the dome. Teacher's Tip: Use short, quick strokes for the 'flower petal' curves at the base of the dome to give it a decorative, authentic look.
Step 3: Adding Perspective and Side Towers
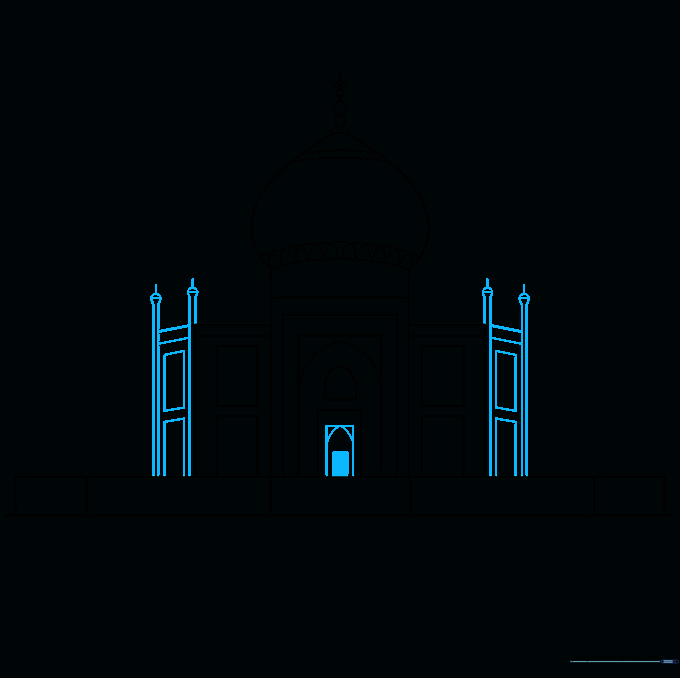
Sketch vertical lines on either side of the building and use diagonal lines to create depth. Add small, needle-like domes on the sides. Teacher's Tip: Use a ruler if you find it hard to keep your vertical lines straight—architectural drawing is all about precision!
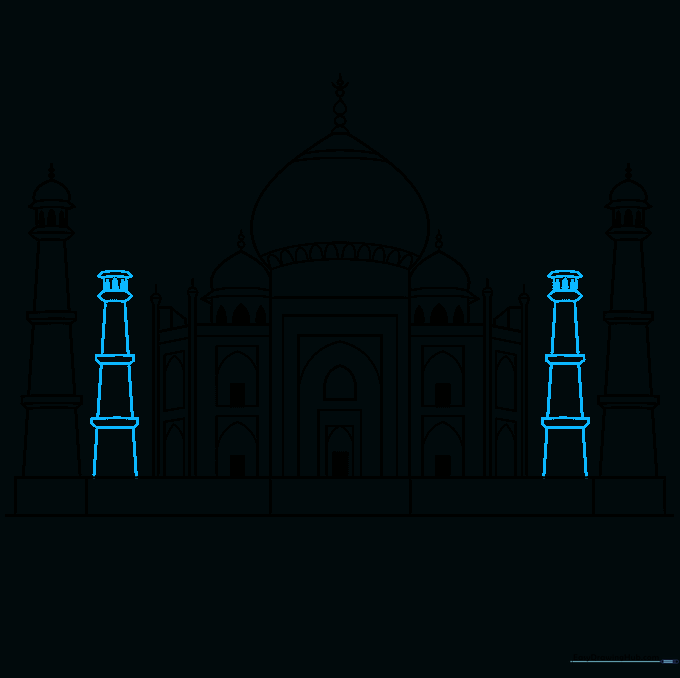
Step 4: Constructing the Minarets
Draw identical domes on each side with small circles at the top. Connect these to the main building using straight lines. Teacher's Tip: Symmetry is key here; try to make the left and right sides mirror each other as closely as possible.
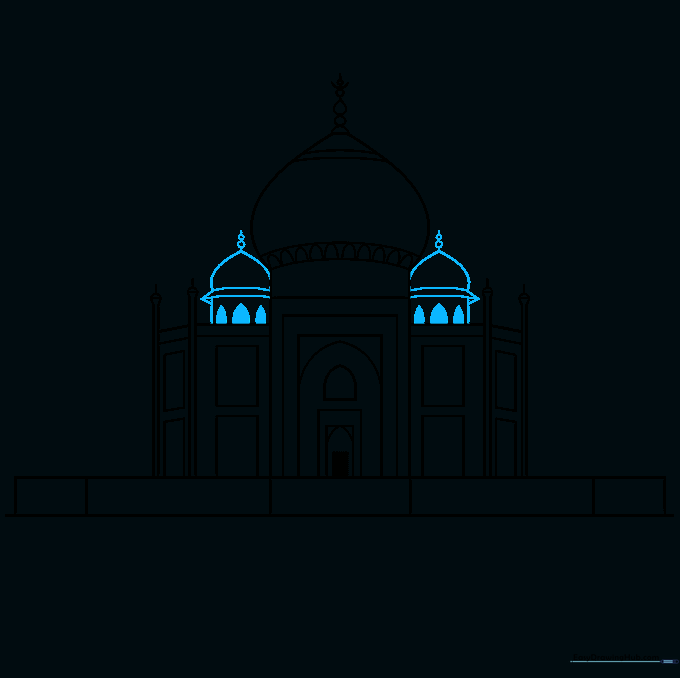
Step 5: Building Depth and Detail
Add smaller domed shapes within the rectangular sections and define the doorways. Use triangles to create the base of the side structures. Teacher's Tip: Adding these small geometric details helps the building look more three-dimensional.
Step 6: Refining the Upper Levels

Add a third level to the structures and draw an elongated hexagon on top. Finish with small circles for the finials. Teacher's Tip: Take your time with the hexagon—it acts as the anchor for the top of the tower.
Step 7: Creating Distance
Repeat the previous steps but draw the structures slightly smaller. This creates the illusion of distance, known as atmospheric perspective. Teacher's Tip: Smaller shapes in the background make your drawing look much more professional.
Step 8: Adding the Walkway
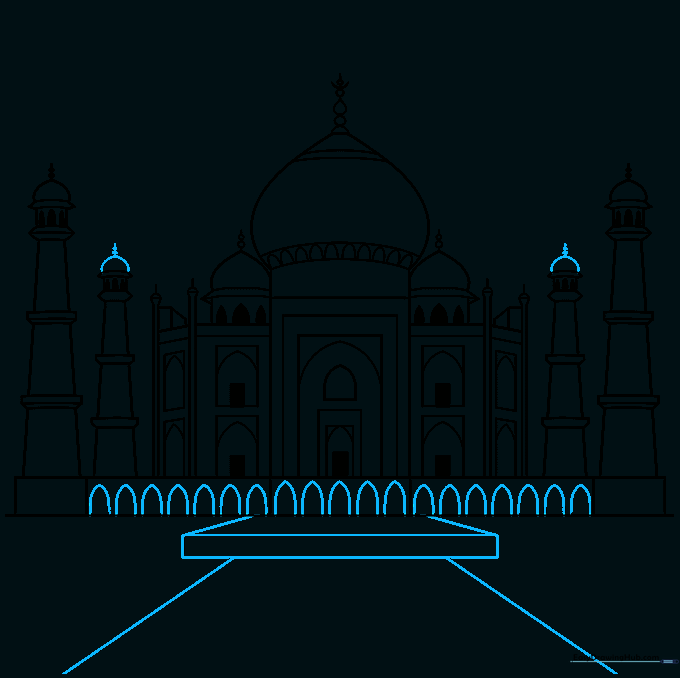
Draw hill shapes at the base and a rectangle for the walkway. Use diagonal lines to make the path look like it is leading toward the viewer. Teacher's Tip: The converging lines of the walkway are a great way to practice vanishing points.
Step 9: Final Touches
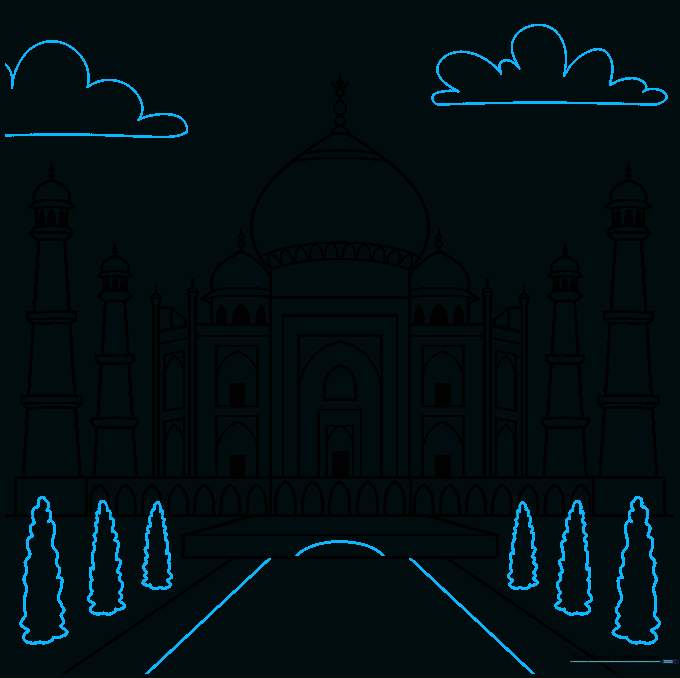
Add clouds and shrubs using soft, squiggly lines to contrast with the sharp architectural lines of the building. Teacher's Tip: Use a lighter touch for the clouds so they don't distract from the main subject.
Step 10: Bringing it to Life with Color
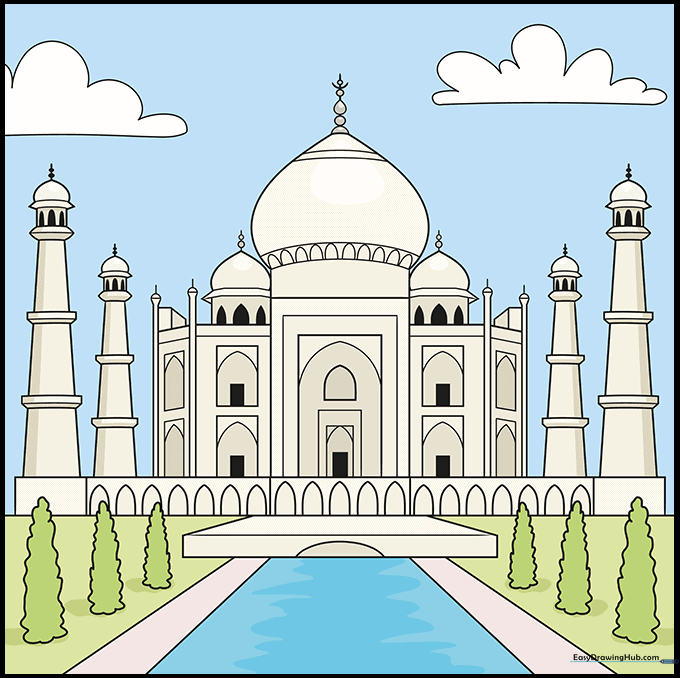
Time to color! Use light yellow or tan for shadows to give the white marble structure depth. Use vibrant green for the surrounding gardens. Teacher's Tip: Since the Taj Mahal is white, use very light grey or blue for shading to keep it looking clean and bright.
More Tutorials


