How to Draw the Sydney Harbor Bridge: Easy Step-by-Step Guide
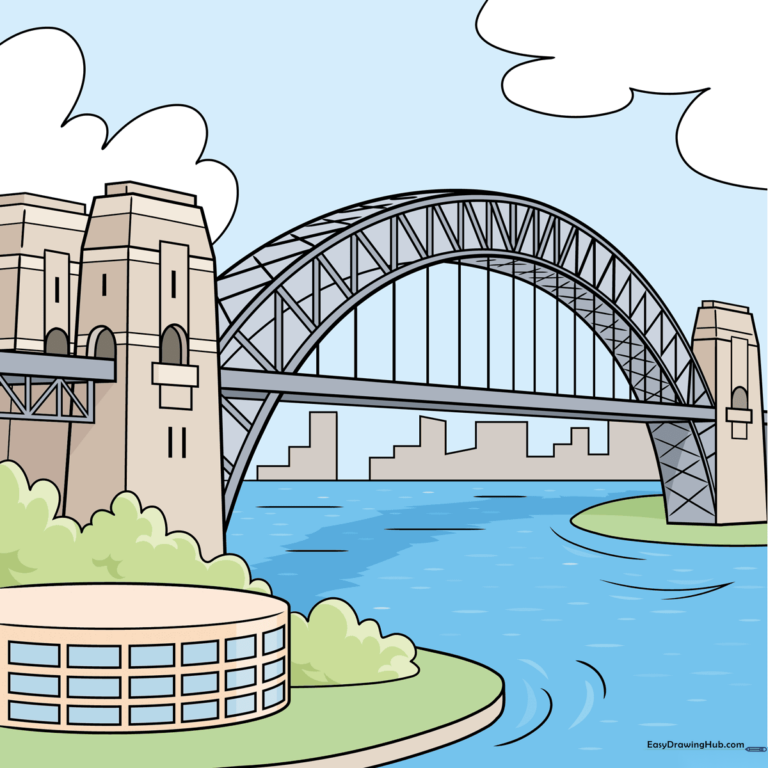
Bring the iconic Sydney Harbor Bridge to life with this engaging drawing lesson designed for young artists and beginners. You will need a pencil, eraser, and paper to master the bridge's signature arch and structural details. This project is a fantastic way to practice perspective and geometric shapes while exploring world architecture.
🎯 Final Result
Step-by-Step Instructions
Step 1: Sketching the Foundation Towers
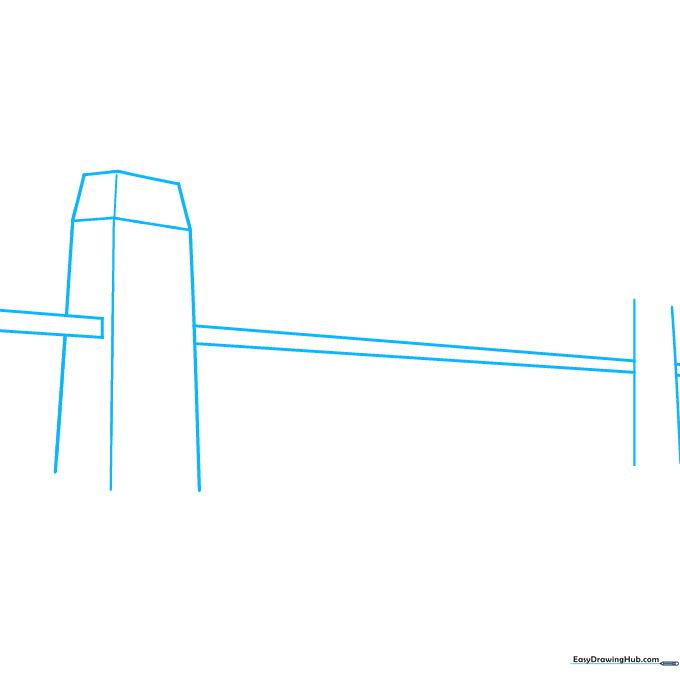
Start by drawing a trapezoid to represent the base of the first tower. Add a narrow trapezoid beside it to create a 3D effect, then extend straight lines downward to ground the structure. Teacher's Tip: Keep your lines light; these are just the structural anchors for the bridge.
Step 2: Defining the Main Arch
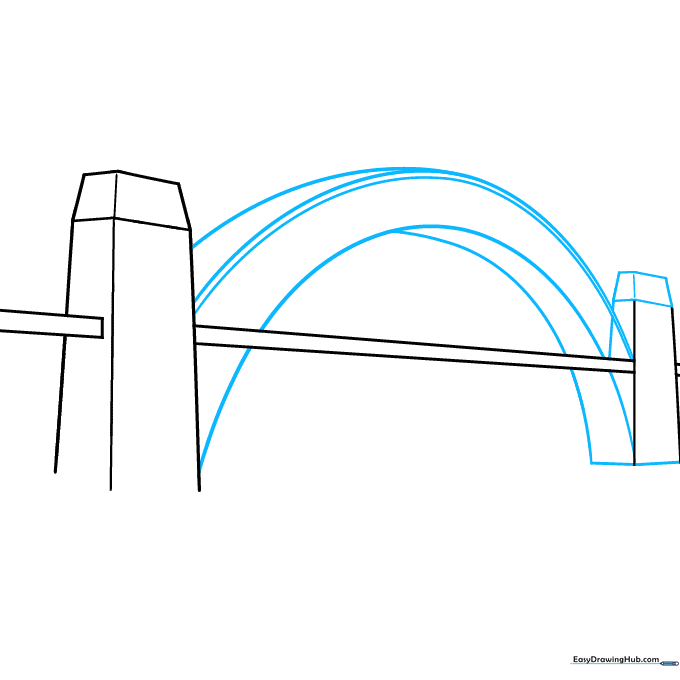
Draw three parallel curved lines connecting the towers to form the bridge's massive steel arch. Use a curved line from each tower to the arch to create depth. Teacher's Tip: Ensure your curves are smooth by moving your whole arm rather than just your wrist.
Step 3: Adding Structural Depth
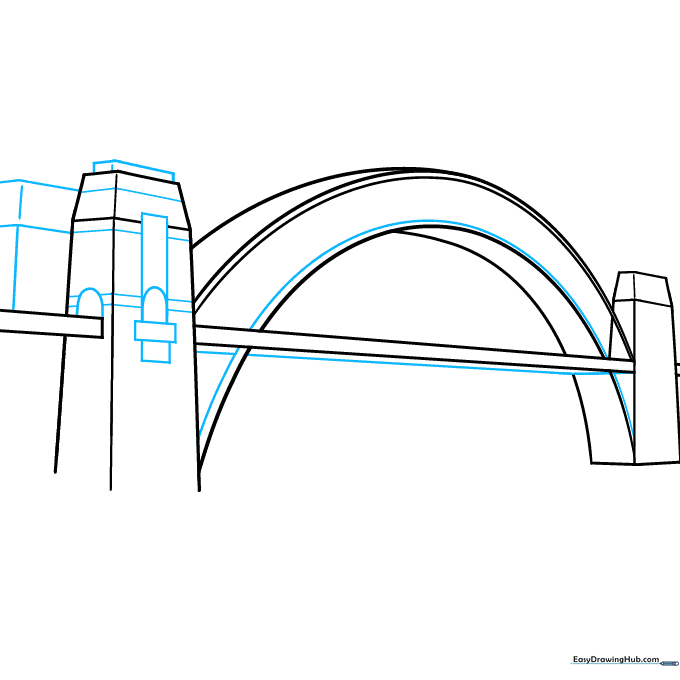
Add a parallel line to the bottom of the arch and the bridge deck. Detail the towers with narrow rectangular prisms to represent the stone masonry. Teacher's Tip: Use a ruler if you struggle with straight lines, but try freehand first to build your muscle memory.
Step 4: Detailing the Tower Masonry

Add arches and rectangular bands to the towers. Below the deck, draw a series of triangles to create the bridge's truss pattern. Teacher's Tip: Focus on keeping the triangles uniform in size to make the bridge look structurally sound.
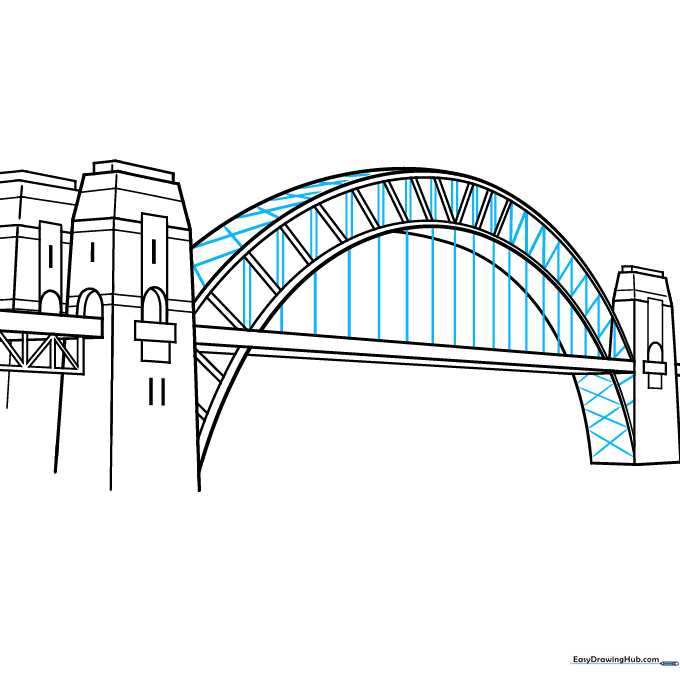
Step 5: Refining the Trusswork
Continue the triangular pattern across the bridge section. Add decorative bands to the arch and refine the far tower's details. Teacher's Tip: If you make a mistake, don't worry—the bridge is made of many small lines, so you can easily incorporate 'accidental' lines into the texture.
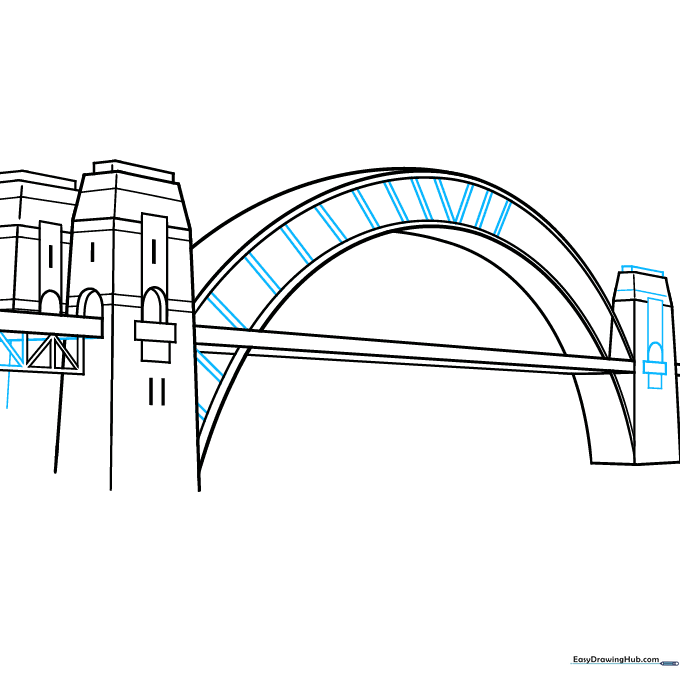
Step 6: Adding Vertical Suspenders
Draw vertical lines connecting the arch to the deck to create the suspenders. Add an 'X' pattern within the arch segments for realism. Teacher's Tip: Use a sharp pencil for these thin lines to keep the drawing looking clean and professional.
Step 7: Foreground Landscape
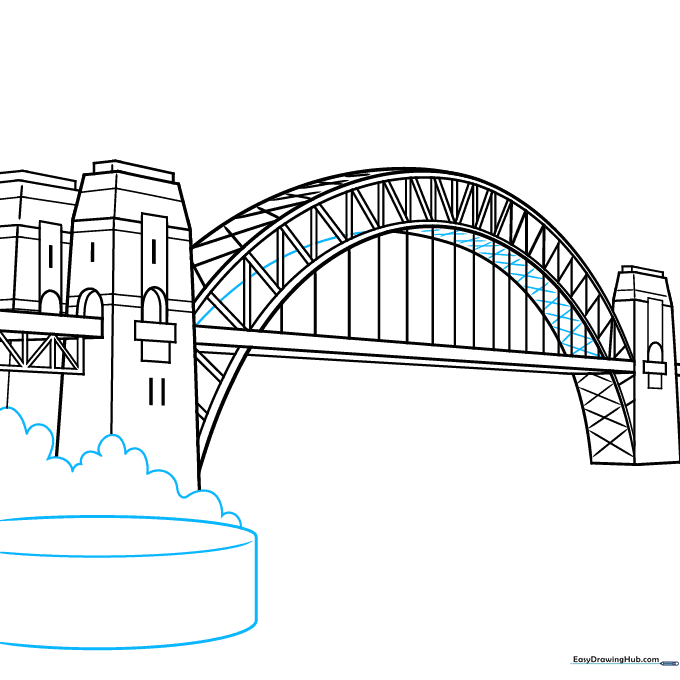
Complete the arch and add foreground elements like a cylindrical building and shrubbery using simple, connected lines. Teacher's Tip: Vary the size of your shrubbery shapes to make the landscape look more natural and less uniform.
Step 8: Adding Environmental Details
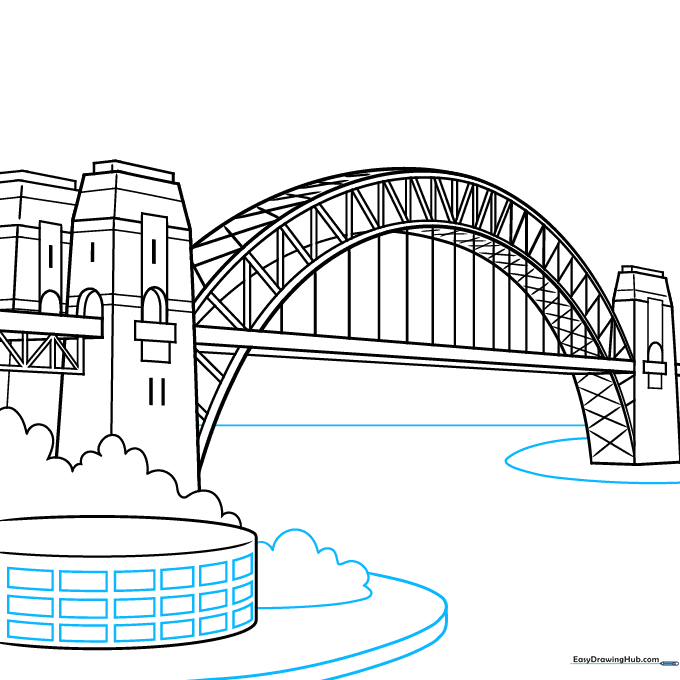
Draw windows on the building and add a horizon line. Use ovals to suggest the shoreline around the bridge. Teacher's Tip: A horizon line helps ground your drawing, making it look like the bridge is sitting in a real space.
Step 9: Final Touches
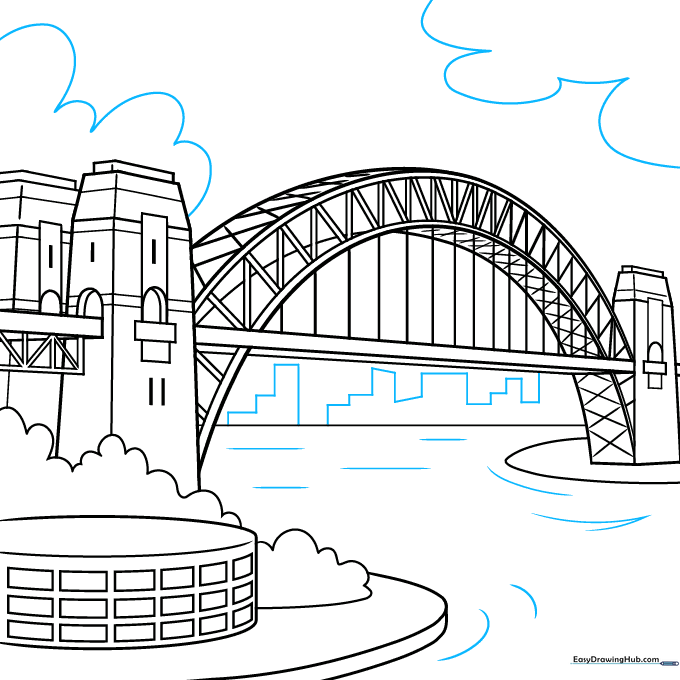
Add clouds in the sky and a distant city skyline. Use horizontal lines to texture the water. Teacher's Tip: Keep the city skyline simple—small, varied rectangles are enough to suggest a distant urban area.
Step 10: Coloring Your Masterpiece
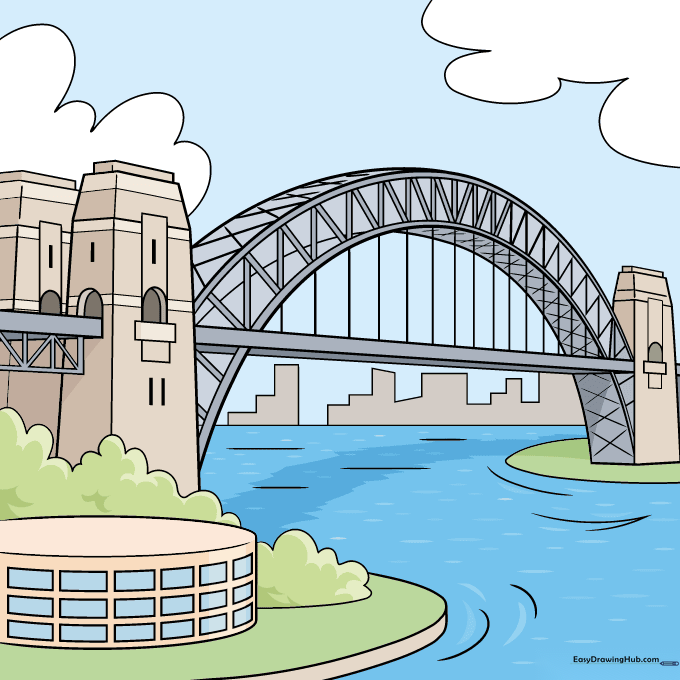
Bring your drawing to life with color! Use cool grays for the steel arch and earthy browns for the stone towers. Teacher's Tip: Use a lighter gray for the parts of the arch facing the 'sun' and a darker gray for the shaded side to create a 3D effect.
More Tutorials


