How to Draw the Human Spine: Easy Step-by-Step Anatomy Guide
Understanding the structure of the spine is a fundamental skill for any budding character artist or biology student. This guide breaks down the human vertebral column into manageable, simple shapes. Grab your pencil and paper, and let's explore the anatomy of the back together.
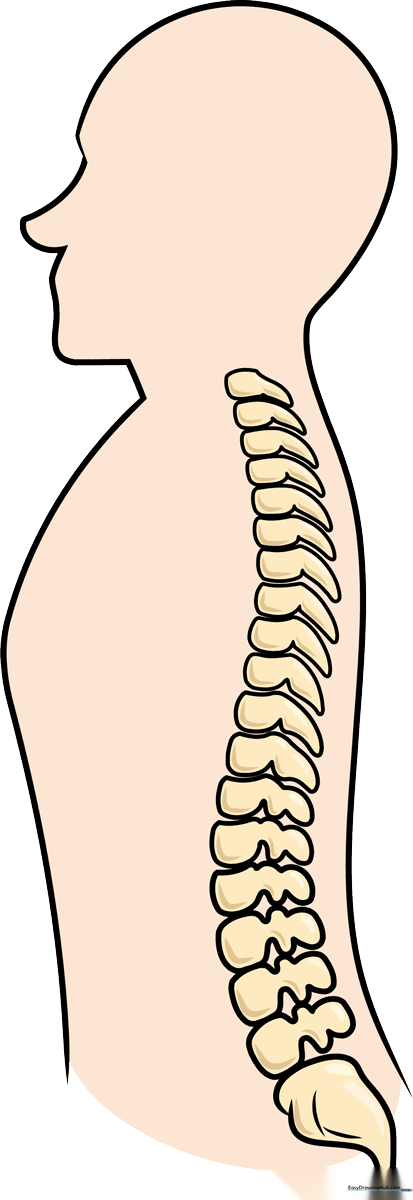
🎯 Final Result
Step-by-Step Instructions
Step 1: Sketching the Profile Outline

Start by drawing the silhouette of the head and upper back. Use a short, gentle curve for the nose and a longer, sweeping line for the forehead, back of the head, and shoulders. Teacher's Tip: Keep your pencil pressure light here so you can easily refine the shape later.
Step 2: Defining the Torso and Sacrum
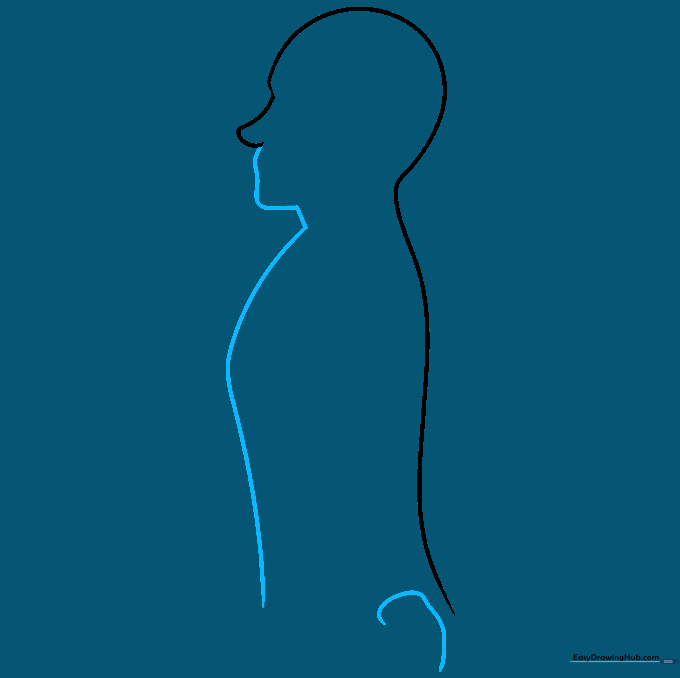
Outline the front of the face and chest using smooth, curved lines. At the base of the torso, draw a curved shape to represent the sacrum. Teacher's Tip: Think of the sacrum as a sturdy, triangular base that supports the weight of the spine.
Step 3: The Lumbar Region
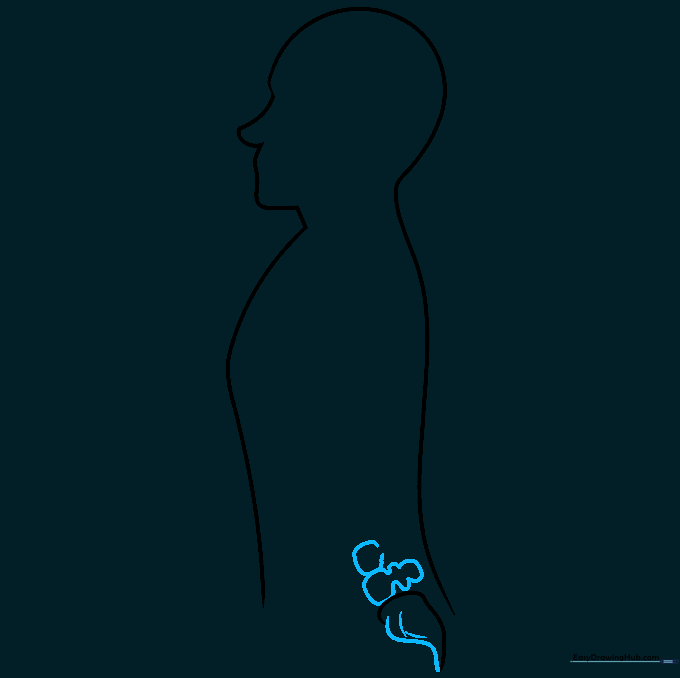
Complete the sacrum and add the pointed coccyx at the bottom. Begin building the lumbar vertebrae using irregular, stacked curved shapes. Teacher's Tip: Vertebrae aren't perfect circles; give them a slightly 'bumpy' organic look to make them appear more realistic.
Step 4: Building the Lumbar Stack
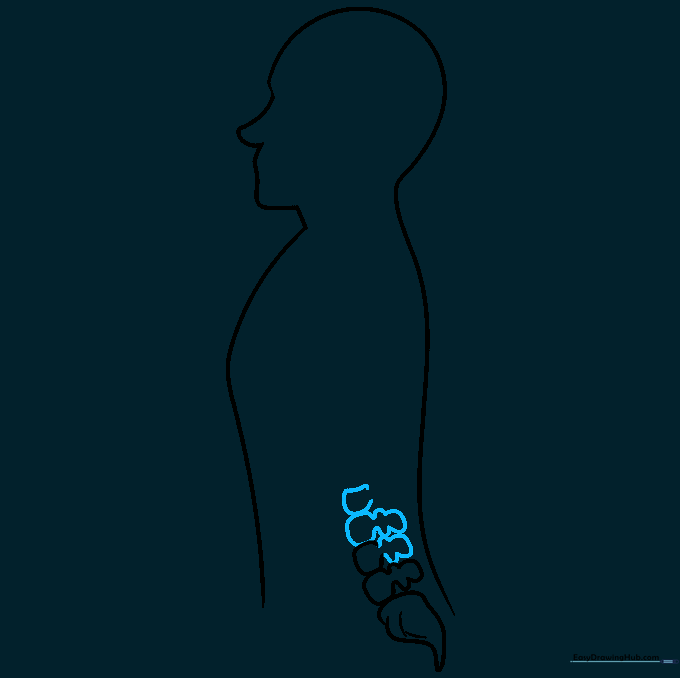
Continue adding irregular, blocky shapes upward to form the lumbar vertebrae. Teacher's Tip: Ensure each vertebra slightly overlaps the one below it to show how they lock together.
Step 5: Completing the Lower Vertebrae
Finish the lower six vertebrae by carefully layering your curved lines. Teacher's Tip: Take your time; consistency in the size of these shapes is key to a balanced-looking spine.
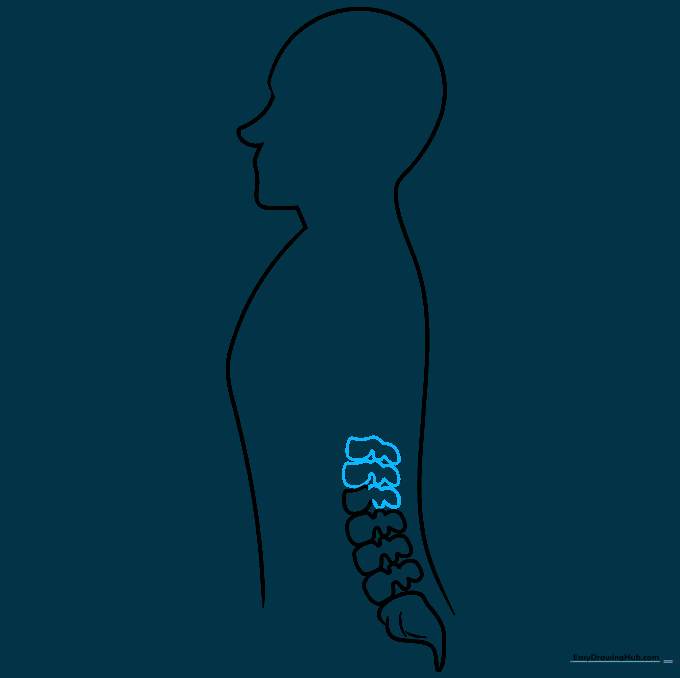
Step 6: The Thoracic Region
Move upward to the thoracic region, drawing three more vertebrae. These should look slightly smaller and more compact. Teacher's Tip: The thoracic spine supports the rib cage, so keep these shapes neat and orderly.
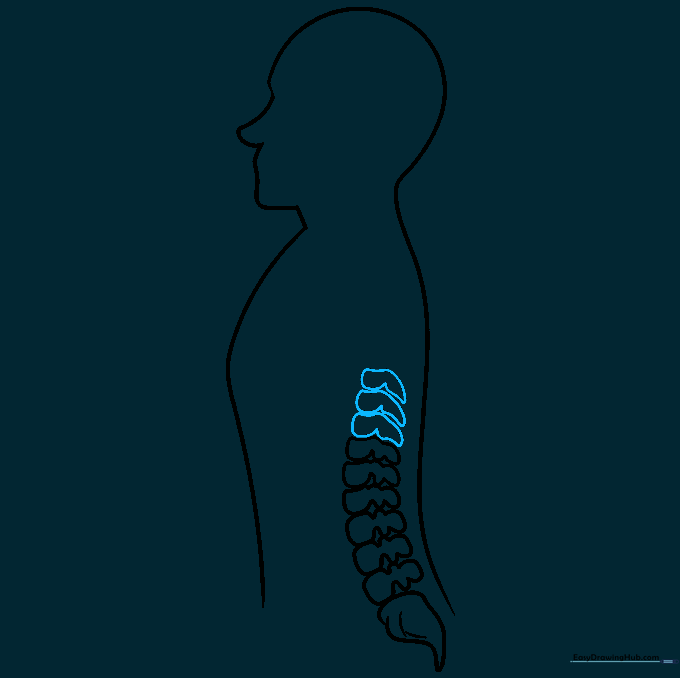
Step 7: Continuing the Thoracic Stack
Add three more vertebrae to the thoracic stack using the same irregular curved technique. Teacher's Tip: If your lines get messy, use a kneaded eraser to gently lift the graphite before moving on.
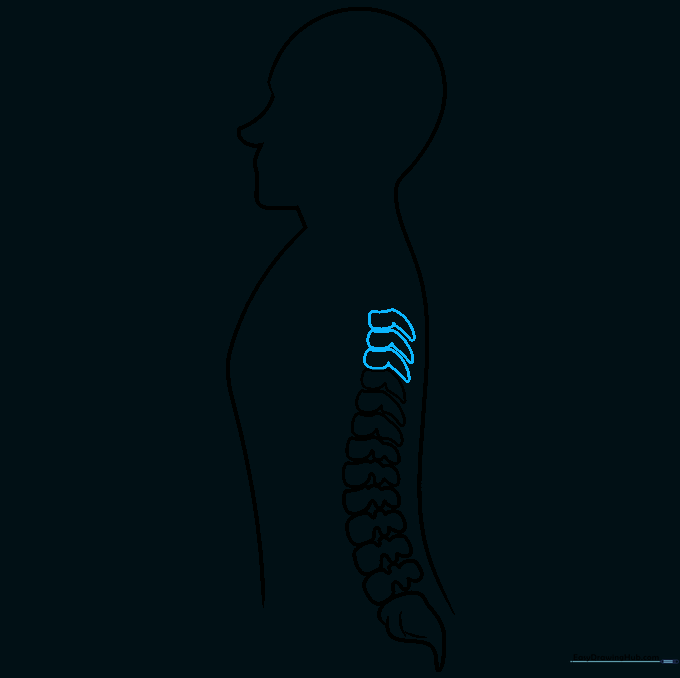
Step 8: Adding Detail to the Thoracic Spine
Continue the pattern by adding three more vertebrae. Teacher's Tip: Notice how the spine follows a slight natural curve; ensure your stack follows that gentle 'S' shape.
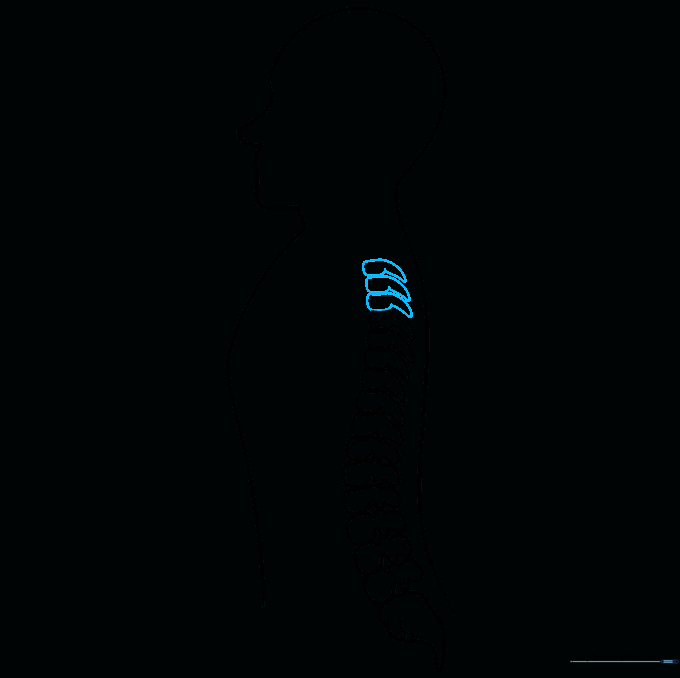
Step 9: The Cervical Region
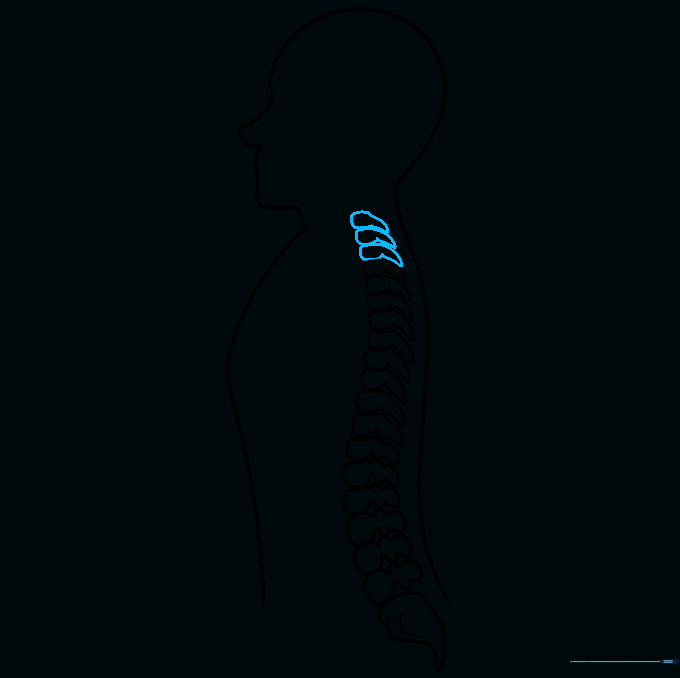
Finish the top of the spine by drawing the three cervical vertebrae near the neck. Teacher's Tip: These are the smallest vertebrae, as they support the head. Keep them delicate and precise.
Step 10: Final Touches and Coloring
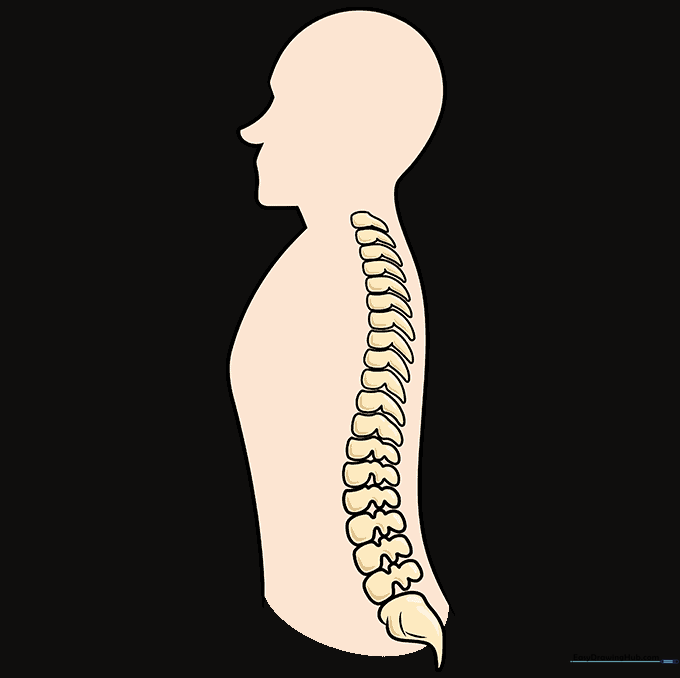
Review your lines and darken the final outline. Add color to distinguish the bone structure from the surrounding tissue. Teacher's Tip: Use a light beige or off-white for the bones to give them a natural, anatomical look.
More Tutorials


