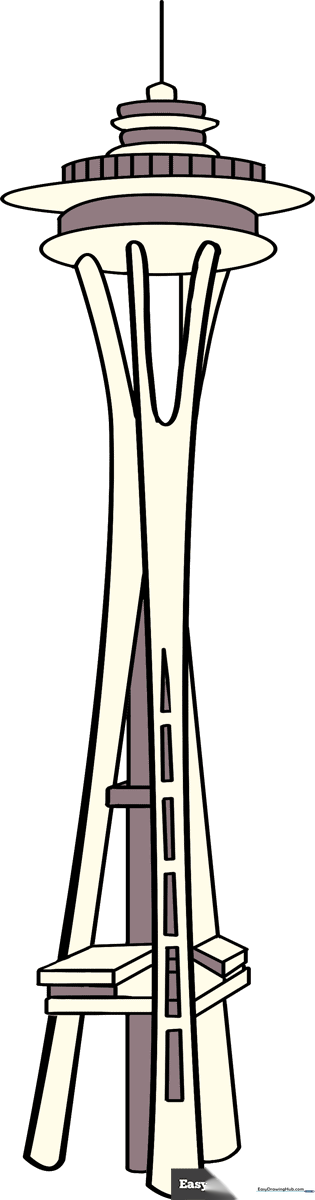
How to Draw the Space Needle: Easy 10-Step Guide
Capture the futuristic silhouette of Seattle’s most famous landmark with this beginner-friendly drawing guide. Designed for ages 7+, this activity helps young artists practice symmetry and geometric shapes using just a pencil, eraser, and paper. Follow along to build your own architectural masterpiece one line at a time.
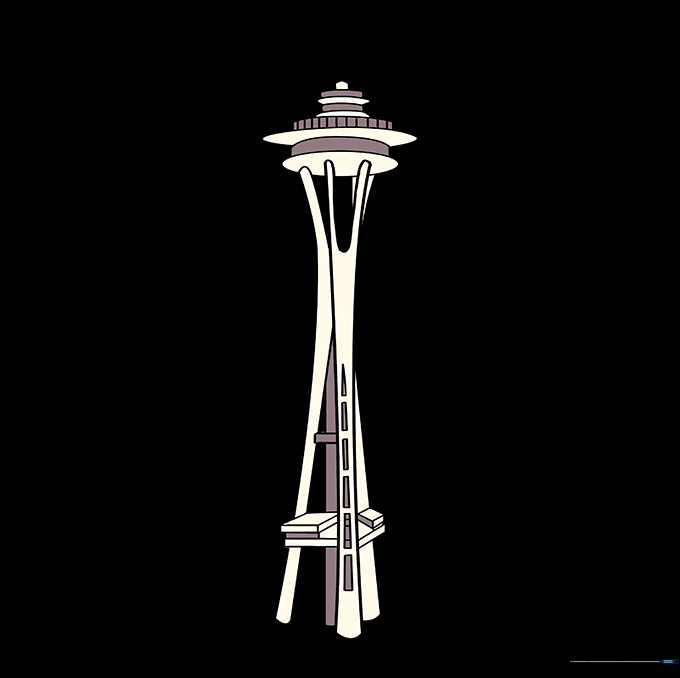
🎯 Final Result
Step-by-Step Instructions
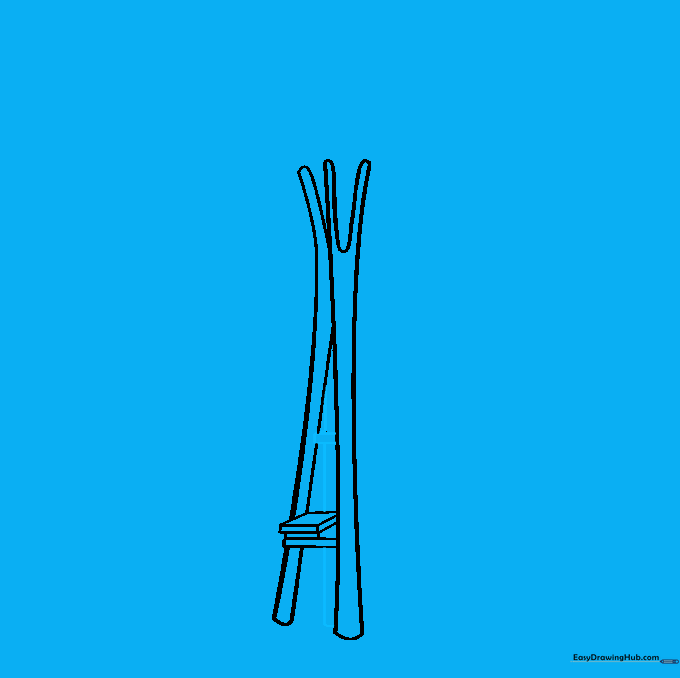
Step 1: Sketching the Primary Support

Draw two vertical lines that curve slightly inward toward the center, then flare out at the top and bottom. Connect them at the base with a small curve. Teacher's Tip: Keep your pencil pressure light here so you can easily adjust the shape if the curve feels too steep.
Step 2: Adding the Top Bracket
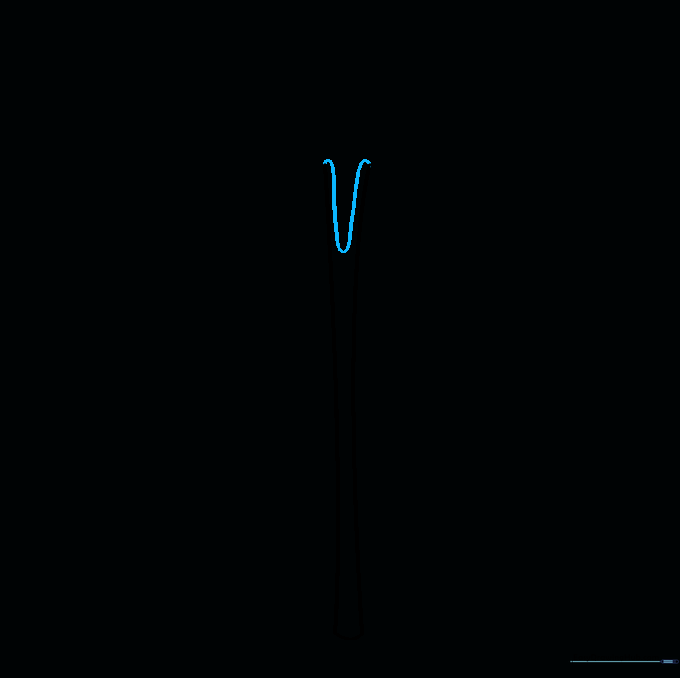
Add a curved 'V' shape at the top of your support pillar. Teacher's Tip: Think of this as the 'shoulder' of the tower; make sure the points of the V align with your vertical lines for a balanced look.
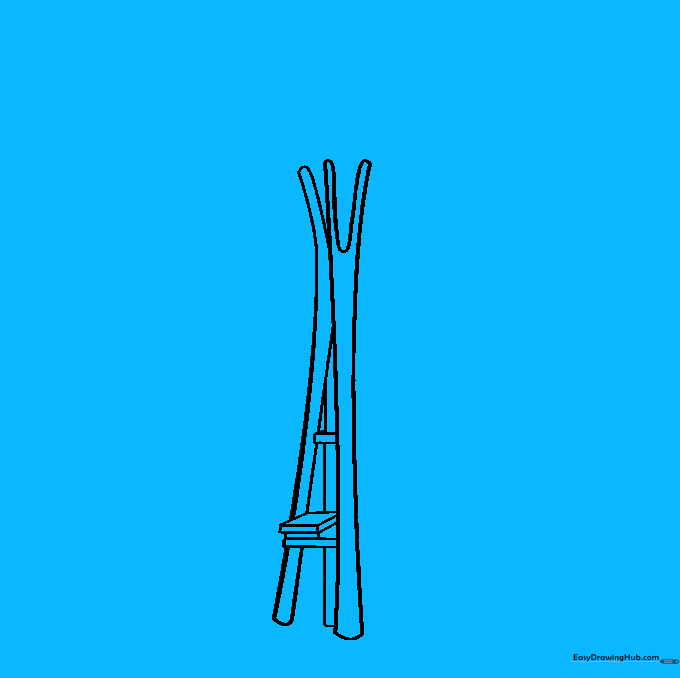
Step 3: Creating the Leaning Support
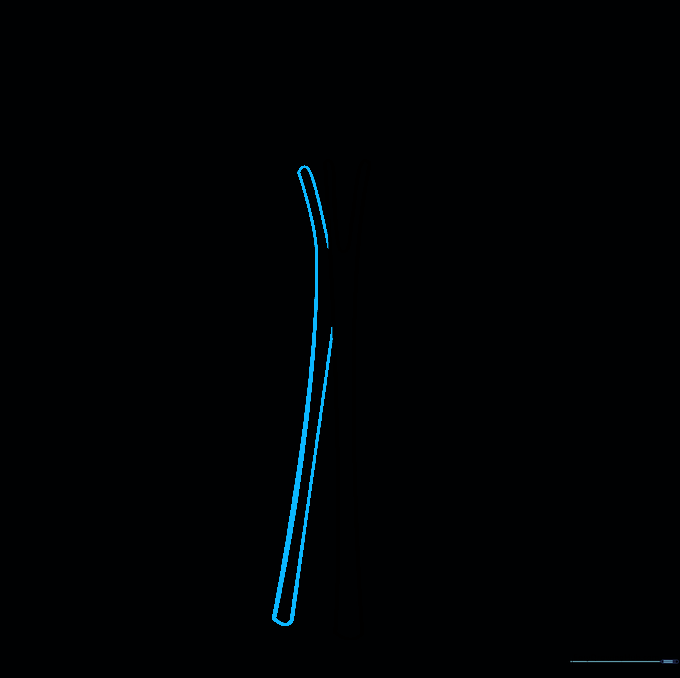
Draw a long, graceful curved line next to your first support. Connect it to the main structure using two smaller curved lines. Teacher's Tip: This creates the illusion of depth, making it look like the tower has multiple legs leaning together.
Step 4: Constructing the Lower Platform
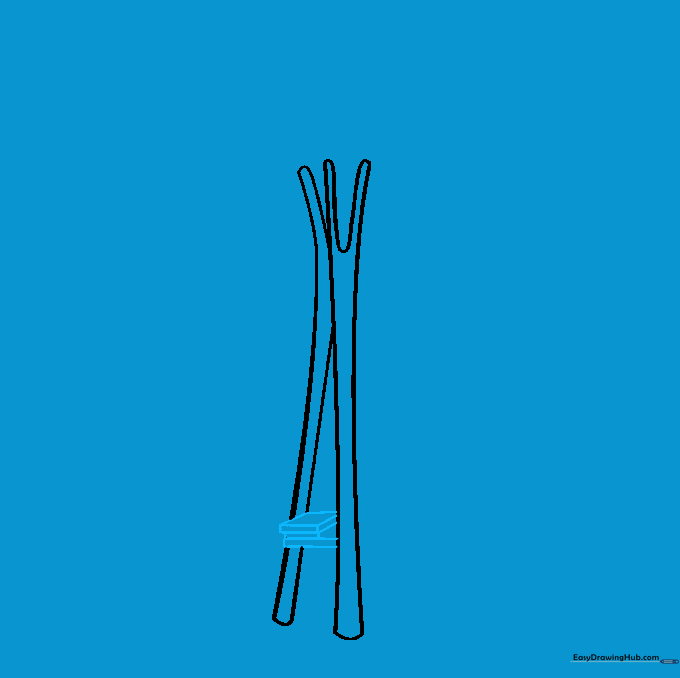
Extend a narrow rectangle from your first support and place a flattened cube on top. Connect them with short vertical lines. Teacher's Tip: Use your eraser to clean up any overlapping lines inside the platform to keep the drawing looking sharp.
Step 5: Defining the Support Structure
Draw two lines between your first two supports, then add a third support pillar visible in the middle. Teacher's Tip: Focus on the negative space between the pillars to ensure they look evenly spaced.
Step 6: Completing the Platform Base
Enclose the third support with curved lines and mirror the platform structure on the other side using a rectangle and a flattened cube. Teacher's Tip: Symmetry is key here—try to make the left and right sides match in size.
Step 7: Adding Structural Details
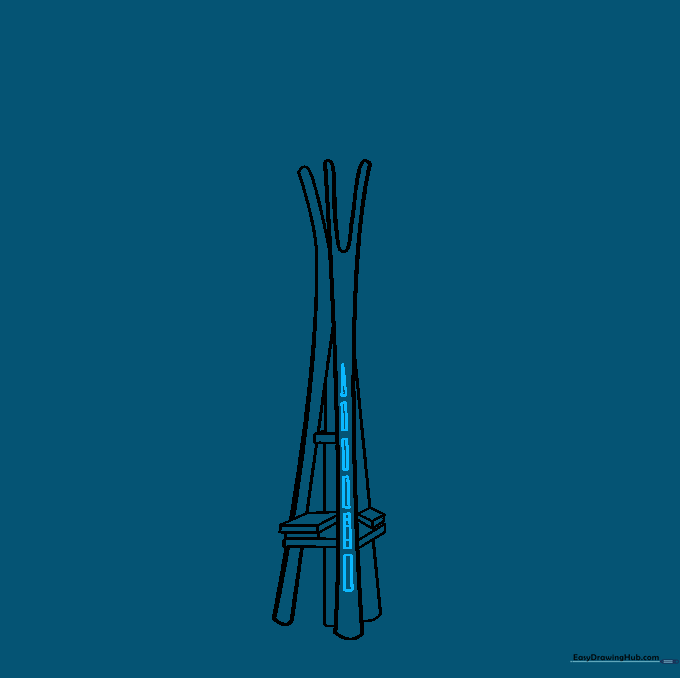
Add narrow, rounded shapes to the main support pillar to represent the structural beams. Teacher's Tip: Keep these shapes small and consistent to make the tower look tall and sturdy.
Step 8: Drawing the Observation Deck

Draw a large oval on top of the supports, then add a rounded shape and a smaller oval at the very top. Teacher's Tip: This is the 'saucer' of the Space Needle; make sure it looks centered over the legs.
Step 9: Finalizing the Spire
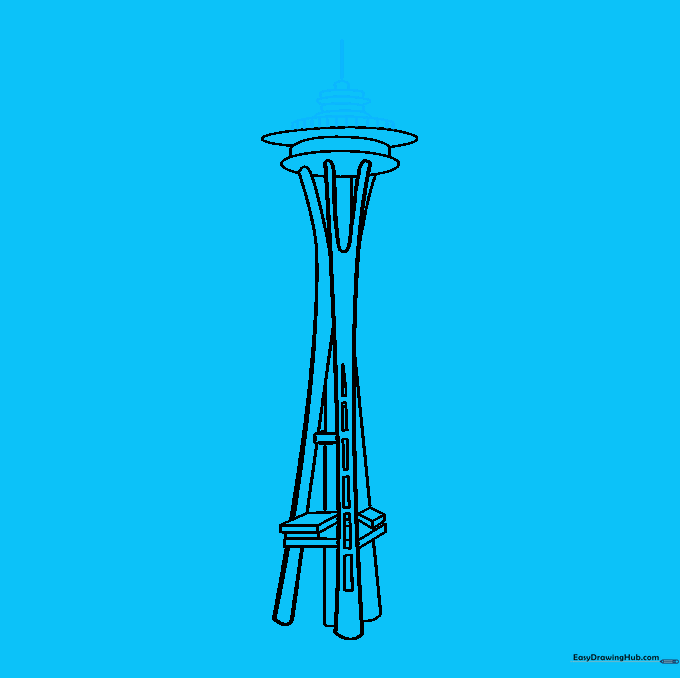
Add vertical lines to the top section, then draw a series of smaller rounded shapes topped with a circle and a final vertical line. Teacher's Tip: Use a sharp pencil for these tiny details to keep the top of the tower looking clean.
Step 10: Bringing Your Drawing to Life
Color your Space Needle! Use shades of white, grey, or metallic silver for the structure, and perhaps a bright blue for the sky background. Teacher's Tip: Use a ruler to draw straight lines for the support beams to give it a professional, architectural finish.
More Tutorials


