How to Draw Scarlet Witch: Easy Step-by-Step Guide
Bring Wanda Maximoff to life with this beginner-friendly drawing guide. Designed for artists ages 8 and up, you only need a pencil, eraser, and paper to capture her iconic look. Follow along to develop your character-sketching skills and master those flowing hair details.
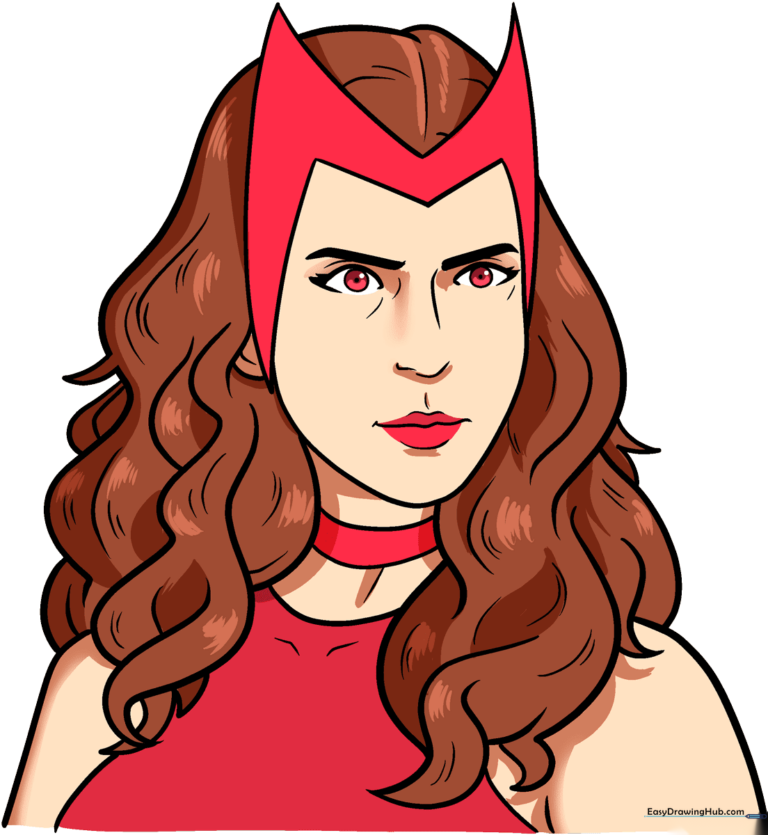
🎯 Final Result
Step-by-Step Instructions
Sketching the Eyes and Brows

Start by sketching the eyebrows and the partial teardrop-shaped eyes. Teacher's Tip: Keep your pencil pressure light here; if you make a mistake, it’s much easier to erase without leaving ghost lines on your paper.
Defining the Facial Features
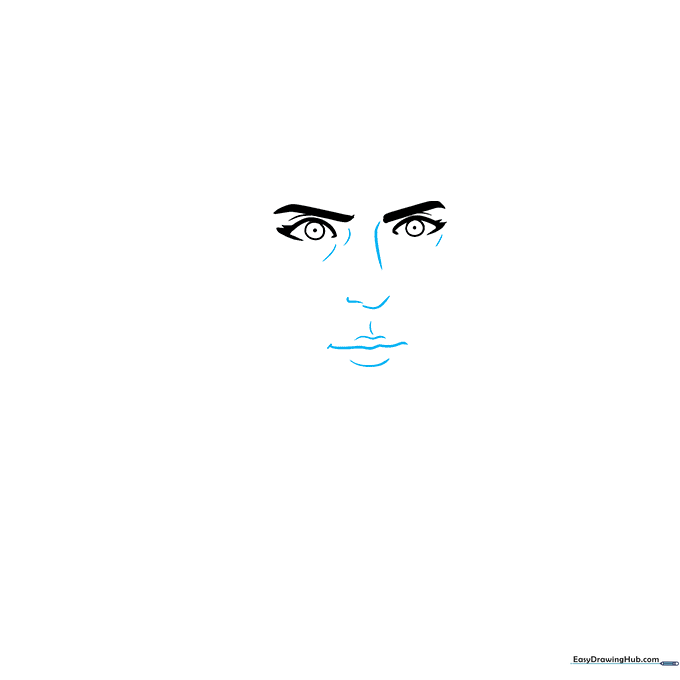
Use soft, curved lines to contour the area below the eyes, then add the bridge of the nose and the lips. Tip: Focus on the symmetry of the nose to keep Wanda’s expression balanced.
Drawing the Iconic Mask
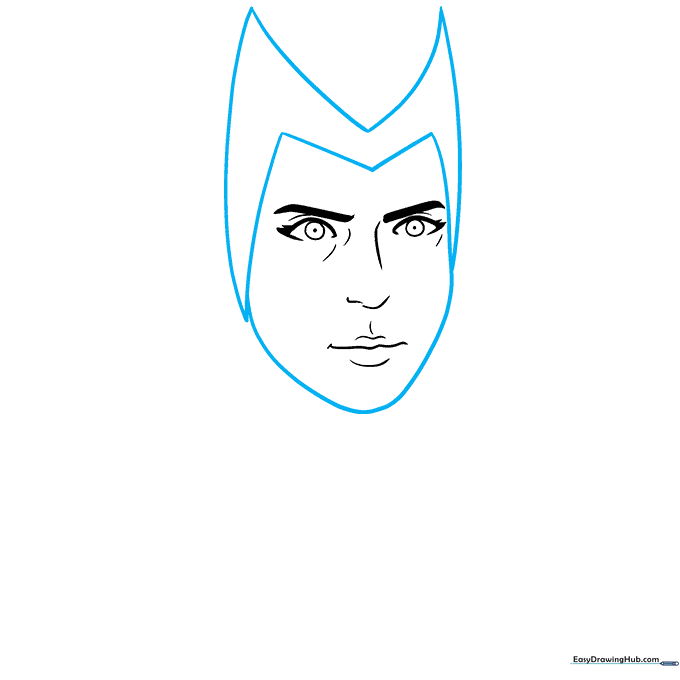
Draw an 'M' shaped line across the forehead to form the mask, then connect the ends to enclose the chin. Tip: Ensure the points of the 'M' align with the center of the eyes for a professional look.
Starting the Hairline
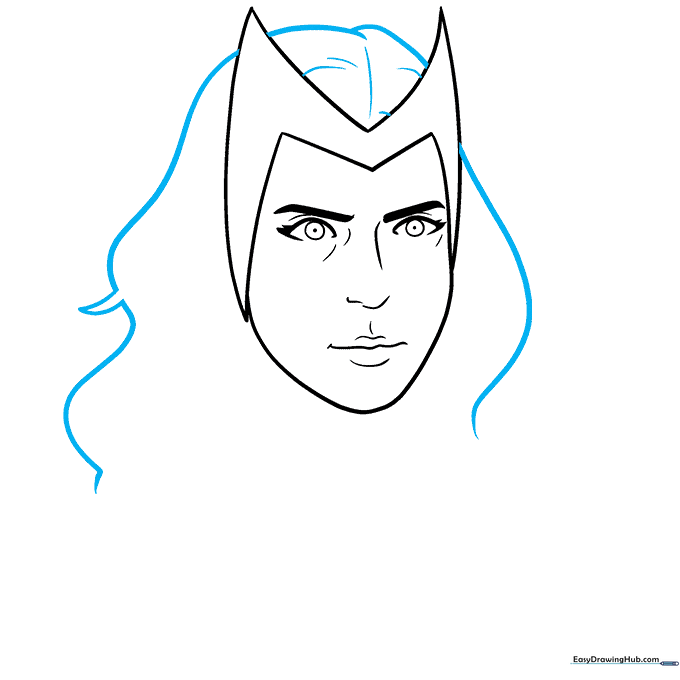
Use long, sweeping curved lines to sketch the hair framing the face. Tip: Vary the length of your strokes to make the hair look natural and voluminous rather than stiff.
Adding Flowing Hair Locks
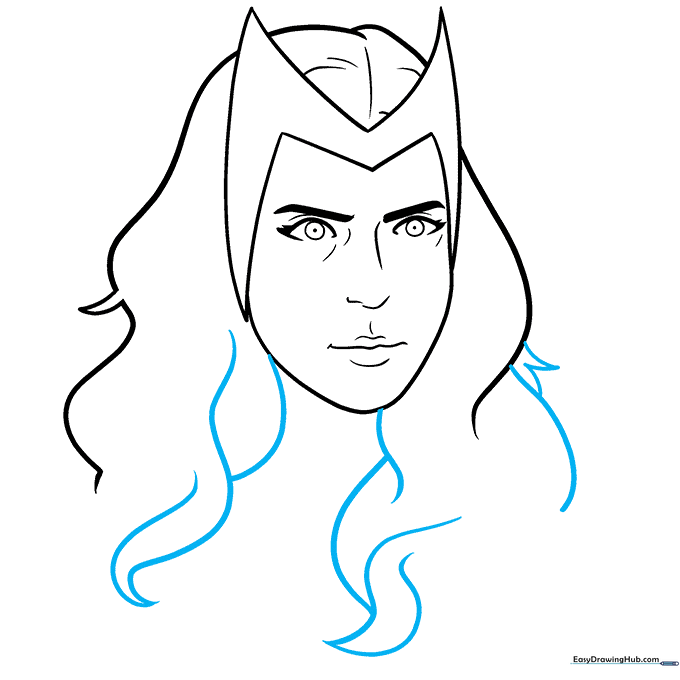
Continue building the hair with overlapping curved lines that meet at sharp points. Tip: Think of these as 'ribbons' of hair—let them overlap to create depth.
Adding Hair Texture
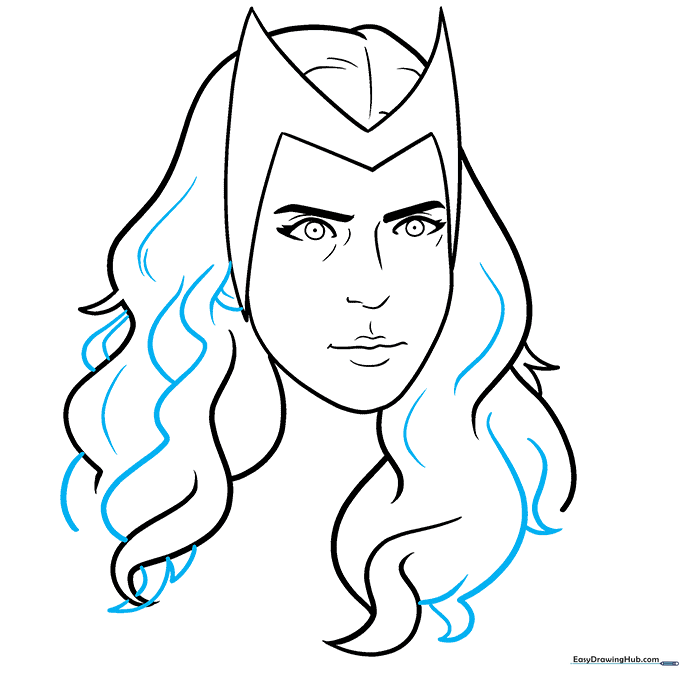
Add more pointed locks and use short, flicking motions with your pencil to suggest texture. Tip: Don't over-detail; a few well-placed lines are better than too many messy ones.
Refining the Hair

Continue adding short, curved lines throughout the hair to create a sense of movement. Tip: Follow the direction of the hair flow to make it look realistic.
Drawing the Neck and Blouse
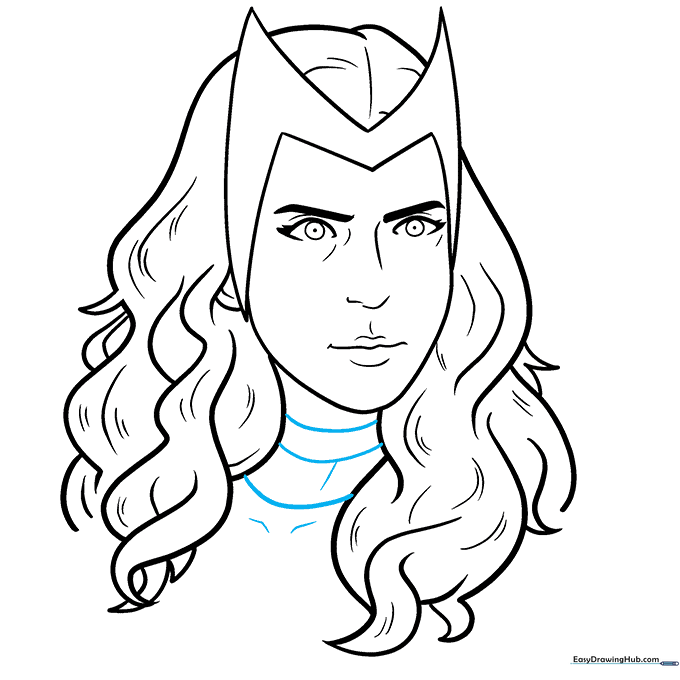
Draw parallel curved lines for the choker, then add the collarbone and blouse neckline. Tip: Keep the neck lines slightly curved to show the natural shape of the body.
Finalizing the Shoulders
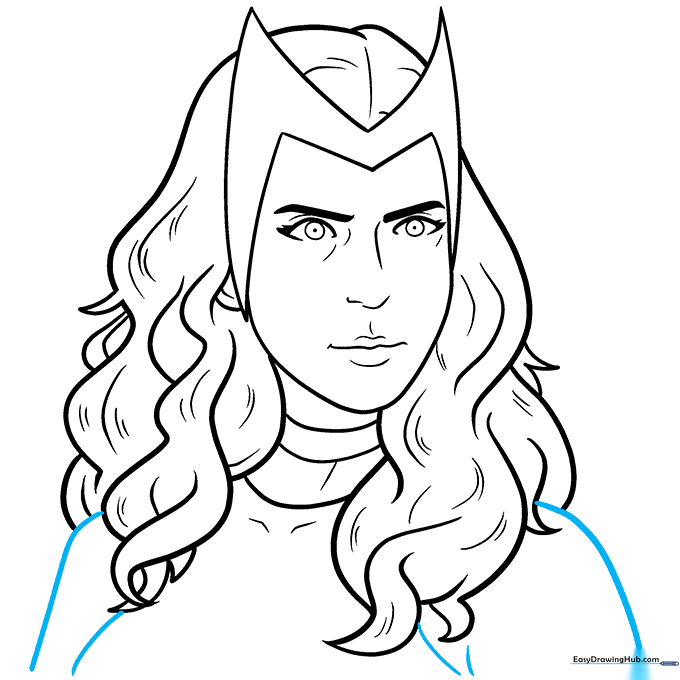
Extend lines from the hair to form the shoulders and complete the arm outline. Tip: Check that your shoulders are roughly the same width for a polished, professional finish.
Coloring Your Masterpiece
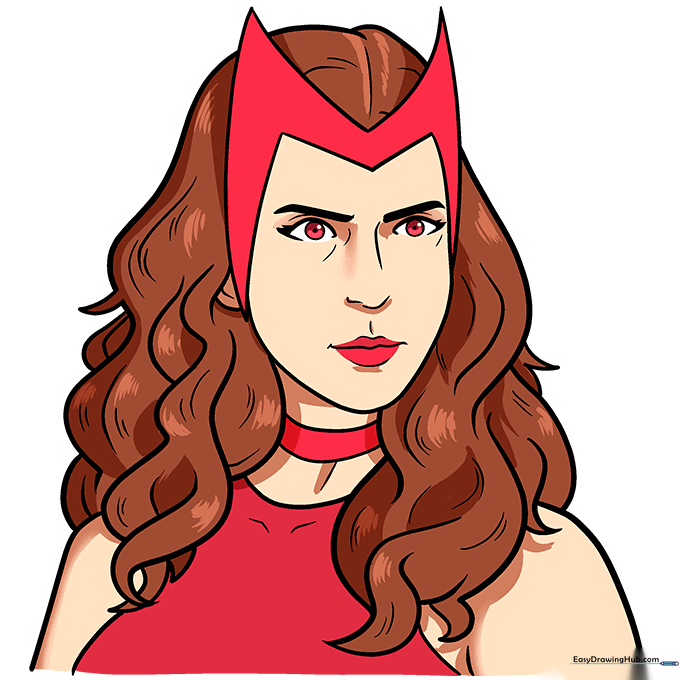
Time to bring her to life! Use deep reds for her mask and blouse, and a rich brown for her hair. Tip: Use a lighter shade of red for highlights on the mask to make it pop.
More Tutorials


