How to Draw The Riddler: Easy 10-Step Batman Villain Guide
Ready to sketch Gotham's most puzzling villain? This tutorial is perfect for artists ages 8+ who want to capture The Riddler’s iconic look. Grab a pencil, an eraser, and a piece of paper to follow along as we break down his complex costume into simple, manageable shapes.
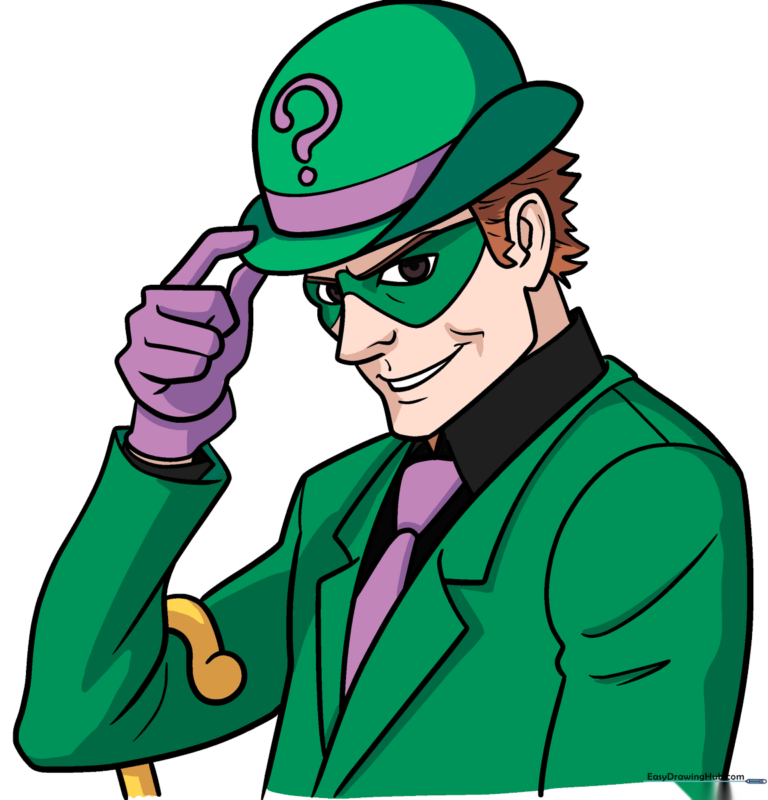
🎯 Final Result
Step-by-Step Instructions
Step 1: Sketching the Facial Features
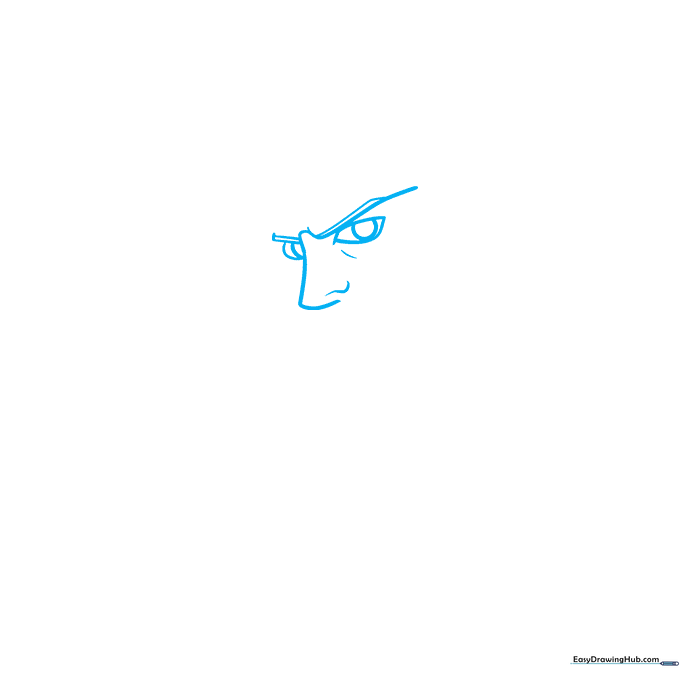
Start by drawing the villain's face. Use curved lines for his sharp nose, piercing eyes, and furrowed brows. Teacher's Tip: Keep your pencil pressure light here so you can easily adjust the expression if it looks too friendly—we want him to look like a mastermind!
Step 2: Defining the Face and Mask
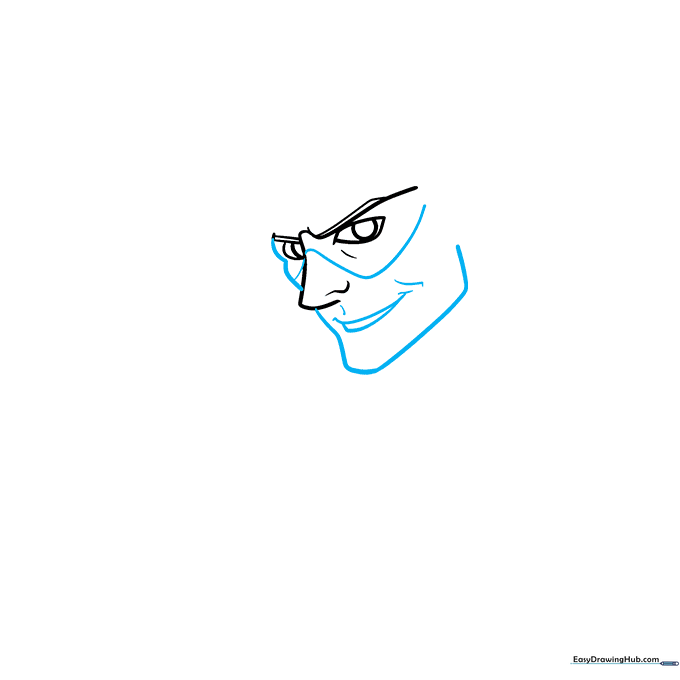
Use long, sweeping curved lines to define the jawline and chin. Sketch his mouth and the contour of his domino mask. Teacher's Tip: The mask should sit right across the bridge of the nose; make sure the lines are symmetrical to keep his face balanced.
Step 3: Adding Ears and Spiky Hair
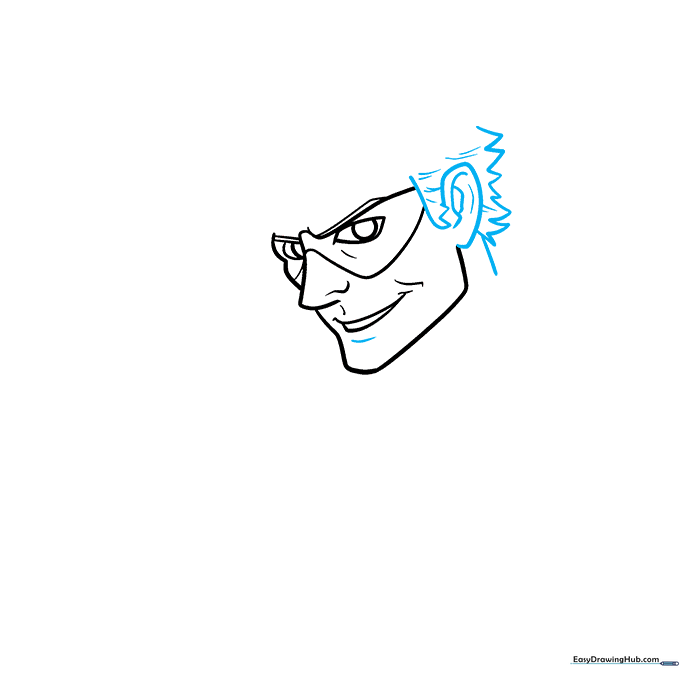
Draw a small curve for the ear, then add zigzag lines to create his signature spiky hair. Teacher's Tip: Don't make the zigzags too uniform! Varying the length of the spikes makes the hair look more natural and energetic.
Step 4: Drawing the Bowler Hat
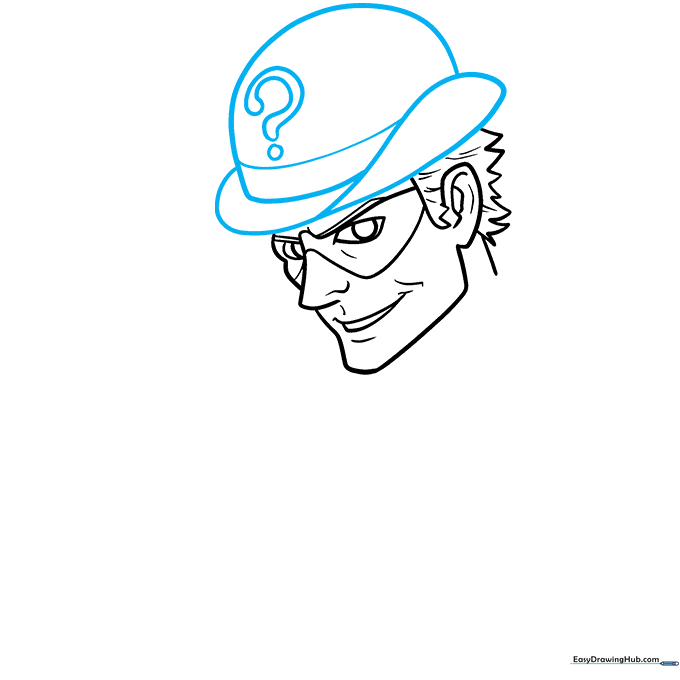
Sketch the bowler hat using long, rounded lines. Add the brim and a band, then draw a bold question mark on the front. Teacher's Tip: The question mark is his trademark—draw it large and clear so it stands out as the focal point of the hat.
Step 5: Collars and Necktie
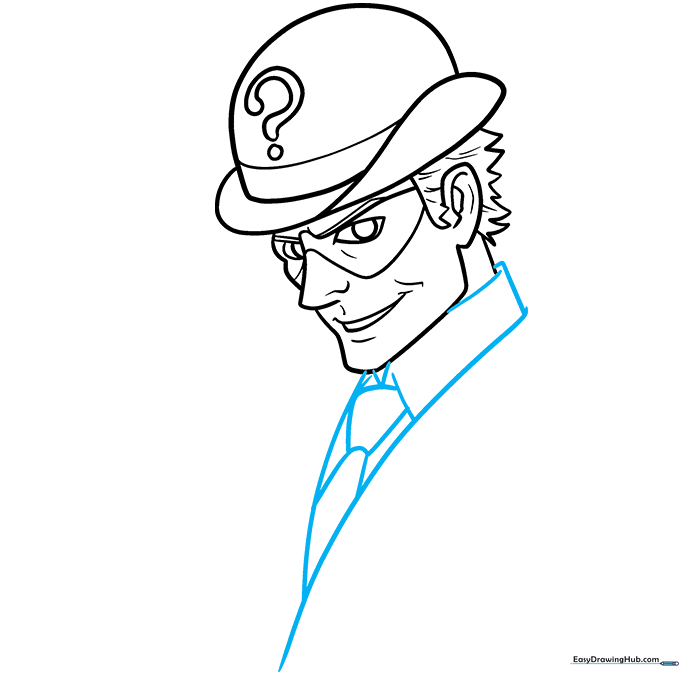
Use straight and curved lines to construct the shirt collar and the necktie beneath it. Teacher's Tip: Keep the collar points sharp to match the Riddler's sophisticated, villainous style.
Step 6: Suit Lapels and Shoulders
Add the triangular lapels of his suit jacket on either side of the tie. Extend lines downward to form the torso. Teacher's Tip: Use long, confident strokes for the jacket sides to give him a crisp, tailored appearance.
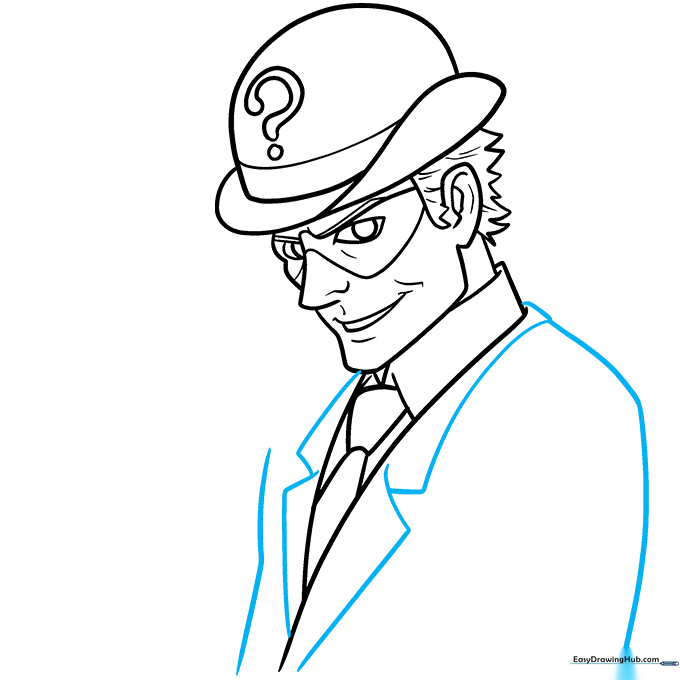
Step 7: Sleeves and Cane Hook

Detail the suit sleeves and begin the cane by drawing a curved hook shape. Teacher's Tip: The cane is a key prop—ensure the curve of the handle looks smooth and rounded.
Step 8: Adding Fabric Folds and Cane Length
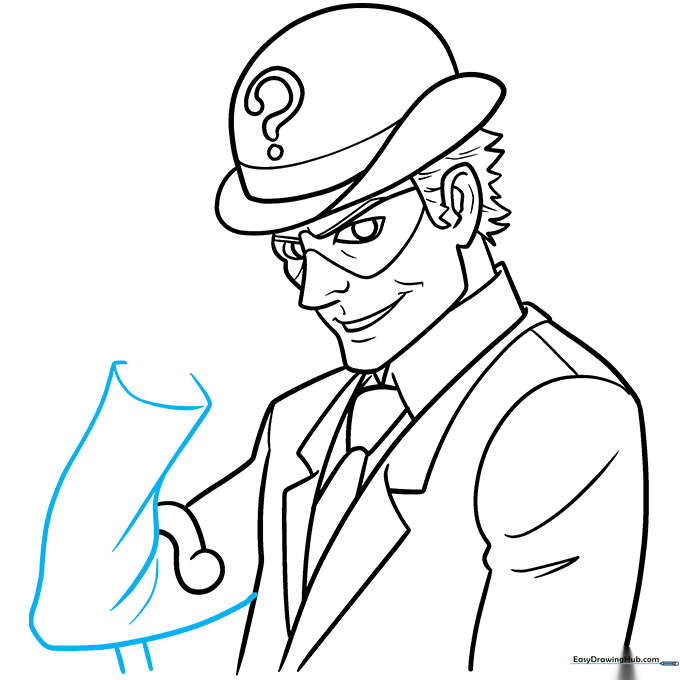
Add small, overlapping curved lines to the sleeves to suggest fabric folds. Extend the cane downward with two parallel lines. Teacher's Tip: Folds add realism; keep them subtle so the drawing doesn't look too cluttered.
Step 9: Drawing the Hand
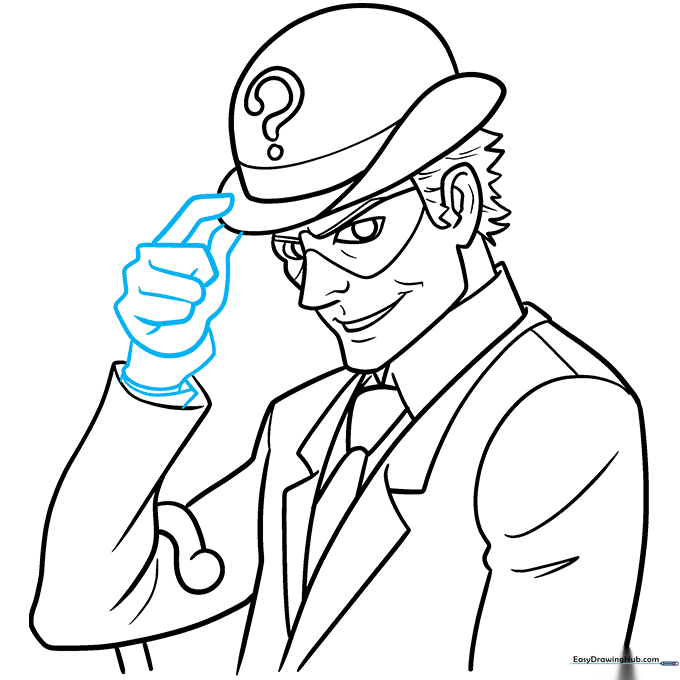
Sketch the gloved hand holding the brim of his hat. Teacher's Tip: Hands can be tricky! Focus on the thumb and forefinger first, then add the rest of the glove around them.
Step 10: Adding Color
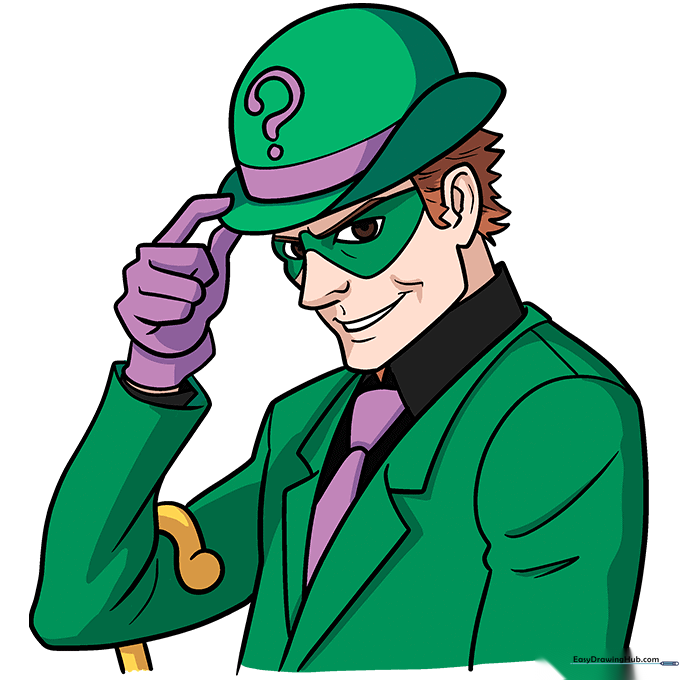
Bring your Riddler to life! Use vibrant green for his suit, mask, and hat. Use purple for his tie, glove, and hatband to complete his classic look. Teacher's Tip: Use colored pencils or markers to fill in the shapes smoothly, keeping your strokes in one direction for a professional finish.
More Tutorials


