How to Draw the Recycling Symbol: Easy 10-Step Guide
Looking for a fun way to teach kids about sustainability? This step-by-step guide is perfect for ages 6+ and helps develop spatial awareness and fine motor skills. You only need a pencil, an eraser, and a piece of paper to get started.
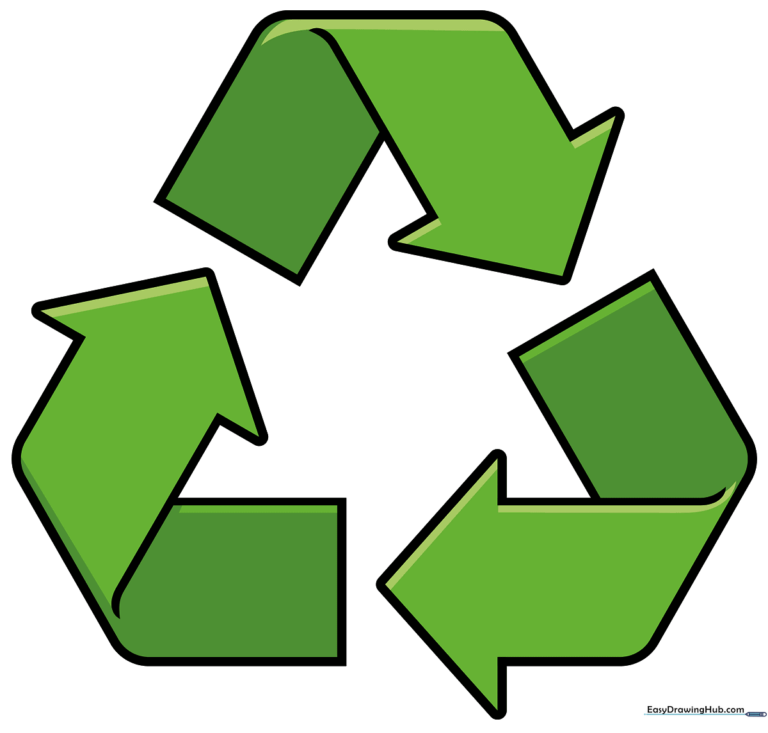
🎯 Final Result
Step-by-Step Instructions
Step 1: The First Arrow Edge
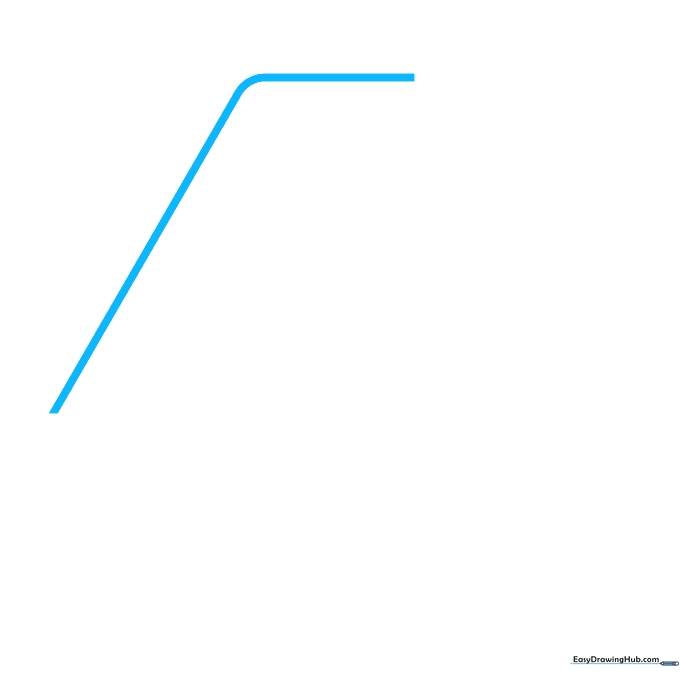
Draw a diagonal line on the left side of your page, then add a short curve and a horizontal line on top. Tip: Keep this line near the top-left of your paper to leave room for the other two arrows.
Step 2: Forming the Second Arrow
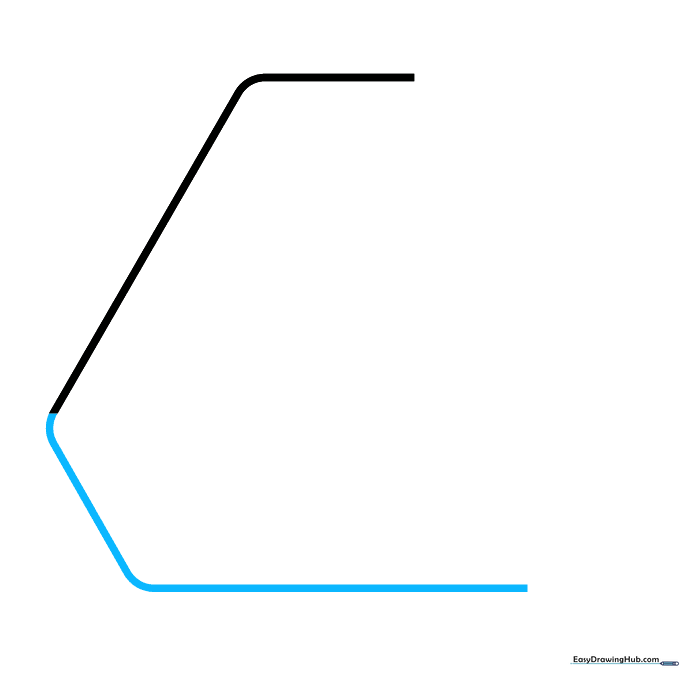
Sketch a shorter diagonal line pointing in the opposite direction. Add a curve at the end and a horizontal line at the bottom. Tip: Think of this as creating the 'corner' of the triangle.
Step 3: Completing the Triangle Base
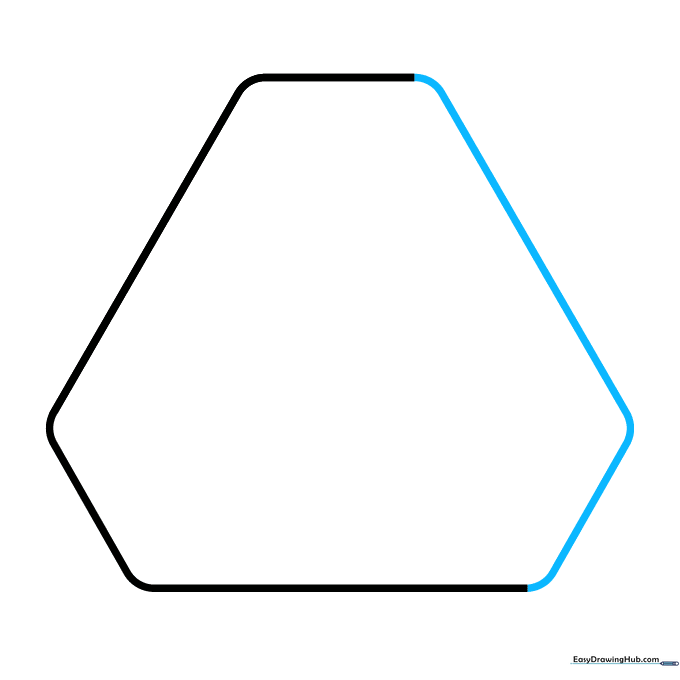
On the right, draw two more diagonal lines and connect them with three curves. These should mirror the first side. Tip: Keep your spacing even so the triangle looks balanced.
Step 4: Adding Inner Arrow Details
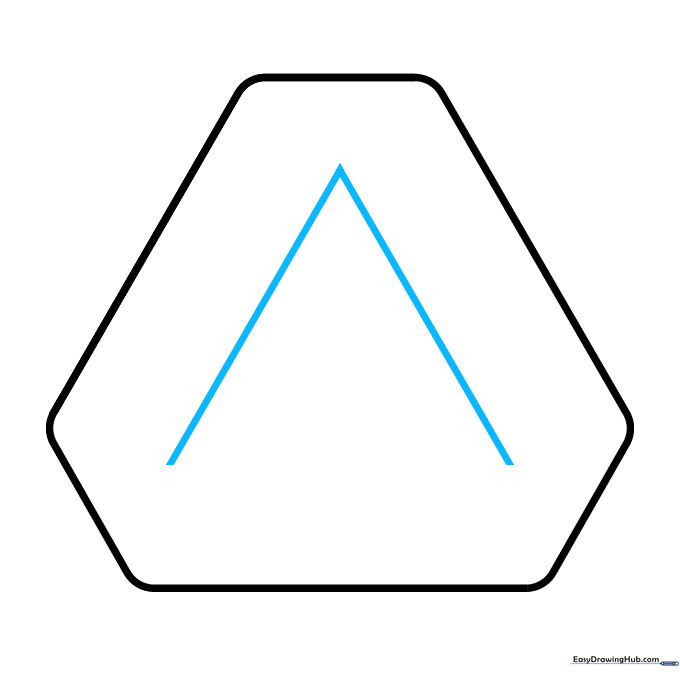
Sketch two diagonal lines in the center that meet at the top. Tip: These lines define the 'arrowhead' shape of the recycling symbol.
Step 5: Defining the Arrowheads
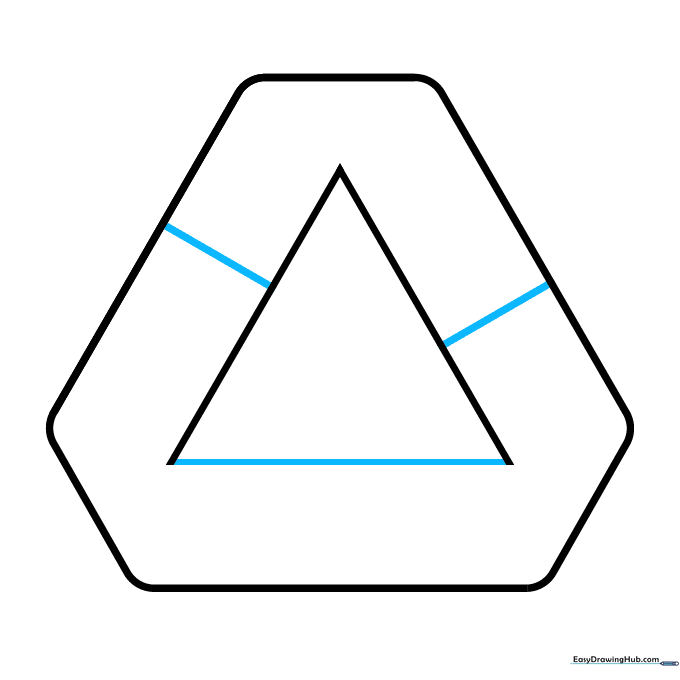
Complete the triangle base with a horizontal line, then add two more diagonal lines pointing in opposite directions. Tip: Ensure these lines are parallel to the outer edges for a clean look.
Step 6: Adding Curvature
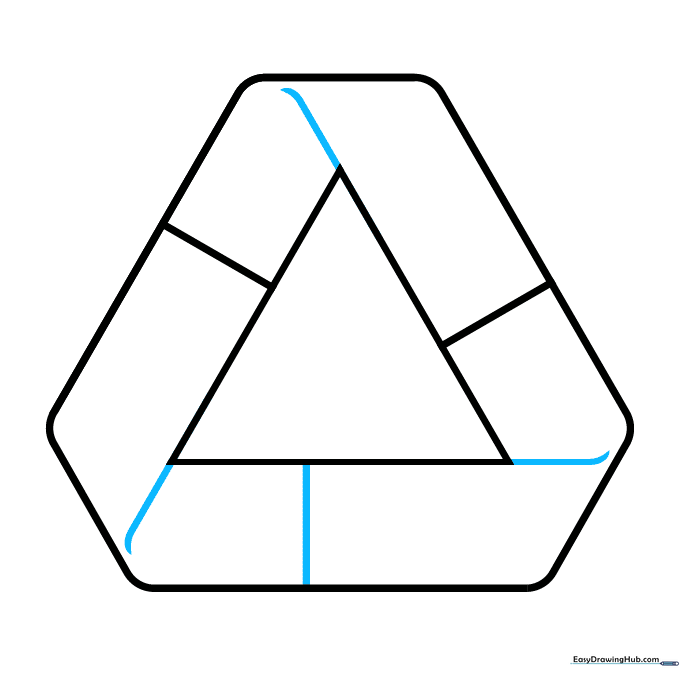
Add a vertical line on the bottom strip and three more lines with curves at the ends. Tip: Make sure these curves don't touch the outer outline, as this creates the illusion of overlapping arrows.
Step 7: Creating the Overlap
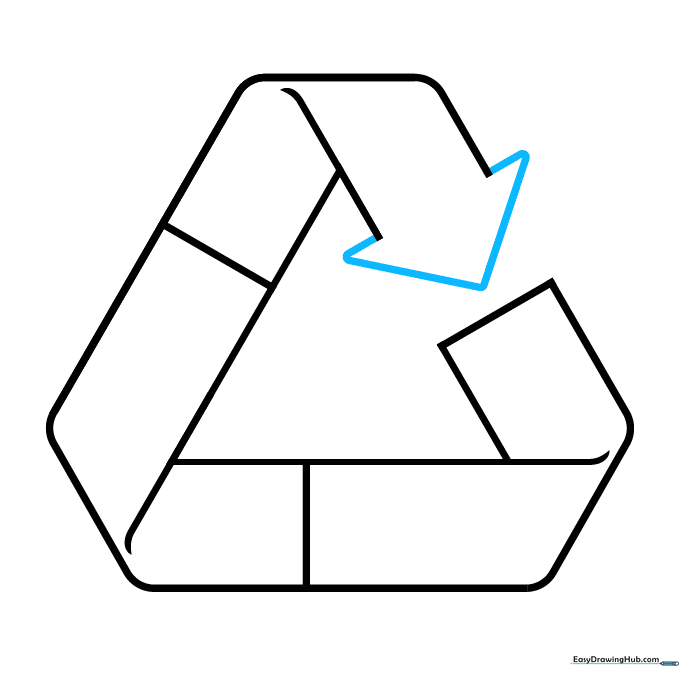
Erase a small section of the existing lines on the right, then draw a triangle with four diagonal lines pointing downward. Tip: This is where the 'loop' starts to take shape.
Step 8: Refining the Bottom Arrow
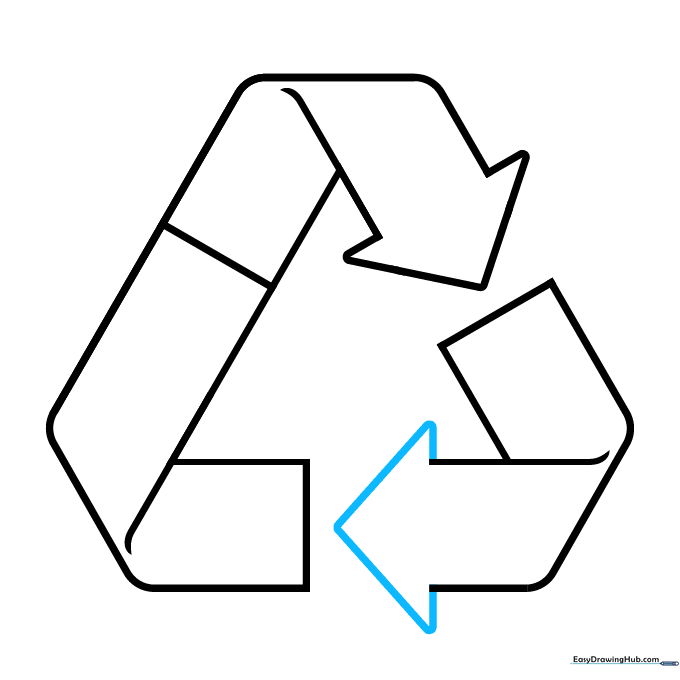
Erase a section of the bottom strip and draw another triangle pointing to the left. Tip: Check that your lines are crisp and clean before moving to the final step.
Step 9: Final Outline
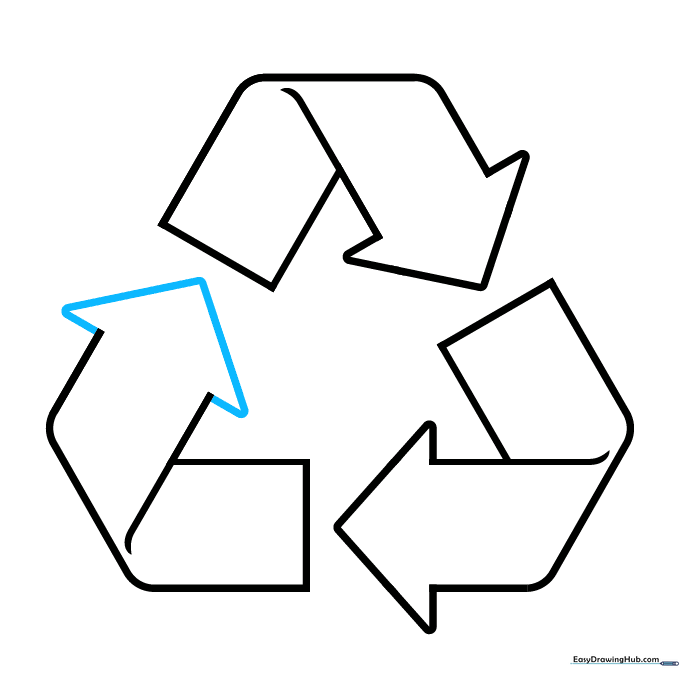
Erase the remaining overlapping lines on the left and sketch the final upward-pointing triangle. Once you are happy with the shape, trace over your pencil lines with a black pen. Tip: Wait for the ink to dry completely before erasing your pencil marks to avoid smudging.
Step 10: Adding Color
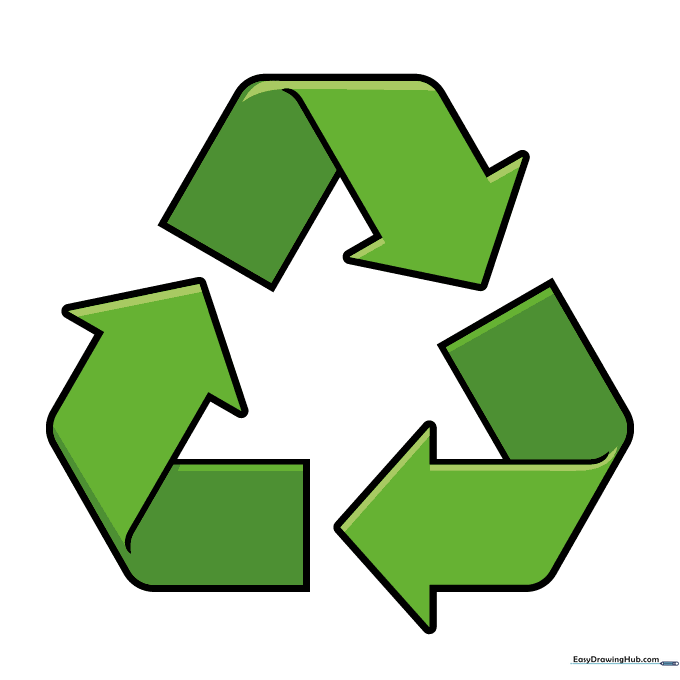
Color your symbol using different shades of green. Use a lighter green for the top surfaces and a darker green for the undersides to create a 3D effect. Tip: Add a tiny white highlight on the edges to make it pop!
More Tutorials


