How to Draw the Pyramids of Giza: Easy 9-Step Guide
Transport your young artist to ancient Egypt with this fun, screen-free drawing activity. Designed for ages 5 and up, this guide uses basic geometric shapes to build a complex landscape. All you need is a pencil, an eraser, and some paper to start exploring history through art.
🎯 Final Result

Step-by-Step Instructions
Step 1: Sketching the First Pyramid Base
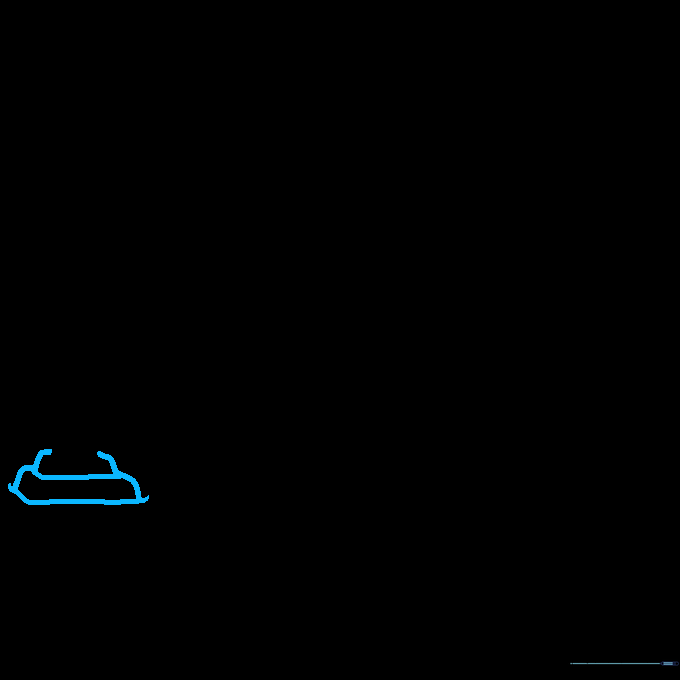
Start by drawing a series of overlapping curved lines to create the stepped base of the first pyramid. Teacher's Tip: Keep your pencil pressure light so you can easily adjust the lines if they don't overlap perfectly the first time.
Step 2: Adding Depth to the Structure
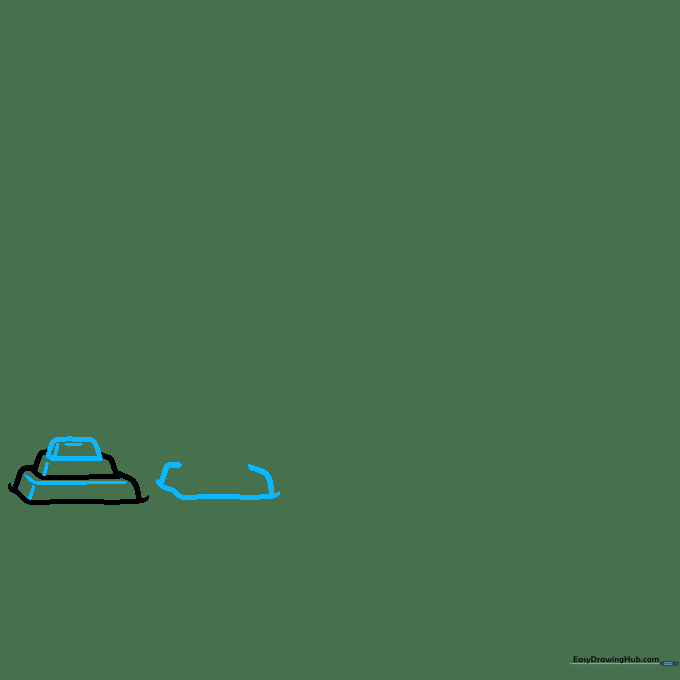
Draw a small rounded rectangle at the top and add short lines at the corners to create a 3D effect. Then, begin the base of your second pyramid nearby. Teacher's Tip: Think of these as building blocks; keeping your lines parallel helps the structure look solid.
Step 3: Building the Second Pyramid
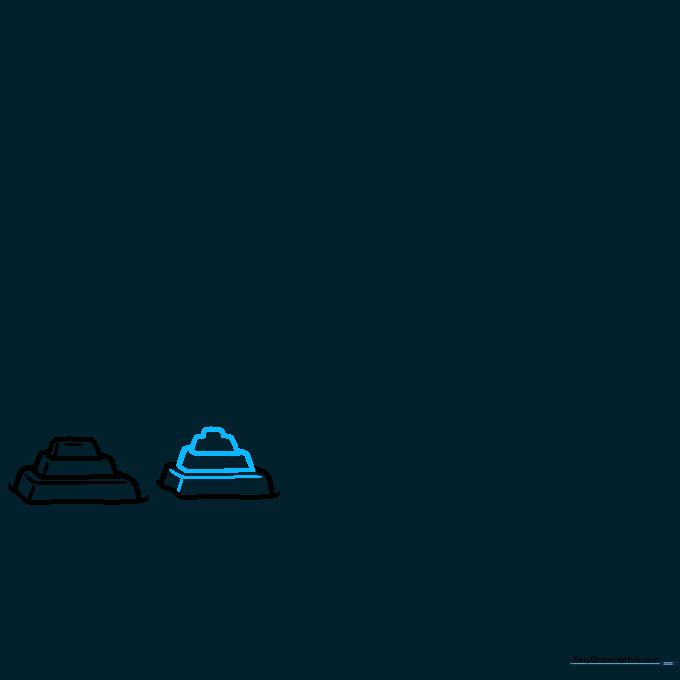
Add two more rectangular sections to the second pyramid using 'L' shaped lines to define the edges. Teacher's Tip: Using 'L' shapes is a great way to teach children how to represent corners in perspective.
Step 4: Creating the Third Pyramid
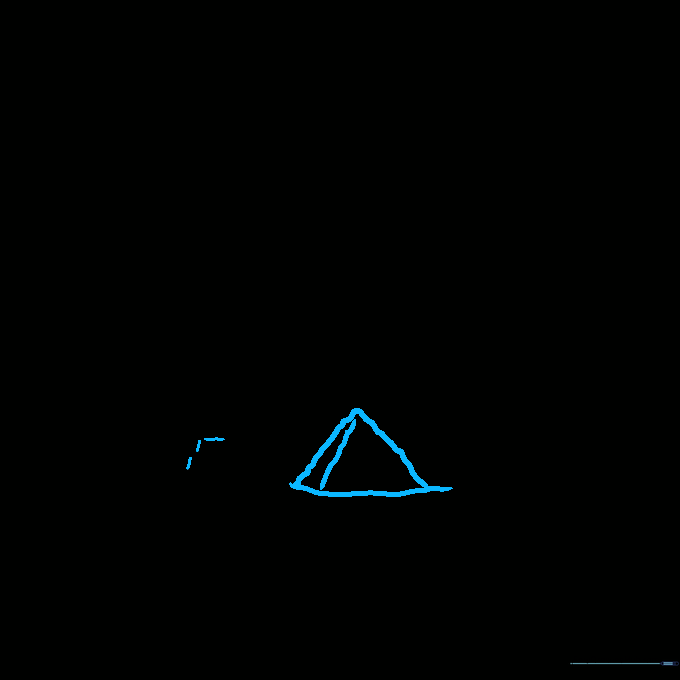
Use wavy lines to outline a larger, third pyramid. Draw a ground line to anchor it to the page. Teacher's Tip: Wavy lines give the pyramids a weathered, ancient look, contrasting nicely with the straight lines of the structure.
Step 5: Adding a Background Pyramid
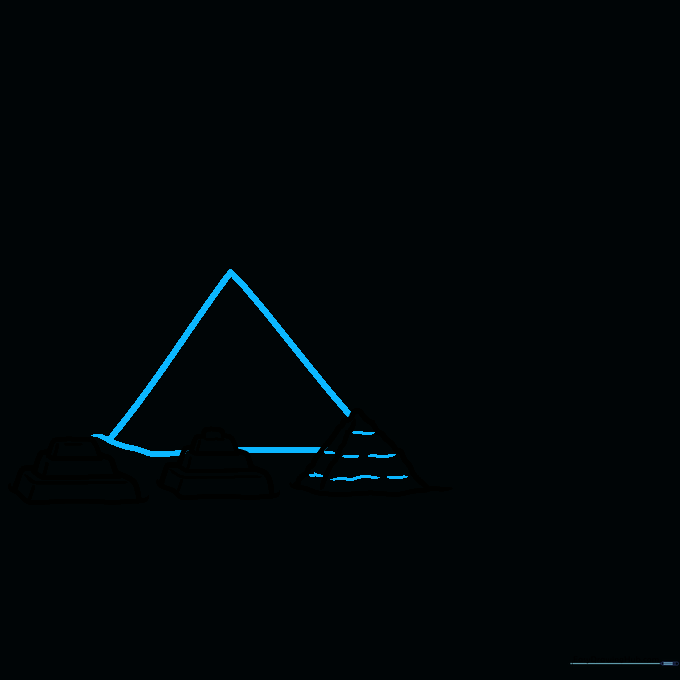
Draw a large, simple triangle in the background to represent the furthest pyramid. Teacher's Tip: By drawing this one higher up on the page, you create the illusion of distance.
Step 6: Adding Texture and Scale
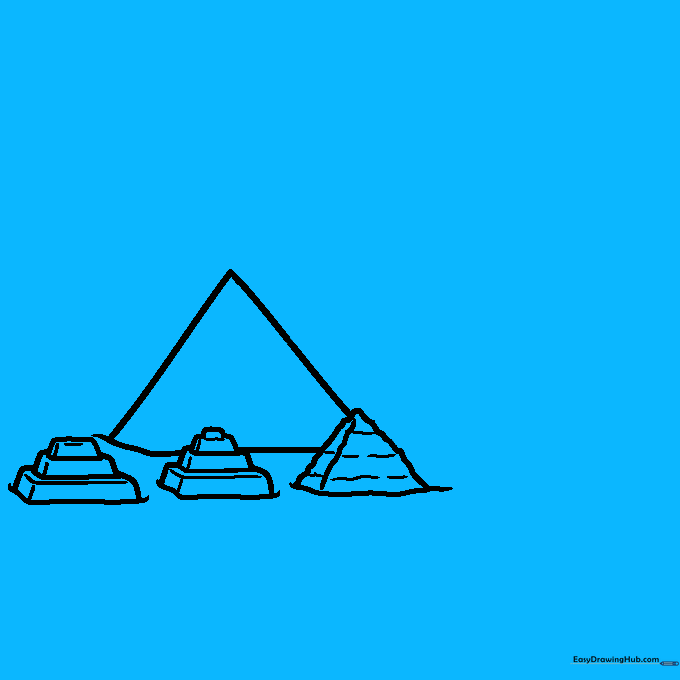
Add vertical lines to the pyramid sides and horizontal lines for texture. Start the base of another large structure. Teacher's Tip: Varying your line types—straight for structure, horizontal for texture—helps the drawing look more professional.
Step 7: Detailing the Pyramid Caps
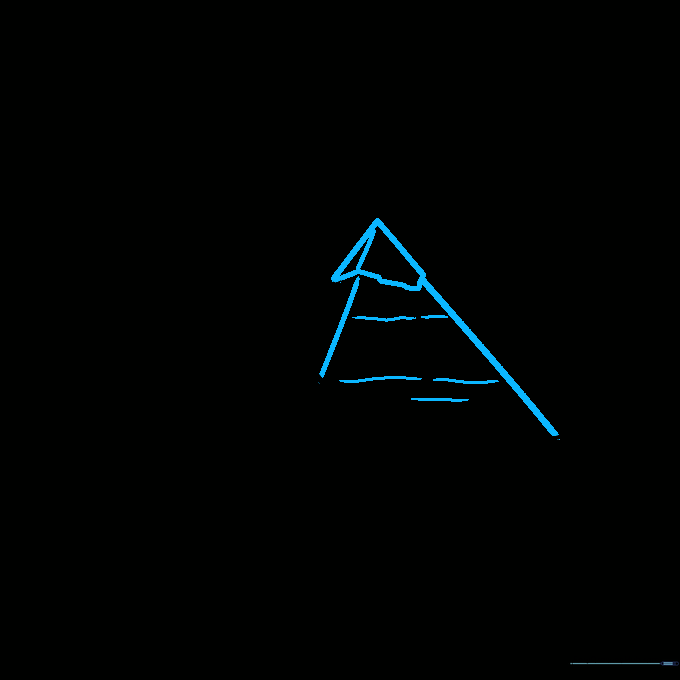
Draw a triangular cap on the peak and add diagonal lines for shading. Use wavy lines to texture the remaining sides. Teacher's Tip: Don't worry about making the lines perfectly straight; the pyramids are old and worn, so slight wobbles add character!
Step 8: Finalizing the Desert Landscape
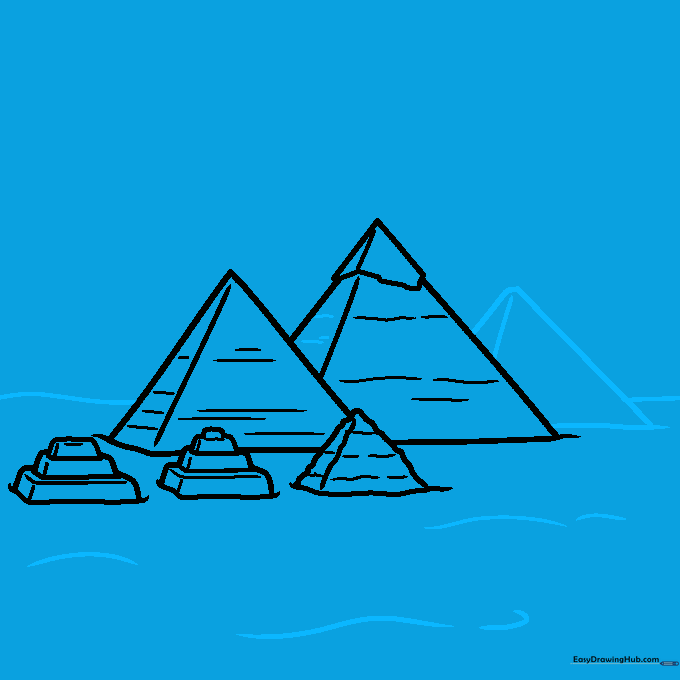
Add a final pyramid in the background and draw a wavy horizon line. Texture the ground with small curved strokes. Teacher's Tip: The horizon line is essential—it separates the sky from the sand and makes your drawing feel like a real place.
Step 9: Adding Sky Details
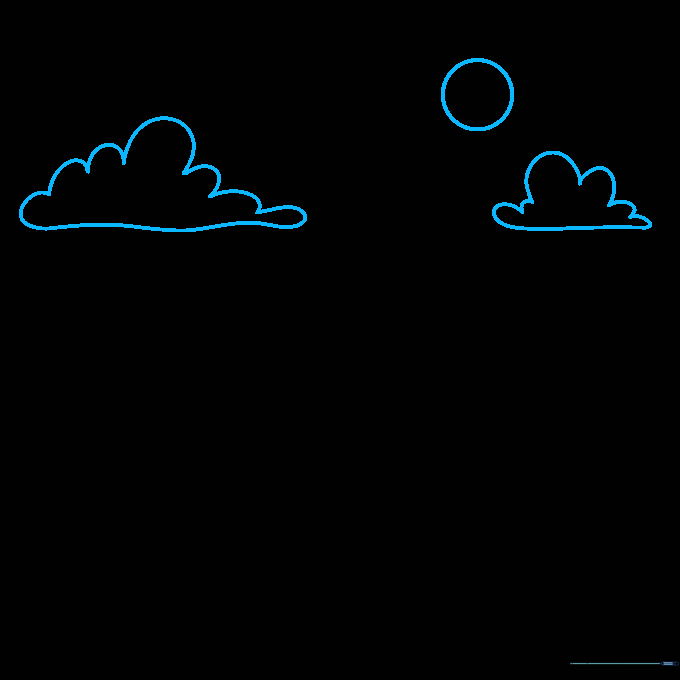
Complete your scene by drawing a sun and fluffy clouds in the sky. Teacher's Tip: Use light, circular motions for the sun to make it look bright and friendly.
Step 10: Adding Color
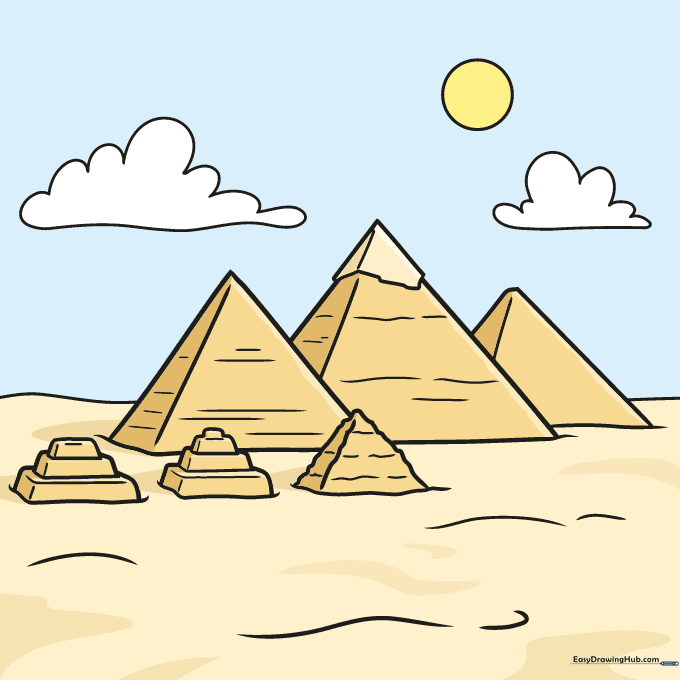
Bring your pyramids to life with warm, sandy tan and gold colors. Teacher's Tip: Try using different shades of tan to show where the sun hits the pyramids versus the shadows.
More Tutorials


