How to Draw the Powerpuff Girls: Easy 10-Step Guide
Ready to bring Townsville’s heroes to life? This tutorial is perfect for young artists ages 6+ who want to master cartoon proportions. Grab your pencil, eraser, and paper to start sketching these iconic sisters step-by-step.
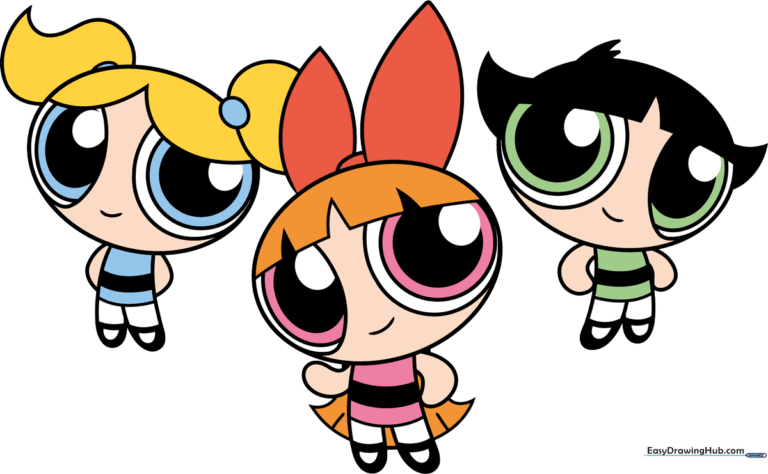
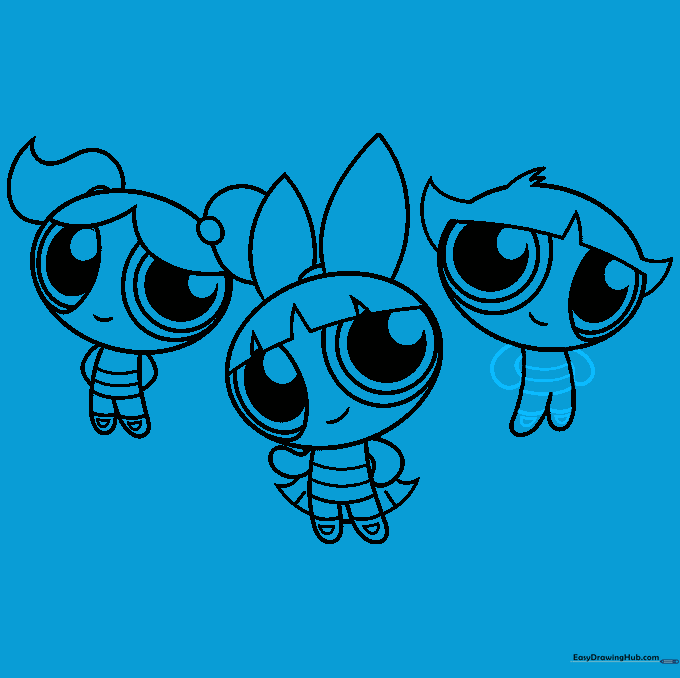
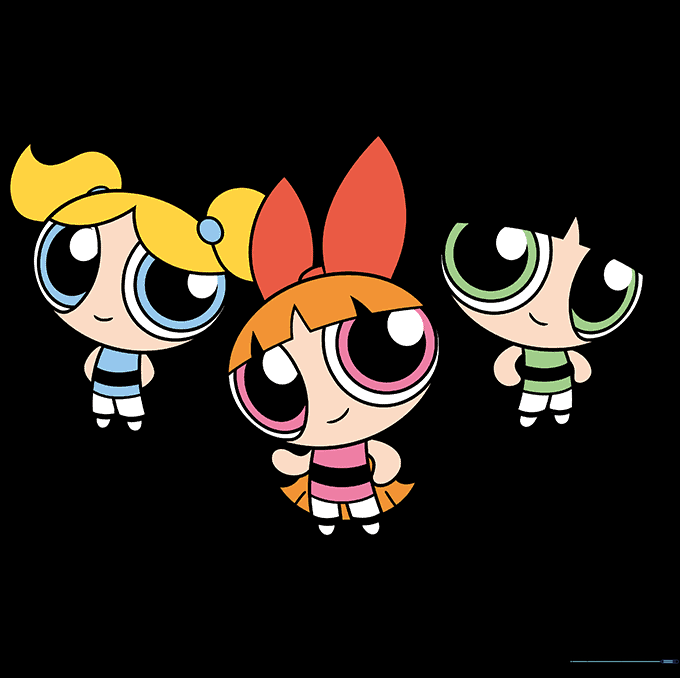
🎯 Final Result
Step-by-Step Instructions
Step 1: Sketching Blossom's Head

Start by drawing a large oval for Blossom’s head. Add her signature bangs using straight and V-shaped lines. Teacher's Tip: Keep your pencil pressure light so you can easily erase the guidelines inside the head later.
Step 2: Adding Facial Features

Draw large circles for the eyes and smaller ones inside for the pupils. Add a simple curved line for her smile and the iconic bow on top. Teacher's Tip: Make sure the pupils are centered to give her that classic, alert Powerpuff look!
Step 3: Drawing the Body
Sketch a curved rectangle for the dress, adding two horizontal lines for the stripe. Use simple U-shapes for the arms and legs. Teacher's Tip: Keep the limbs short and stubby to maintain the cute, chibi-style proportions.
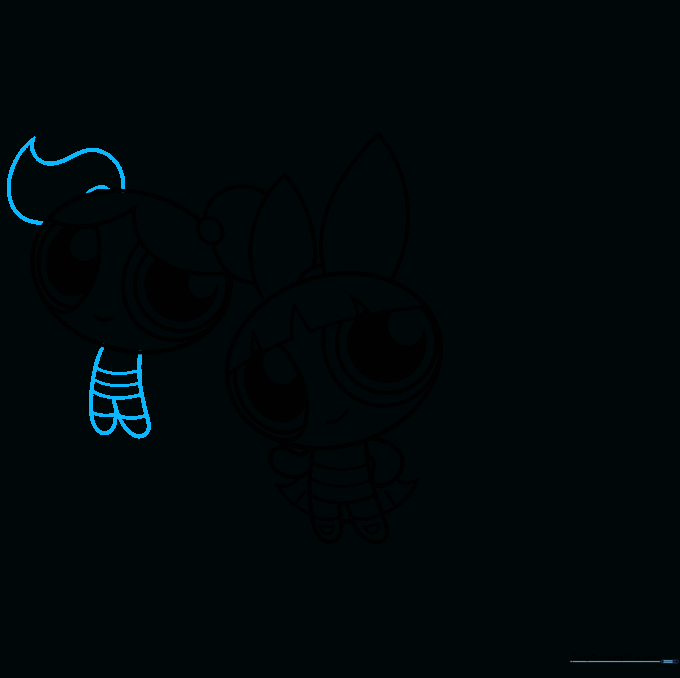
Step 4: Finishing Blossom and Starting Bubbles
Add shoes to Blossom and draw her long hair with pointed ends. Then, begin Bubbles by drawing a large oval with a rounded W-shape for her bangs. Teacher's Tip: Use short, quick strokes for the hair texture to make it look soft.
Step 5: Bubbles' Face and Pigtails
Add Bubbles' large eyes and smile. Draw her pigtails using ovals for the hair ties and larger shapes for the hair. Teacher's Tip: If the pigtails look uneven, don't worry! Just use your eraser to adjust the curves until they match.
Step 6: Bubbles' Body
Sketch the dress, arms, and legs for Bubbles, mirroring the style used for Blossom. Teacher's Tip: Adding the horizontal bands on the dress helps define the character's outfit clearly.
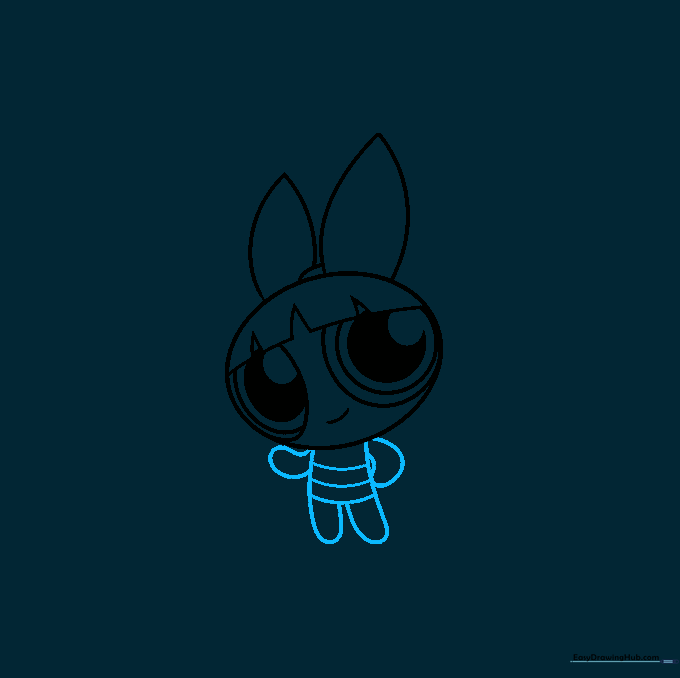
Step 7: Finishing Bubbles and Starting Buttercup
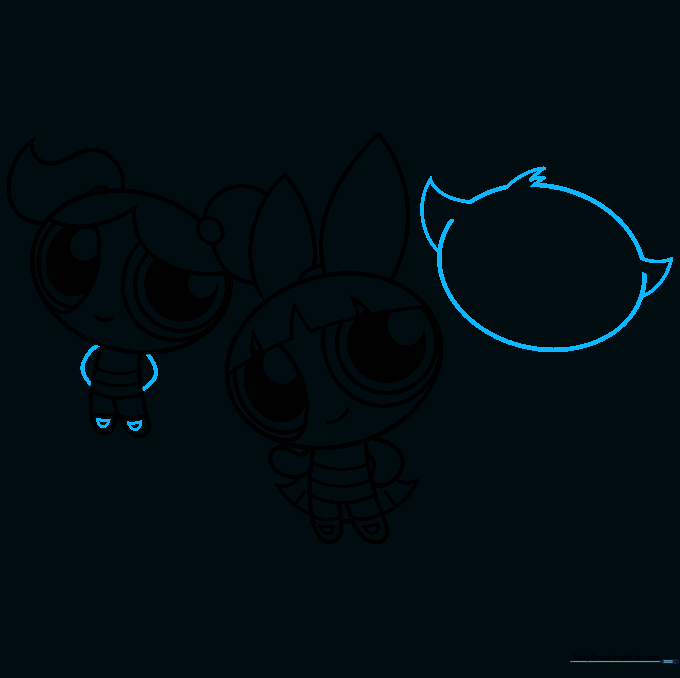
Add shoes to Bubbles and draw her arms behind her back. Begin Buttercup by drawing a half-oval for her head and hair. Teacher's Tip: Use a confident, single stroke for the head shape to keep the lines looking clean.
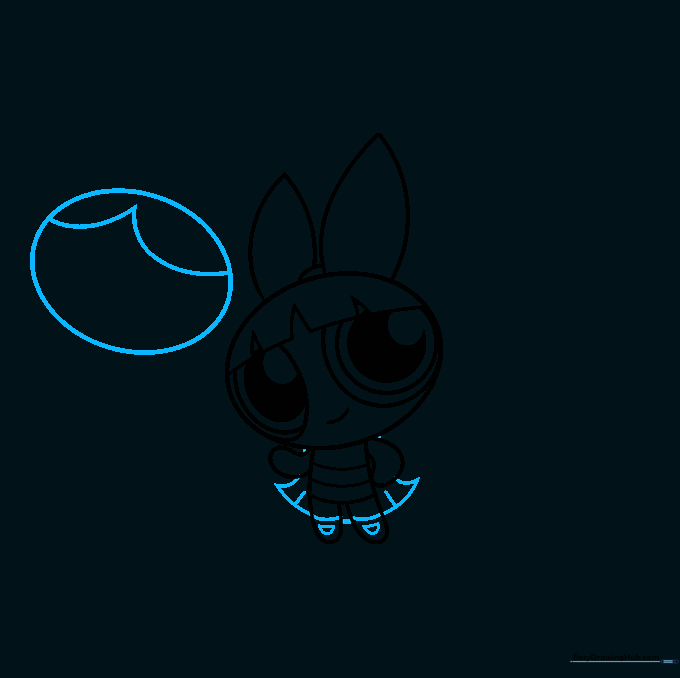
Step 8: Buttercup's Face
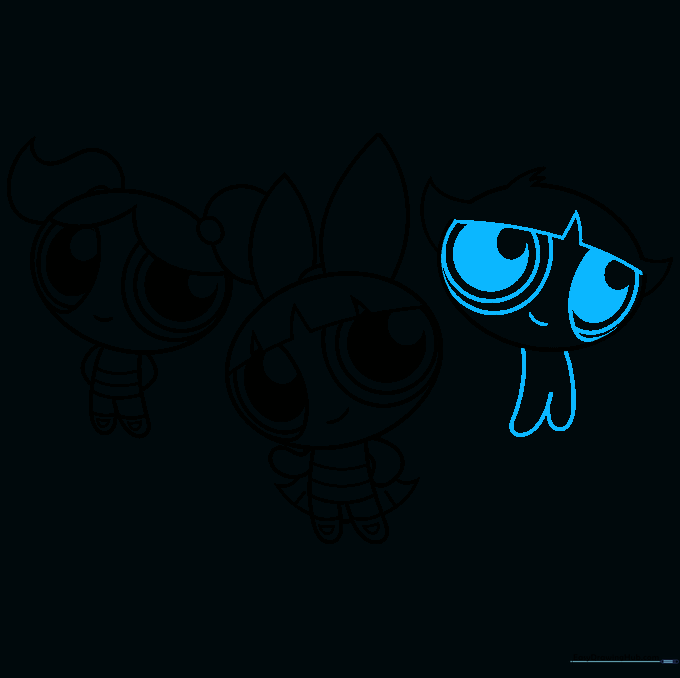
Add Buttercup's unique bangs, eyes, and mouth. Teacher's Tip: Buttercup's expression is a bit tougher than the others, so keep her eyes slightly more angled to show her personality.
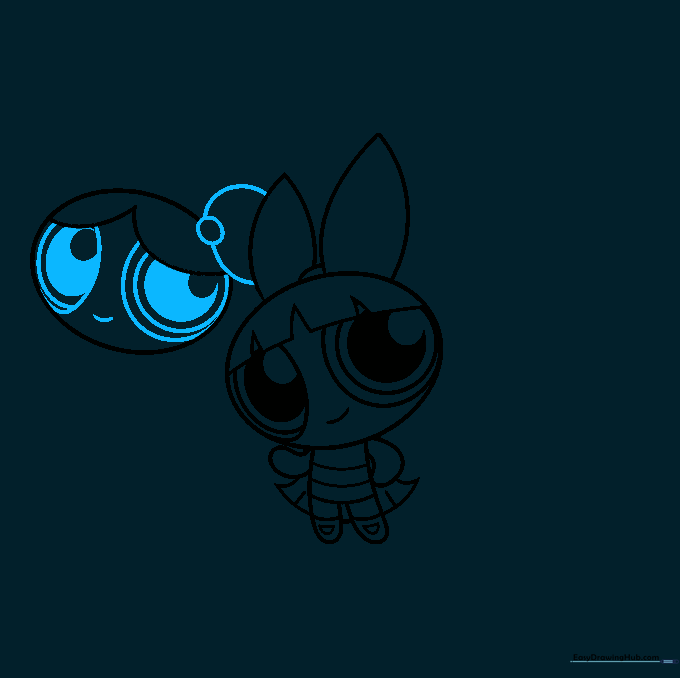
Step 9: Completing Buttercup
Finish Buttercup's body, arms, and shoes. Teacher's Tip: Ensure the arms are positioned symmetrically to give her a balanced, heroic stance.
Step 10: Bringing Them to Life with Color
Time to color! Use red for Blossom, blue for Bubbles, and green for Buttercup. Teacher's Tip: Use markers for bold, flat colors that match the cartoon style, or colored pencils for a softer, blended look.
More Tutorials


